Getting Started with Graph Modeller - circles-arrows/blueprint41 GitHub Wiki
Getting Started with Graph Modeller
Prerequisites
Before installing Graph Modeller tool, we need to have the Microsoft .NET Framework (version 4.8 or higher) installed.
Download and install Graph Modeller to get started.
The "MovieGraph" Dataset
Let's use the Movie Graph dataset from Neo4j to create our graph model using the Graph Modeller.

The Desired "MovieGraph" Model:

You can start defining the Main Model by following these step-by-step tutorials.
Defining the "MovieGraph" Model
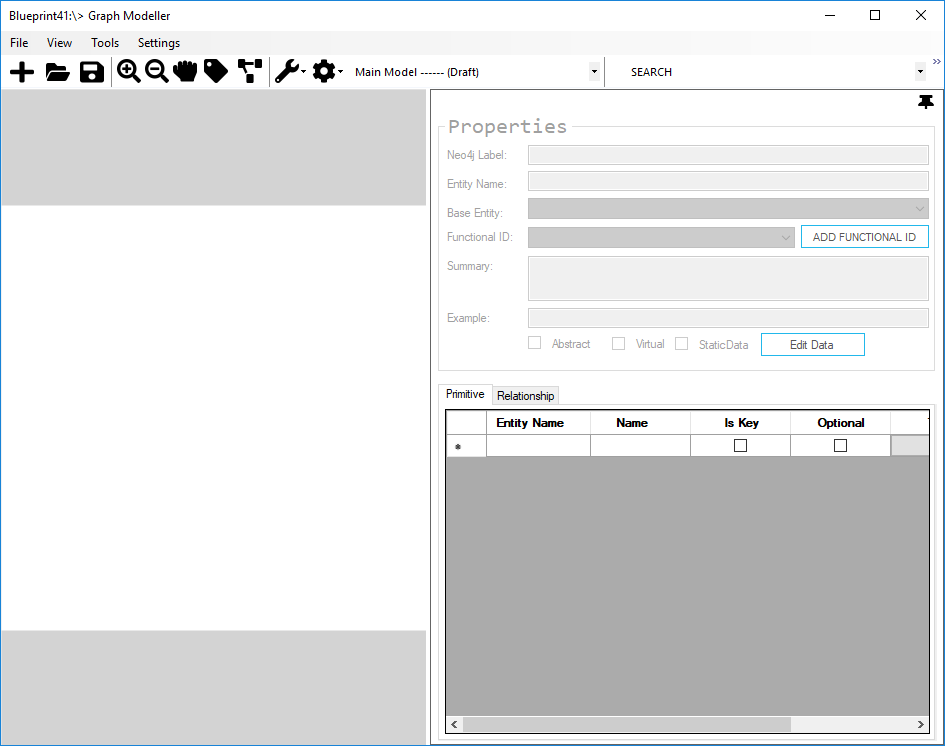
- Open the Blueprint41 Graph Modeller tool and select File > New from the menu bar or you can click the New button.
- Select a destination to save your model as an XML file.
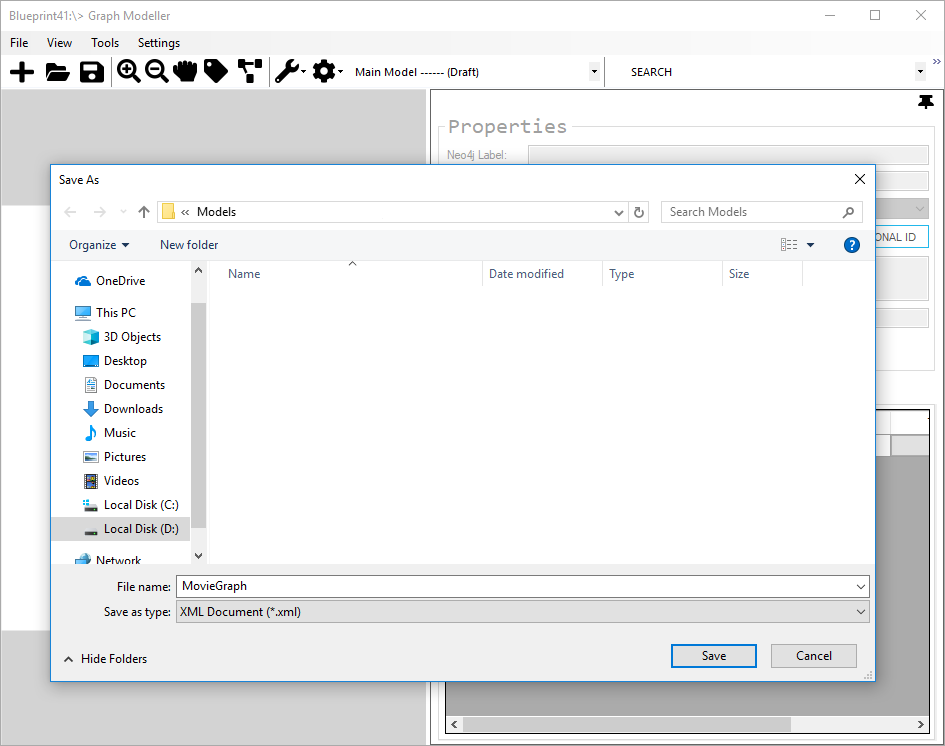
After saving your model in a file, you can start adding entities and their relationships.
Creating Entities
Now, let's begin by creating the "Person" and "Movie" entities.
Normal Entity
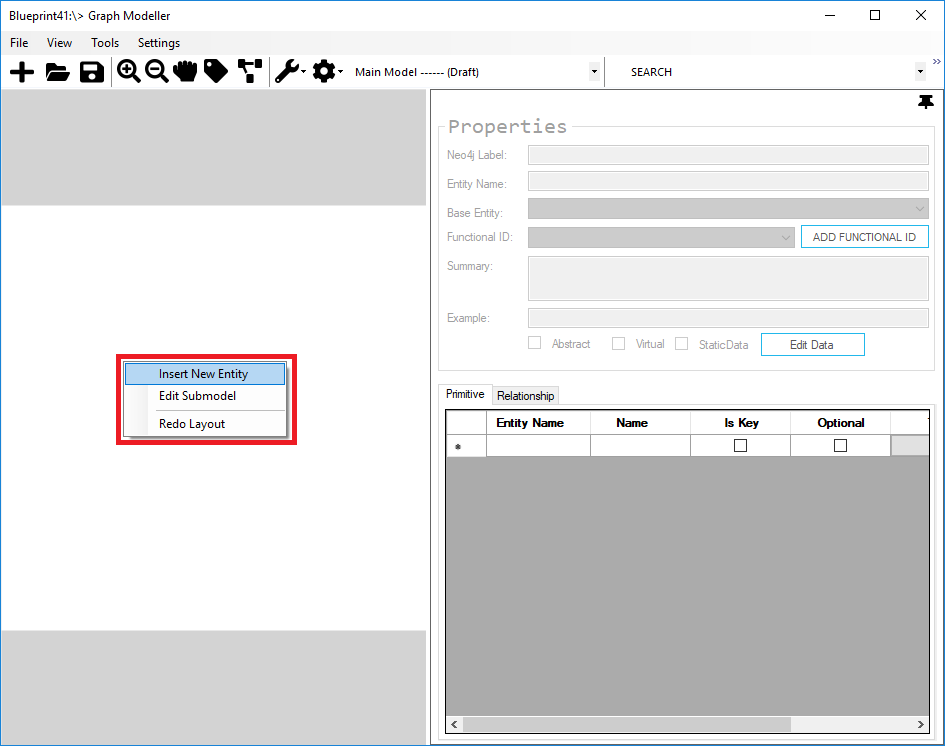
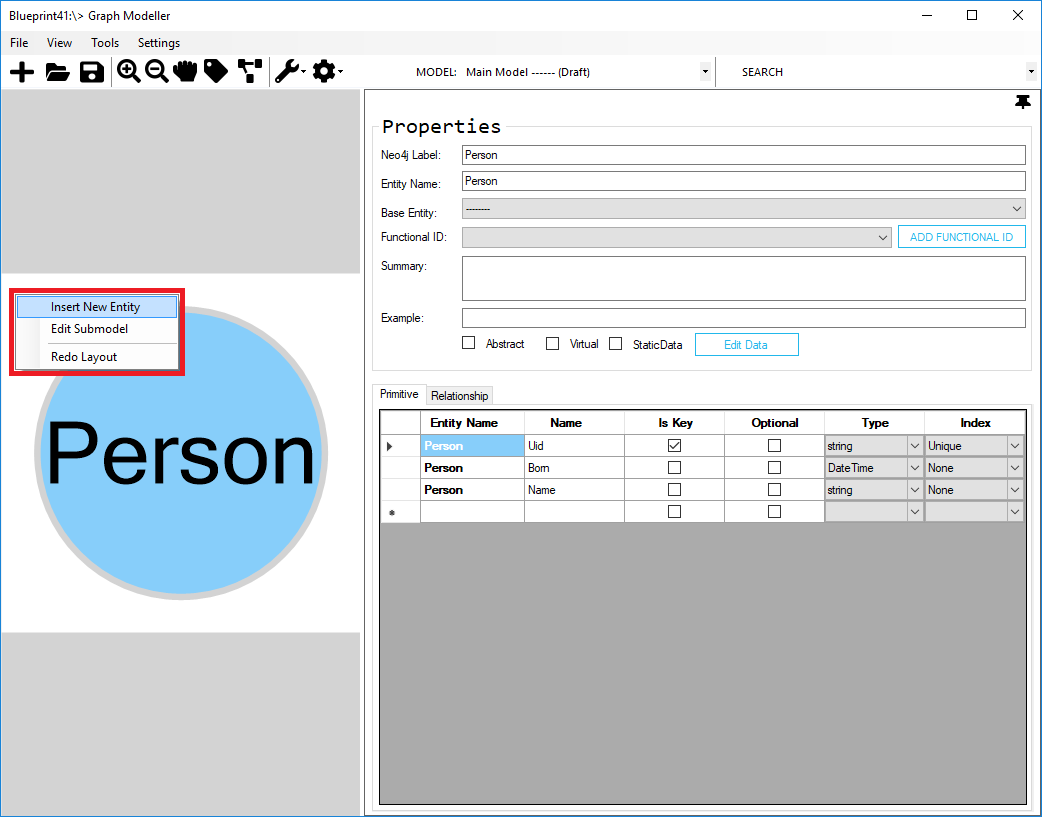
- Right-click in the layout board and select Insert New Entity.
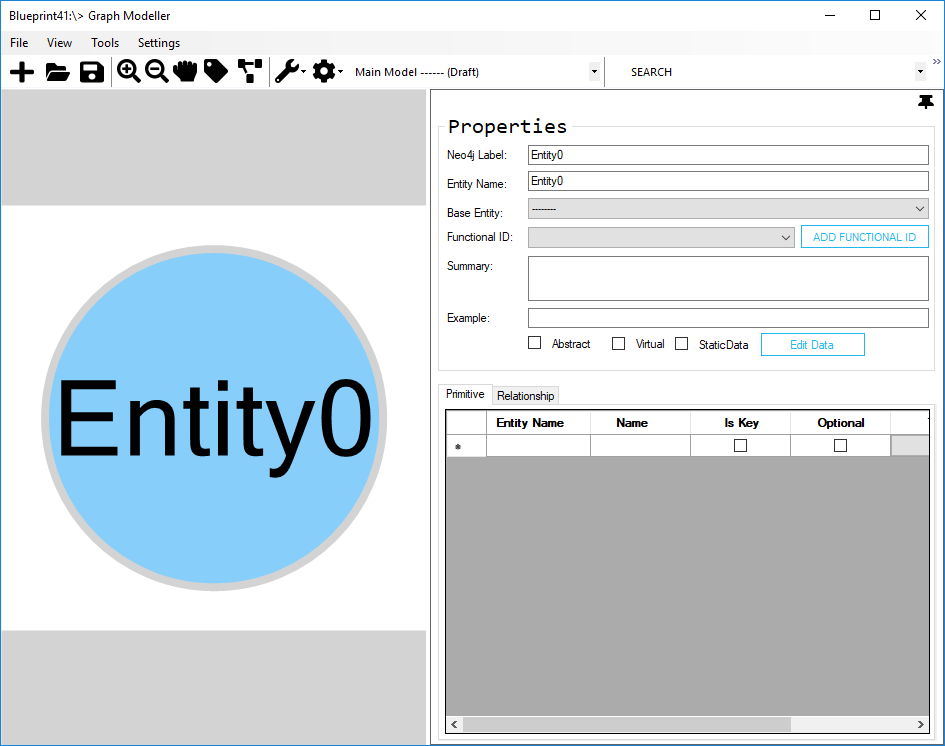
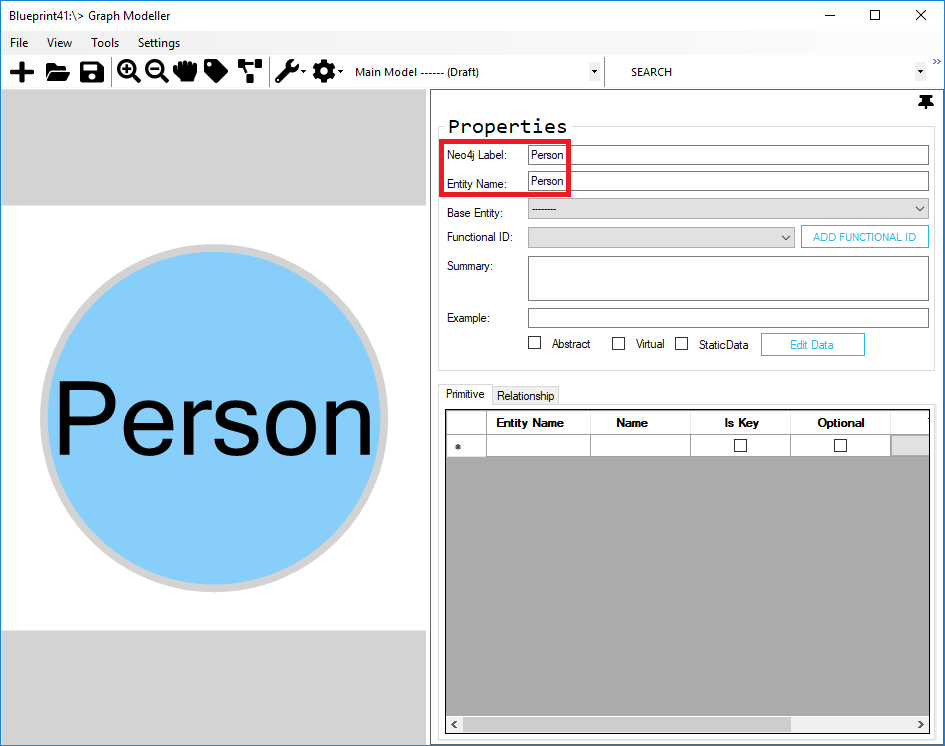
- Rename the newly created entity. Select the new entity and on the Properties pane, set the value as “Person” for Neo4j Label and Entity Name.
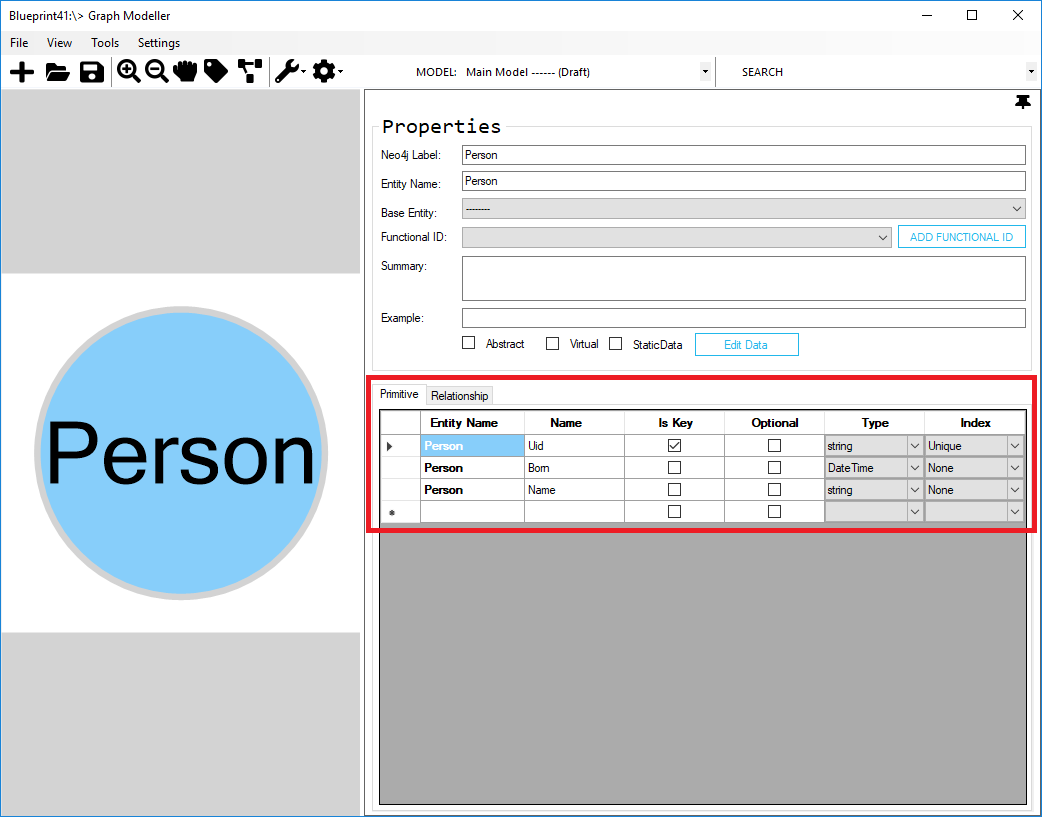
- Add new properties (Uid, Born, Name) to the “Person” entity.
| Name | Is Key | Optional | Type | Index |
|---|---|---|---|---|
| Uid | True | False | string | Unique |
| Born | False | False | DateTime | None |
| Name | False | False | string | None |
- After creating the “Person” entity, insert another one. Right-click to the layout board and click Insert New Entity.

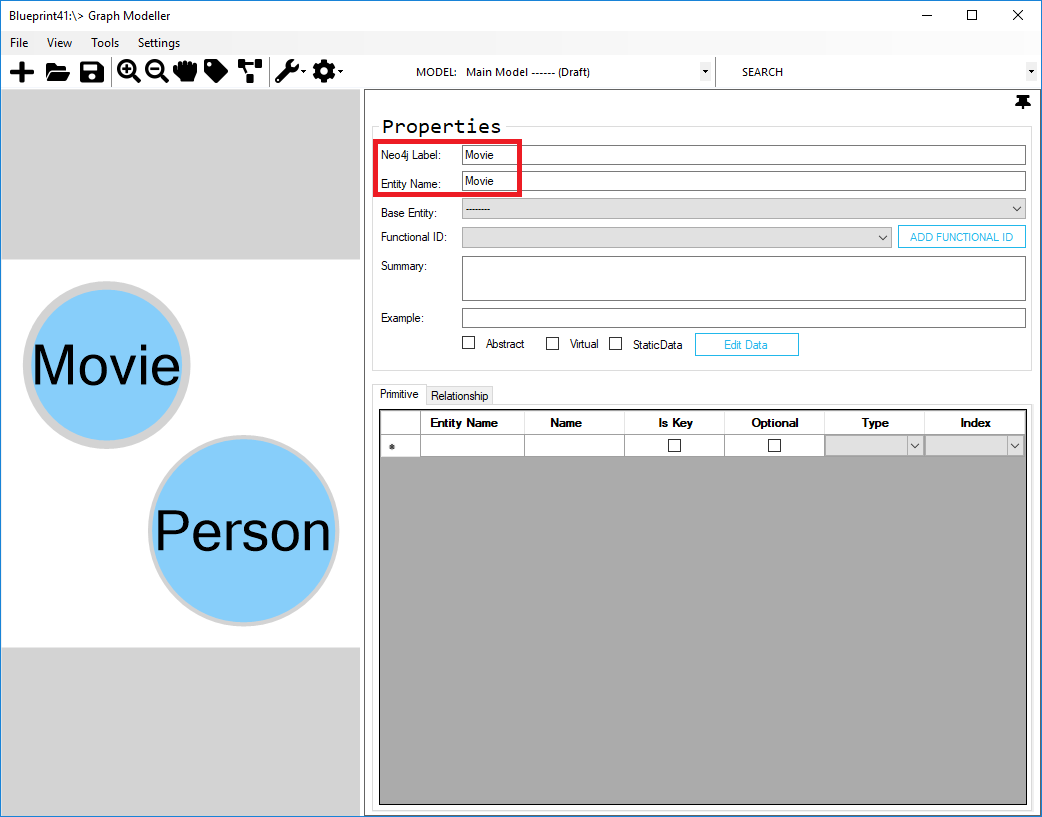
- Rename the newly added entity as "Movie".
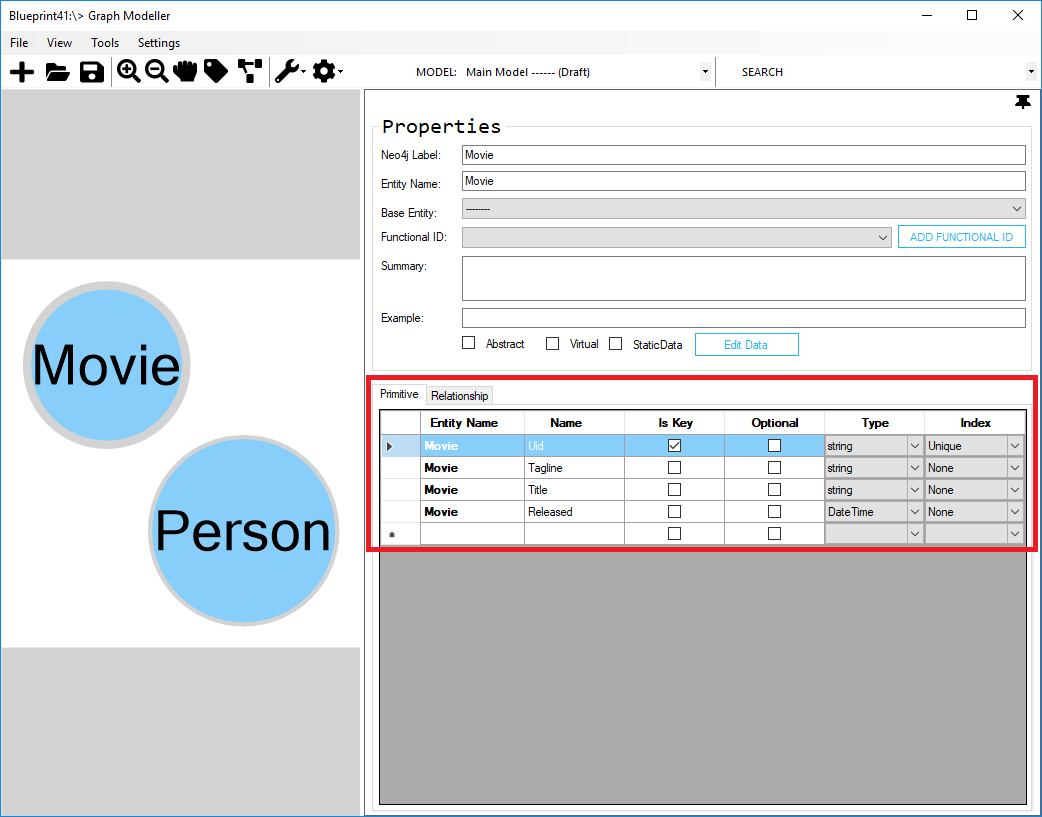
- Add new properties (Uid, Tagline, Title and Released) to the “Movie” entity.
| Name | Is Key | Optional | Type | Index |
|---|---|---|---|---|
| Uid | True | False | string | Unique |
| Tagline | False | False | string | None |
| Title | False | False | string | None |
| Released | False | False | DateTime | None |
You have successfully created the normal type of entity.
Functional ID
Next, we need to add Functional Id for the entities that we created.
Functional Id will be the one that generates the key/id for the entities. For more details, see Functional ID.
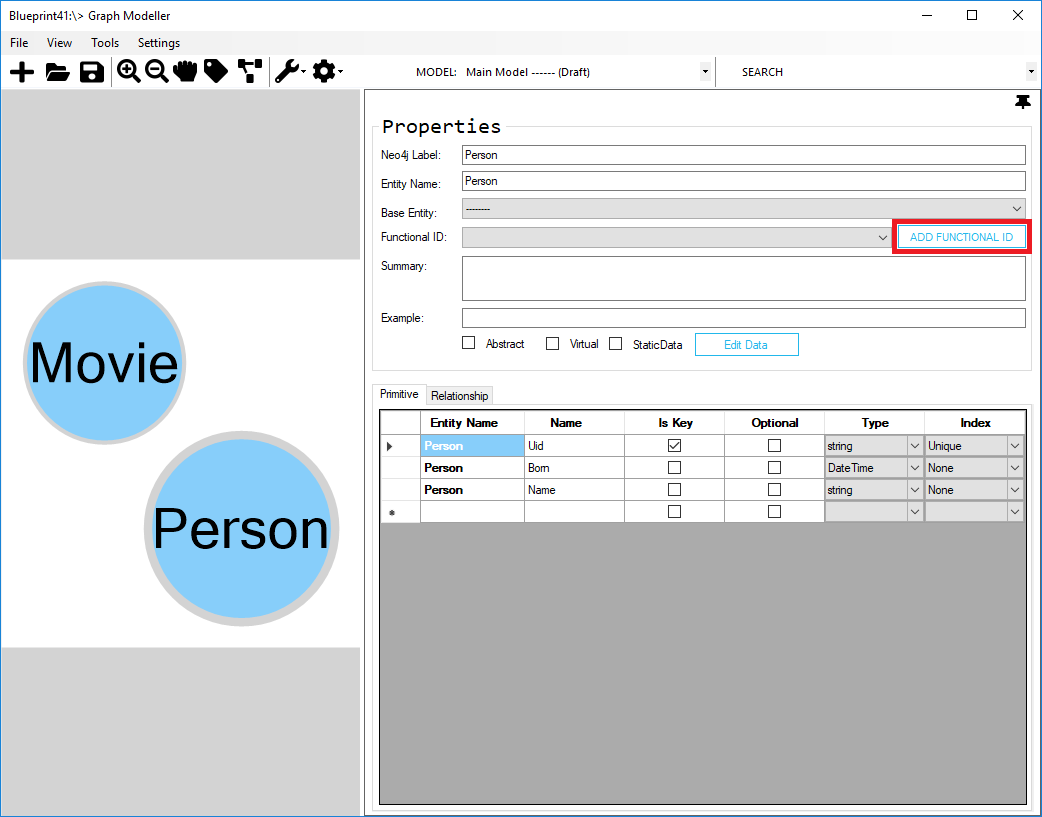
- Add functional Id for the “Person” entity. Select the "Person" entity and click Add Functional ID button to set its Functional ID.
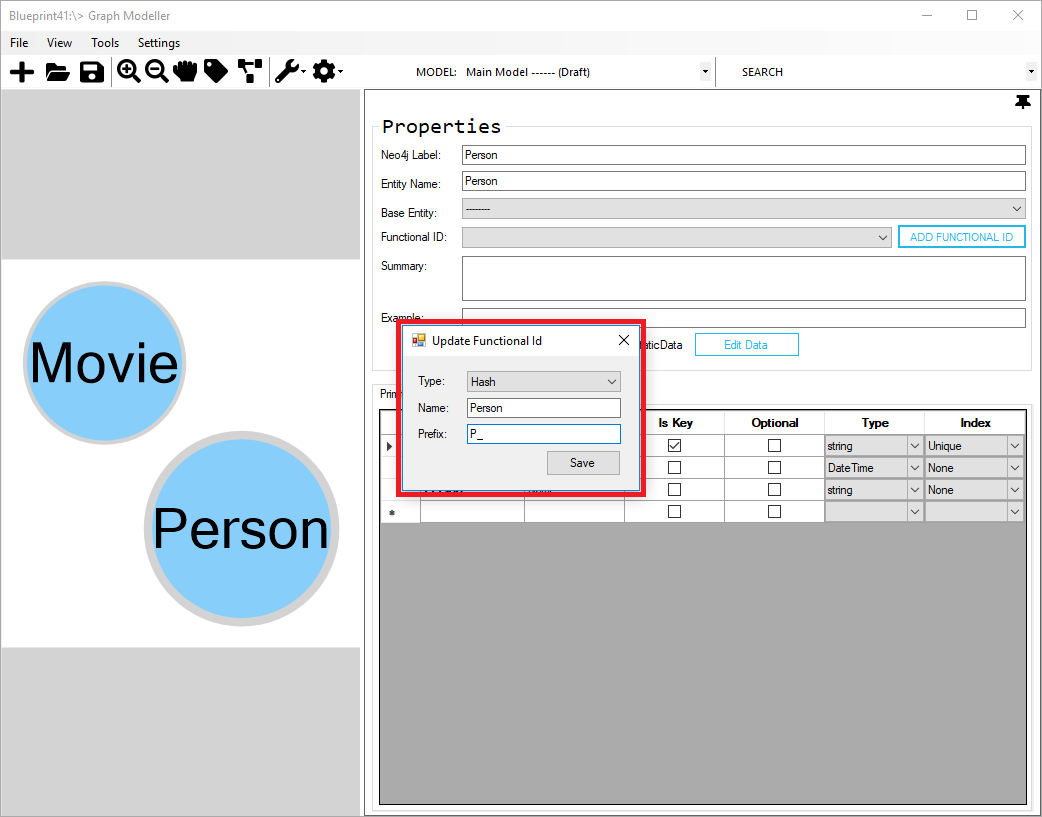
- On the Update Functional Id dialog, set the type as “Hash”, name as “Person”, prefix as “P_” and then click Save button.
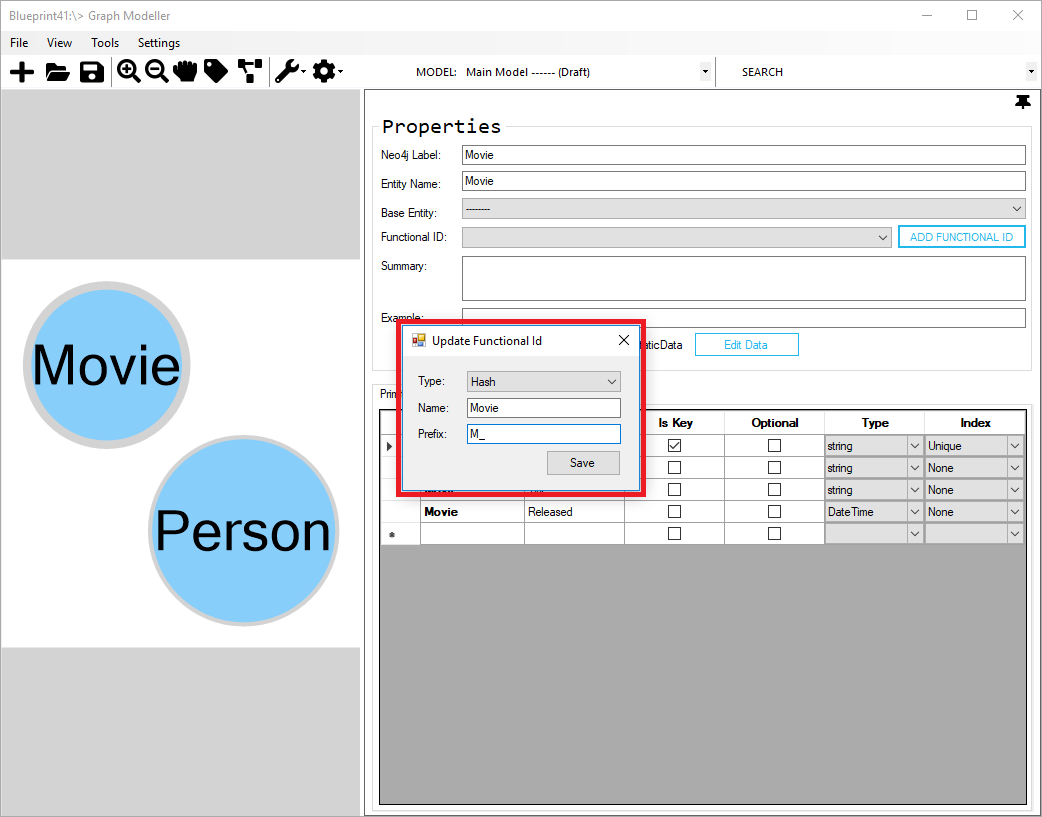
- Add a functional Id for the “Movie” entity, set the type as “Hash”, name as “Movie”, prefix as “M_” and then click Save button.
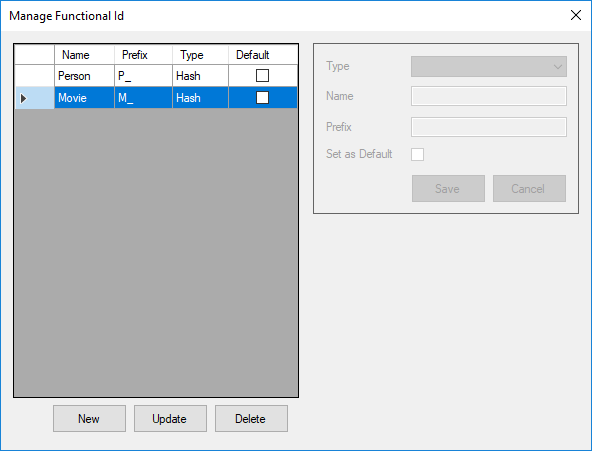
To make changes on the Functional Id, go to the settings toolbar and select Manage Functional Id.
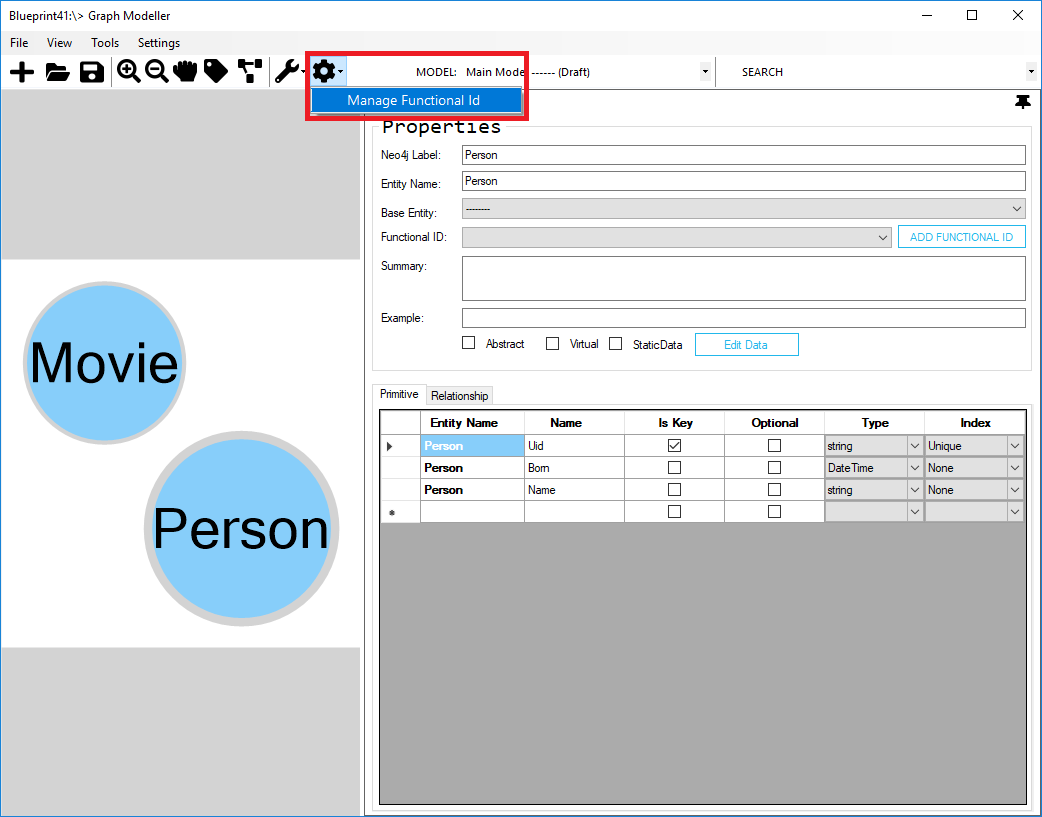
You can create new, update or delete existing Functional Id.
After adding the Functional IDs, we'll take a look at how to create a StaticData entity.