ADDView.md - brainchildservices/curriculum GitHub Wiki
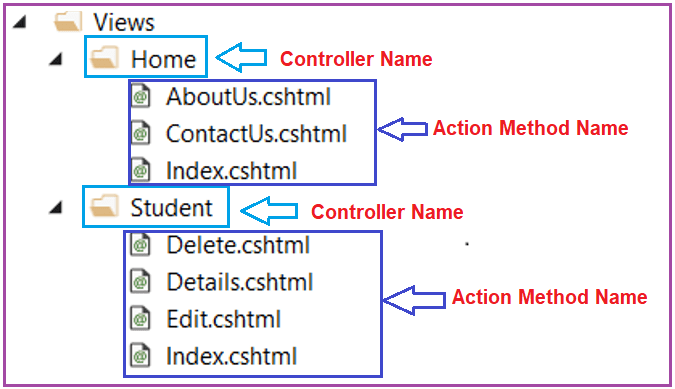
Then following is the folder and file structure of the Views
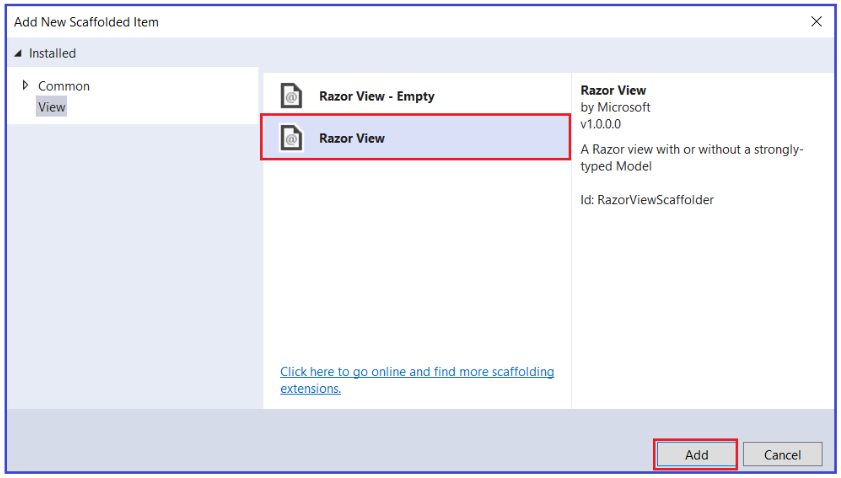
Right-click on the Views folder and then select Add => View option which will open the Add View window as shown in the below image. Here, you need to select the Razor View item and then click on the Add button.
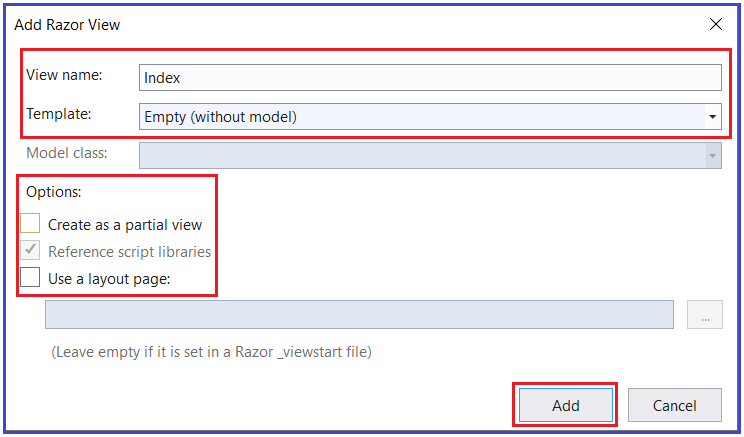
Once you click on the Add button, then it will open the Add Razor View window. Here, you need to give the View name as Index, Select the Empty (without model) template, uncheck the create a partial view and use a layout page checkbox and then click on the Add button as shown in the below image.
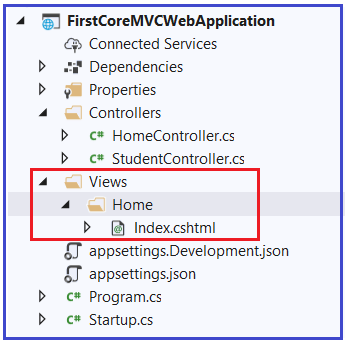
Once you click on the Add button then it should create the Index.cshtml view within the Home folder as shown in the below image.
Now open Index.cshtml file and then copy and paste the following code in it.
 @{
     Layout = null;
 }
 <!DOCTYPE html>
 <html>
 <head>
     <meta name="viewport" content="width=device-width" />
     <title>Index</title>
 </head>
 <body>
     <h1>Index view belongs to Views/Home folder</h1>
 </body>
 </html>
With the above changes in place, now run the application and you should get the output as expected as shown in the below image.

Ref:- https://dotnettutorials.net/lesson/views-asp-net-core-mvc/
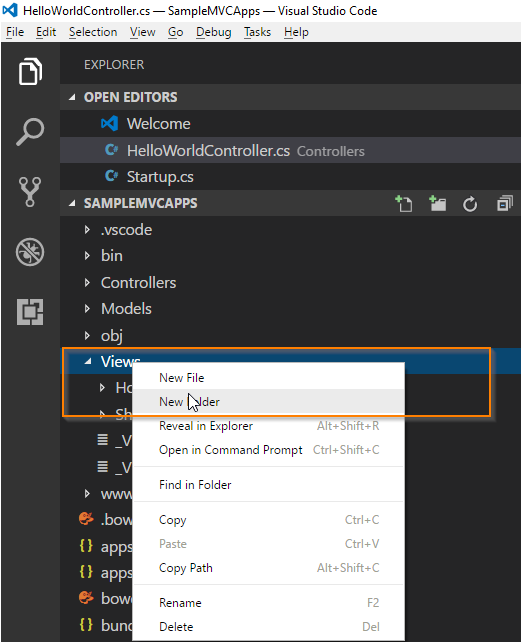
Go to the Explorer window in VS Code. Right Click the Views folder and point to New Folder, followed by clicking the New Folder. Then, add the new folder named HelloWorld.
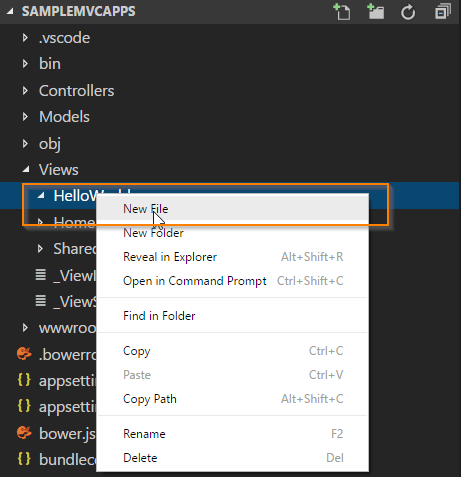
Right-click the HelloWorld folder and point to New File, followed by clicking the New File.
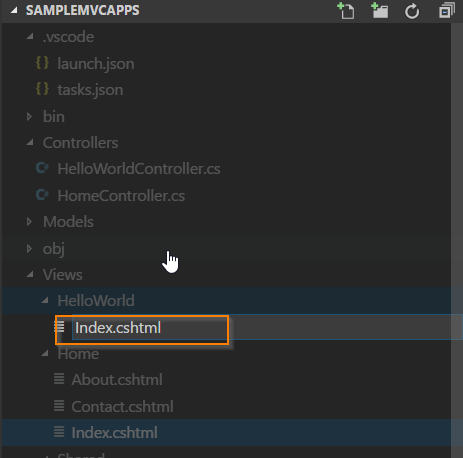
Now, you can type in View name as Index.cshtml and press the Enter button.
Copy and paste the below code into Views/HelloWorld/Index.cshtml.
 @{
     ViewData["Title"]="Index";
 }

 <h2>Index</h2>
 <hr>

 <p>@ViewData["Welcome"]</p>
Similarly, you can create a welcome view. Copy and paste the below code into Views/HelloWorld/Welcome.cshtml.
 @{
     ViewData["Title"]="Welcome";
 }

 <h2>Welcome</h2>
 <hr>

 <p>@ViewData["HelloWorld"]</p>
Ref:- https://www.c-sharpcorner.com/article/getting-started-with-asp-net-core-mvc-apps-using-vs-code/