Using EasyImgur - bkeiren/EasyImgur GitHub Wiki
Using EasyImgur
Downloading and running
Download EasyImgur (zip archive) and extract the archive contents to a folder.
Run EasyImgur.exe to start the application. The EasyImgur icon will appear in your system tray (if this is your first time running EasyImgur, EI will save its location and start automatically next time you start your computer):
Uploading from the tray
Open the EasyImgur menu by right-clicking on the tray icon:
Upload a file or a clipboard image (a screenshot or a text URL that you've copied, for example) anonymously by using the Upload from file... and Upload from clipboard options.
Uploading with the explorer context menu
You can also upload images or folders with images using the context menu of your file explorer. Note that you will need to tick Enable context menu in the settings to access these features.
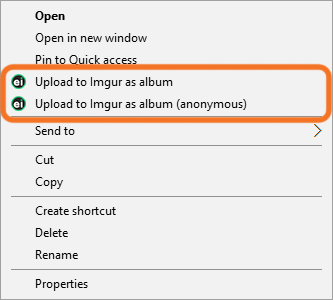
Upload a file by right clicking it and selecting Upload to Imgur or Upload to Imgur (anonymous) from the context menu.

Upload an album from your file explorer by right clicking a folder and selecting Upload to Imgur as album or Upload to Imgur as album (anonymous). Any pictures in the folder (excluding the pictures in subfolders) will be uploaded and placed into an album.
Using EasyImgur to upload images to your Imgur account
To upload images to your Imgur account, you must first authorize EasyImgur to access your account.
-
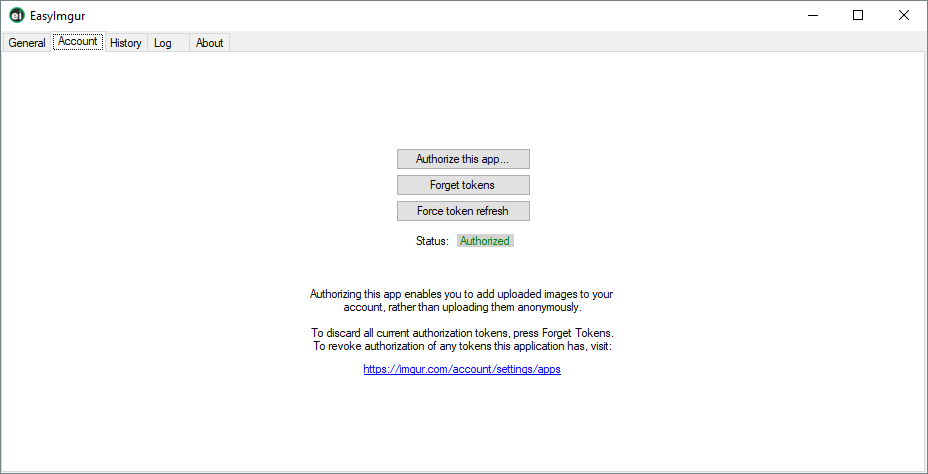
Open the settings dialog by selecting Settings from the context menu shown when right-clicking on the EasyImgur icon in the tray. This opens the EasyImgur window. Go to the Account tab:
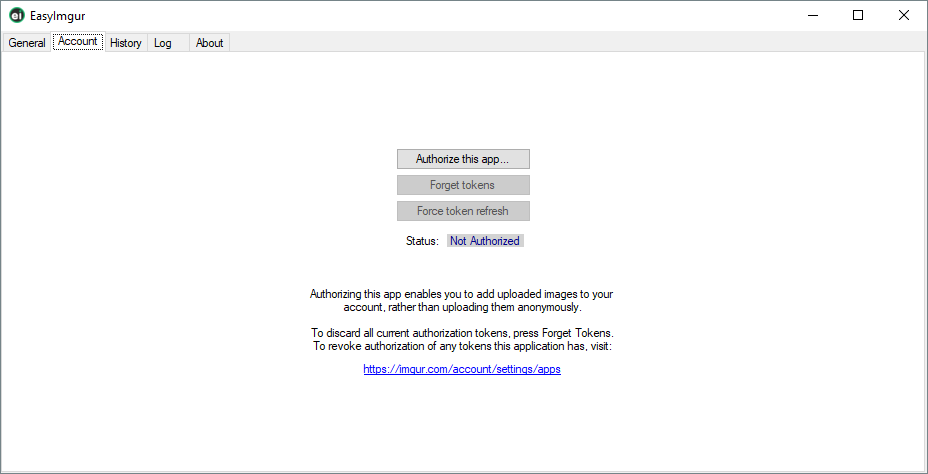
-
Select Authorize this app.... This will open the Imgur application authorization page in your browser. If you are already logged in, you will see this message:
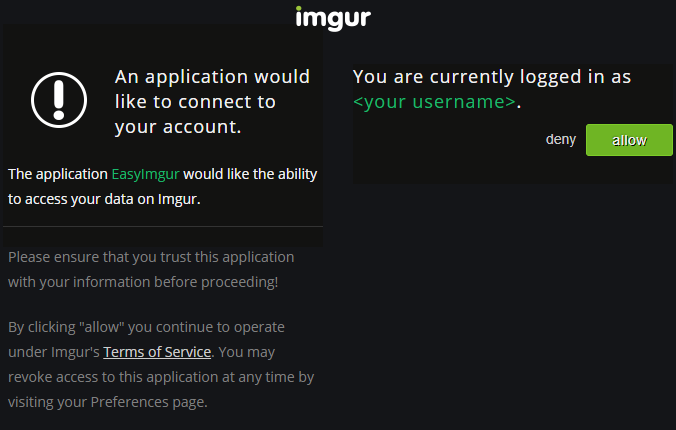
-
Select Allow and copy the code that is displayed on the next page.
-
Go back to the EasyImgur window. You will see that a popup has been opened:
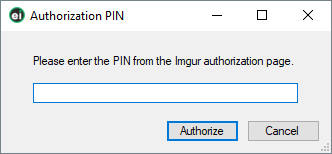
Paste the code in the text box and select OK. The EasyImgur application may appear unresponsive while it is receiving authorization from Imgur.
-
A balloon popup will be shown to inform you that the authorization was successful. The EasyImgur window will now display Status: Authorized:
NOTE: To revoke access at any time, you can visit https://imgur.com/account/settings/apps, where you can manage all apps that have access to your account. Keep in mind that the Forget Tokens button in EasyImgur only discards the current codes needed to access your account. If you suspect that someone has gained access to the authorized tokens, you need to revoke access from the aforementioned Imgur settings page!
-
You can now use the Upload from file... (to account) and Upload from clipboard (to account) options from the EasyImgur menu.
NOTE: EasyImgur will periodically retrieve new authorization codes from Imgur. When this happens, a balloon popup will appear to inform you that EasyImgur has successfully done so (or not, if that should be the case). This popup can be disabled from the settings tab.
Viewing uploaded images
Uploaded images (and their URLs) can be found under the History tab. From here you can view your previously uploaded images and their details. This tab also contains convenient controls that allow you to:
- Remove an uploaded image from Imgur.
- Remove an uploaded image from your local history database.
- Open an image's link in your browser.