Components:Tutorial: Use libraries - bettyblocks/cli GitHub Wiki
The easiest way to use libraries is to bundle them yourself. You can use the bb bundle init <path> command to get started:
$ bb bundle init hello-world
Bundle succesfully initialized in directory 'hello-world'.
$ cd hello-world/ && bun i
Now you're all set to start bundling your own dependencies. The project that has been set up is just a regular webpack project. You can use bun run build to create your dist file, the output is located in dist/bundle.umd.js.
In this example we're going to install the Grommet React library. Grommet requires React and ReactDOM. Since these are already available in the Betty Blocks runtime there is no need to bundle them: Flag them as external by adding the externals key to your Webpack configuration (the webpack.config.js file):
  externals: {
    react: 'React',
    'react-dom': 'ReactDOM',
  },
Install the Grommet library:
$ bun add grommet styled-componentsInclude Grommet in src/index.js by adding the following code:
import * as Grommet from 'grommet';

window.Grommet = Grommet;
Run the build command:
$ bun run buildUpload the Grommet bundle located in dist/bundle.umd.js by following the steps below. You can now use Grommet inside your components 🎉:
<Grommet.Text>Hello World!</Grommet.Text>You can upload your dependency to Betty Blocks by going to Tools > Public files.
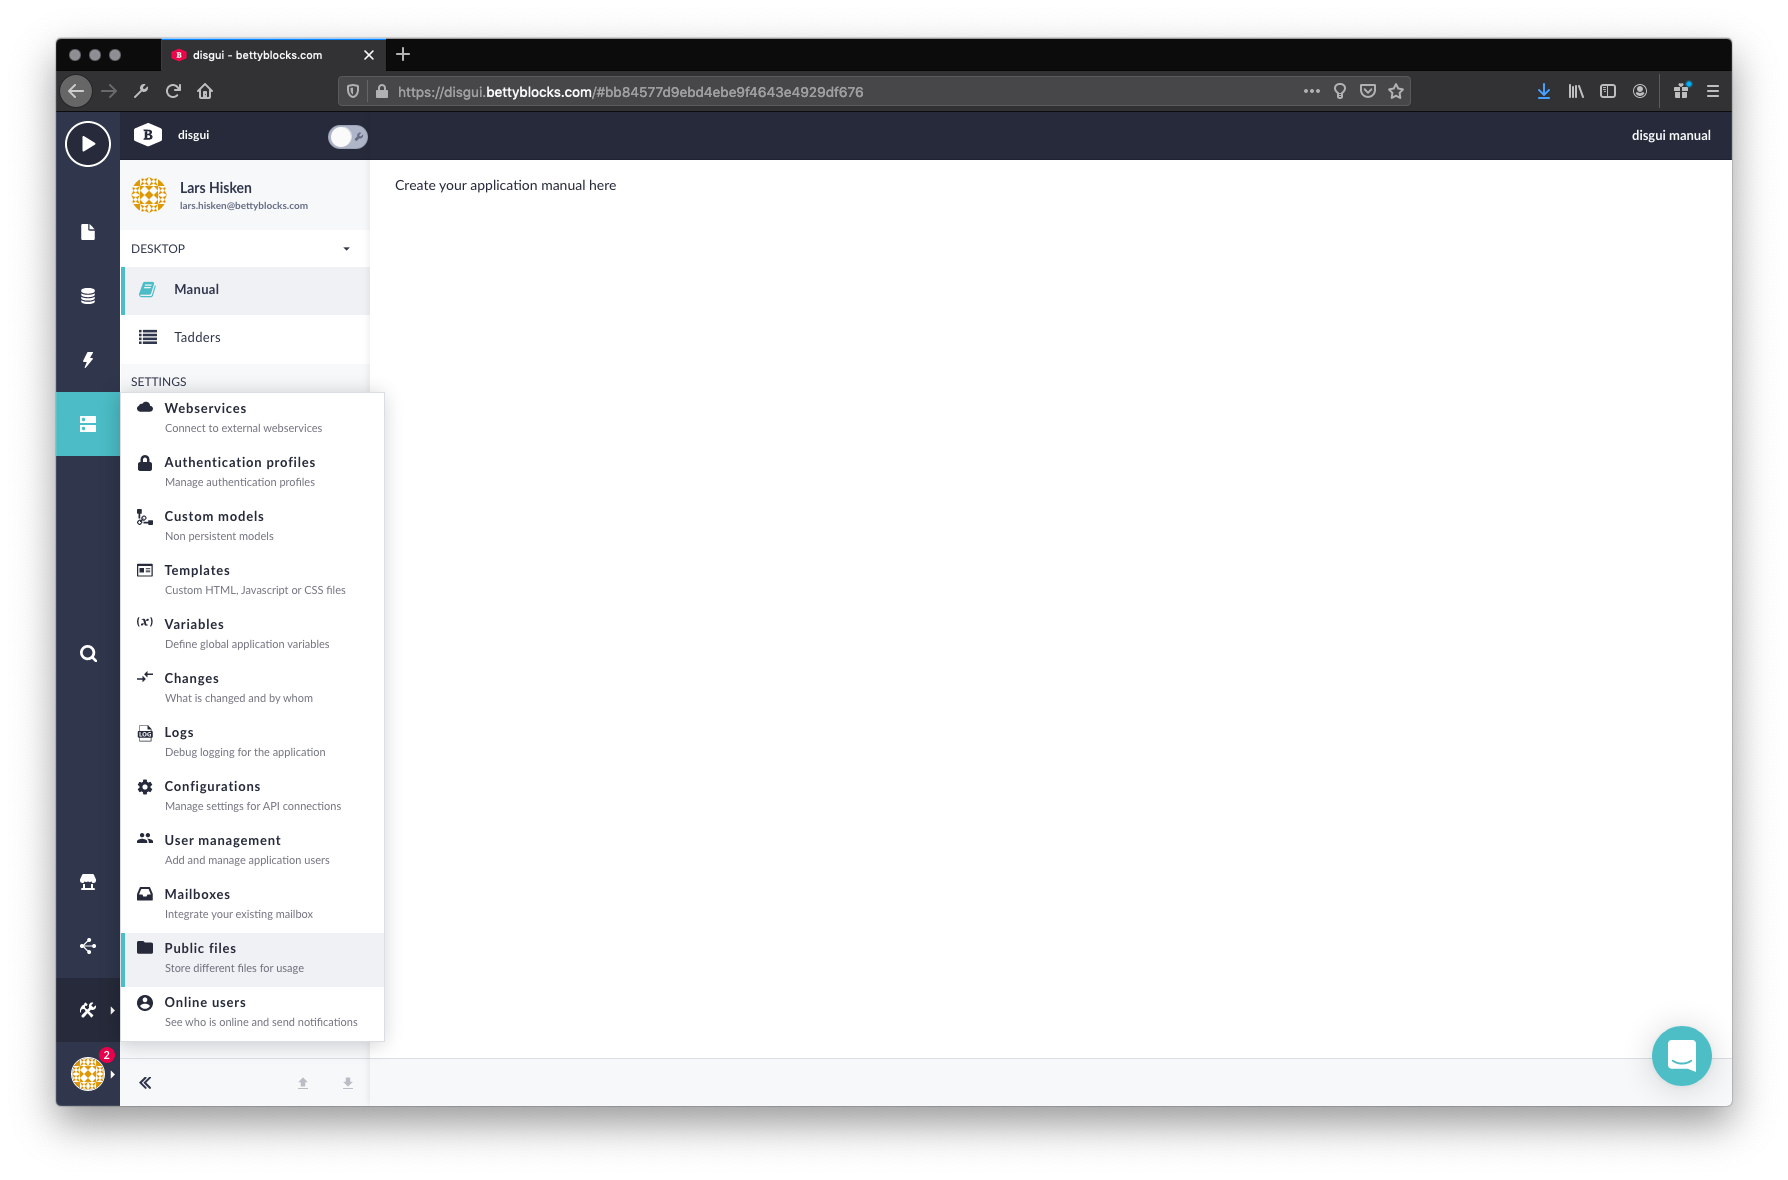
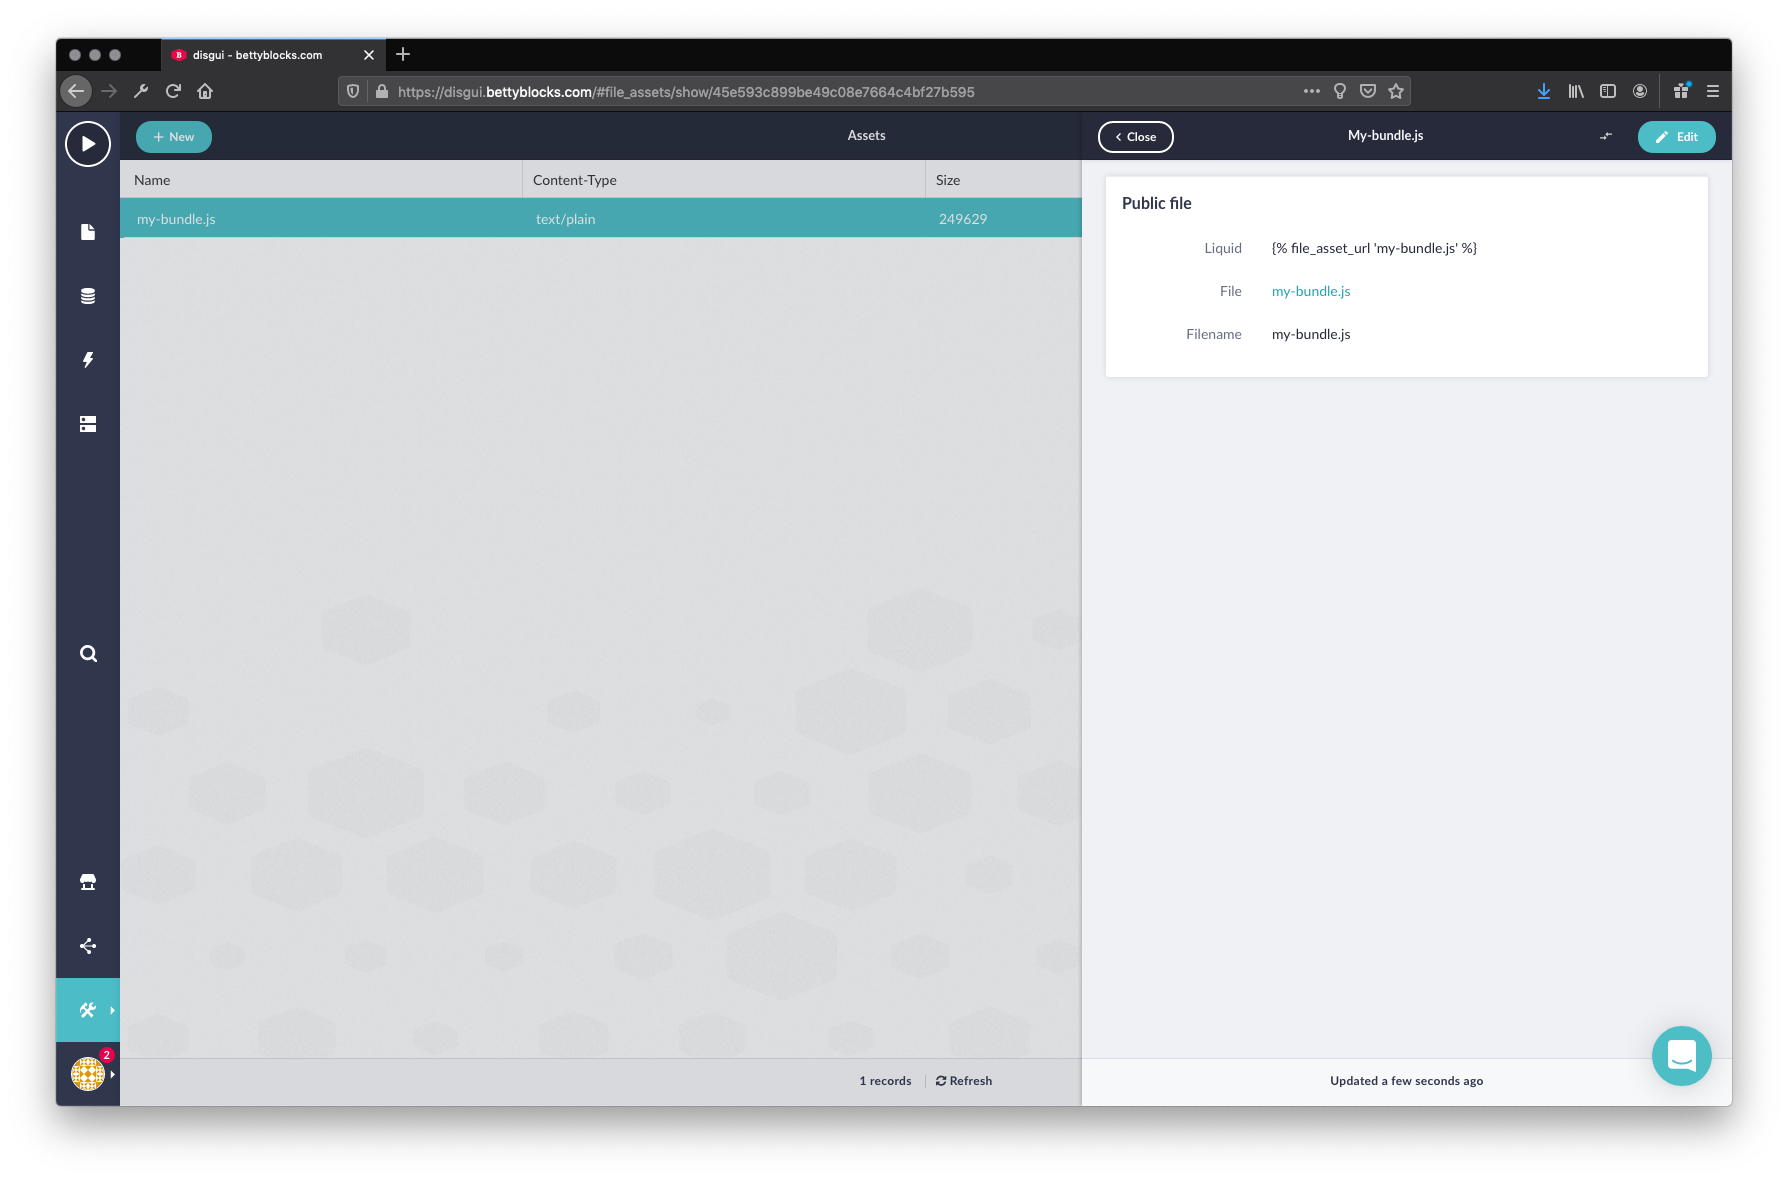
Create a new file and upload your library. Copy the URL by right-clicking the link behind File.
Navigate to Tools > Configurations. Create a new Custom configuration and name it vendor_bundle, set the file URL you just copied as it's value.
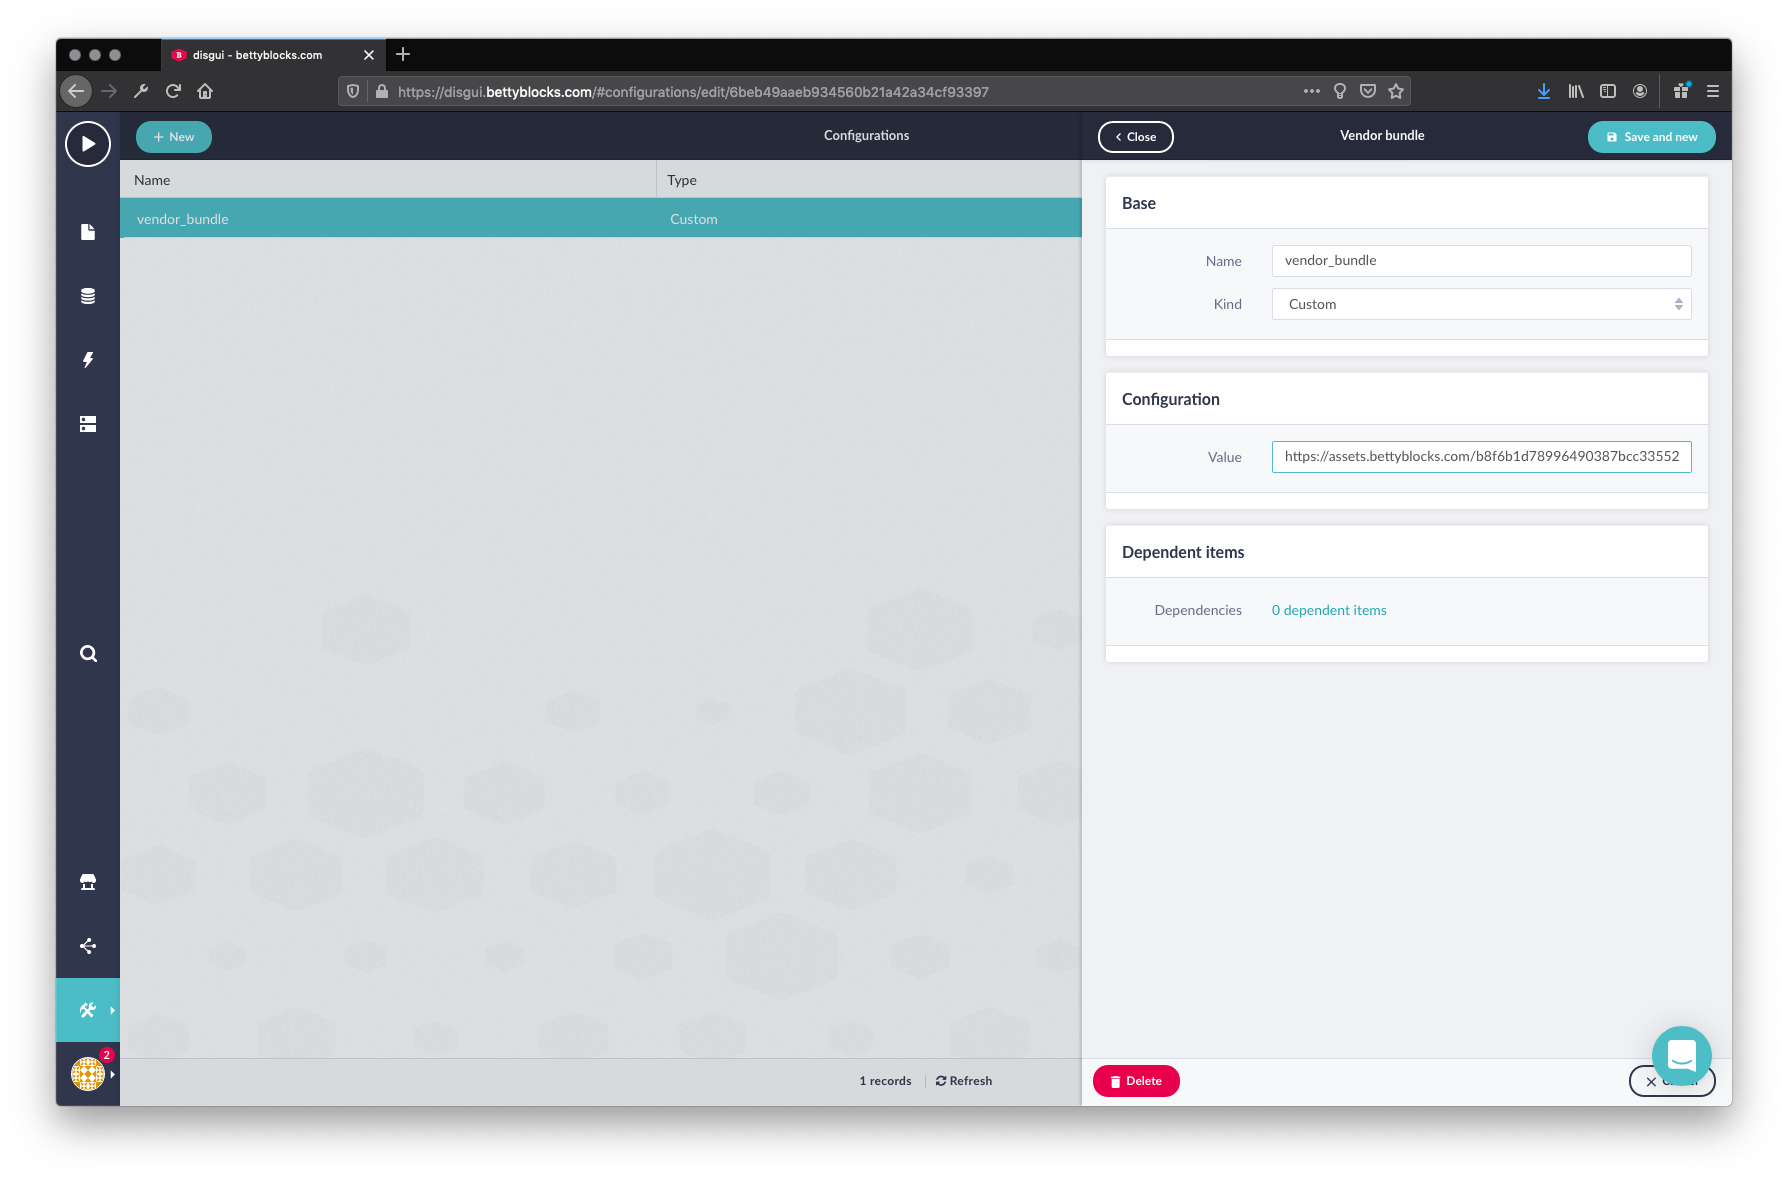
The configuration will be used by your application to load the file.