SoC: Build It From Scratch - betrusted-io/betrusted-wiki GitHub Wiki
Setting Up Precursor/Betrusted SoC from scratch
This describes how to install a fresh set of tools to build the Precursor/Betrusted SoC from scratch. When you're done with this, you can take the source code for your CPU and chipset and turn it into a "bitstream" that configures the FPGA that handles all the secret materials inside your Precursor/Betrusted device. We'll also cover how to run simulations of the hardware, and how to build the OS from scratch as well.
This is not a simple process. There's a lot of tooling necessary to build a Precusor/Betrusted SoC from scratch. Unfortunately, some of the tooling is proprietary. Symbiflow+PrjXray are working on tool flows that will eventually deprecate the proprietary flow used in this guide, but, for now, this is what we have to use: still much better than fully closed-source, closed tooling, closed everything silicon.
For added challenge, we're going to try to set up this build process in a Windows environment -- up until now, most of the development work has been under Linux, but, I figured if I'm going to write a guide, might as well check off some other boxes while we're at it. In theory, our tooling should be multi-platform between Linux and Windows, but until writing this guide I hadn't tried validating that personally and have been using Linux exclusively for development.
If you're a Linux user, I'm assuming you're already pretty comfortable with command line tools and don't need as much hand-holding. I try to annotate hints for what to do on Linux, but most of the steps outlined here are easier on Linux than on Windows or otherwise identical.
If you're an Mac user...sorry, I can't help you. I simply have no experience with modern Apple devices.
Tools -- This Will Take a While
Vivado.
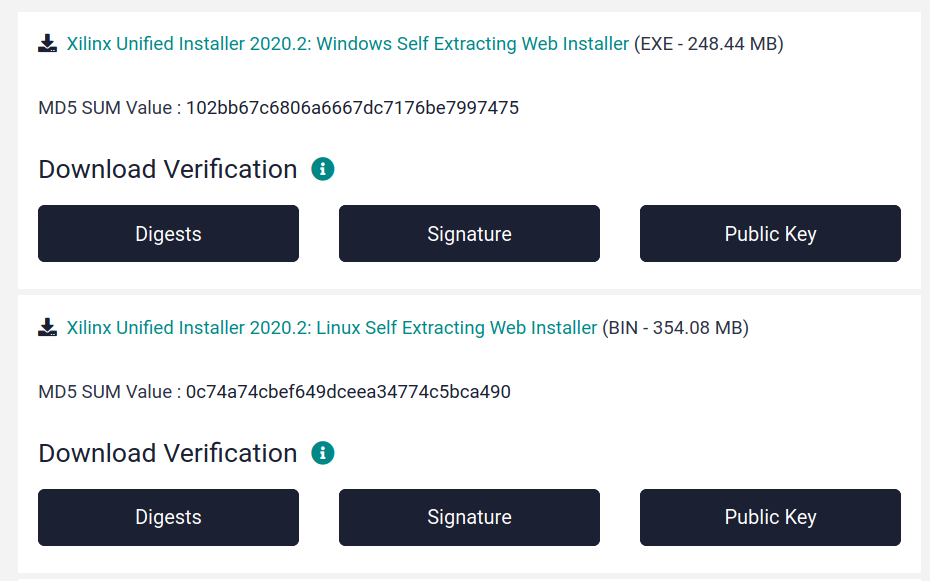
This one is a beast. Visit the Xilinx Vivado Download site and click on the distribution you want -- in this case, I'm picking the "Xilinx Unified Installer 2020.2: Windows Self Extracting Web Installer". It looks like 2020.3 only support Versal, so don't select that one.

To gain access to downloading of these tools, you'll have to create an account on the Xilinx website. Unfortunately, the data they collect is not light-fingered, they'll want your name, address, company name, phone number, email, and other assorted bits of data. A lot of this reeks of US ITAR compliance -- the US government has been getting increasingly protective of its export of FPGA tools to its state enemies, and I suspect the data collection is part of the compliance routine of a US company. If you can't go through or don't want to go through this step, I suggest you join the Symbiflow effort and help them finish porting their fully open-source tool to target the 7-series devices, especially by adding our Spartan7 (XC7S50-L1CSG324I) device to their list of supported targets.
I find it more fun to build a device than to port EDA tools, so I entered my private data and clicked "download".
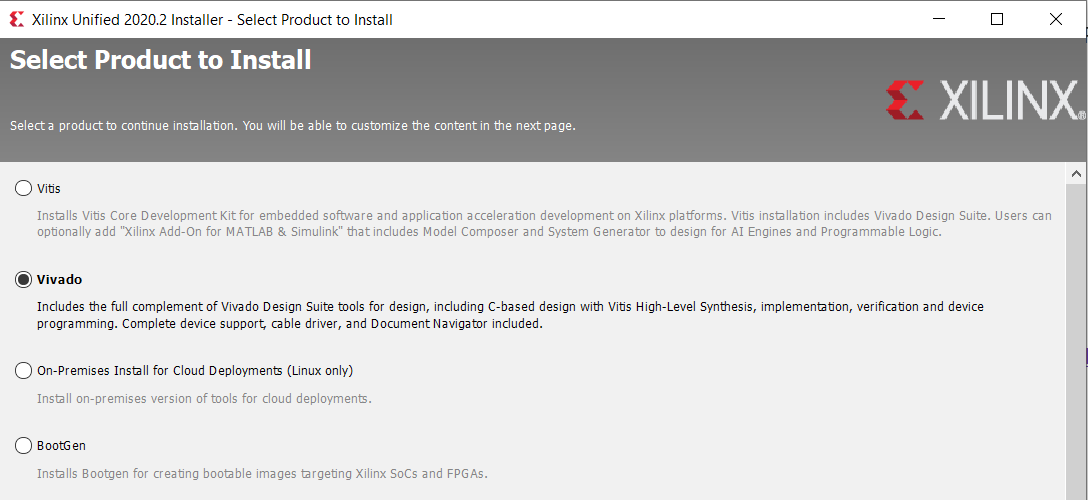
After starting the executable (takes a while) and entering in your credentials again, pick "Vivado" from the radio list:
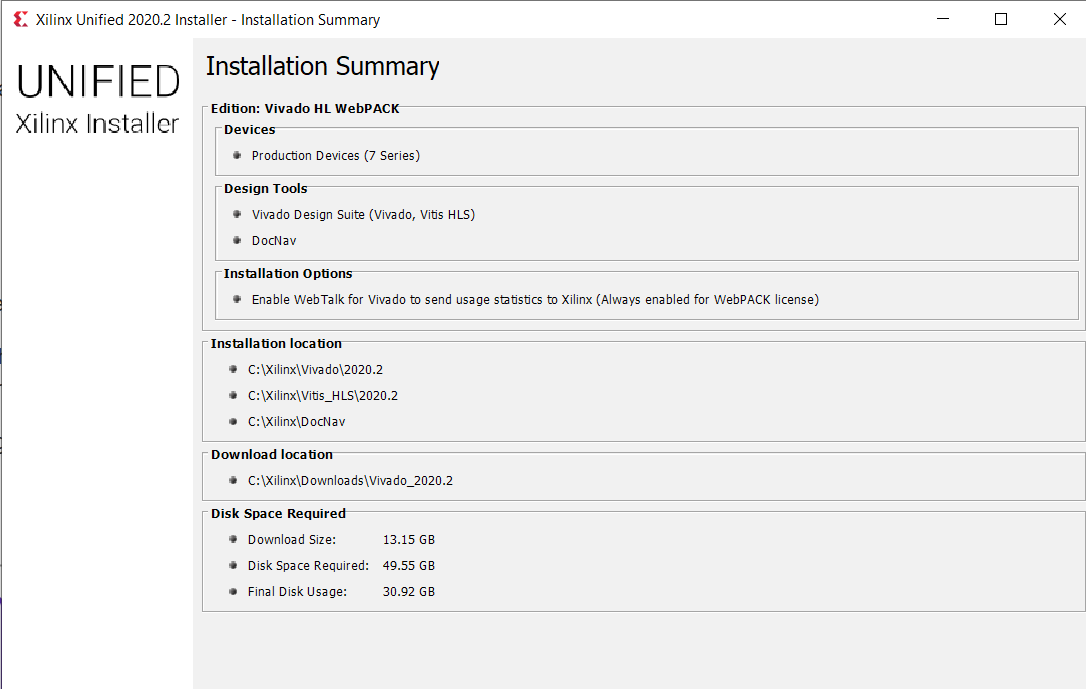
then pick Vivado HL webpack:
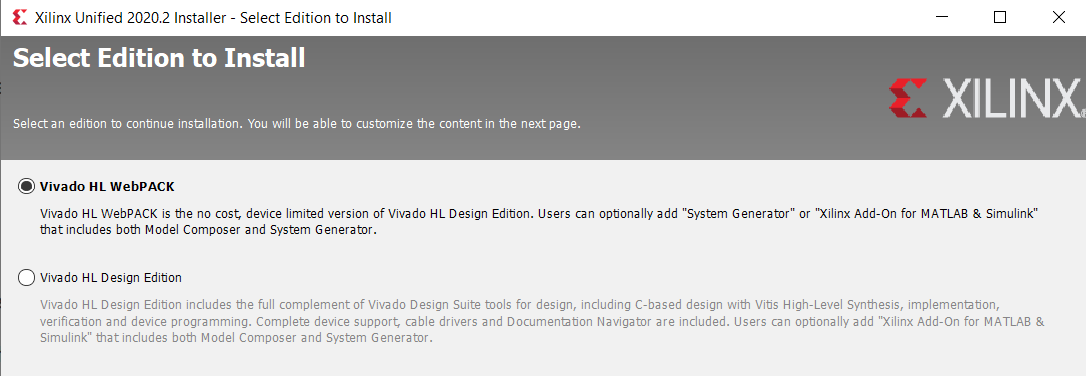
Which is the "free to use so long as you send your usage data to us" version.
You'll eventually get to a screen where you can pick what to install:
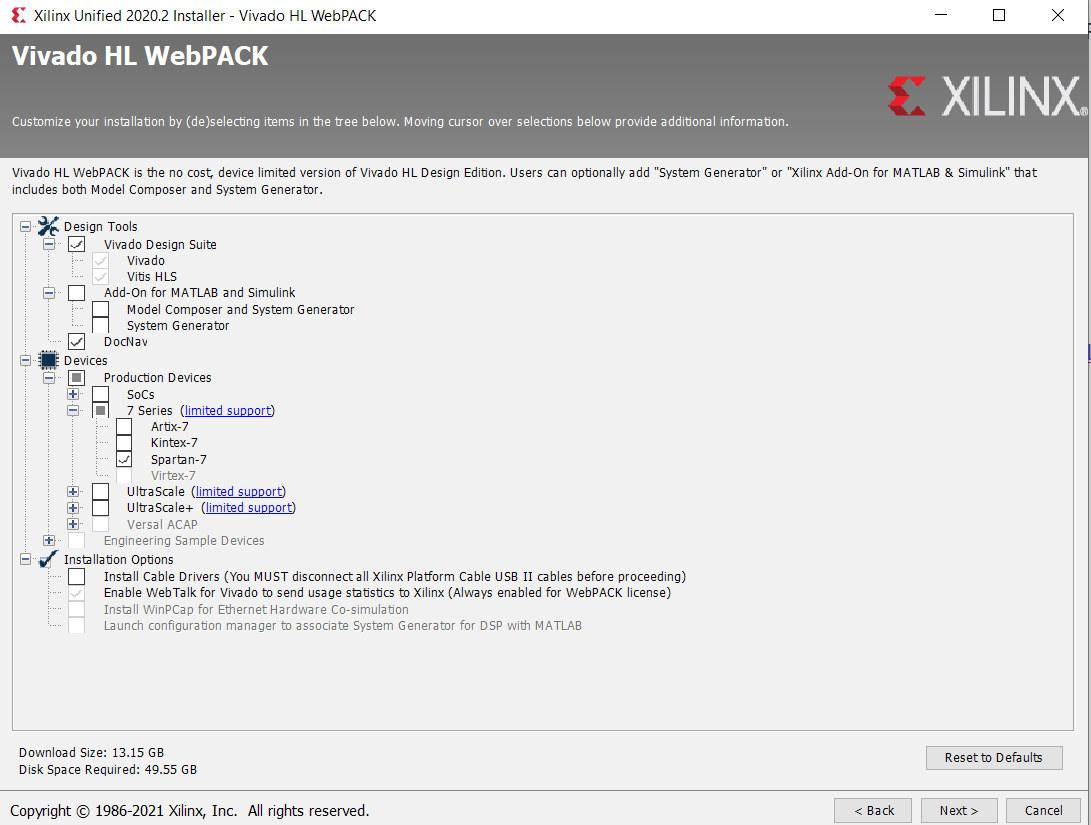
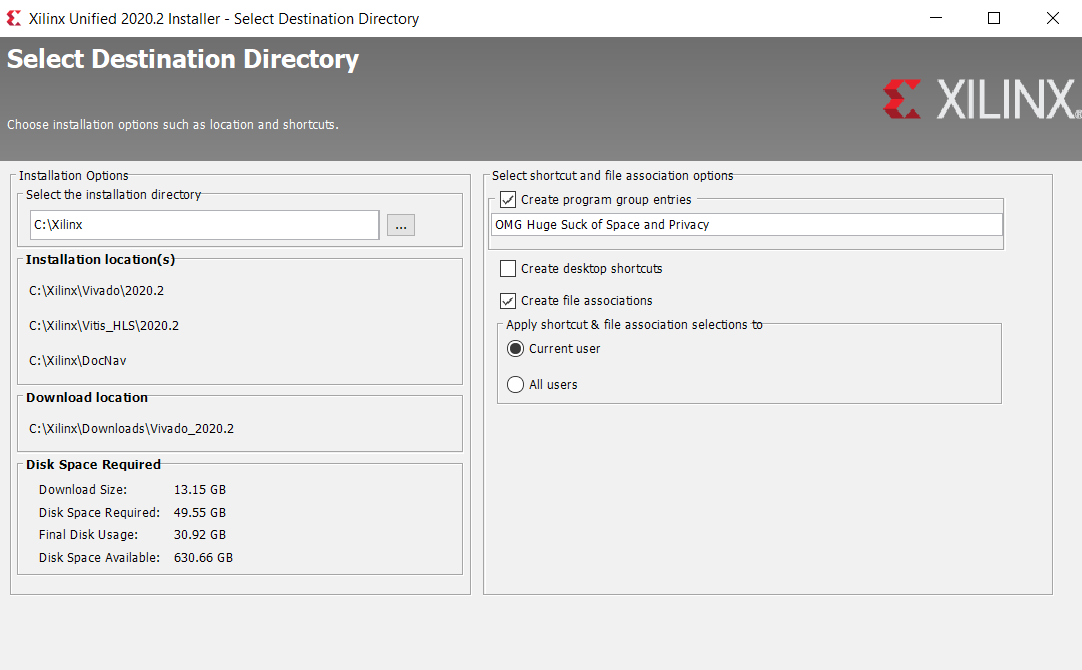
I unclick all the devices except for Spartan-7 to save on download and disk space, and I de-select the cable drivers. I remember DocNav being modestly useful if not slightly intrusive, so I left it selected to check it out. I'll try to report back if I find problems with it. Note we're up a 13.15GiB download + 49.55GiB disk space requirement -- not light weight at all, but surprisingly I had to download about this much amount of data to set up Rust on Windows as well (more on that saga later).
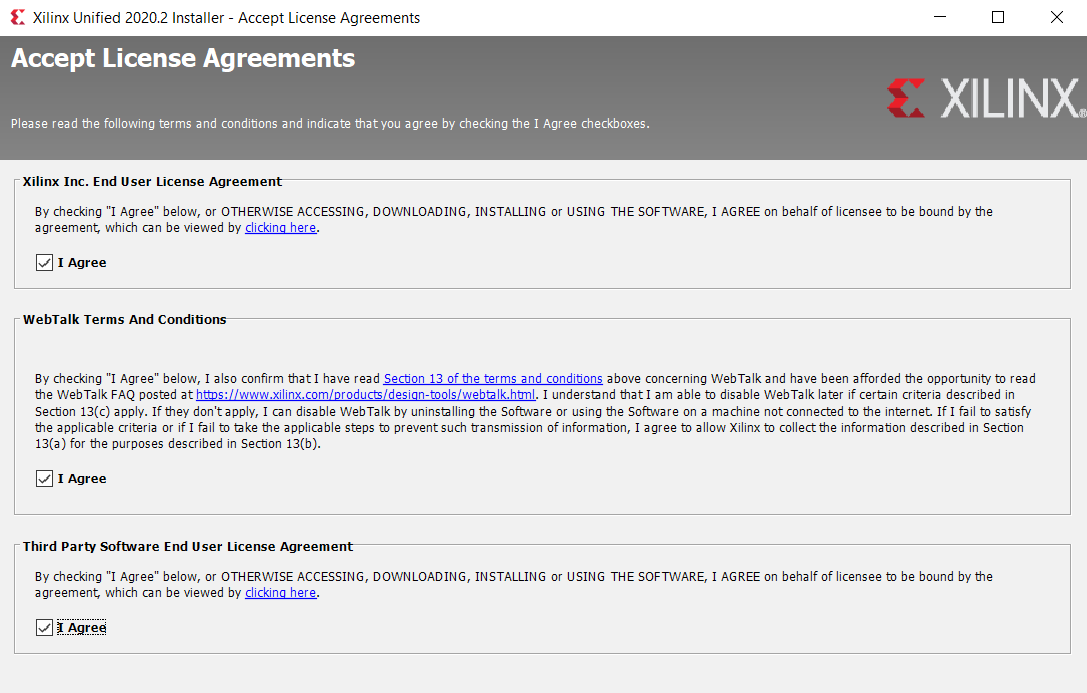
Next you get to sign your life away once again:
Now pick an install location:
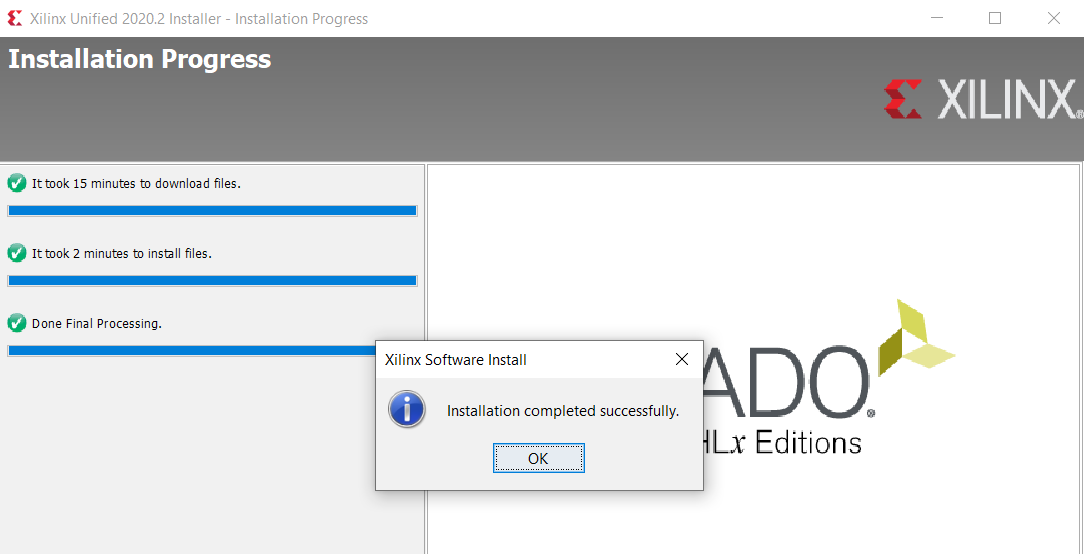
And finally, just finally....you can start the installation
Depending on your Internet speed, this can take a while. It's about 20 minutes from where I'm sitting to grab everything. It's streaming at a rate of about 150Mbps download, but somehow pegging all 8 of my cores at almost 100%, so presumably I'm CPU-bound and not network-bound for the download.
Python.
We'll need a Python 3 install. On Linux this is almost straight forward, depending on your distribution. If you're using Ubuntu, you'll have to make sure to replace "python3" for every instance of "python", otherwise you'll end up running Python 2.
For Windows 10, I've found the easiest way to get Python is to go to the Microsoft Store and type in "Python3", and click on the version of Python you want to use. For this guide, I picked Python3.9, although in theory our infrastructure should work on Pythons all the way down to 3.6. If you already have Python installed on Windows, don't overlay a second Python install. It'll screw up your environment in weird ways that I couldn't figure out how to fix, except for uninstalling one of the two versions.
:warning: As of 2H2021, Windows 10 will try to force you through a bunch of dark patterns that encourage you to create a Microsoft account.
However, at least for now, if you leave your computer unplugged from the Internet when you boot for the first time after a fresh installation, Windows 10 will grudgingly register you without any Microsoft account. (If it's plugged in, it will insist that you create a cloud account and associate a bunch of private data with your machine as some sort of perverse favor for you). If you provisioned your machine with a local-only account, it turns out if you just hit the X in the top right corner wherever it prompts you to log in it'll just keep trundling on; just ignore the warnings blathering about not having it automatically installed on all your machines.
Git.
You'll also want git on your machine, so you can clone our repositories.
Git is pretty easy on Linux (apt install git or whatever the equivalent
is for your distro). For Windows, I "cheat" here and install WSL (Windows Subsystem for
Linux) and
run Ubuntu in WSL, and then apt-get install git.
The main reason I do this is that git on WSL understands Linux permissions and can overlay them on NTFS, so you don't end up checking every file into git with all-execute, all-read, all-write permissions for everything (but you still have some annoying CR/LF problems). However, you can use whichever native version of git you're most comfortable with.
Make.
Make is used to manage some dependencies in our environment. This is easy on Linux, and likely you already have it installed.
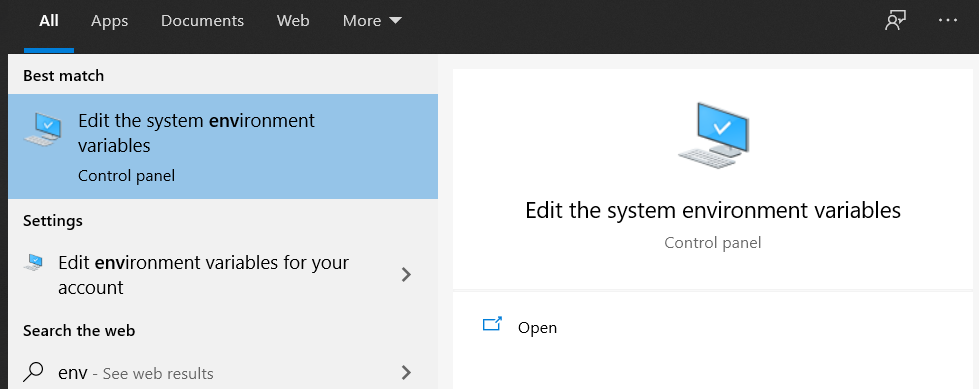
If you're running Windows, you'll need to grab gnuwin32 and install it. You may also need to add the path to the binary to your "environment variables". You can open the GUI to edit this by typing "env" into the Windows search box; click on the "Environment Variables..." button on the lower right hand corner, and edit the Path variable, adding the path to GnuWin (on my machine it installed to C:\Program Files (x86)\GnuWin32\bin).
Rust.
You'll want Rust on your machine. If you're running Linux, you can do
the (still weird to me) curl-pipe-sh trick curl --proto '=https' --tlsv1.2 -sSf https://sh.rustup.rs | sh. You'll need both the stable and nightly
toolchains via rustup toolchain install nightly and rustup toolchain install stable -- Xous is stable-only, but some of our
testbenches and legacy firmware use nightly tricks. You'll also need
targets for "riscv32i-unknown-none-elf" (to build for the EC) and
"riscv32imac-unknown-none-elf" (to build for Xous) via rustup target install riscv32i-unknown-none-elf riscv32imac-unknown-none-elf.
If you're running Windows visit their download
site and download a
rustup-init.exe installer. I struggled with this greatly --
apparently, you need to grab the "Visual Studio C++ Build tools" as
well, and you can't go part-way with this. I attempted to grab what I
thought would be a sensible subset (still about 3GiB of data), but
because we'll be cross-compiling and building for native, you need more
than that. I eventually gave up and clicked all the things and
downloaded about 30+GiB of tools and finally I was able to get Xous to
build in all of its various modes and options. Probably there is a more
strategic subset of things one could download, but I had not the
patience to figure that out. Once you have Rust figured out, grab the
toolchains and targets as mentioned in the Linux paragraph above.
I also seem to remember having to download some toolchains from the sifive.com website, which also required some form of registration to access, and adding it to my PATH in order to get the full Rust cross-compilation to work. However, I did this a while ago so I don't recall the exact details.
Clone and Test.
Are we having fun yet? After at least an afternoon of wrangling tools,
settings and dealing with system-level quirks, we're ready to try
cloning our repository and running a simulation test bench to see if
it's all working. If you're frustrated, this is not a bad time to get
up, take a walk, and clear your head. If it makes you feel any better,
"back in my day" we downloaded Linux 0.99 over a 56k frame relay, used
a couple floppy disks to load up some missing tools, and then spent a
couple days doing make mrproper, make menuconfig, tweaking files
and dependencies, then waiting a couple hours for the compile to finish,
only to have it crash out and repeat...anyways. Good times. We've come
a long way, yet things feel primitive and crude still.
OK. Hopefully, you're feeling better. Back to the build.
Installing SoC Source Code
First, I fire up my WSL Ubuntu shell, and type this in my target directory:
git clone --recurse-submodules https://github.com/betrusted-io/betrusted-soc
This will take a few minutes and about 361M of disk space to grab all the recursive dependencies. Probably, we should clean that up a bit someday...
Thus cloned with proper file permissions, I turn back to my Windows Terminal shell (you could also use a PowerShell if you prefer).
I'll create a virtual environment in Python to try and manage dependencies:
python3 -m pip install --user virtualenv
python3 -m venv env
.\\env\\Scripts\\activate
The top two lines should work for any platform, if you're on Linux,
you'll want to do source env/bin/activate
You should see a little (env) before your shell prompt to inform you
that the virtual environment is active.
Before trying to build the SoC itself, you will need the Crypto
module for your Python venv, if you don't already have it:
pip3 install pycryptodome
Note -- if you already have an alternative pycrypto or crypto
package installed, the above command will conflict. You can check and
see if you have it installed by going into a Python repl and typing
from Crypto.Cipher import AES and seeing if that complains.
Bizarrely, under Windows, whether I start Python by simply typing
"python" or "Python3.9" makes a difference.
Now, you can try building the SoC itself:
python ./betrusted_soc.py -e blank.nky -u debug -x -s NoTimingRelaxation -r pvt2 -p
With any luck, this should "just work": everything runs on the console,
without popping up a GUI, and the process will terminate without an
error code. It takes about 10 minutes to build on a mid-upper end Ryzen5
CPU. If you want to inspect the results in the Vivado GUI, you can
manually launch Vivado and open the checkpoint file made at
build/gateware/betrusted_soc_route.dcp; this is extremely handy
for using the Xilinx native tools to chase down timing problems and for
reviewing the place and route results.
If all you wanted to do was to build your own SoC from source, you can stop here.
However, if you're thinking about actually making hardware extensions, read on.
Running Simulations
We should also check that we can run a simulation, as this will be necessary to vet our gateware changes before trying them out on hardware (I know what you're thinking: what? You mean I don't just write code and try running it on an FPGA and debugging it with magical probes that can see into the chip? Trust me. Simulations are your friend.)
Trundle over to deps/gateware/sim/trng_managed (clarification: I
mean for you to change into this directory, apparently "trundle over to"
is poetic but leaves people wondering how they actually use their feet
to walk to the aforementioned destination), and try running
python ./dut.py
This script runs fairly reliably under Linux, but sometimes I have to run it twice for it to "catch" under Windows; there seems to be some race condition between when various components are built.
This should build a simulation model of the SoC, complete with CPU core
and Rust BIOS, and attempt to open it in xsim. A UI should pop up
that invites you to run a simulation.
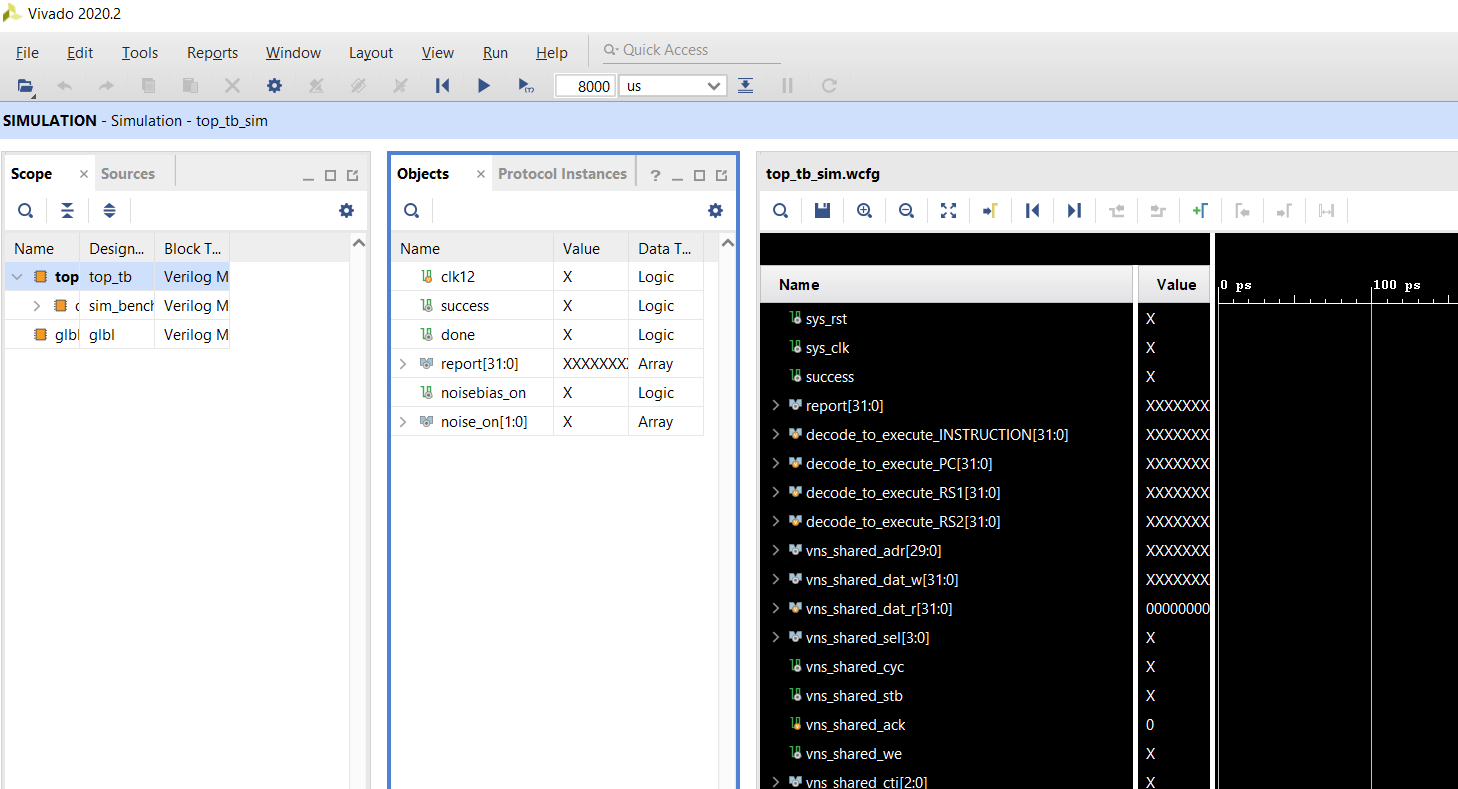
There is a small "play" button underneath the Run menu, if you click it, the simulation should start humming away. This simulation actually takes a couple minutes to run, as it fills up a fairly large FIFO with random numbers to confirm the conditions around the FIFO logic. When things run smoothly, there is a "success" wire that is flipped by the simulated CPU at the end of its simulated code, which automatically causes the simulation to terminate. We'll get more into this later.
One more Thing....the OS.
This should hopefully be a "walk in the park", but, we will also need to build the OS in order to actually use our new gateware modules. Otherwise, they are just...circuits that do nothing.
Clone the xous-core repo, ideally into the same location that you
put betrusted-soc (for example, ~/code/betrusted-soc and
~/code/xous-core). Locating the repo here will allow you to use
some convenience scripts later on to transfer artefacts between the
gateware build and the OS build easily.
git clone --recurse-submodules https://github.com/betrusted-io/xous-core
Change into the xous-core directory, and try running
cargo xtask app-image-xip precursors/soc.svd
This will build the full OS image, which you can flash onto your Precursor device by following the update guide. There is also a "hosted mode" simulation you can run for extra credit:
cargo xtask run
This will pop up an emulated UI that doesn't actually have much hardware wired up to it. It's mostly useful for debugging higher-level features, like graphics primitives. We also have a hardware co-simulation environment using Renode that you can install and run; this is yet another long journey which gives you a parallel development path in case you don't have a real piece of hardware to debug on, or, perhaps more importantly, you're trying to chase down a really hard-to-find full-system bug, like the types that arise when debugging virtual memory page table managers.
Yay! You are now fully set up to create custom gateware for your Precursor device.