Quick Start Guide - auttam/easycli GitHub Wiki
Easy CLI
A quick and easy way of creating a command-line tool for npm packages.
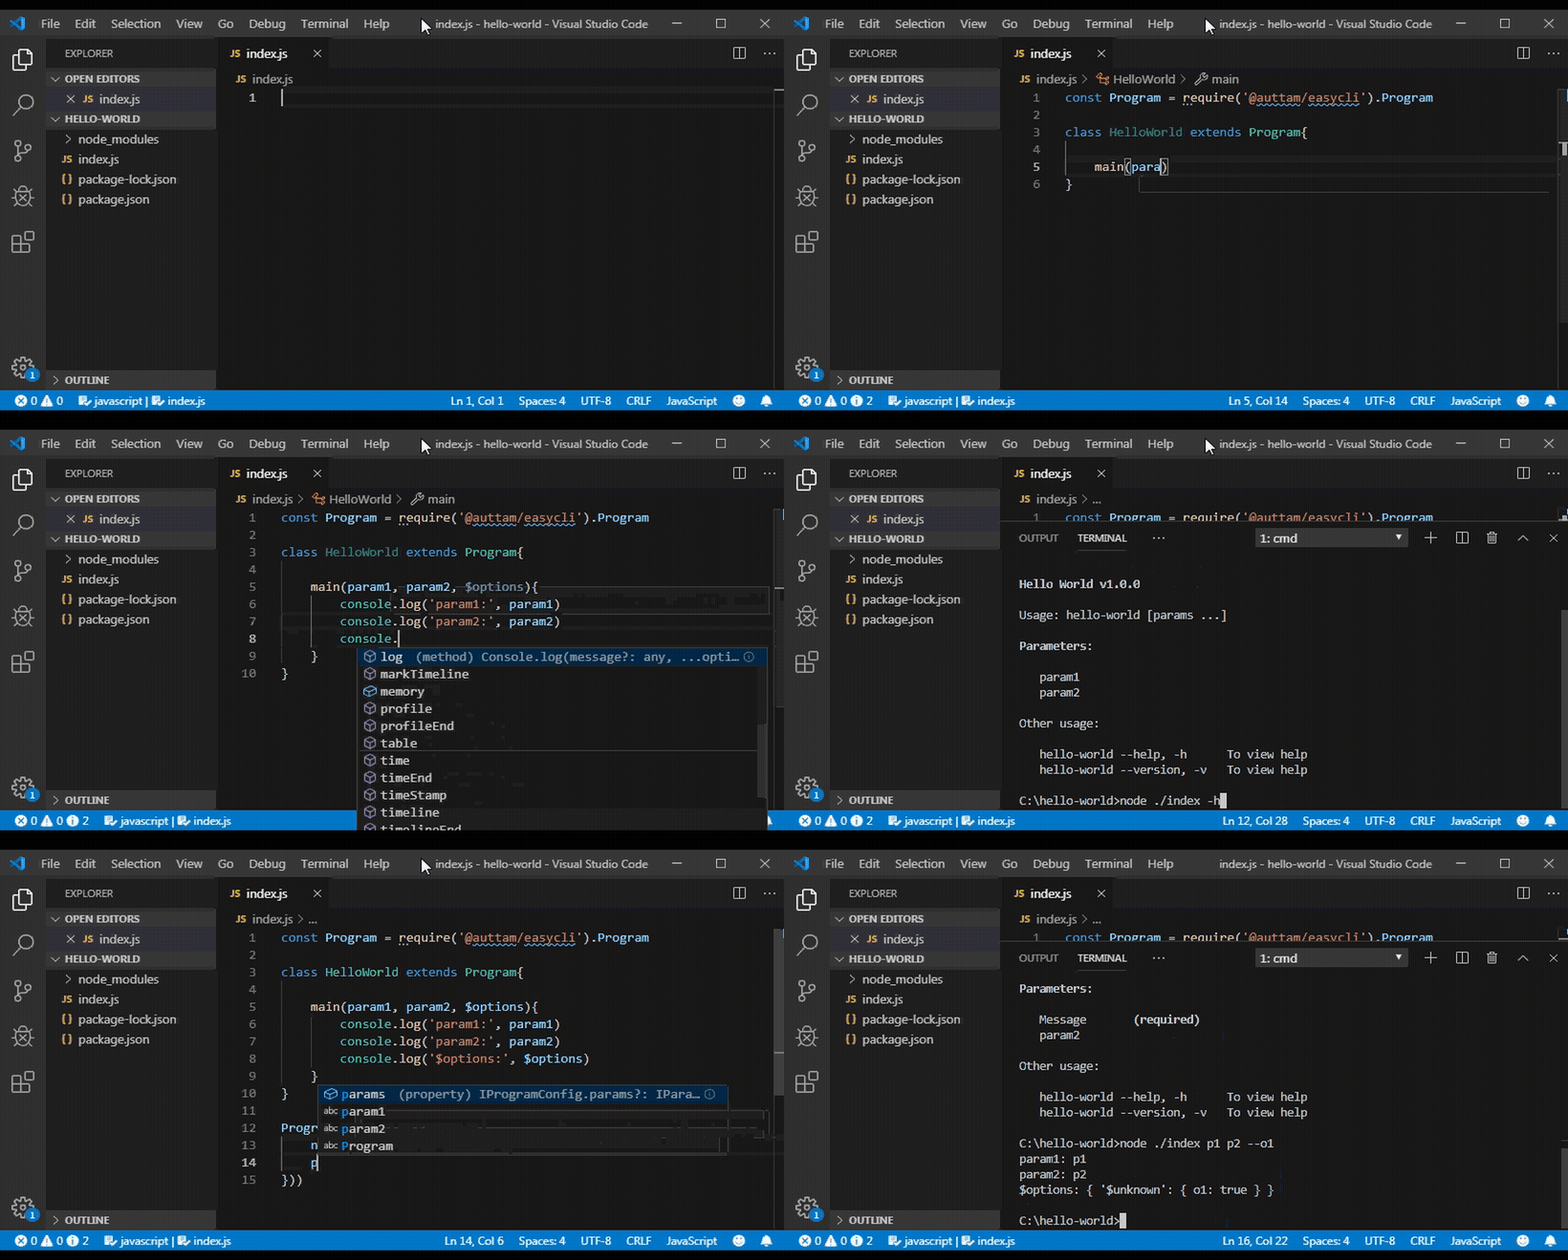
Quick Start Guide
Installation
npm install @auttam/easycli
Creating a simple CLI program with EasyCli
Following is an example of a simple CLI program that accepts command-line arguments and prints a message to the console.
- Initialize new npm package
- Install easycli using
npm install @auttam/easyclicommand - Create
bin/hello-world.jsfile with following code -
#!/usr/bin/env node
const { Program } = require('@auttam/easycli');

// CLI program class
class HelloWorld extends Program {

    // method is called when CLI is invoked
    // command-line arguments are passed as the parameters
    // $options parameter contains all the options set from the cli
    main(message, $options) {

        message = message || 'Hello World'

        // checks whether '-U' or '-u' options are set
        if ($options.$has('u', 'U')) {
            message = message.toUpperCase()
        }

        // printing the message
        console.log(message)
    }
}

// Runs the program
Program.run(new HelloWorld())
To test the file run the following command -
node ./bin/hello-world "simple cli" -U

# expected output
# SIMPLE CLI
Note: To define the command name of your cli and to specify which script to run when cli command is executed, update the bin field of the package.json file as shown below -
{
    "bin":{
        "hello-world" : "bin/hello-world"
    }
}
Try following commands (assuming package is installed globally) -
hello-world

# expected output
# SIMPLE CLI
Cli Help
EasyCli generates and displays the help for the CLI tool when -h or --help option is set. To view the help for the hello-world tool, run the script as following:
node ./bin/hello-world -h
Cli Version
Like help, easycli also displays version information when any of -v, --ver, or --version option is set:
node ./bin/hello-world -v
Creating a command based CLI program
EasyCli supports command based program where you can define multiple commands for your program. By default the programs created using easycli are executed in single command mode. To enable multiple commands mode, enableCommand program setting must be set to true.
Following is an example of a CLI program that accepts 3 different commands: print-message, sum and test.
Create another script called bin/demo-commands.js and copy the following contents -
#!/usr/bin/env node
const Program = require('@auttam/easycli').Program

// enable commands
Program.settings({
    enableCommands: true
})


class DemoCommands extends Program {

    // method is called when 'print-message' command is requested
    printMessageCommand(message, $options) {
        message = message || 'Hello World'

        // check whether '-U' or '-u' options are set
        if ($options.$has('U', 'u')) {
            message = message.toUpperCase()
        }

        // print the message
        console.log(message)
    }

    // method is called when 'sum' command is requested
    sumCommand(...numbers) {
        if (!numbers.length) return
        console.log('Result:', numbers.reduce((p, c) => p + c))
    }

    // method is called when 'test' command is requested
    testCommand($params, $options) {
        console.log('This is a test command');
        // log all parameters supplied from the cli
        console.log('params:', $params.$unknown);
        //log all options supplied from the cli
        console.log('options:', $options.$unknown);
    }

}

// Run the program
Program.run(new DemoCommands())
To run the commands implemented above, run the script as shown in the following examples -
# 1. running print-message command
node ./bin/demo-commands print-message "Hello Commands!"

# expected output
# Hello Commands!
# 2. running sum command
node ./bin/demo-commands sum 1 2 3 4 5

# expected output
# Result: 15
# 3. running test command
node ./bin/demo-commands test param1 param2 --option1 --option2 Yes

# expected output
# This is a test command
# params: [ 'param1', 'param2' ]
# options: { option1: true, option2: 'Yes' }
Creating configuration
EasyCli generates an internal configuration from the code that is used to run the program and to display CLI help.
This configuration can be customized or elaborated for more advanced uses.
Following code shows how to add configuration for the hello-world program-
#!/usr/bin/env node
const Program = require('@auttam/easycli').Program

// configuration object
var config = {
    help: 'This is a demo command-line tool',
    params: [
        {
            name: 'message',
            help: 'message to print'
        }
    ]
}

// represents the CLI program
class HelloWorld extends Program {

    // method called when CLI is invoked
    // command-line arguments passed as the parameters
    // parameter $options contains all the options
    main(message, $options) {

        message = message || 'Hello World'

        // checking if '-U' option is set
        if ($options.$get('U')) {
            message = message.toUpperCase()
        }

        // printing the message
        console.log(message)
    }
}

// Running the program
Program.run(new HelloWorld(config))
Run the script again with -h or --help option and notice how help now shows help text for message parameter.
node ./bin/hello-world -h
Though the configuration shown above just adds the help text to the program and to its message parameter, several other things can be configured. See CLI Configuration wiki on github for information.
Using Decorators
EasyCli also provides decorators that can be used in typescript based npm packages to configure program and commands.
// import base program class and decorators
import { Program, Cli, Command, required } from '@auttam/easycli'

Program.settings({
    enableCommands: true
})

@Cli()
class DemoProgram extends Program {
    @Command()
    print(@required message: string) {
        console.log(message)
    }
}
For more information on decorators visit decorators page
More Help and Tutorials
For more help and tutorials visit the EasyCli Wiki.