Deploying your Windows Container to SF - artisticcheese/artisticcheesecontainer GitHub Wiki
##Deploying your Windows Container to SF You can author your Service Fabric application either by hand or by using Visual Studio. Steps below will rely on Visual Studio to deploy our container image created in previous steps. Steps
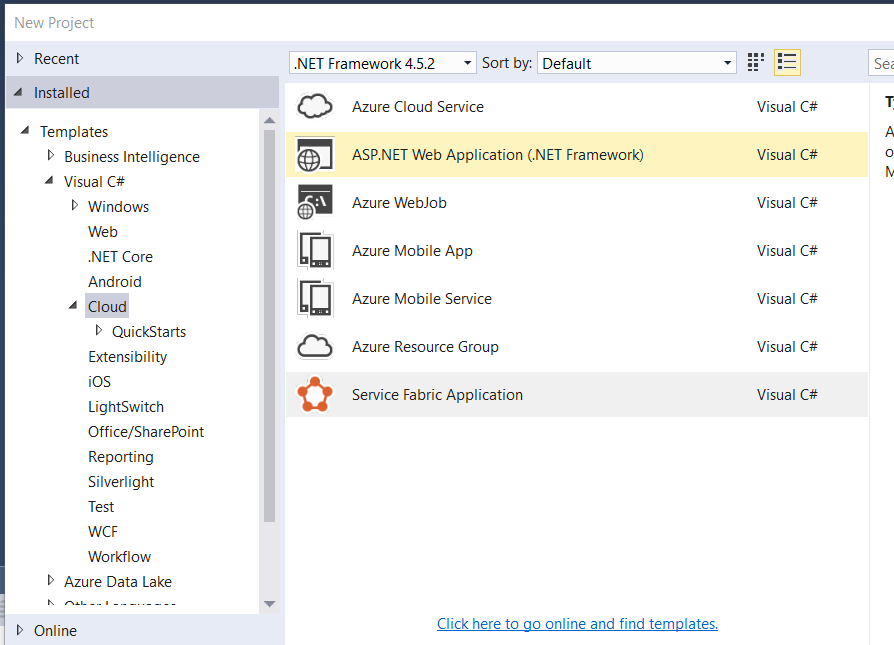
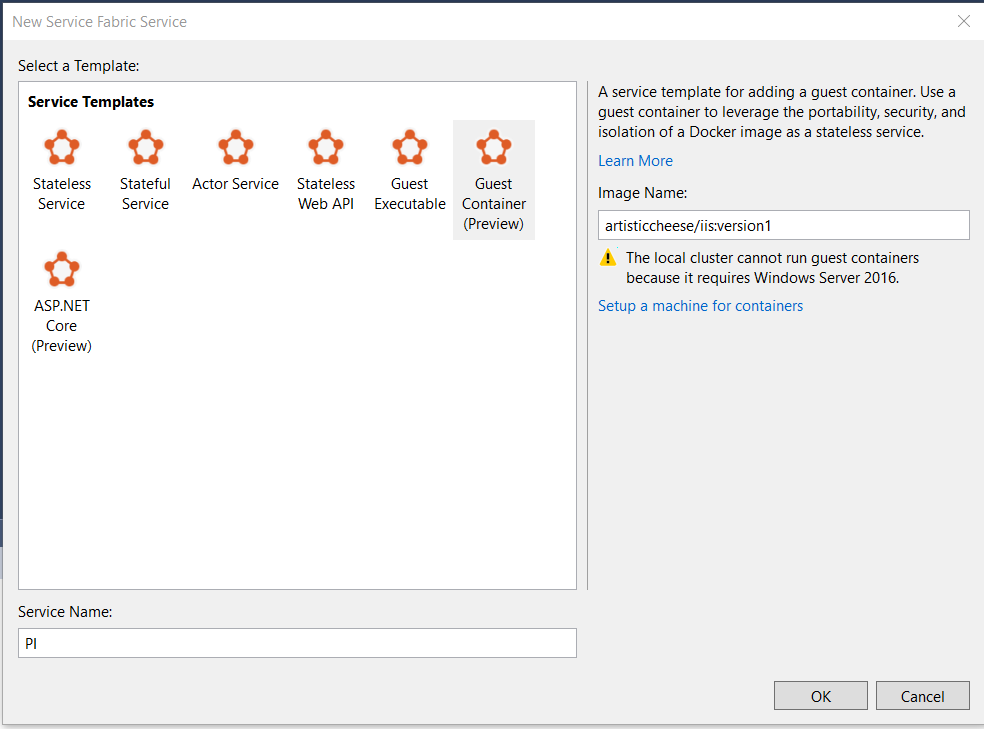
- Install Visual Studio and template for service Fabric Install Azure Service Fabric SDK and tools on your dev machine from WebPI installer. Open Visual Studio and choose to create a new project of type "Cloud/Service Fabric Application". On second screen choose "Guest Container" and put your image name and name of your application.
- Author your application Service fabric constists of applications and services, both of which presented in your VS project. `ApplicationManifest.xml` file contains information about how SF shall interact with your service. For example you specify here which port SF shall use to connect to your service, you can setup restrictions on memory or CPU shares used by container.
Important parts to pay attention to application manifest file are: * Settings for InstanceCount ```xml ``` Default value of -1 will deploy your container to every available SF host, so with 3 hosts you will have 3 containers running.
* Version number of all XML files. ```xml If you plan to redeploy application those number should be changed. Numbers are not integers and SF does not rely on any sort of analysis of those numbers to decide which version you want to deploy. All what is important is that it's different from existing version already deployed to SF.
Modify application manifest to specify which port your container will be listening on (port 80 in our case).
<Policies>
 <ContainerHostPolicies CodePackageRef="Code" >
 <PortBinding ContainerPort="80" EndpointRef="PITypeEndpoint"/>
 </ContainerHostPolicies>
</Policies>
Modify service manifest file ServiceManifest.xml to include which protocol is being used in container ("Http" in our case). If you don't specify specific port number here via port attribute then SF will assign random port number in list of allowed ports
<Endpoints>
 <Endpoint Name="PITypeEndpoint" Protocol="http" UriScheme="http" />
</Endpoints>
Modify deployment file PublishProfiles\cloud.xml with SF endpoint. Substitute IP address with IP of any SF host you have.
<ClusterConnectionParameters ConnectionEndpoint="192.168.1.193:19000" />