Data Entity Refresh (Including Composite Entity) After Customizations - arp6333/xplusplus GitHub Wiki
- Both the entity extension and an extension of the staging table must be added to the project

-
Any fields added to the entity must be manually added to the staging table, it cannot be auto generated like with a custom new entity
-
Perform a DB sync and build once both entity and staging table are updated
-
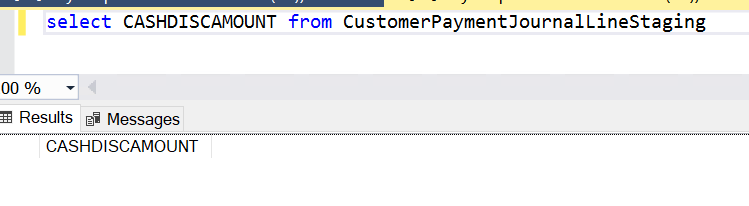
You can select in SQL to verify if the fields have been added to the staging table successfully (not to verify data yet, just that the fields were added correctly)
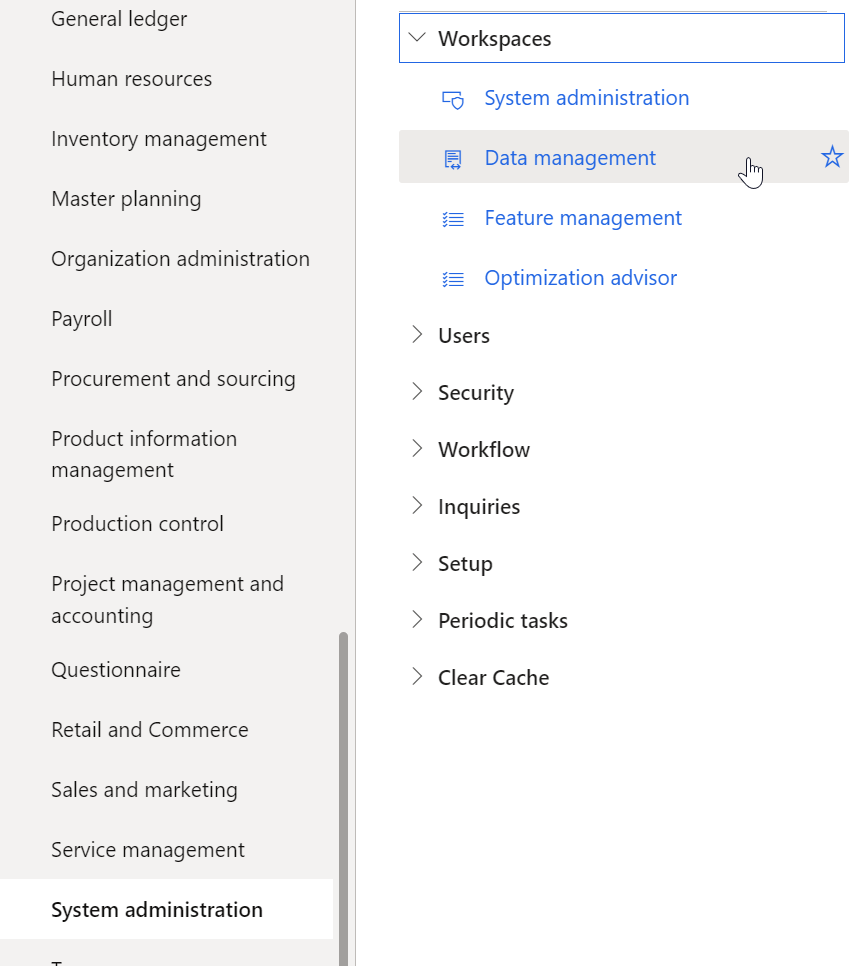
- Navigate to 'System Administration -> Data management'
- Open 'Framework parameters'

- Click 'Entity settings -> Refresh entity list'
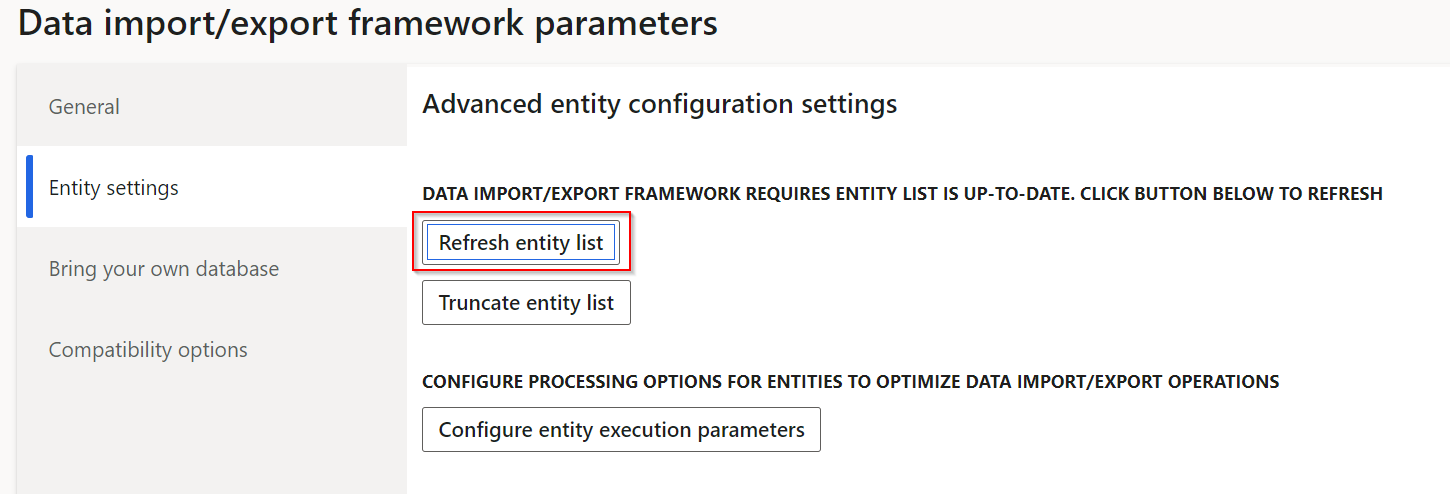
Note: if you make any code changes to an entity's code (not just the design), you MUST refresh the entity list to see the changes every time.
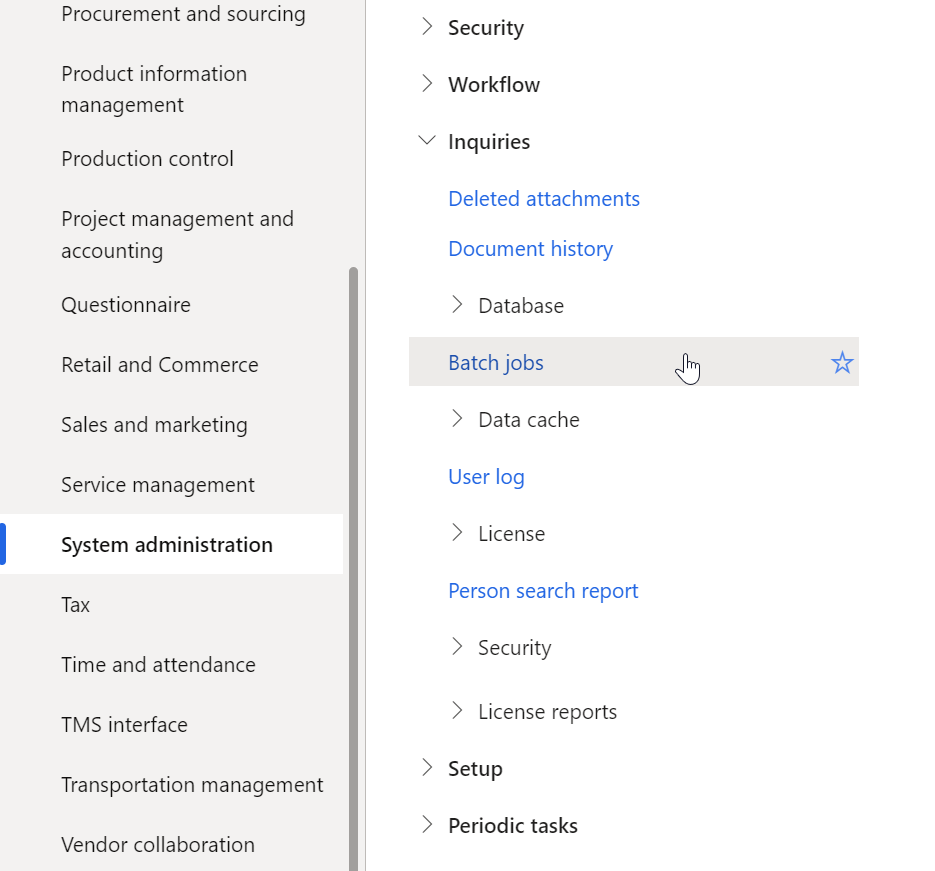
- This will run in batch, you can see the progress in the Batch jobs list ('System administration -> Inquiries -> Batch jobs')

- Once that completes execution, return back to 'System Administration -> Data management' and click 'Data entities'

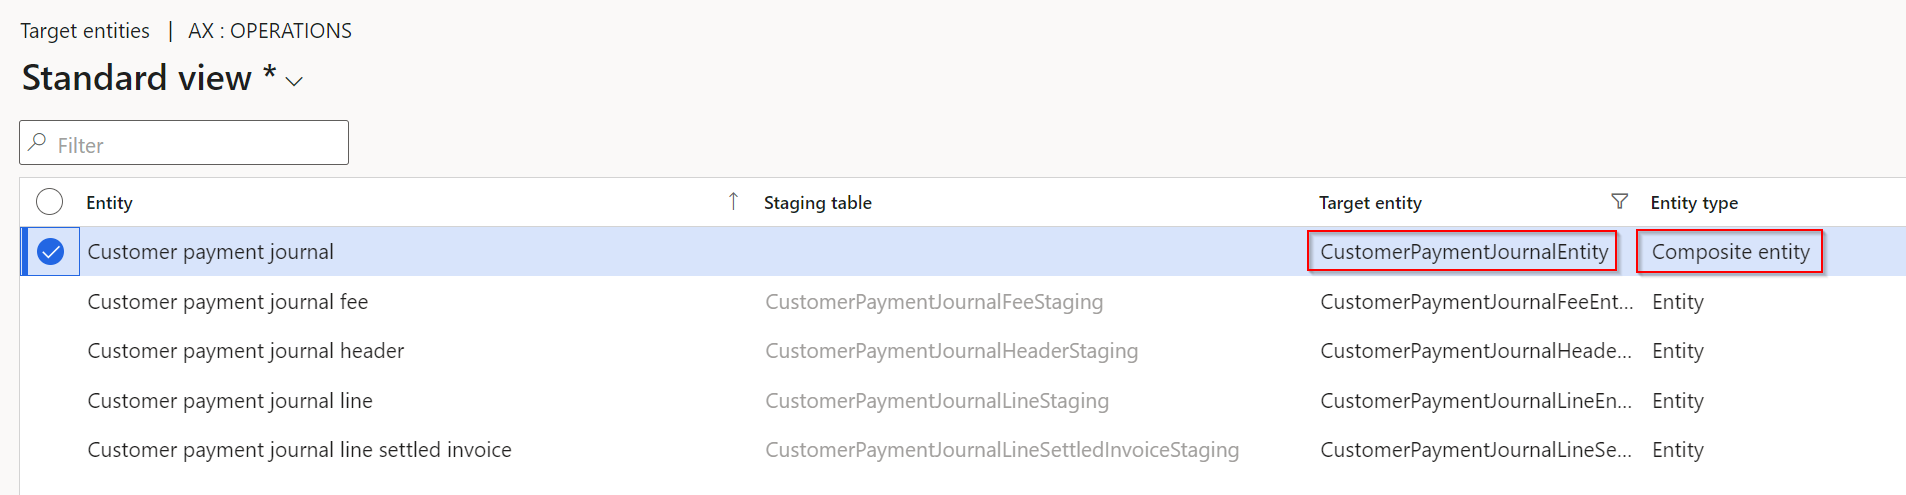
- Search for your target entity

If this is a composite entity, search for the parent entity, NOT the child entity that was modified
ex. CustomerPaymentJournalLineEntity has parent CustomerPaymentJournalEntity, so we want to use CustomerPaymentJournalEntity and not CustomerPaymentJournalLineEntity
i. Then select 'Child entities' from the top bar
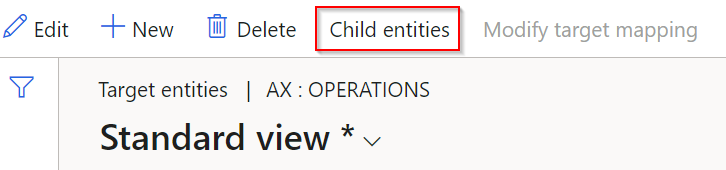
ii. It can be a little buggy and not populate on first click, if so go back and click 'Child entities' again until it populates

iii. Select the first child entity, even if it was not the one that was modified and continue with the rest of the steps
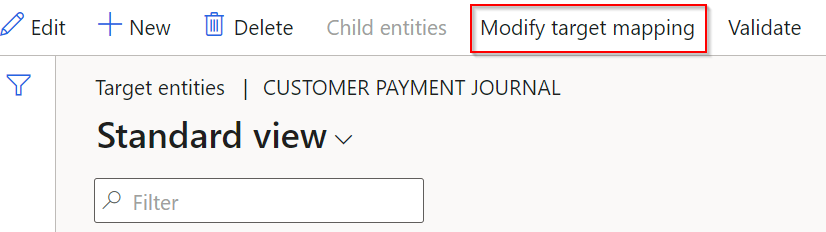
- Click 'Modify target mapping' from the top bar
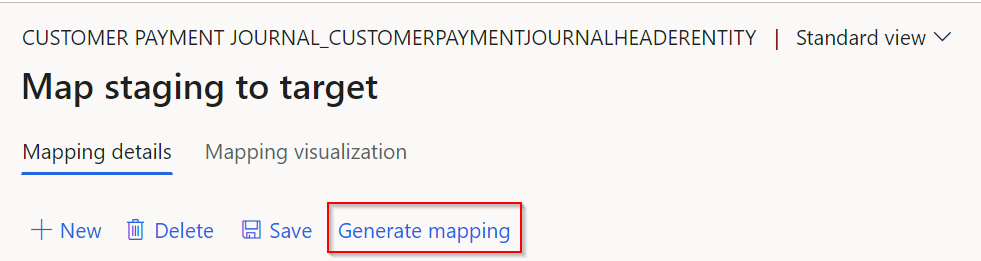
- Click the 'Generate mapping' button, and if it prompts 'Do you want to generate the mapping from scratch?' click 'Yes'
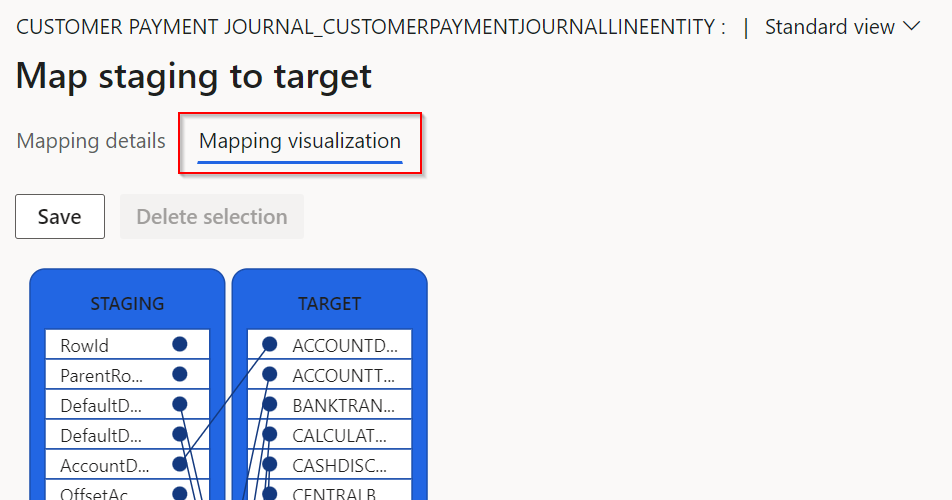
- Switch to the 'Mapping visualization' tab and verify any new fields are both there, and have a line connecting them from Staging to Target
- Click the 'x' to close that form and return to the 'Target entities' form. Click 'Validate' to verify the entity is valid with an inline message
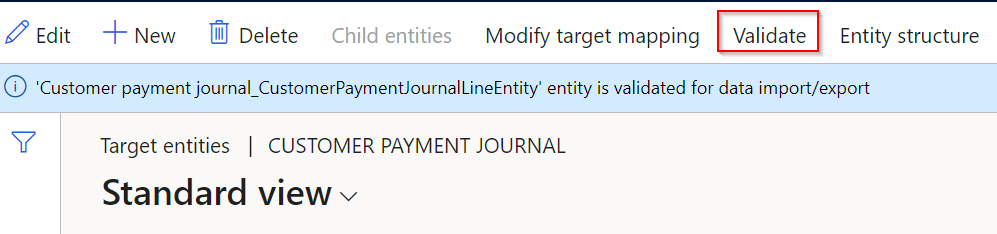
You can also click 'Target fields' to verify any new fields have successfully been added, as they will show up on this grid if successful


If composite entity, repeat steps 11-14 for all child entities
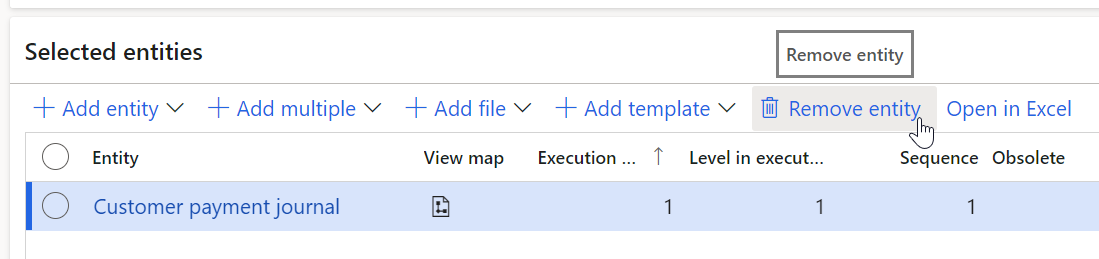
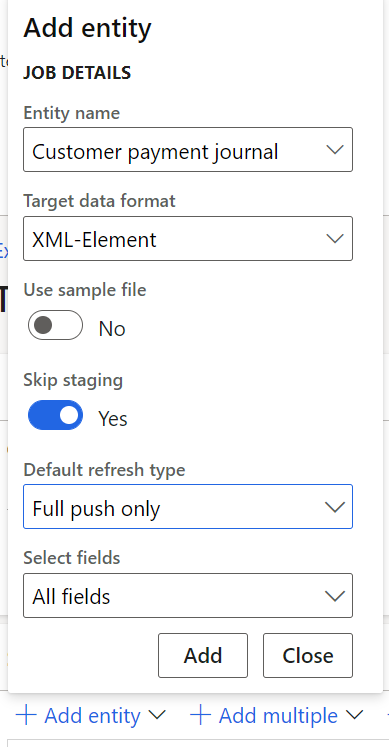
- For any jobs that use this entity, the entity can be removed and readded to the job to refresh the field list
You can use '/data' or '/data/' in the URL to view the data in the entity quickly from the front-end. The entity name IS case sensitive!
After the Data Entity name in the url address place a ? then you can start adding the parameters the & will let you add multiple parameters.
Example: (don't worry about spacing and non-URL characters as they will be fixed once you hit enter) /data/SalesInvoiceLines?cross-company=true&$filter=InvoiceId eq 'INV000000001'
Some query options:
- $filter
- $count
- $orderby
- $skip
- $top
- $select
Filter options: $filter:
- Equals (eq)
- Not equals (ne)
- Greater than (gt)
- Greater than or equal (ge)
- Less than (lt)
- Less than or equal (le)
- And
- Or
- Not
https://docs.microsoft.com/en-us/dynamics365/fin-ops-core/dev-itpro/data-entities/odata