Publish with a Hardware Encoder Teradek Vidiu Pro
Attention: We have migrated our documentation to our new platform, Ant Media Resources. Please follow this link for the latest and up-to-date documentation.
NOTE: We have updated our documentation. This page is outdated. You can access updated version from the sidebar menu.
Teradek Vidiu Pro is fully compatible with Ant Media Server 1.2.0+ Let’s have a look at step by step how to use Teradek Vidiu Pro for streaming, firstly start by powering the Teradek Vidiu Pro
It creates a WiFi network with name VidiU−XXXXX. Connect that network with your computer and go to the 172.16.1.1 on your browser.
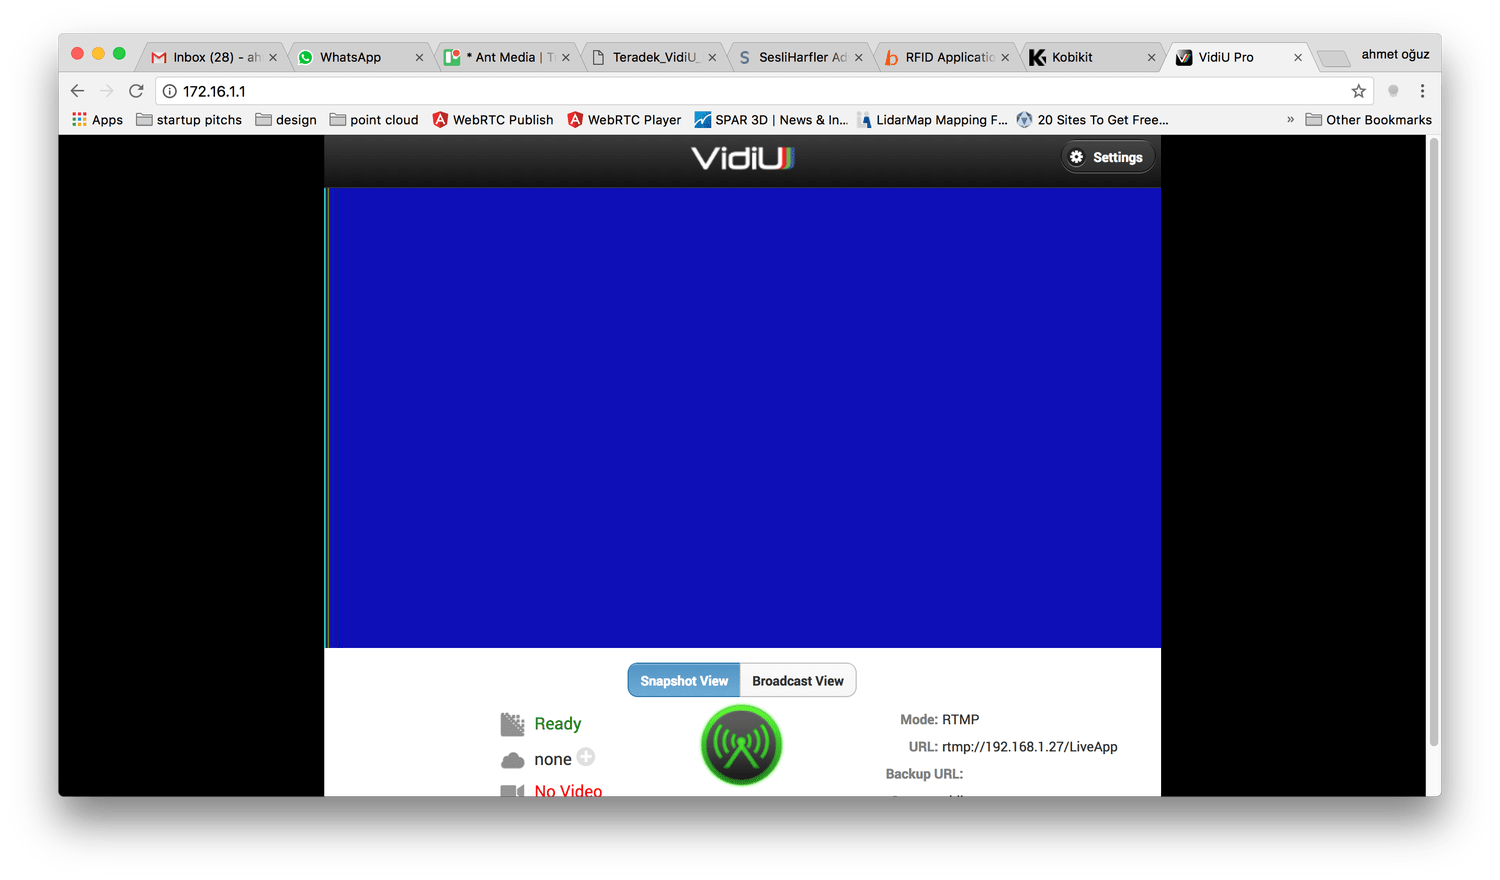
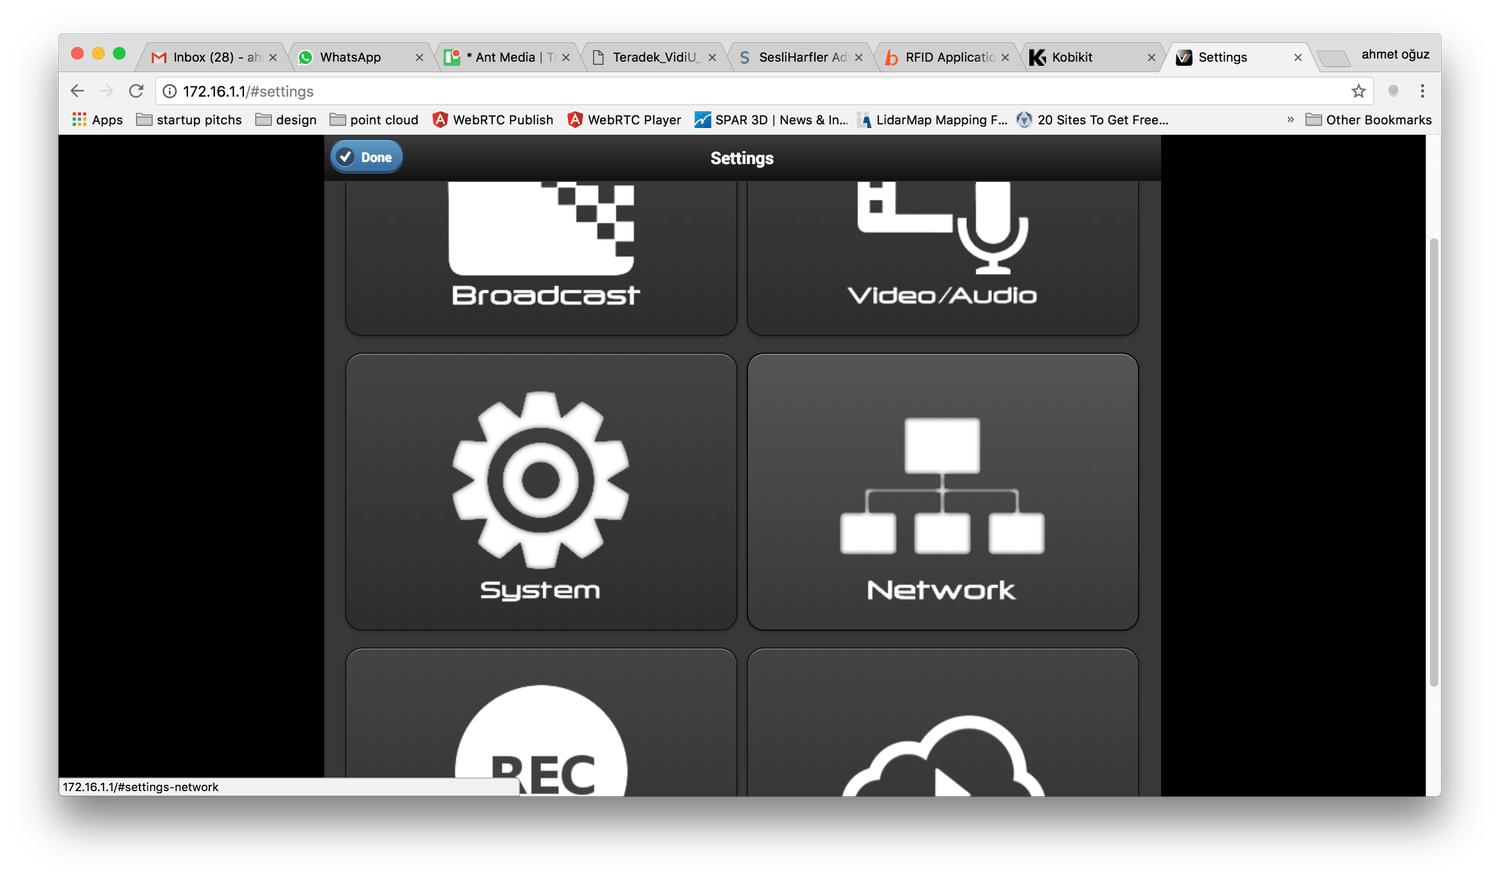
Click “Settings” button on the top right and then click “Network” item in the screen.
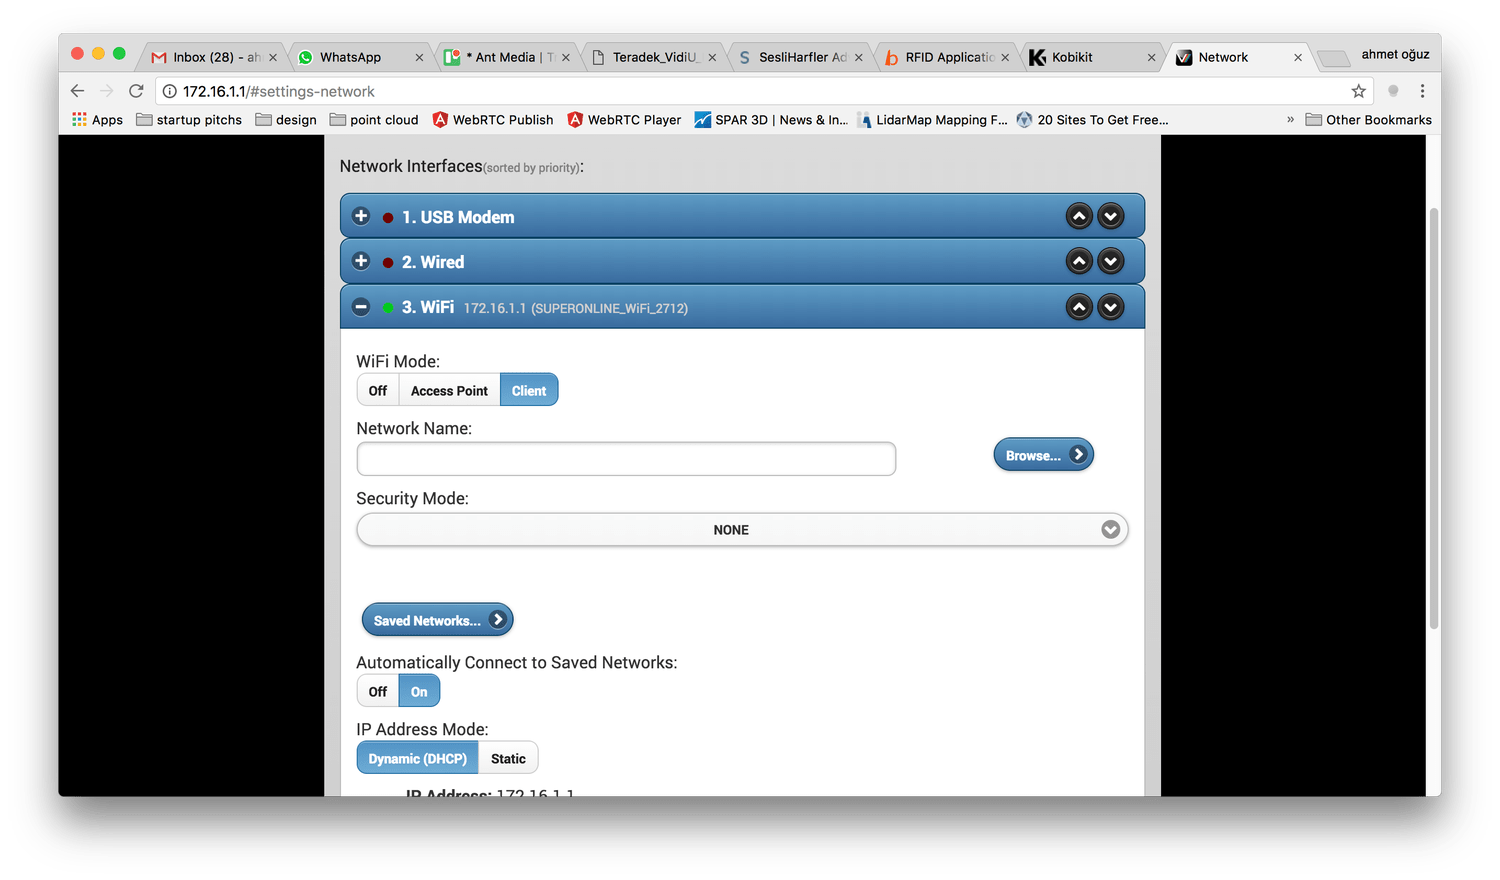
Click the WiFi item. Choose “Client” mode and Click “Browse” button to lookup the WiFi networks around.
Choose the WiFi you would like Teradek Vidiu Pro to connect from the list.
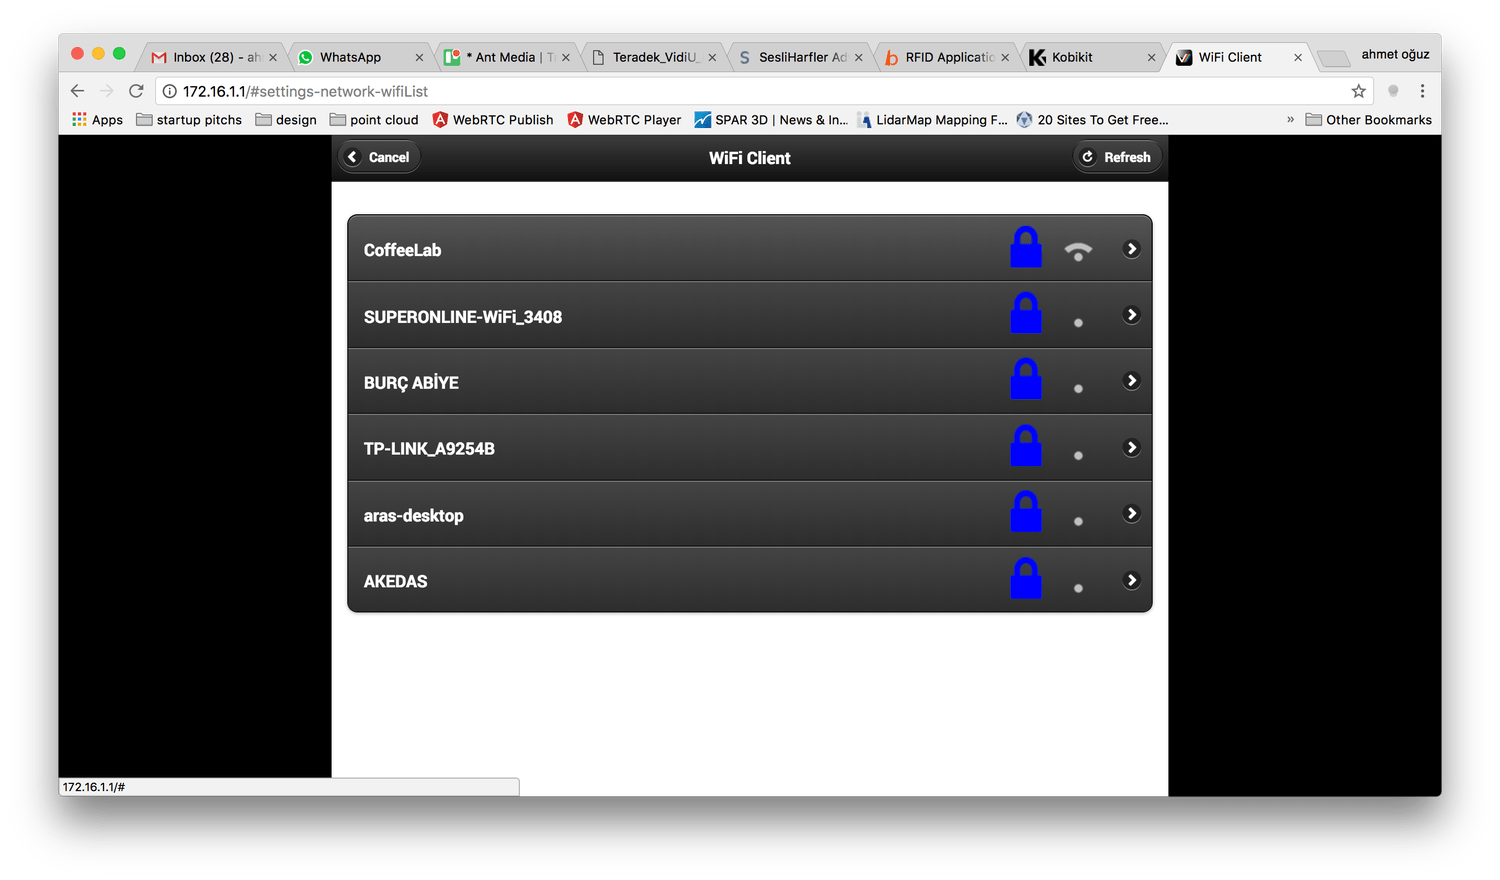
Enter the password of the WiFi network and click “Apply” button on the top right
Restart Teradek Vidiu Pro
Connect to the same wireless network on your computer and check the IP address of the Teradek Vidiu Pro from device’s LED screen. Press Menu button on the device. Menu button is a joystick button as well. So go to the Network Settings > WiFi > Info to see the IP address of the device
Sometimes you may need to power off / on the Teradek Vidiu Pro.
Click the “Broadcast” item on the Settings screen
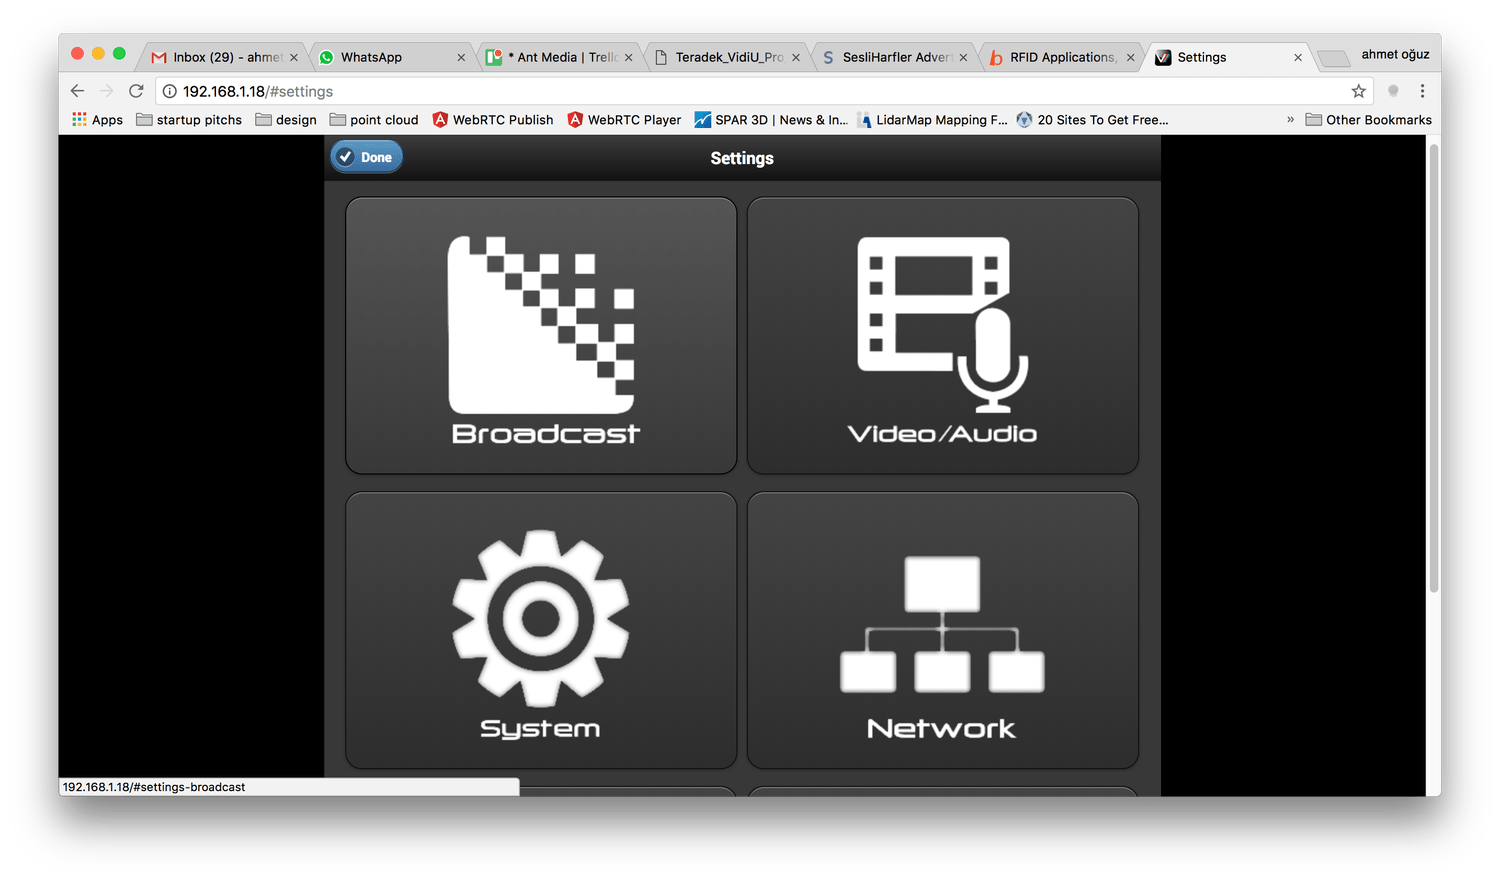
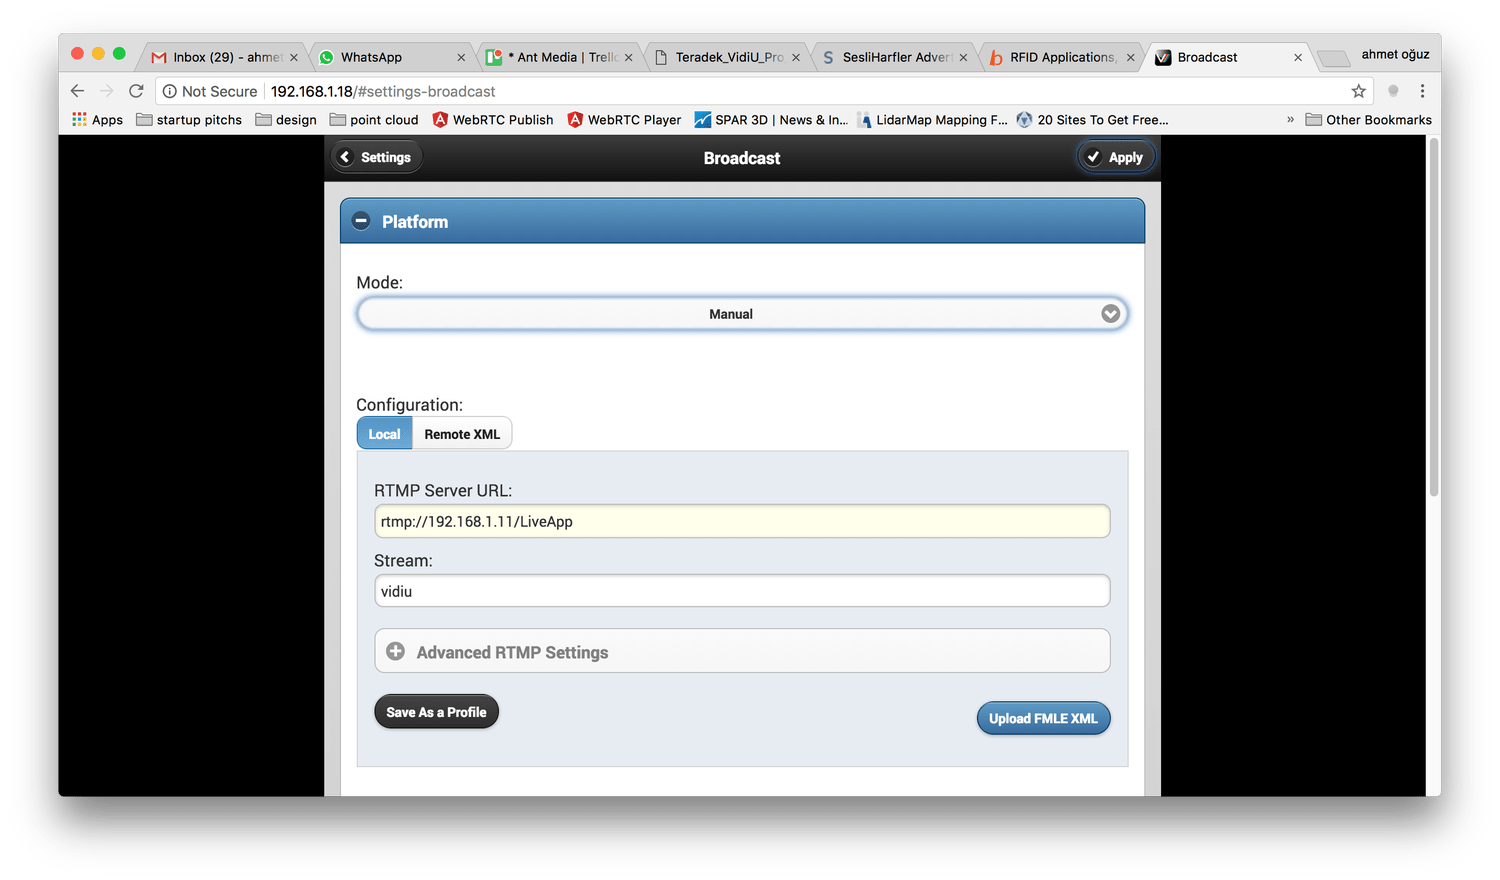
Choose “Manual” from Mode then Enter Ant Media Server address to “RTMP Server URL” and write name of the stream to “Stream” box
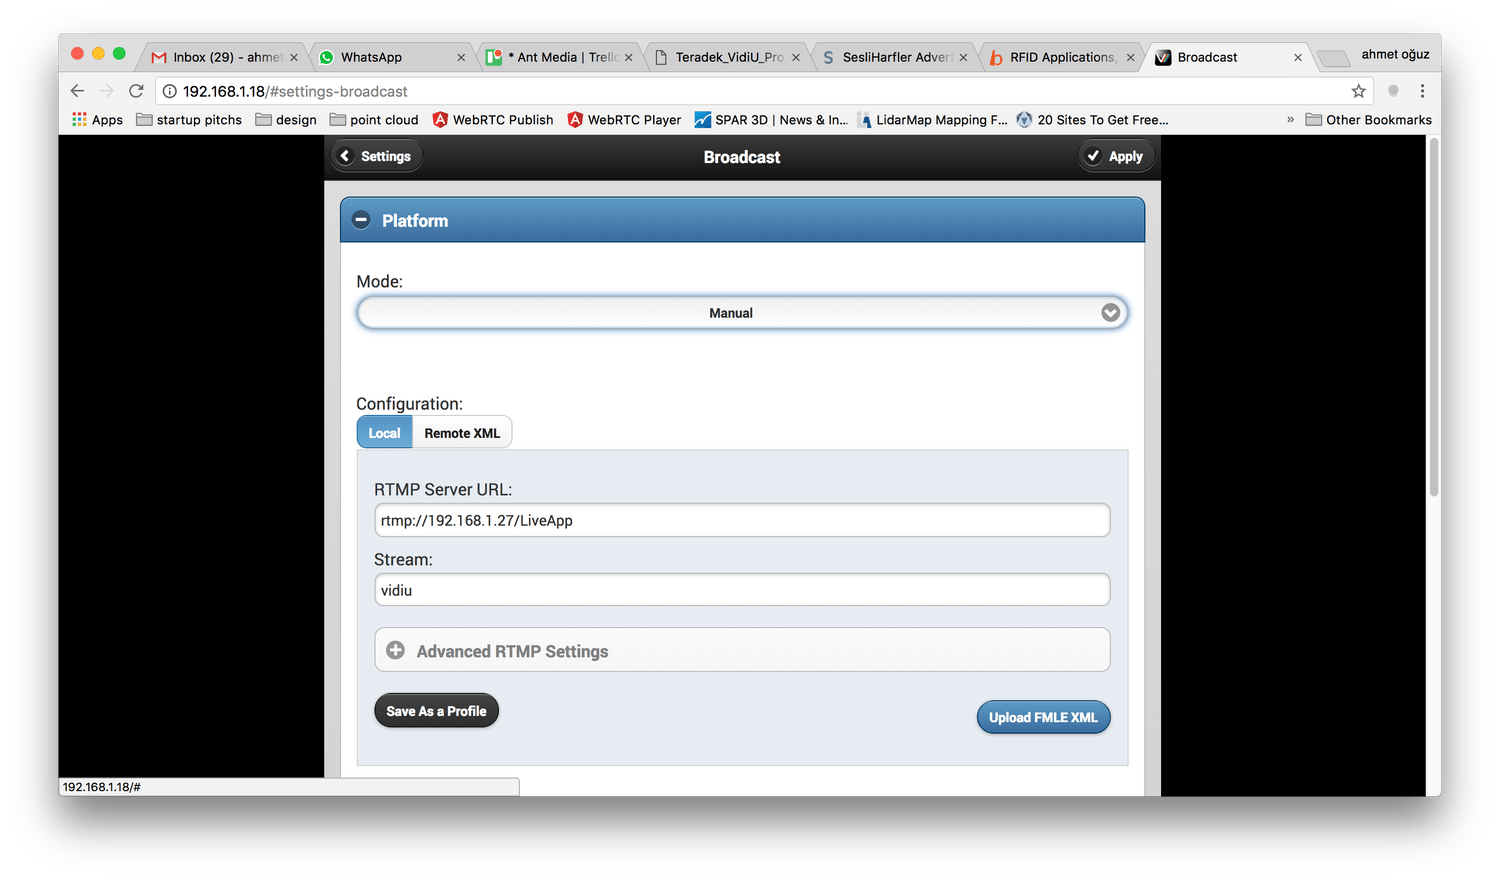
Click “Apply” button on the top right again
Your device configuration is OK now.
Connect the HDMI cable between HDMI source (camera, television or computer) and Teradek Vidiu Pro HDMI.
Wait until to see the “Ready” text appears on the right top of Teradek Vidiu Pro’s LED screen. Then press “Start/Stop” button on the device, a message appears on the device asking confirmation about starting the broadcast. Press “Yes” and then broadcasting starts.
Ant Media Server accepts that broadcast and can perform adaptive streaming, recording and publishing to any other 3rd party RTMP server as usual.
When you are done about broadcasting, you can press “Start/Stop” button again to stop the broadcasting