vB3 User Guide - alanbjohnston/CubeSatSim GitHub Wiki
User Guide
This User Guide describes how to setup and use your CubeSat Simulator.
Unpacking
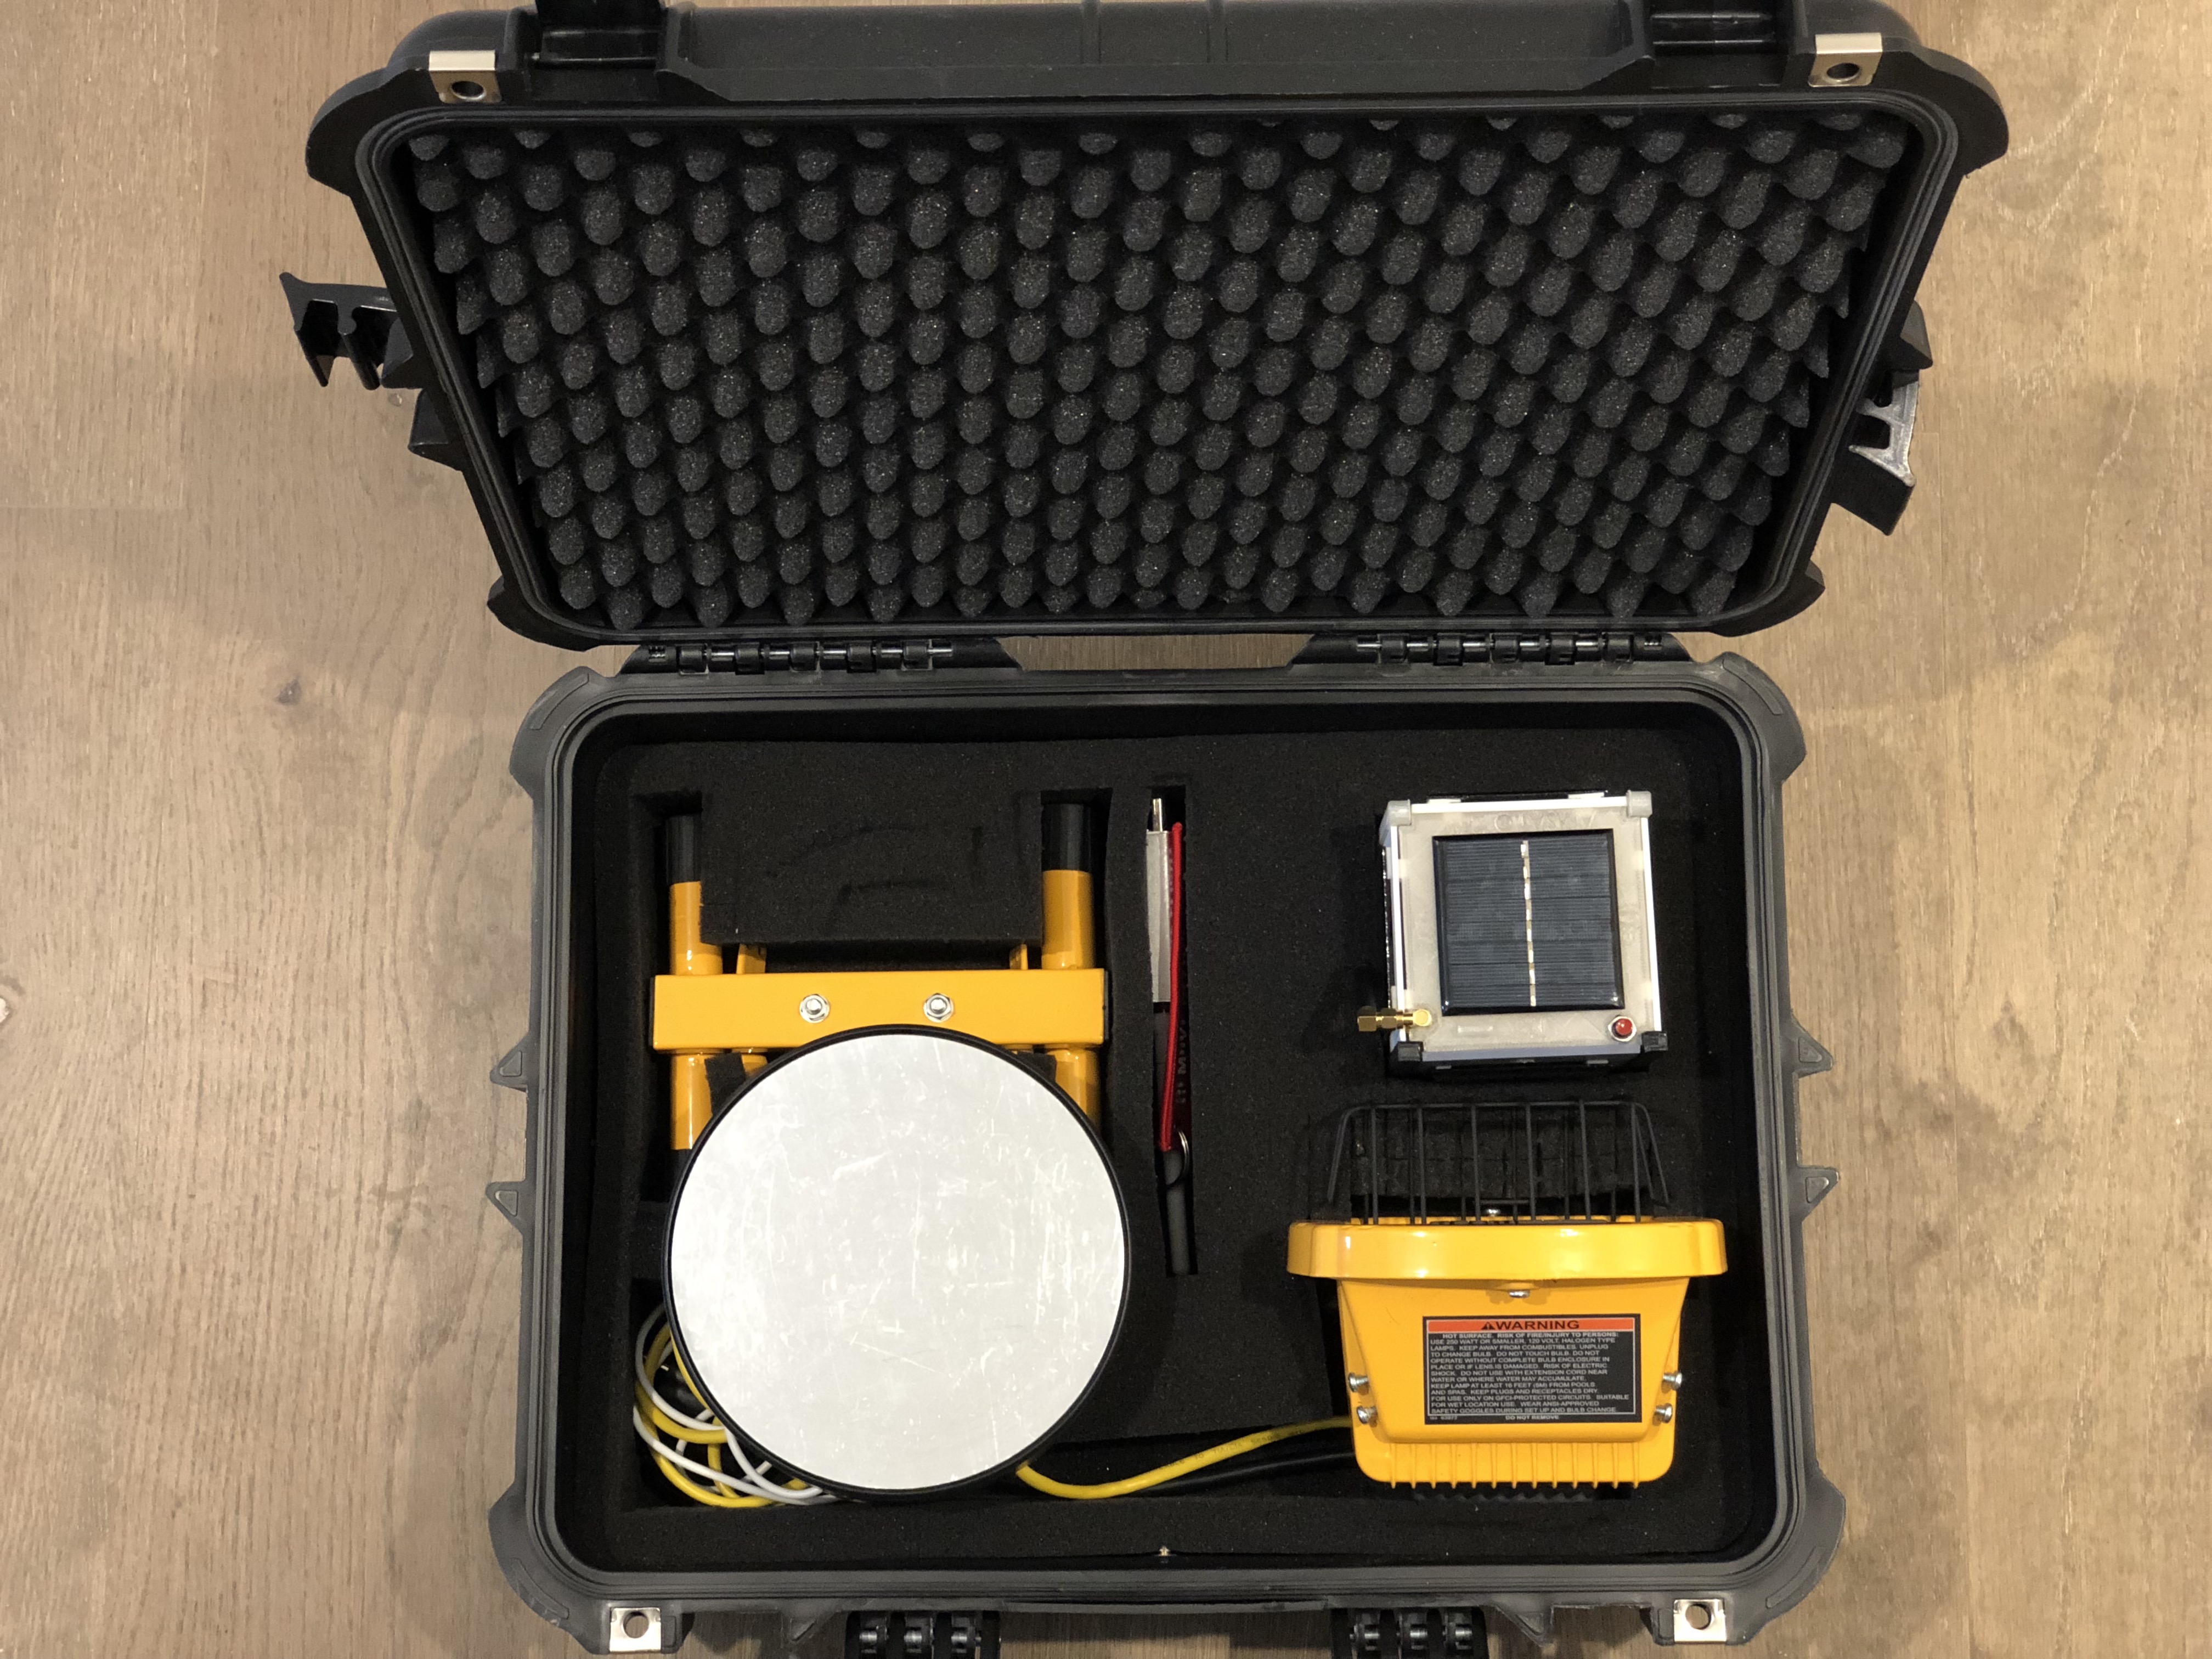
If you received an AMSAT CubeSat Simulator kit, this section describes how to unpack it. Kit contents (your kit may vary slightly, check enclosed packing list):
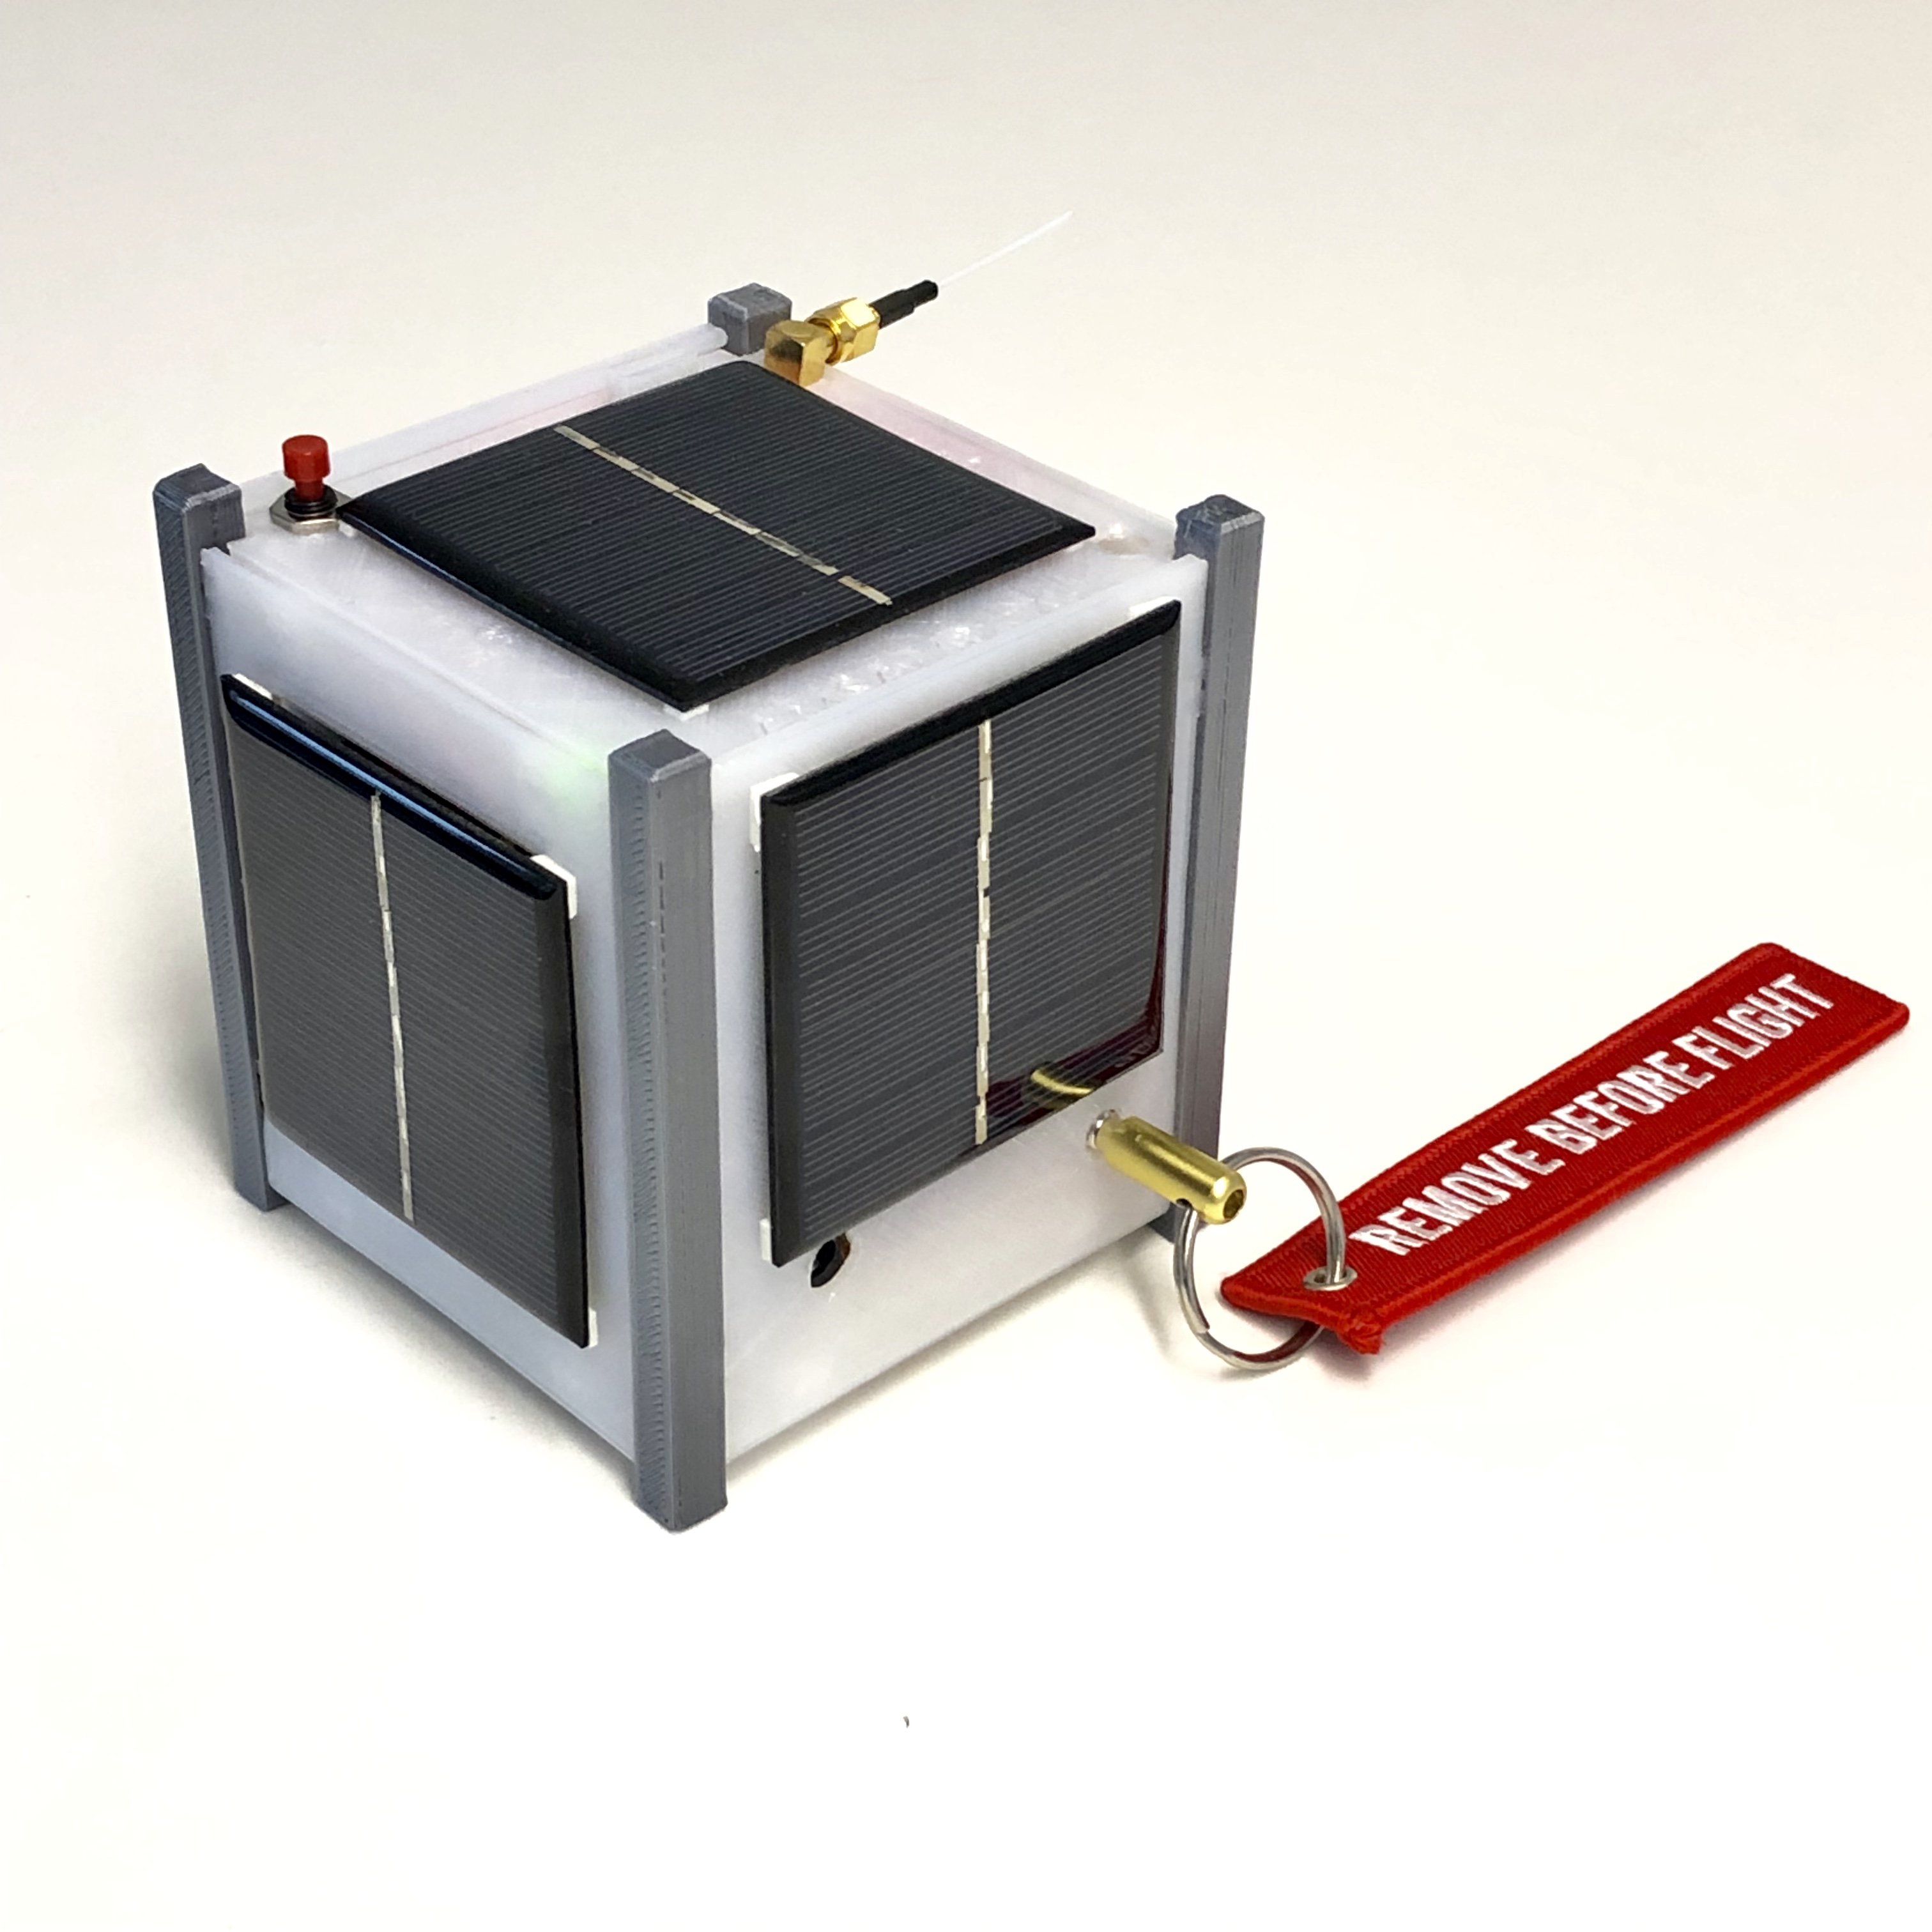
- CubeSat Simulator
- Remove Before Flight pin
- DC charging cable
- 9V NiMH battery and spare battery
- Turntable (with 2x C alkaline batteries inside)
- Lamp (in 3 pieces: you will need a philips screwdriver to reassemble)
- RTL-SDR Dongle with Antenna for PC Ground Station
- WiFi Hub (with Ethernet cable and power cable) Note: this is only used for Troubleshooting - not needed for normal operation.
- Packing list and return shipping instructions
Getting Ready to Launch:
-
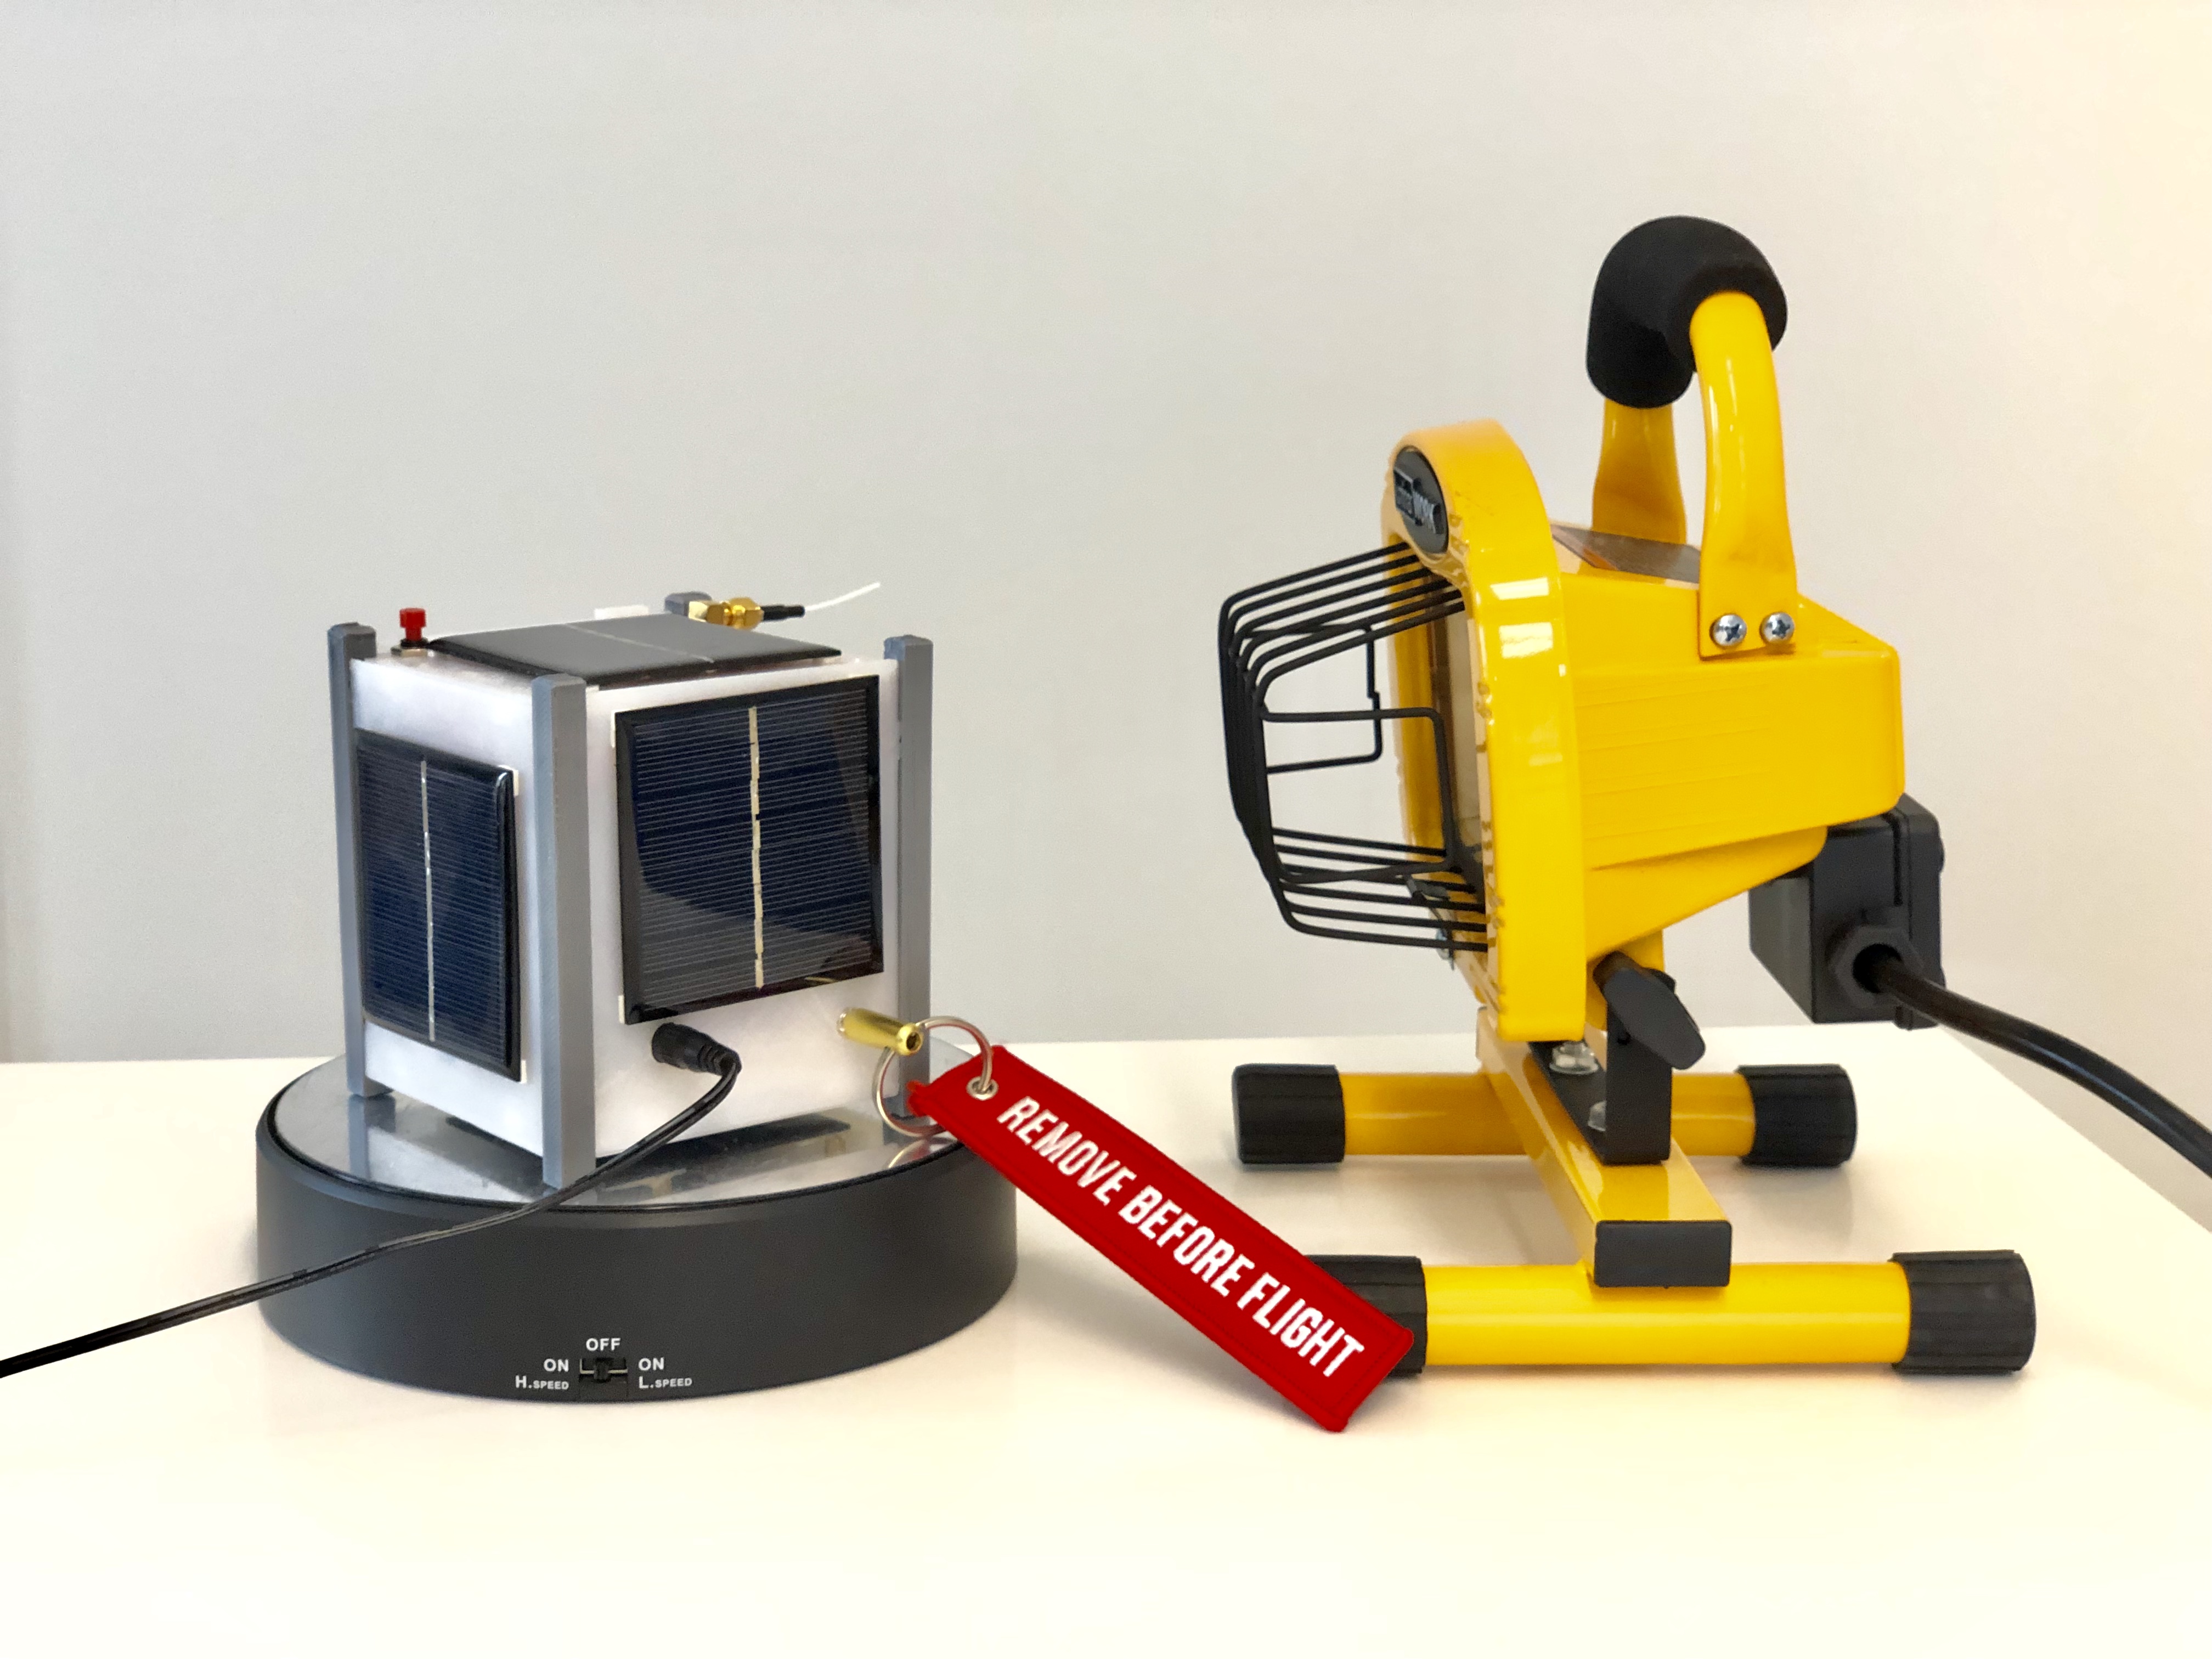
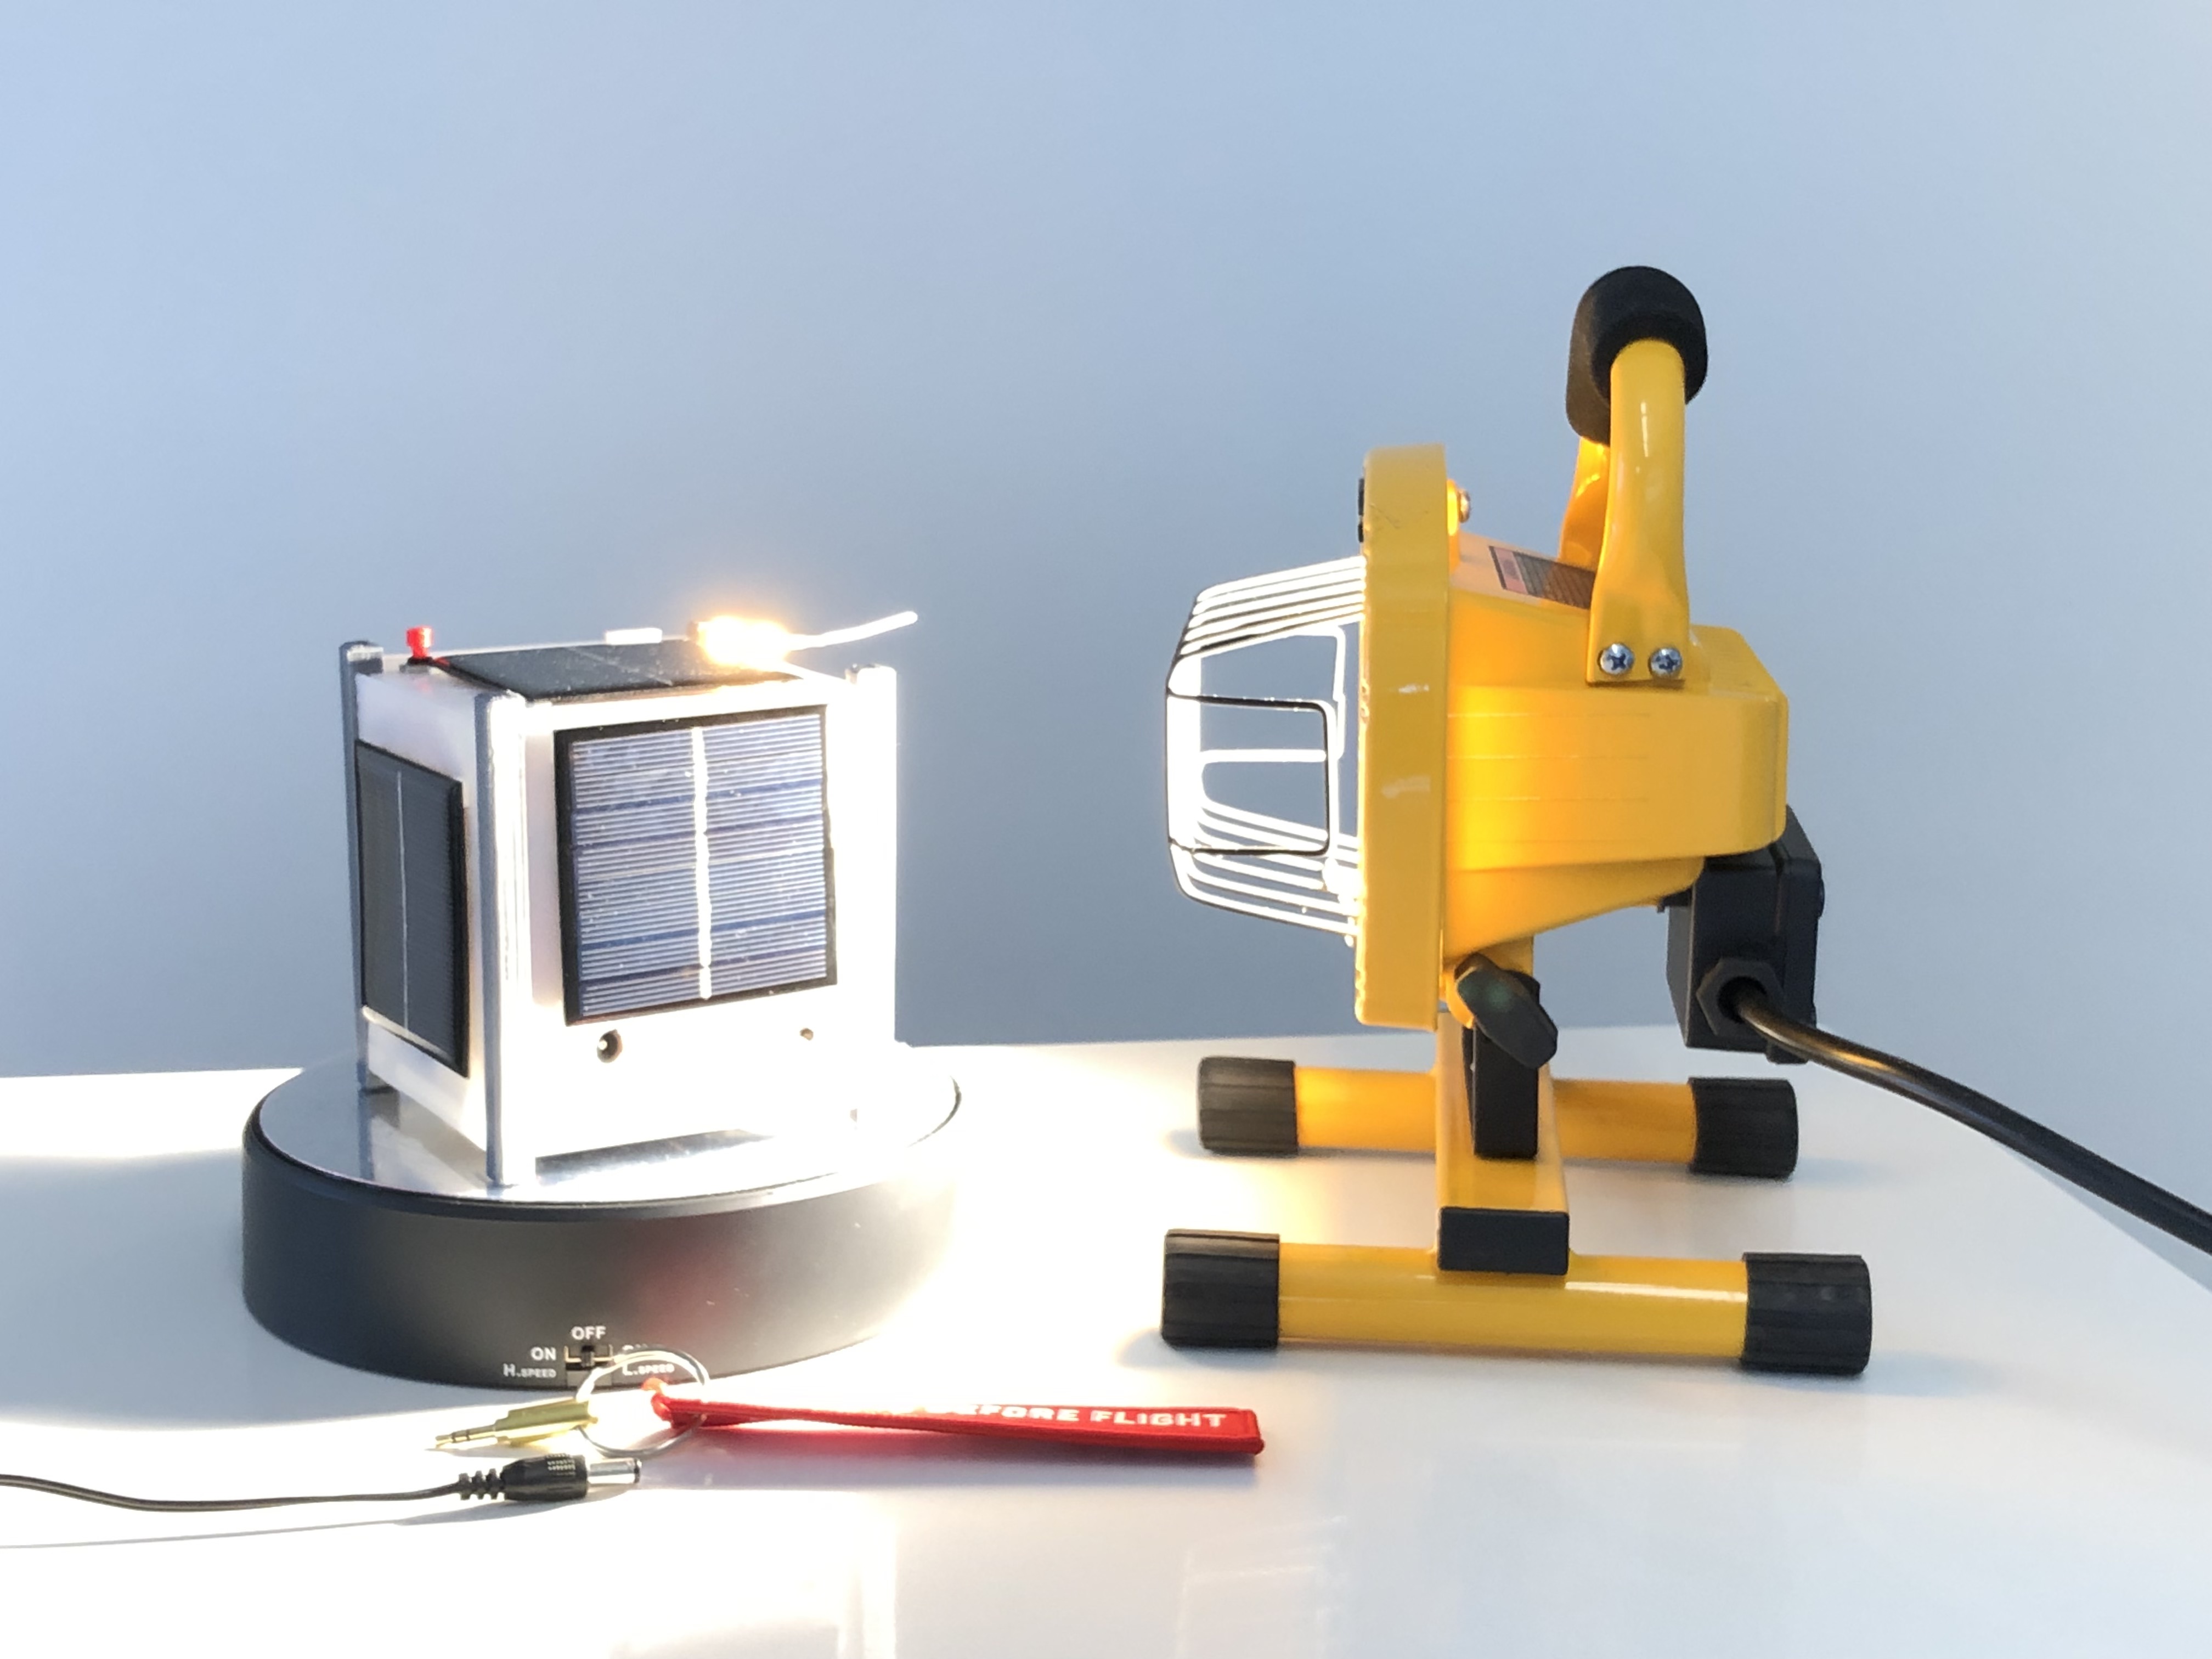
Place the Turntable on a table near two electrical outlets.
-
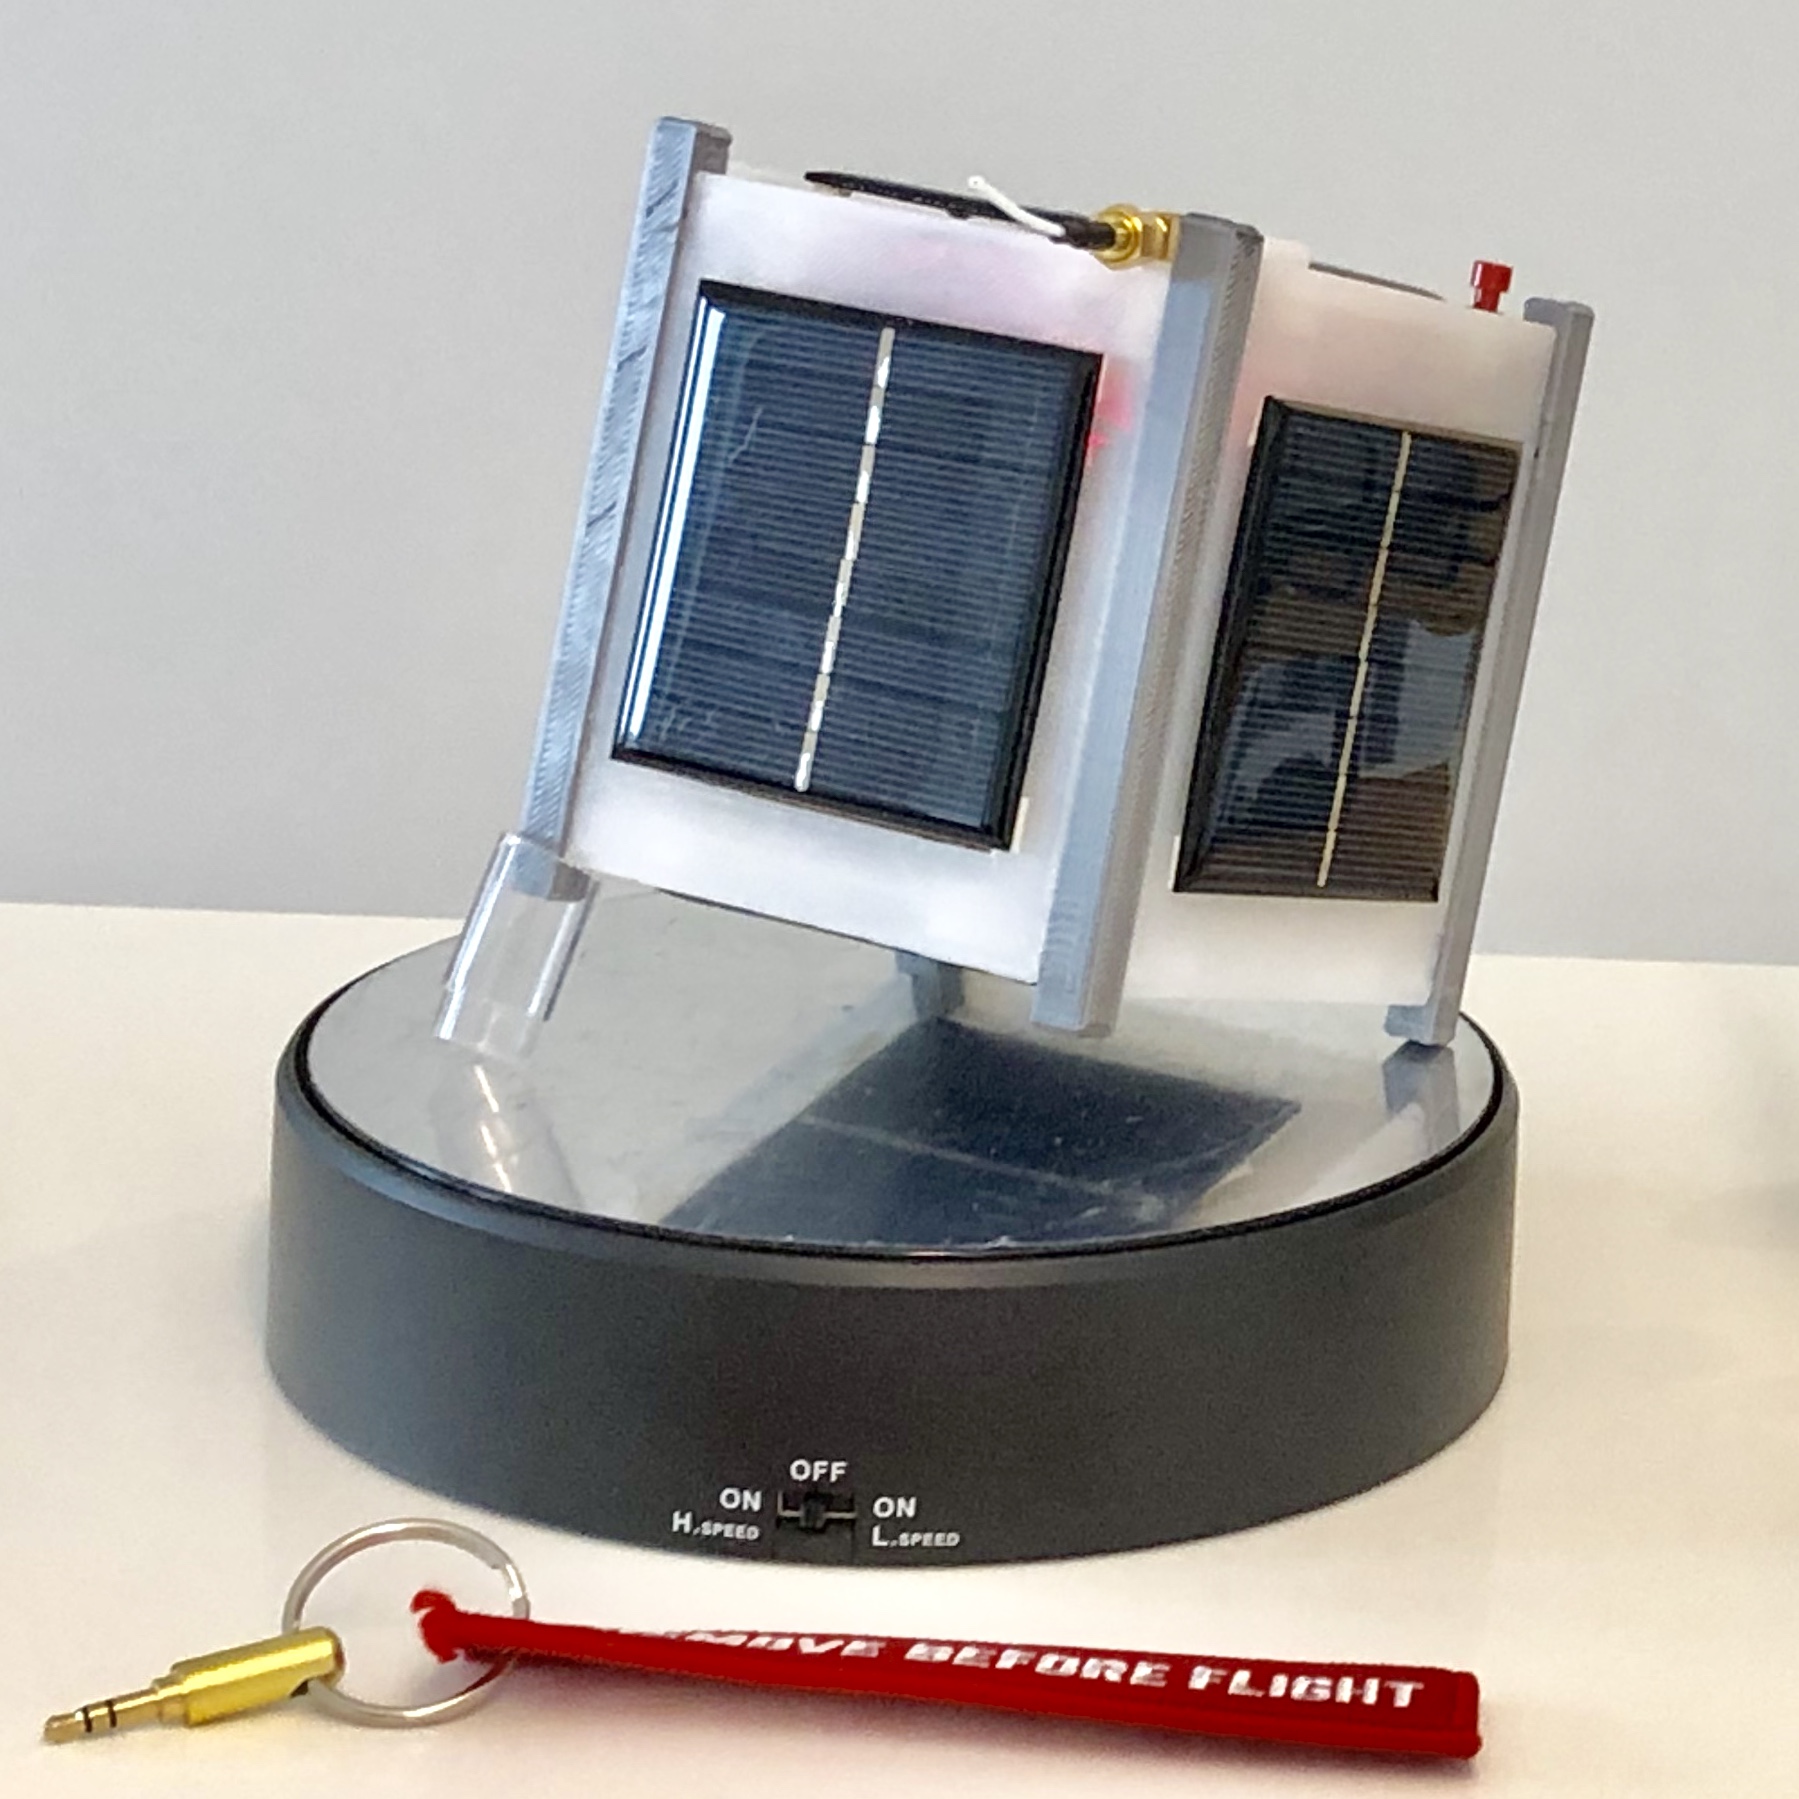
Place CubeSat Simulator on the Turntable and insert the RBF pin into the CubeSat Simulator.
-
Open top of CubeSat Simulator. There is a small handle tab on one side - it has wires attached, so tilt so you can see inside. Find the 9 V battery connector inside and connect the 9 V battery. The Simulator will start to turn on with a red LED illuminated.
-
Plug in the DC charging cable to the CubeSat Simulator and plug into one outlet.
-
If you do t see a red LED lit, double check battery and RBF pin insertion and press the button on the top of the CubeSat Simulator for 1 second then release. This will power up the Simulator after about 30 seconds. The Simulator will automatically start transmitting telemetry in about 45 seconds. You can check this using a radio or a PC running SDR software and dongle, such as a Windows PC running SDR# with an RTL-SDR dongle and an antenna. Tune to around 440.337 MHz for the FM signal. For the detailed instructions see https://github.com/alanbjohnston/CubeSatSim/wiki/SDR-Ground-Station-Configuration The green LED will glow each time a packet of telemetry is transmitted.
-
Snap the top closed and assemble the lamp by attaching the handle using a Philips screwdriver, and the base using screws (finger tight is fine).
-
Place the turntable in front of the lamp. You are now ready for launch!
To Launch:
-
Have a PC Ground Station with the telemetry decoding software installed. For a quick start guide for SDR# watch https://youtu.be/YZqpQuk8Gzw For detailed instructions, see https://github.com/alanbjohnston/CubeSatSim/wiki/Decoding-Telemetry You can download a telemetry spreadsheet from https://github.com/alanbjohnston/CubeSatSim/tree/master/spreadsheet or if you have a Google Account, you can copy and edit the online Google Docs spreadsheet https://cubesatsim.org/telem (you will need to first make a copy in order to edit it).
-
Unplug the DC power cable from Simulator.
-
Remove Remove Before Flight pin from Simulator.
-
Launch by turning on turntable to simulate spin. Start with the low speed (L).
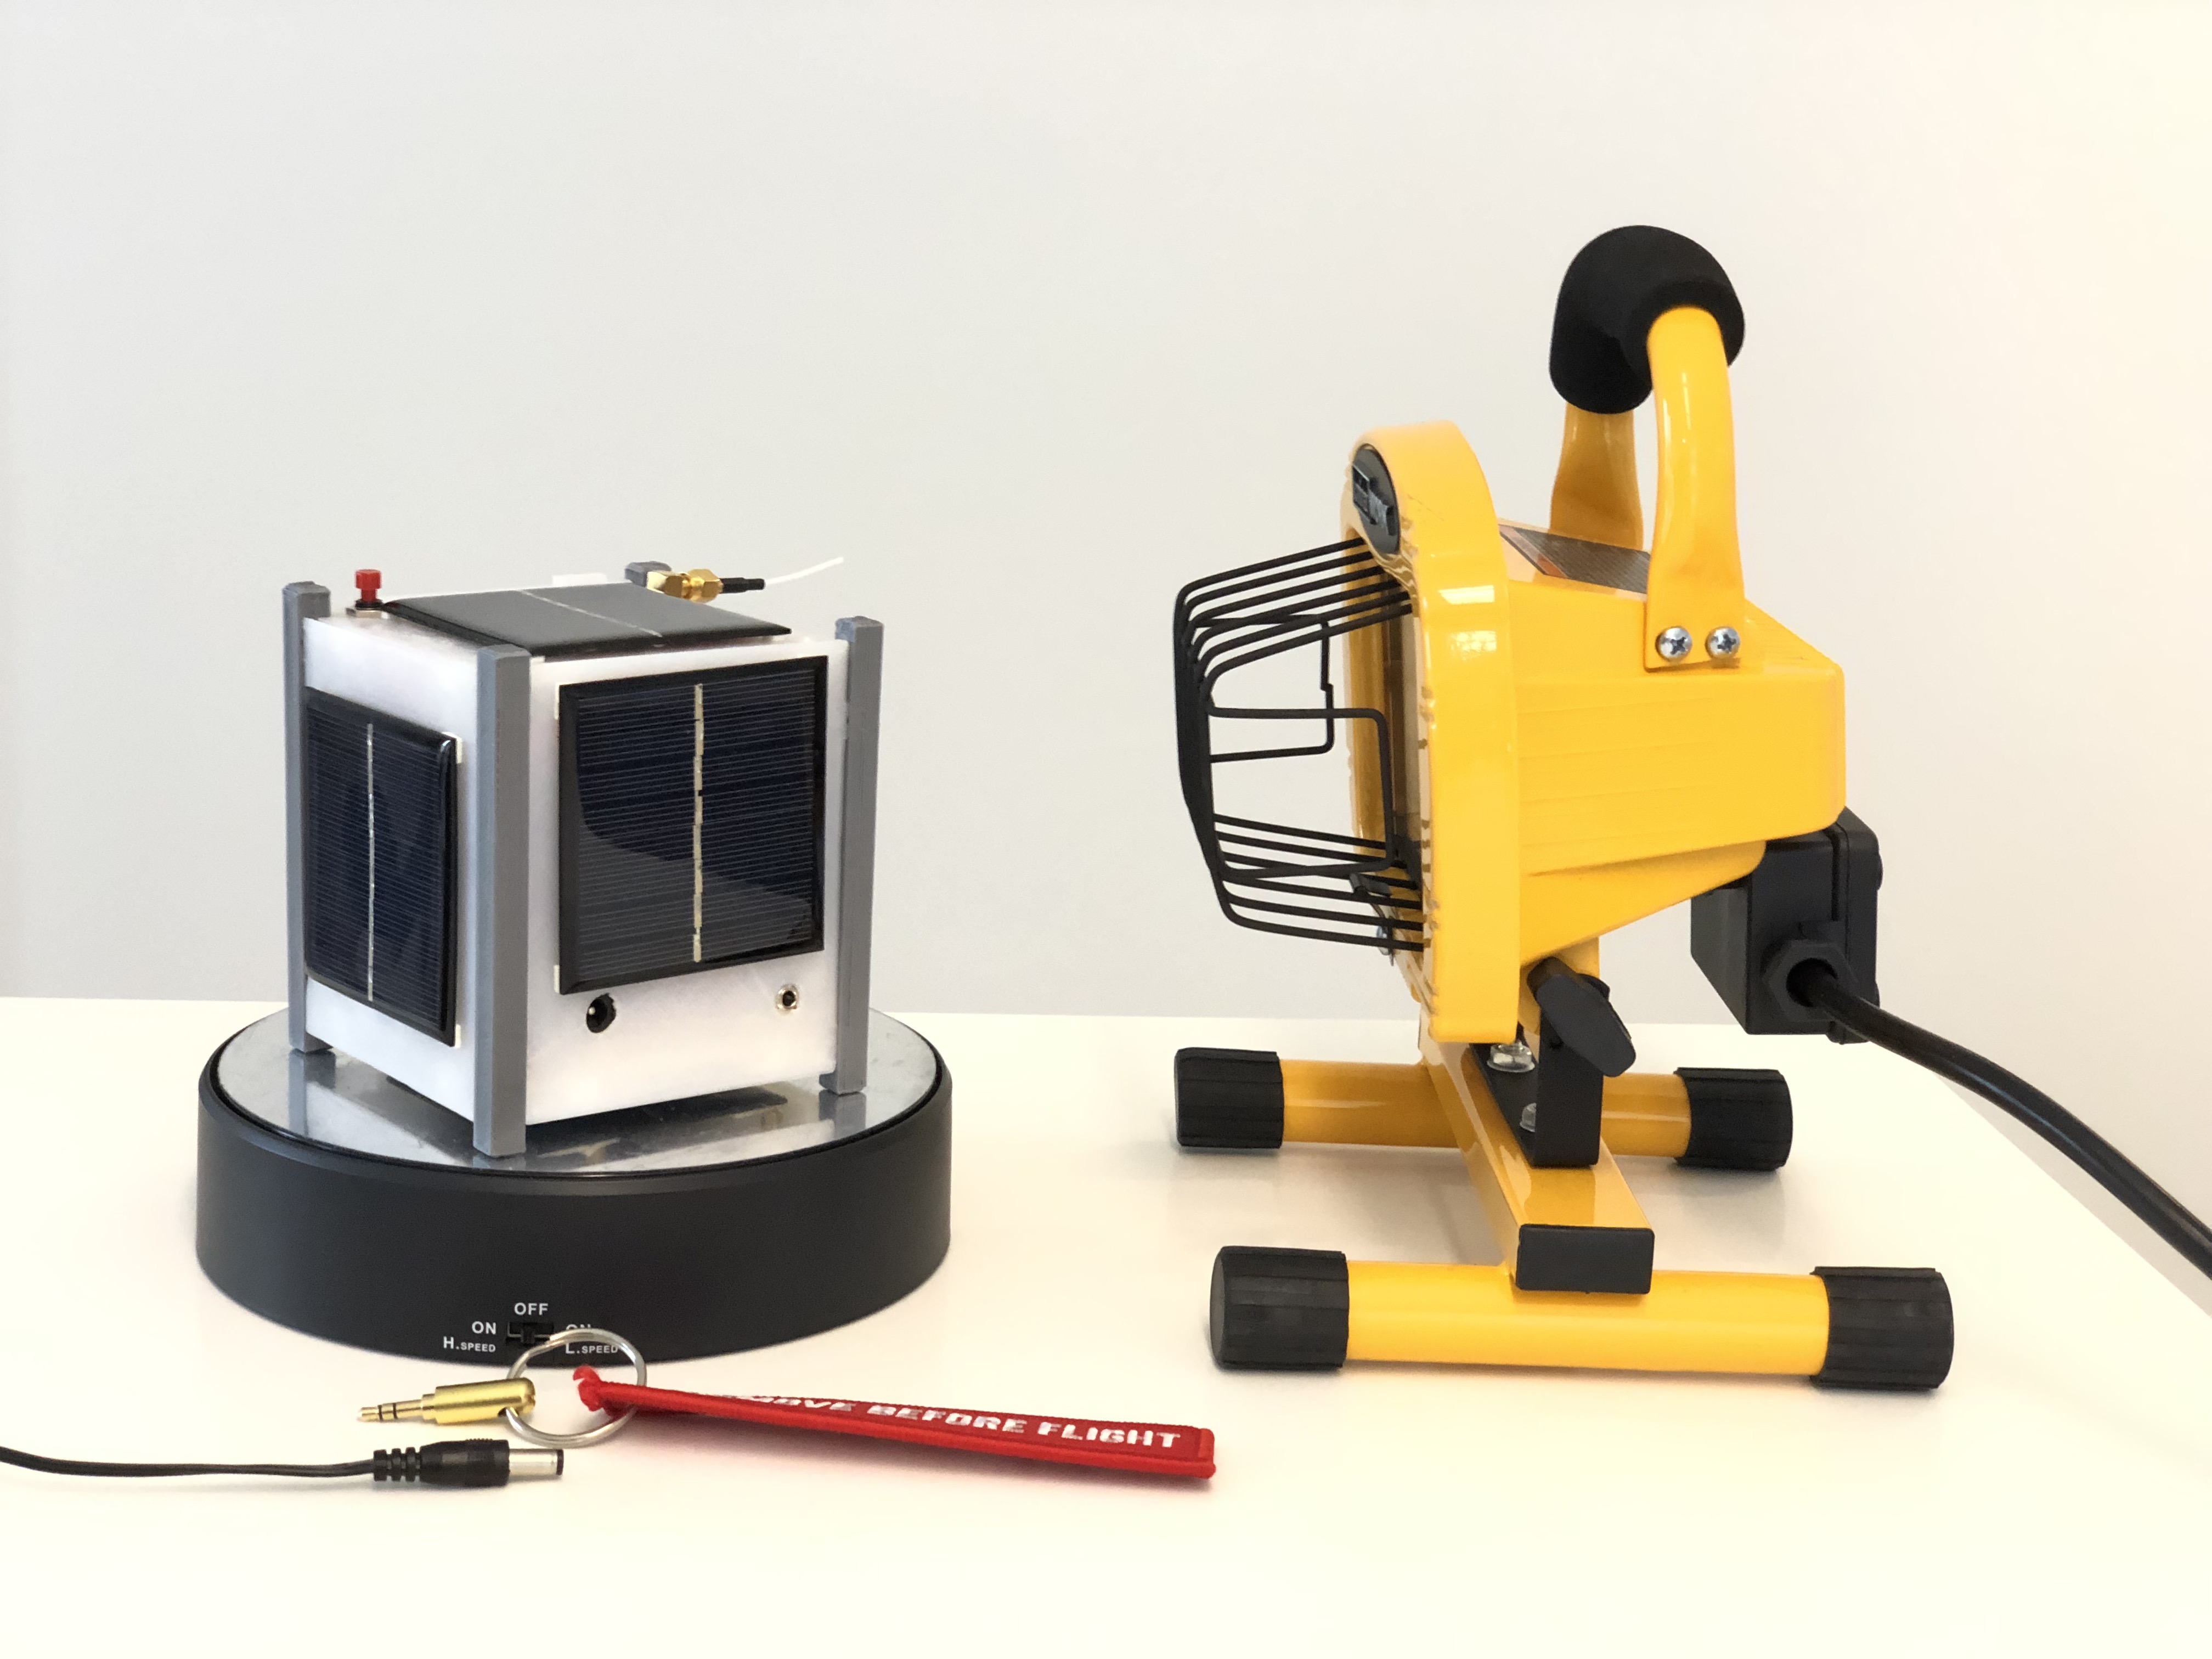
- With the lamp off, the Simulator is in eclipse (no sunlight). To come out of eclipse, turn the lamp on by plugging it in. Very Important: the Simulator will get very hot under the lamp, so make sure it is always turning on the turntable, or a distance of at least 8 inches from the lamp.
- The speed switch on the turntable can be used to change the spin rate (H or L speed). Tilting the Simulator on the turntable simulates off-axis spins.
- Under most conditions, the Simulator battery will discharge in about 30 minutes, even with the lamps illuminated. If the battery voltage drops below 7.4 Volts, the Simulator will be automatically shut down. To avoid this, unplug the lamp, stop the turntable, plug in the RBF switch, and plug in the DC charging cable when you aren't gathering telemetry data to recharge the battery. The battery will take about 2 hours to recharge fully up to 9.4 Volts. If you fully discharge the battery, switch to the other battery which should be fully charged. Don't forget to recharge that battery overnight.
To Change Batteries
-
Make sure Simulator is either shut down (see below) or has the DC power pack plugged in and the RBF pin inserted.
-
Open the top of the frame by using the handle (the small raised tab near the antenna). It should snap open. There will be two wires still attached - the antenna and the push button, so carefully open it.
-
You will see the 9 Volt battery either on top or down the side of the frame. Carefully lift out the battery and unclip it.
-
Clip in the new battery and snap the top closed again. Don't forget to recharge that battery by having the DC power pack plugged in for about 2.5 hours with the RBF pin inserted.
To Shutdown
-
Turn off the lamp and the turntable.
-
Insert the RBF pin into the Simulator
-
Plug in the charging cable into the Simulator
-
Press and hold the button on the top for three seconds then release. The Simulator will shutdown in about 20 seconds.