vB3 CubeSat Assembly and Disassembly Instructions - alanbjohnston/CubeSatSim GitHub Wiki
This section assumes you have a built the four board stack and the frame and are ready to assemble the CubeSat.
This is not the latest version of the CubeSatSim. You can find it here.
If you have a CubeSat Simulator and need to remove the board stack, skip down to the next section.
Here are the steps to assemble a CubeSat Simulator
- Make sure RBF pin, battery, and DC power are unplugged.
- Secure any unconnected solar panel connectors to the outside of the top with tape to prevent them falling under the board stack. Make sure the battery cable and coax to antenna are out of the way.
- Make sure the board is lined up correctly, with the RBF switch facing the hole in the frame on the +X side.
- Lower the board stack carefully, making sure no wires are underneath the board stack.
- When the board is fully inserted, connect back up any of the solar panel connectors that were unplugged.
- Slide board so RBF switch goes into the hole in the frame.
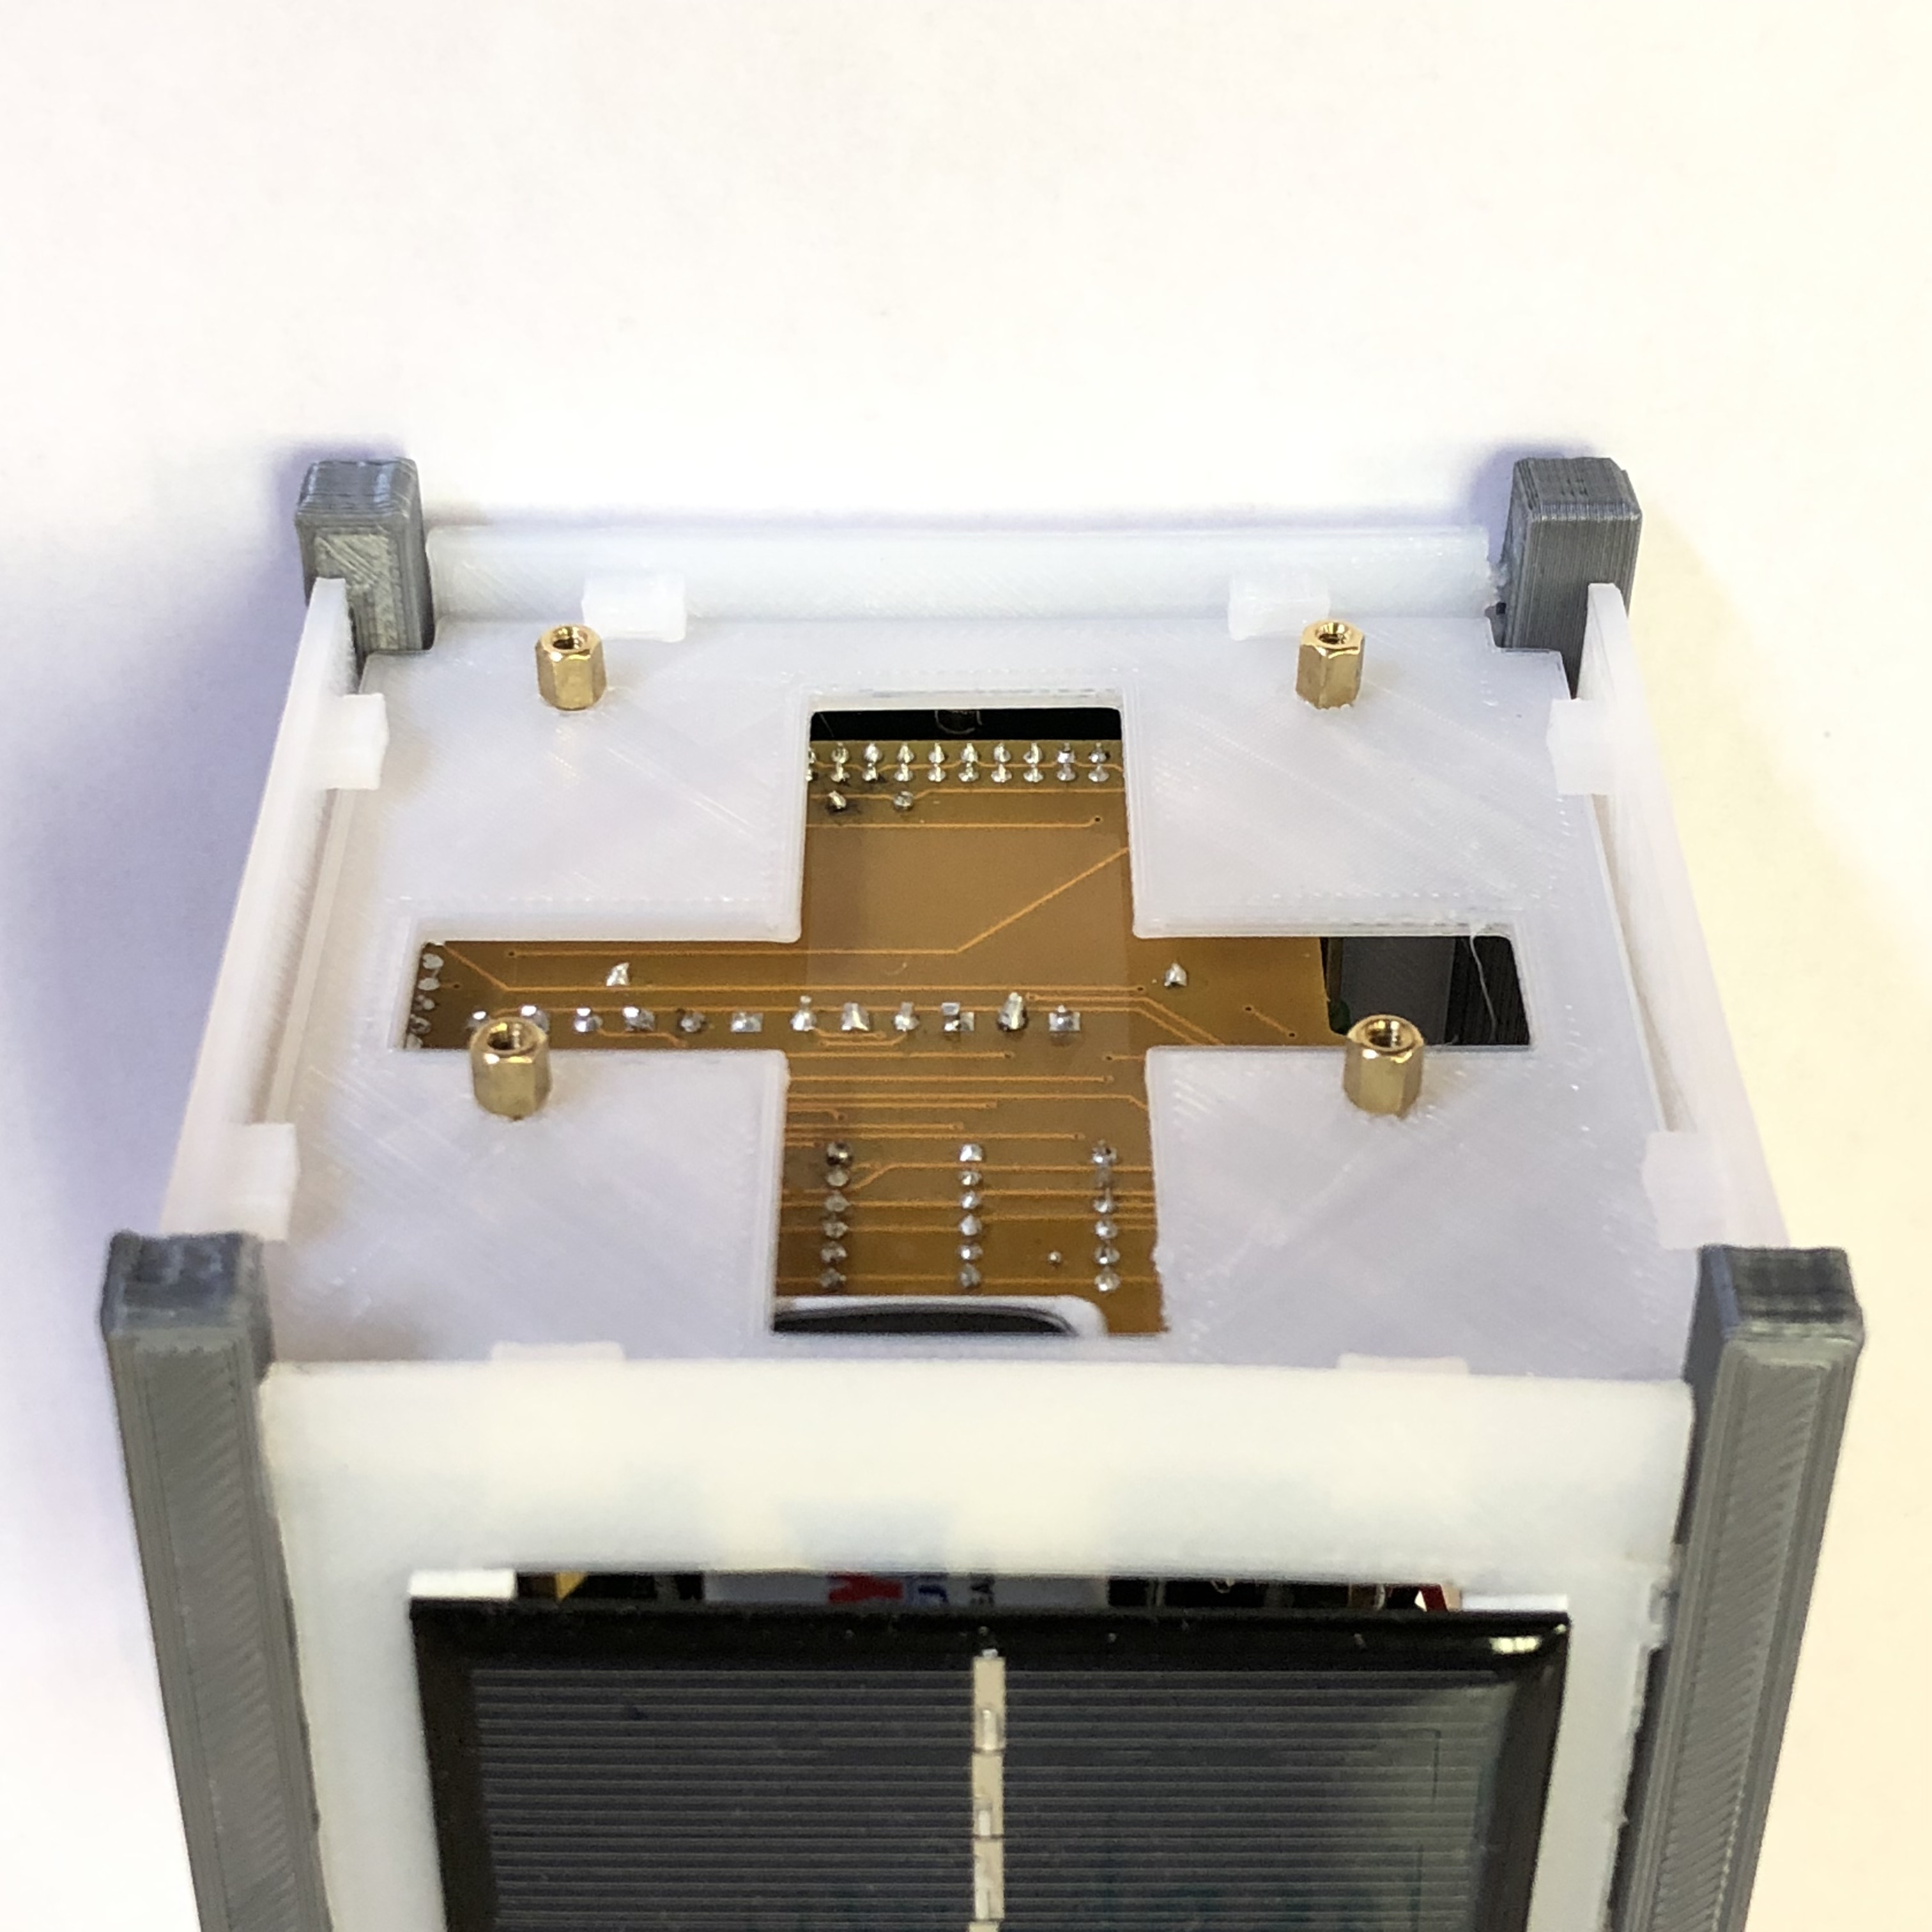
- Rest the Simulator on its side with the RBF pin facing down (-X side facing up) and move the board around until the 4 holes on bottom panel line up. Screw on the 5mm standoff hardware as shown here:

-
Tighten until snug - don’t overtighten. Only use a tool if it jams half way through.
-
Double check that all connectors are connected and are not under stress.
-
Reconnect the battery battery and lower into corner on the -Y side between the board stack and the frame wall.
-
Carefully feed in the second 9V connector.
-
Route the antenna coax on opposite side to RBF switch (-X side) and slide into slot on top.
-
Place top on Simulator, gently moving around wires as needed - do not force!
-
Insert RBF switch pin and reconnect DC power pack.
-
Press and release button to turn on. Verify operation of Simulator before shutting down again by pressing and holding the button for 3 seconds.
Here are the steps to disassemble a CubeSat Simulator.
- Make sure Simulator is shut down. If it is shut down, there will be no glowing red LED at the top of the board stack. A small red LED may blink occasionally. If the red LED is glowing, then press and hold the button for 3 seconds to shut down the Simulator. This takes about ten seconds.
- Unplug the RBF pin and the DC power cord if plugged in.
- Pop open the top and slide out antenna so it is hanging loose.
- Gently pull out back-to-back 9V clip connector by pulling on the wires.
- Gently lift out the 9V battery by the wires and unplug it once it is outside.
- If you just need to lift out the board stack for diagnostics or repairs, you don't need to unplug all of the solar panel connectors. But you will most likely need to unplug one panel, the +X panel lead that goes across the top of the board stack.
- If you need to completely remove the board stack, unplug the +X, -X, +Y, and -Y solar cells.
- Lay the Simulator on its side so that the RBF pin switch is facing up (+X side facing up) and unscrew 4 bolts on bottom. Don't lose them when they come loose! The board stack will feel loose once the last bolt is removed.
- Slide the board down so that the RBF switch detaches from the hole in the frame. The board stack should now move freely inside the frame.
- Place your hand over the open top of the frame and turn the Simulator upside down. As you raise the frame, the board stack should pull out of the frame - keep checking to make sure none of the connector wires get jamed or prevent the extraction.
- If you only unplugged the +X solar cell, once the bottom board stack (yellow Solar Power Board is outside the frame, turn the board stack 45 degrees and rotate back upright. Rest the board stack on top of the frame. It should stay or almost stay with a light hand.
- If you unplug all the solar cell connectors, the board stack will come completely out from under the frame.
- You can now do your inspection or maintenance on the board.
Back to the CubeSat Simulator Wiki Home.