Serenity - alanbjohnston/CubeSatSim GitHub Wiki
Serenity CubeSat Telemetry
Here is information on the Serenity CubeSat built by Teachers in Space: https://teachers-in-space.com/serenity/
Here is information about the launch of Serenity on the Firefly Alpha rocket: https://space.skyrocket.de/doc_lau/firefly.htm
Launch window is currently Thursday September 3 0100 - 0400 UTC and it will be live-streamed by Everyday Astronaut: https://everydayastronaut.com/flta001-dream-alpha/
SatNOGS observations of Serenity transmissions:
Serenity will transmit on 437.1 MHz in the 70cm amateur radio band. Here is their IARU coordination information: http://www.amsat.org.uk/iaru/
The signal is digital in AX.25 format at a rate of 4800 bps (4k8). Here is an audio recording of the telemetry:
https://github.com/alanbjohnston/CubeSatSim/blob/FIAB-v3/groundstation/WAV/beacon_test_2.wav
To receive Serenity telemetry, you will need:
- An antenna mounted outside with a clear view of the sky, especially to the north or south (probably a directional antenna such as a Yagi)
- A radio or SDR to tune to 437.1 MHz and demodulate as Narrowband FM (NFM or NBFM)
- Packet decoding software to display the contents of each packet.
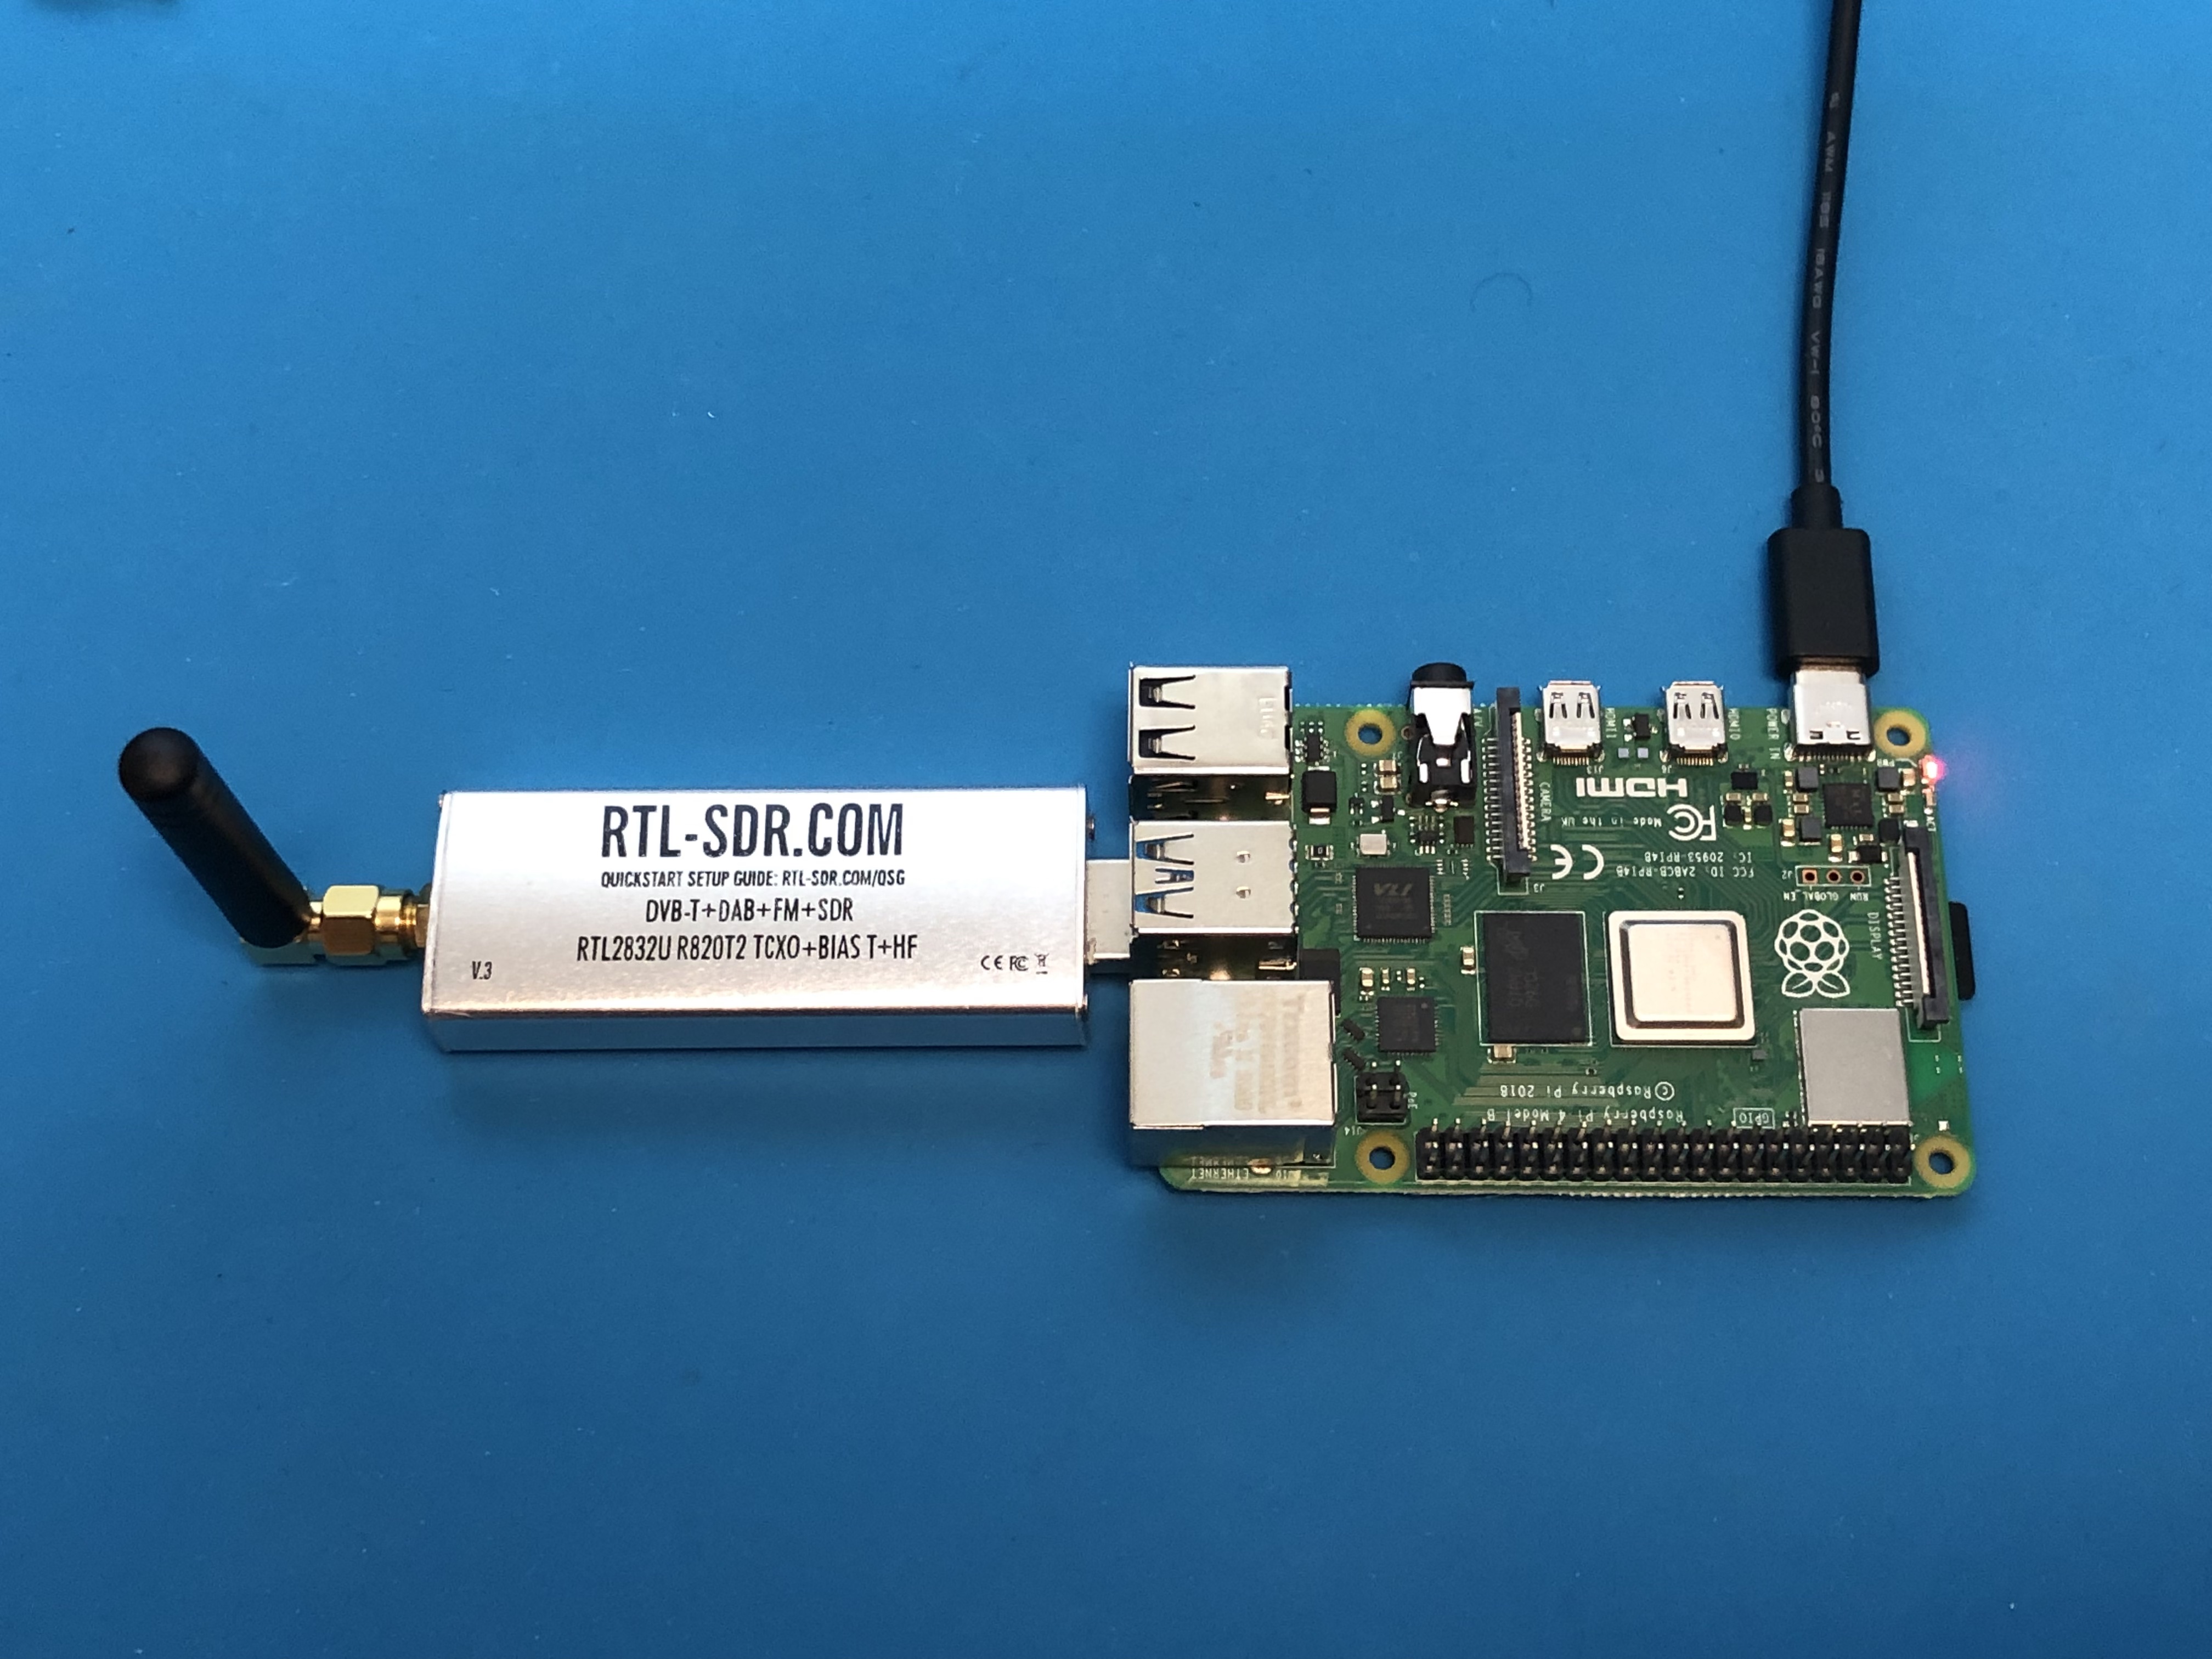
The simplest antenna/SDR combination is an RTL-SDR USB radio dongle and rabbit ears. For example this combination which unfortunately isn't available right now: https://www.amazon.com/gp/product/B011HVUEME
The easiest setup is to use a Raspberry Pi (3, 3B, 3B+, 4B all work fine) running Raspberry Pi OS.
You could start with a plain Raspberry Pi and install software such as:
- RTL-SDR drivers
- SDR software such as CubicSDR
- Packet decoding software such as Direwolf
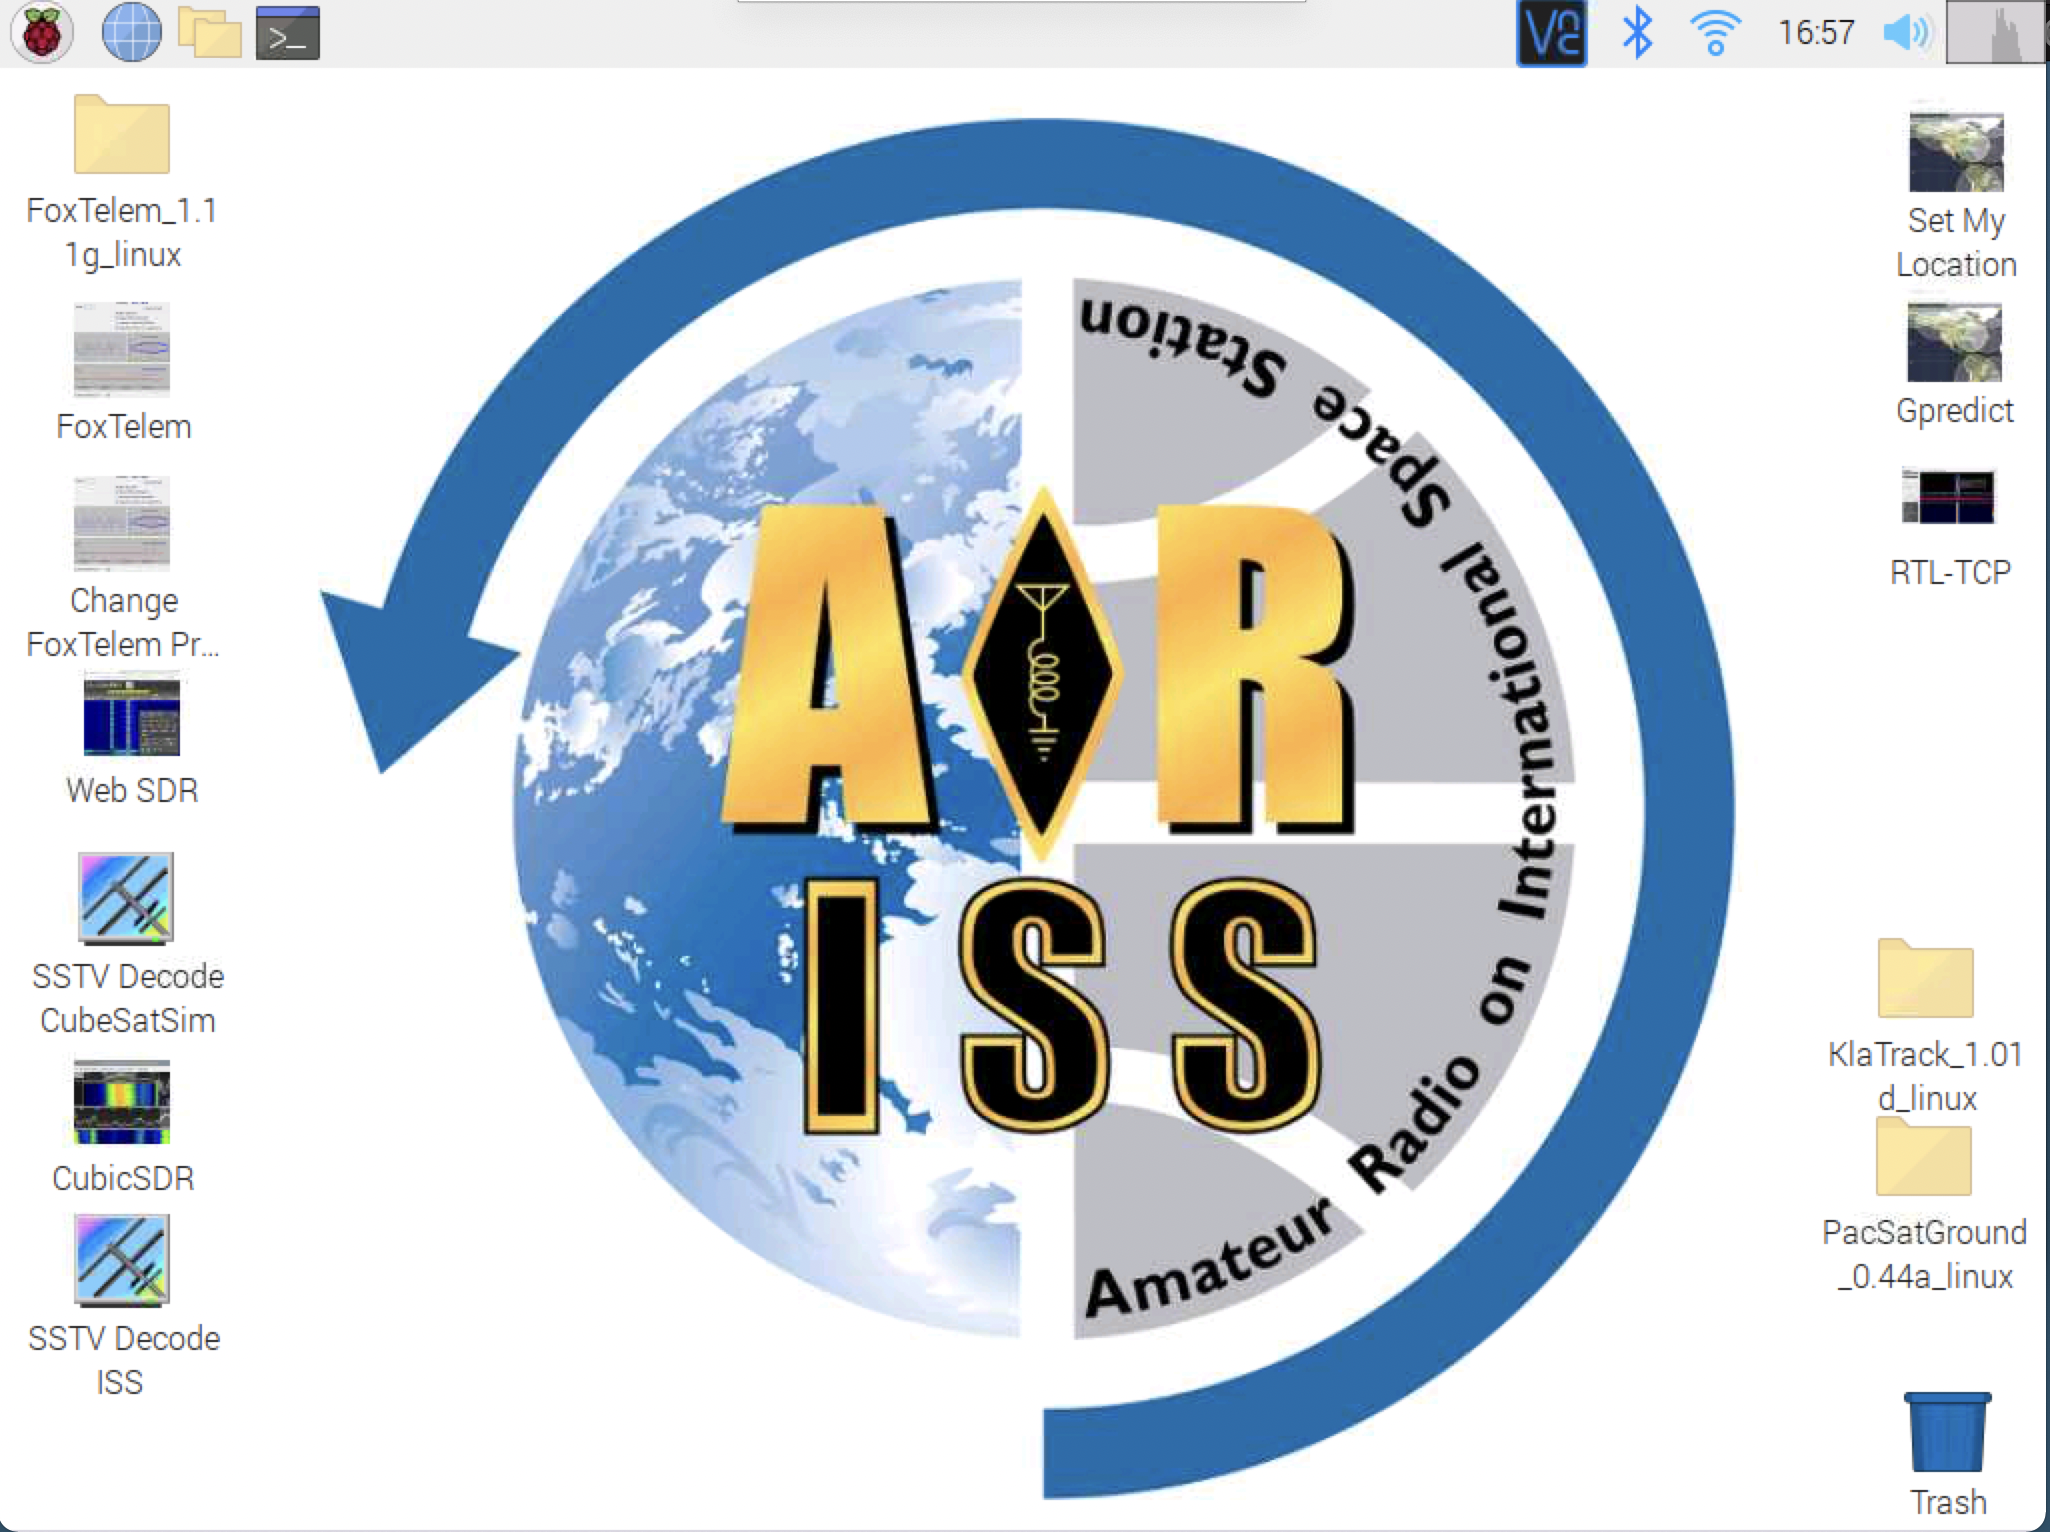
It is much easier to start with a pre-built image such as the ARISS Radio Pi (https://github.com/alanbjohnston/CubeSatSim/wiki/Radio-Pi)
or the RadioPi.club (https://radiopi.club) image.

If not, there are plenty of guides on how to install RTL-SDR, CubicSDR, Gqrx, and Direwolf on a Raspberry Pi that you can Google.
Once you have these applications installed, or if you start with a radio Pi image, the scripts in this repository will configure and connect them together to do the decoding.
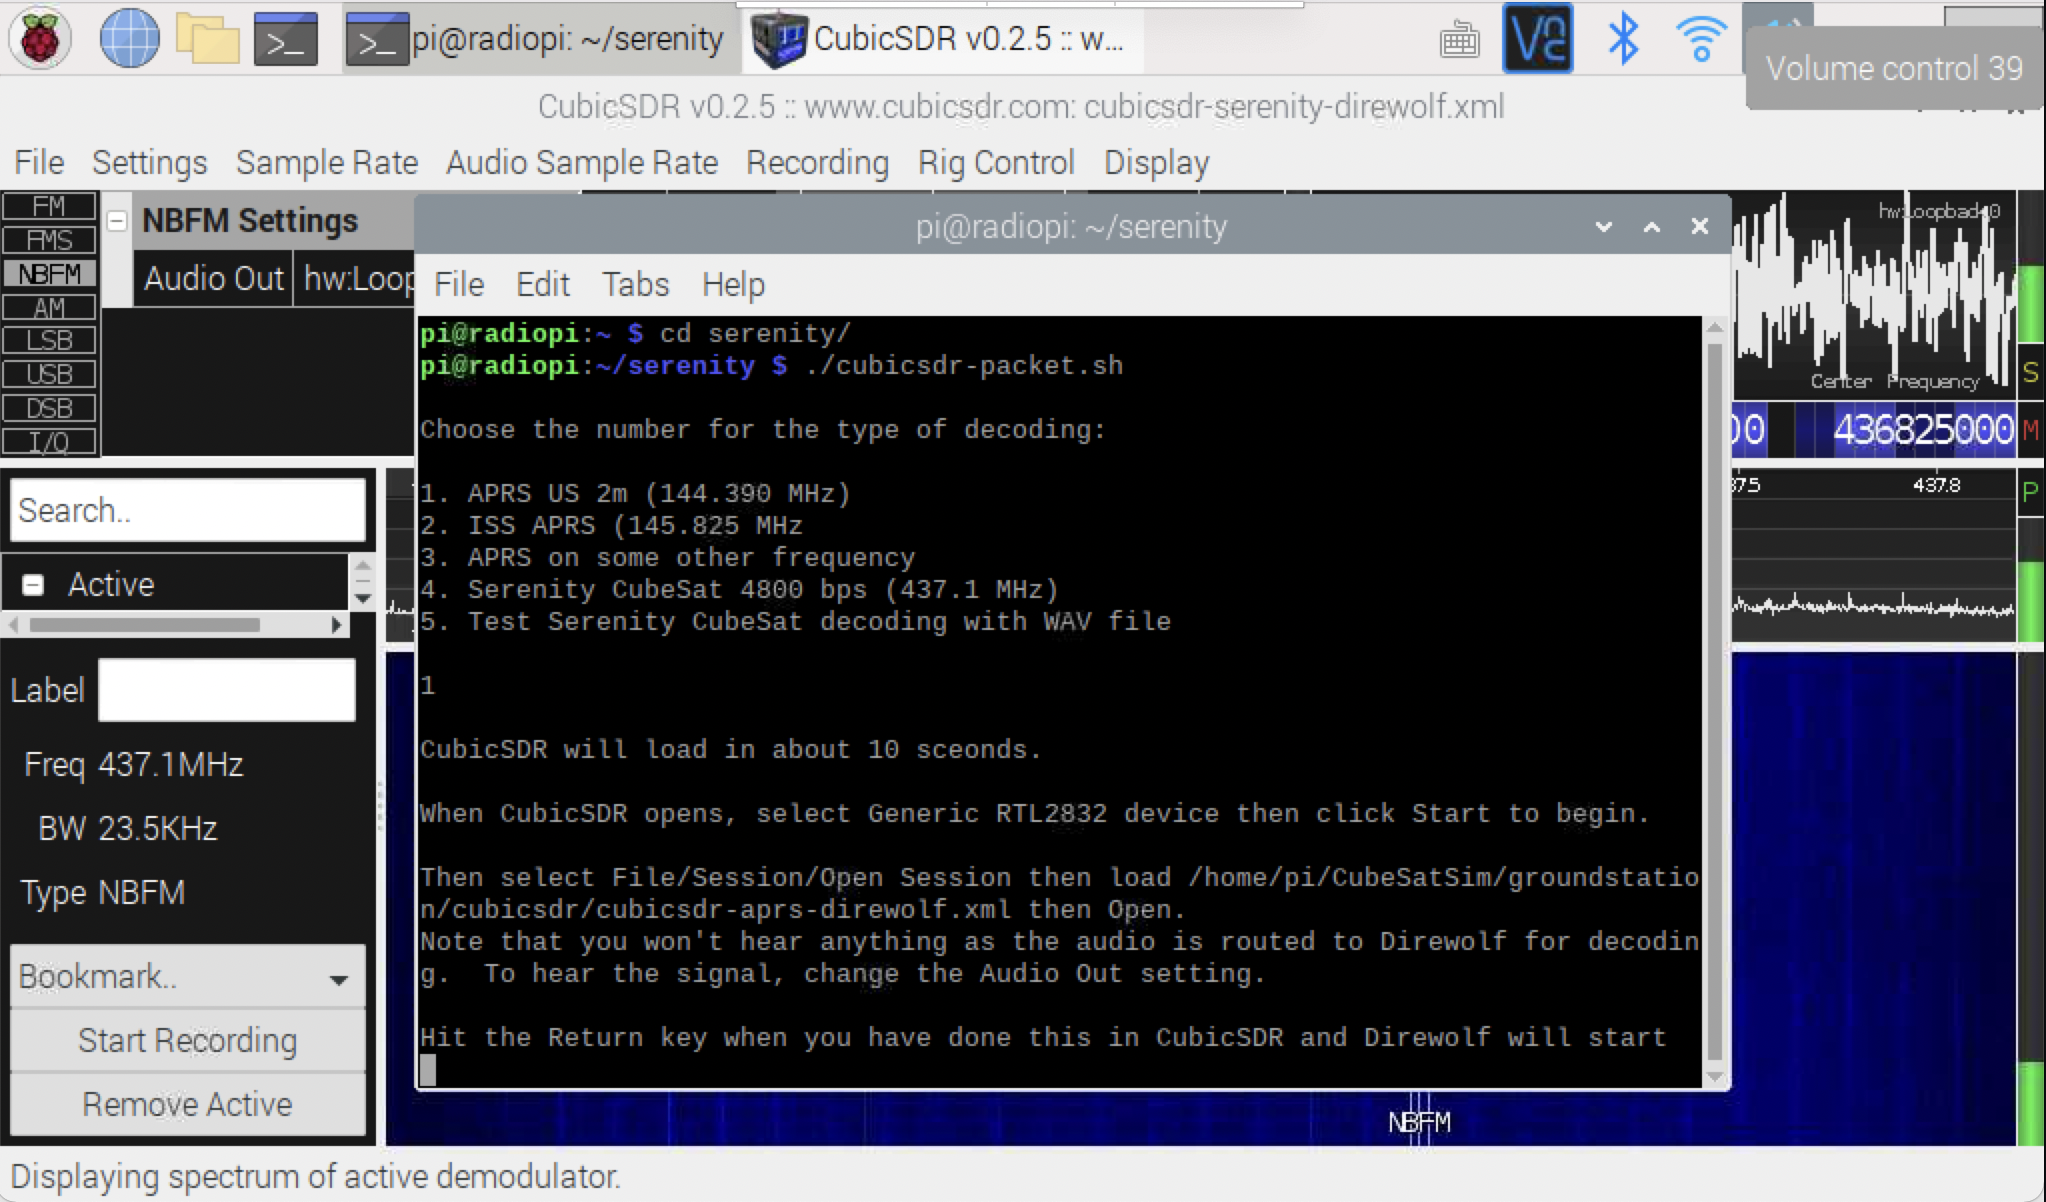
For example, the packet.sh script allows you to select a variety of packet sources including:
- APRS US 2m (144390 kHz)
- CubeSatSim APRS (434900 kHz)
- APRS European APRS 2m (144800 kHz)
- APRS Australian APRS 2m (145175 kHz)
- APRS on another frequency
- APRS on ISS (145825 kHz)
- Serenity CubeSat 4800 bps (437.1 MHz)
- Test Serenity CubeSat decoding with WAV file
Testing your setup with local terrestrial APRS is very good way to make sure things are working. Unless you are in a very remote area, you should pick up APRS signals and you should see them decoded on your screen.
Testing the decoder using the recorded WAV file is also good, so you can hear the signal and see what the packets look like. Note that these are simulated Serenity packets based on my best guesses and may not be identical to the real CubeSat signal.
You simply run the script and then type the number for your selection.
Getting the script is easy. You can do it with just these simple steps. Open a terminal window (a black window) and type:
sudo apt-get install -y git
Uninstall pulse audio:
sudo apt-get remove -y pulseaudio
sudo reboot now
After the Pi reboots, open a terminal window (a black window) and type:
cd
If you are starting with the ARISS Radio Pi image, you can skip this next step as the CubeSatSim software is already installed.
git clone http://github.com/alanbjohnston/CubeSatSim.git
cd CubeSatSim
git pull
git checkout FIAB-v3
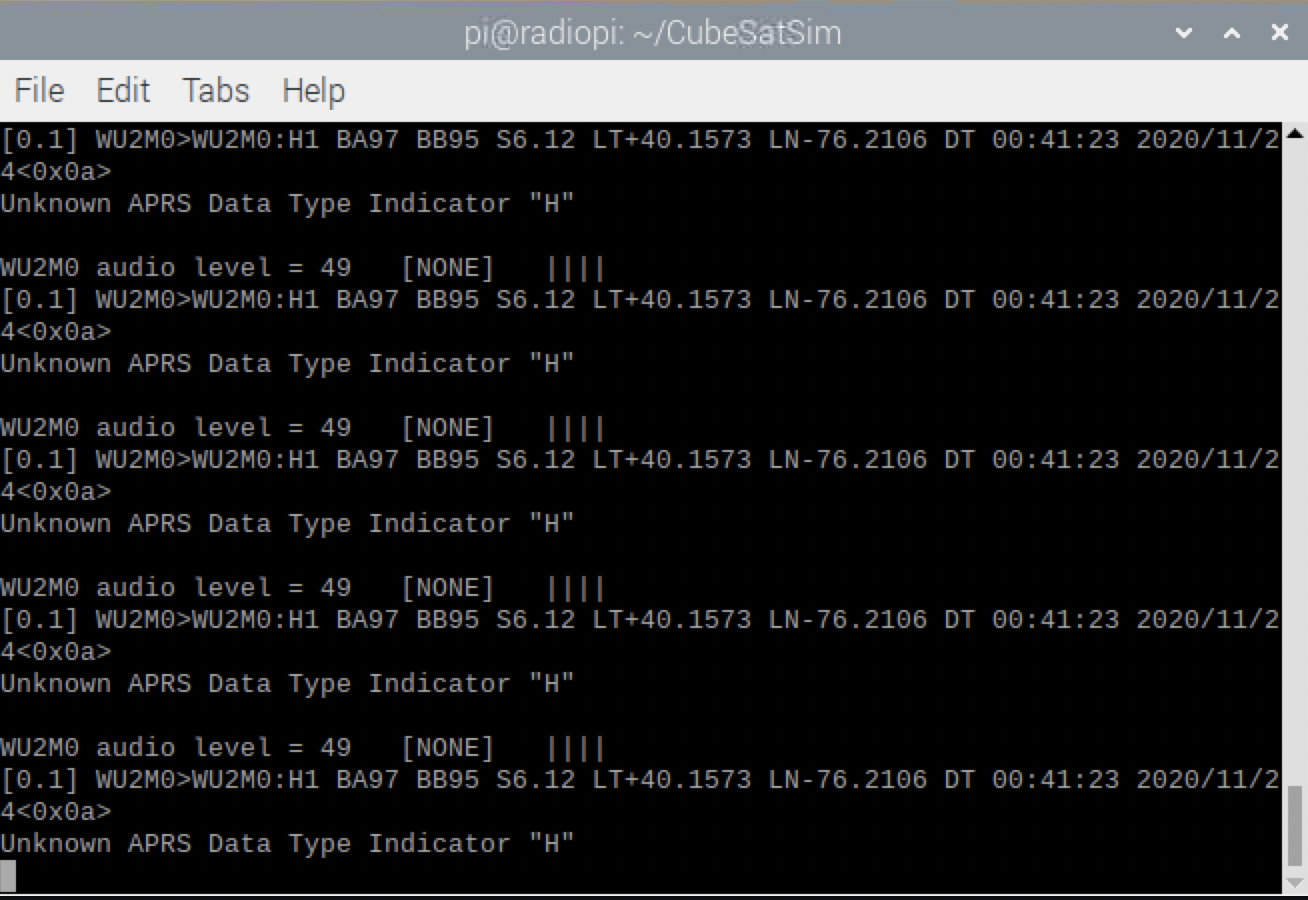
You are now ready to run the scripts. The packet.sh script fully automates the decoding. You will hear the decoded signals on the speaker (there is no squelch, so it is a bit noisy). Just type:
groundstation/packet.sh
And then select your number and hit Return. I'd suggest first testing with APRS on 2m since there is radio traffic in most places. You can also select 8 and test the decoder with a pre-recorded WAV file of Serenity telemetry. The decode looks like this in the Direwolf window:
To quit, either hold down the Control key and press C a few times or just close the window.
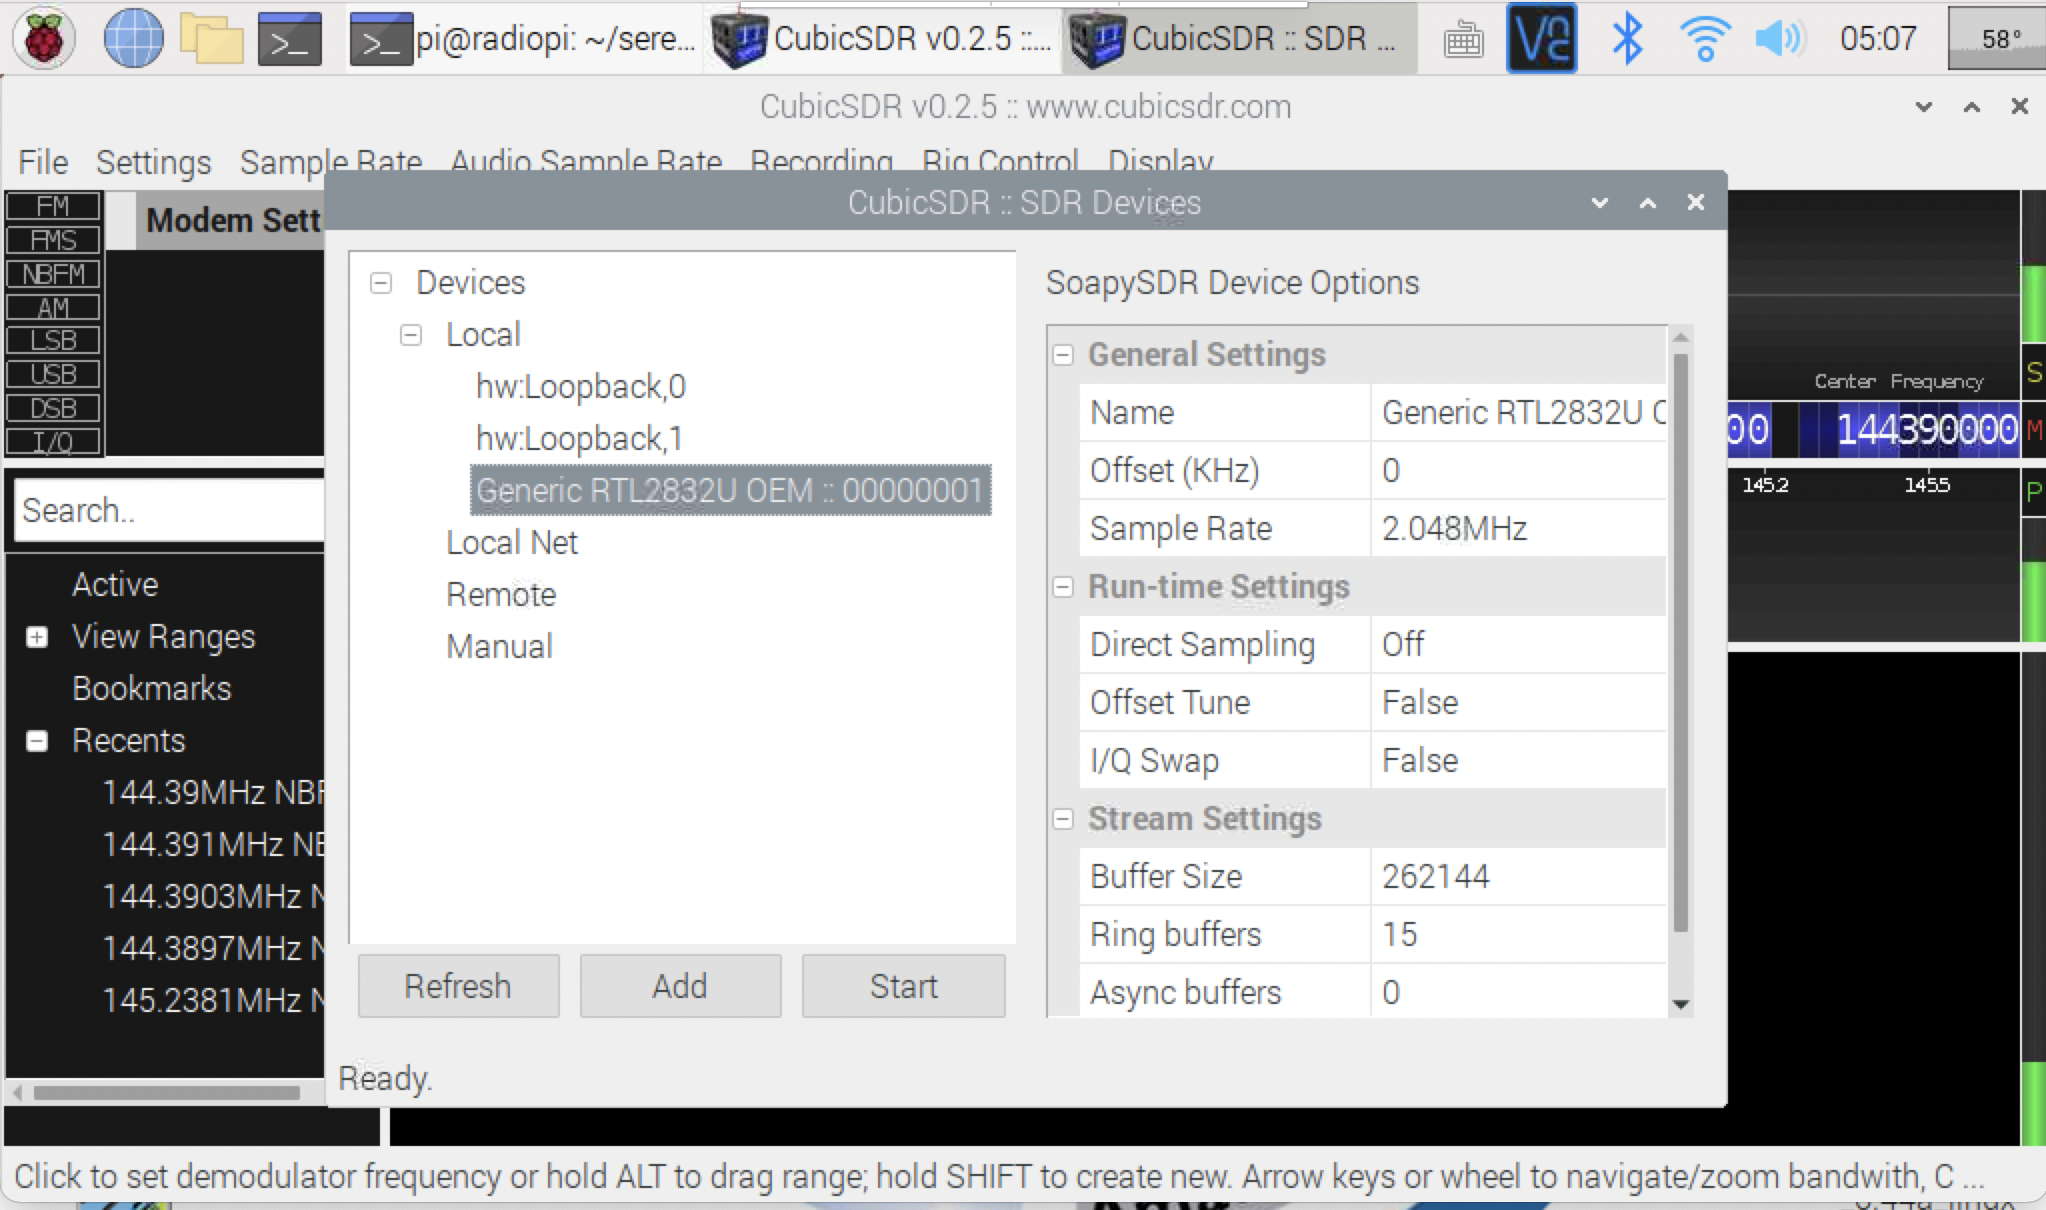
There is another script that uses CubicSDR as the SDR. You will not hear the decoded audio, but you will see the signal in the waterfall and can adjust the frequency for Doppler shift and change the gain and other settings. To run that script:
groundstation/cubicsdr-packet.sh
You will need to follow these steps to load the serenity session configuration file which will configure CubicSDR. Unfortunately, there is no way to automatically load this when you run CubicSDR.
"CubicSDR will load in about 10 seconds."
"When CubicSDR opens, select Generic RTL2832 device then click Start to begin."
"Then select File/Session/Open Session then load /home/pi/CubeSatSim/groundstation/cubicsdr-sessions/cubicsdr-aprs-direwolf.xml then Open."
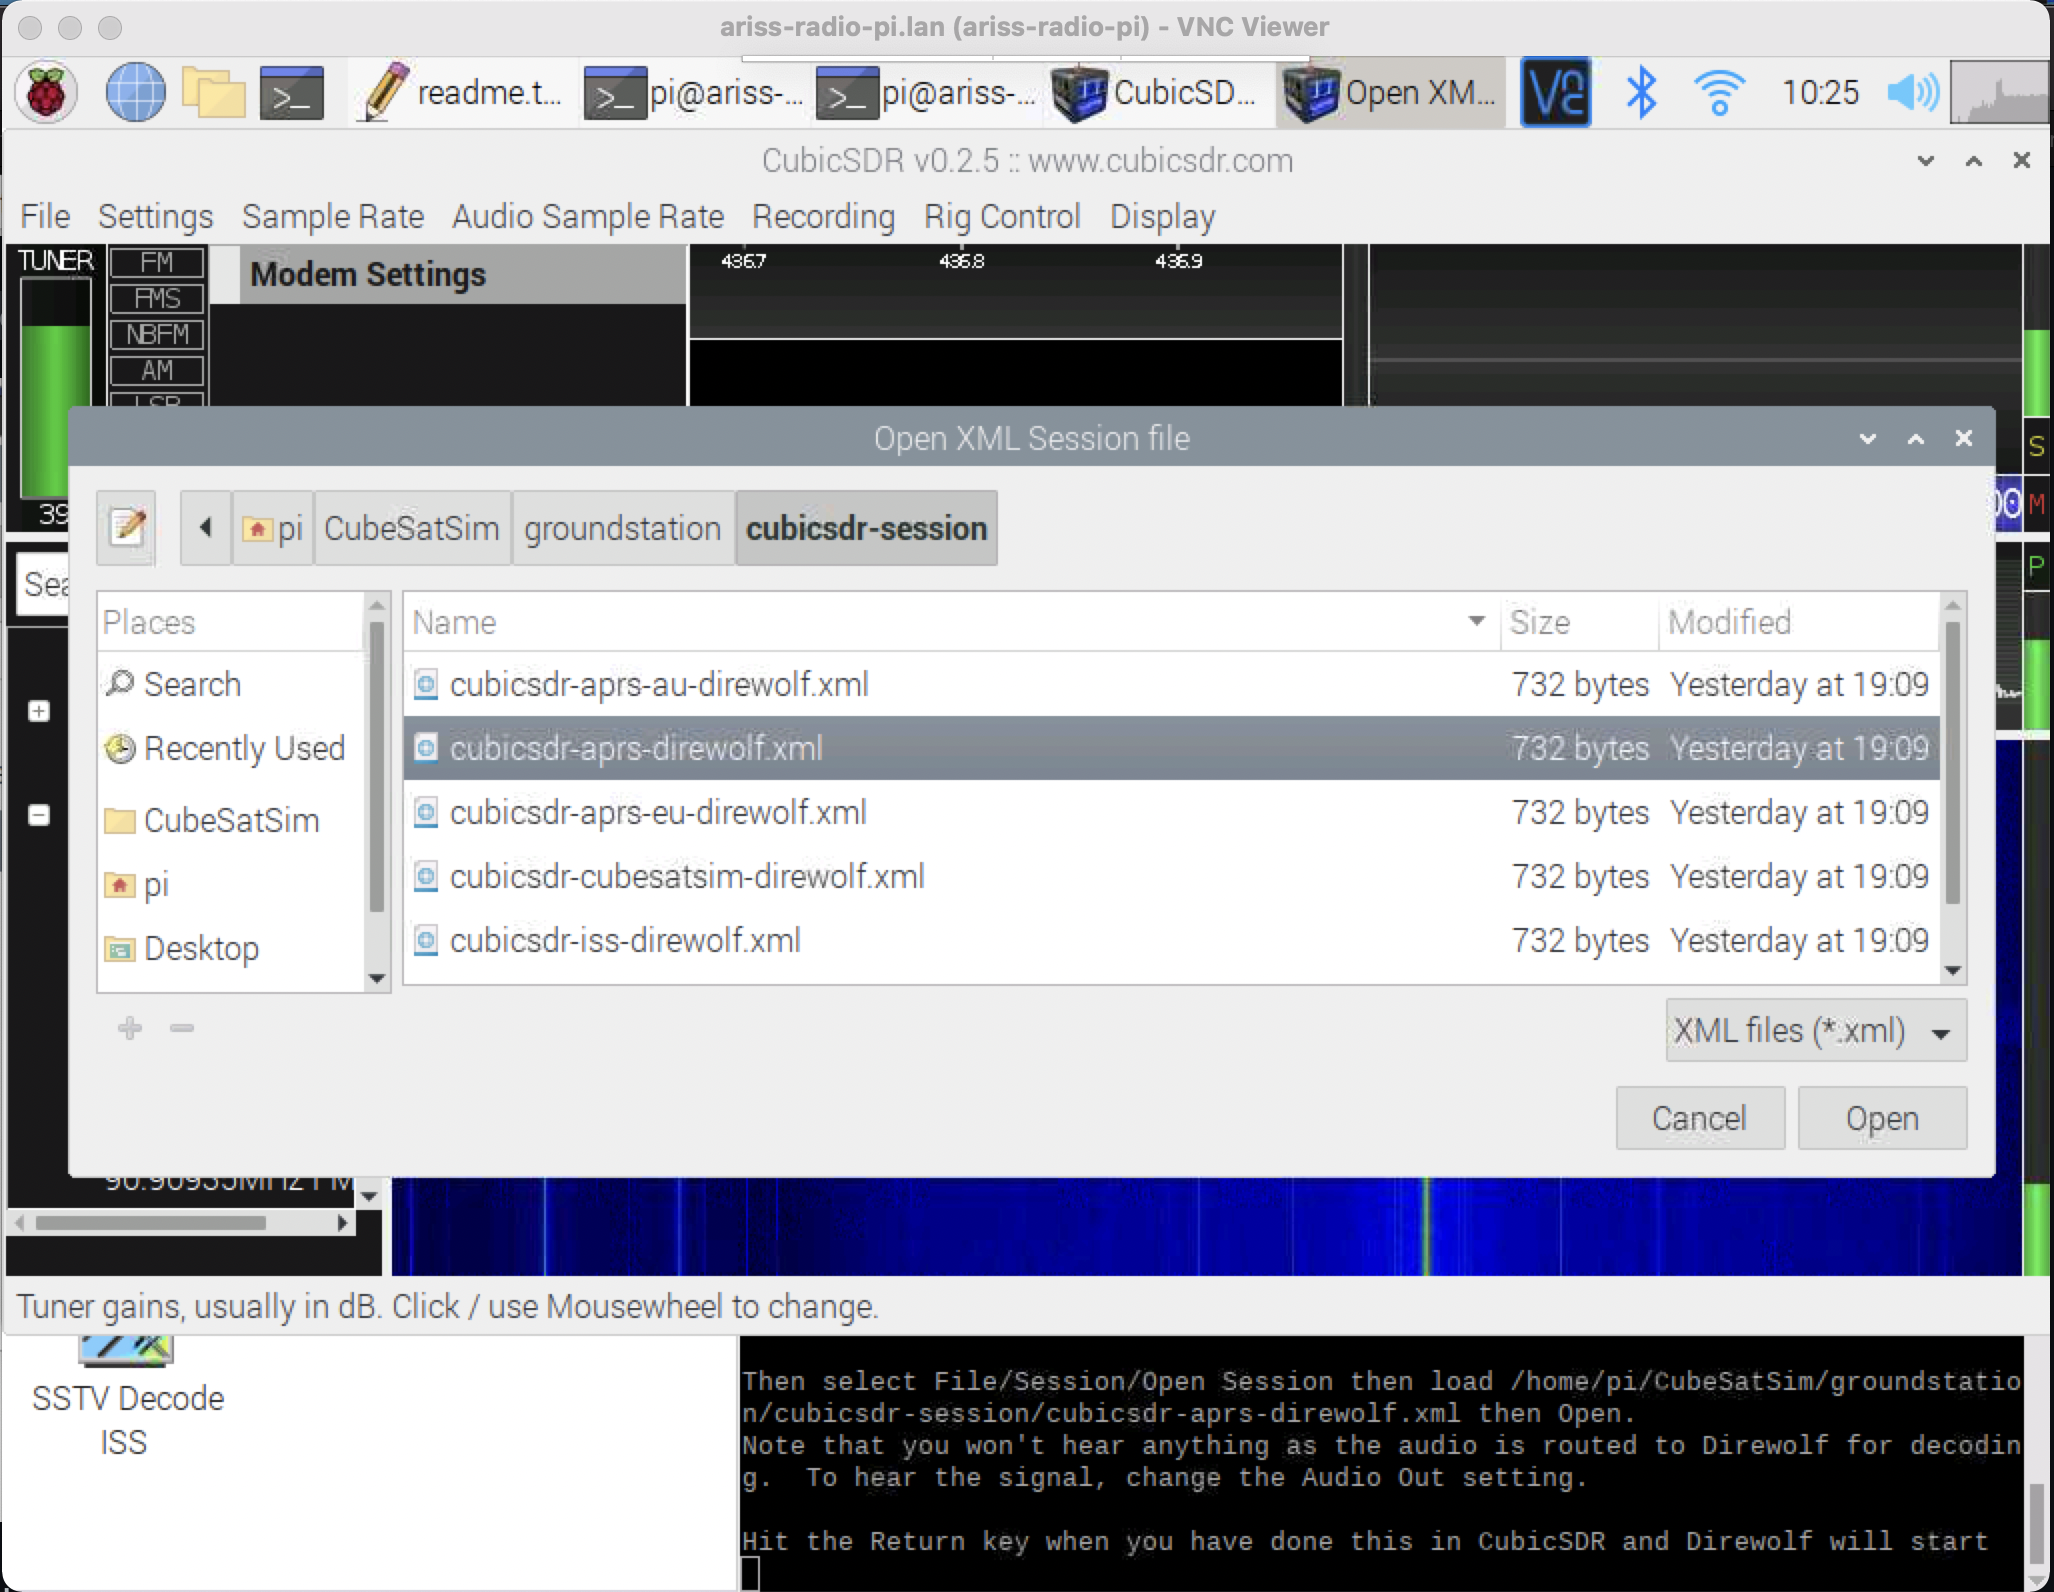
You will then need to go back to the terminal window and hit Return. Direwolf will then run and display the decoded packets.
You can test this by selecting the APRS option and then arrange your screen so you can see both windows:

Congratulations, you are ready to receive telemetry from the Serenity CubeSat - just select option 7 in the script.
You can use Gpredict on your ARISS Radio Pi to track Serenity so you know when to listen with your outside antenna.
Good luck!