Raspberry Pi Touch Screen Ground Station - alanbjohnston/CubeSatSim GitHub Wiki
These instructions are to build a Raspberry Pi Touch Screen Ground Station based on the Fox-in-a-Box v4 disk image.
If images on this page fail to load, you can download this PDF.
Video
Here is a video of this.
Parts
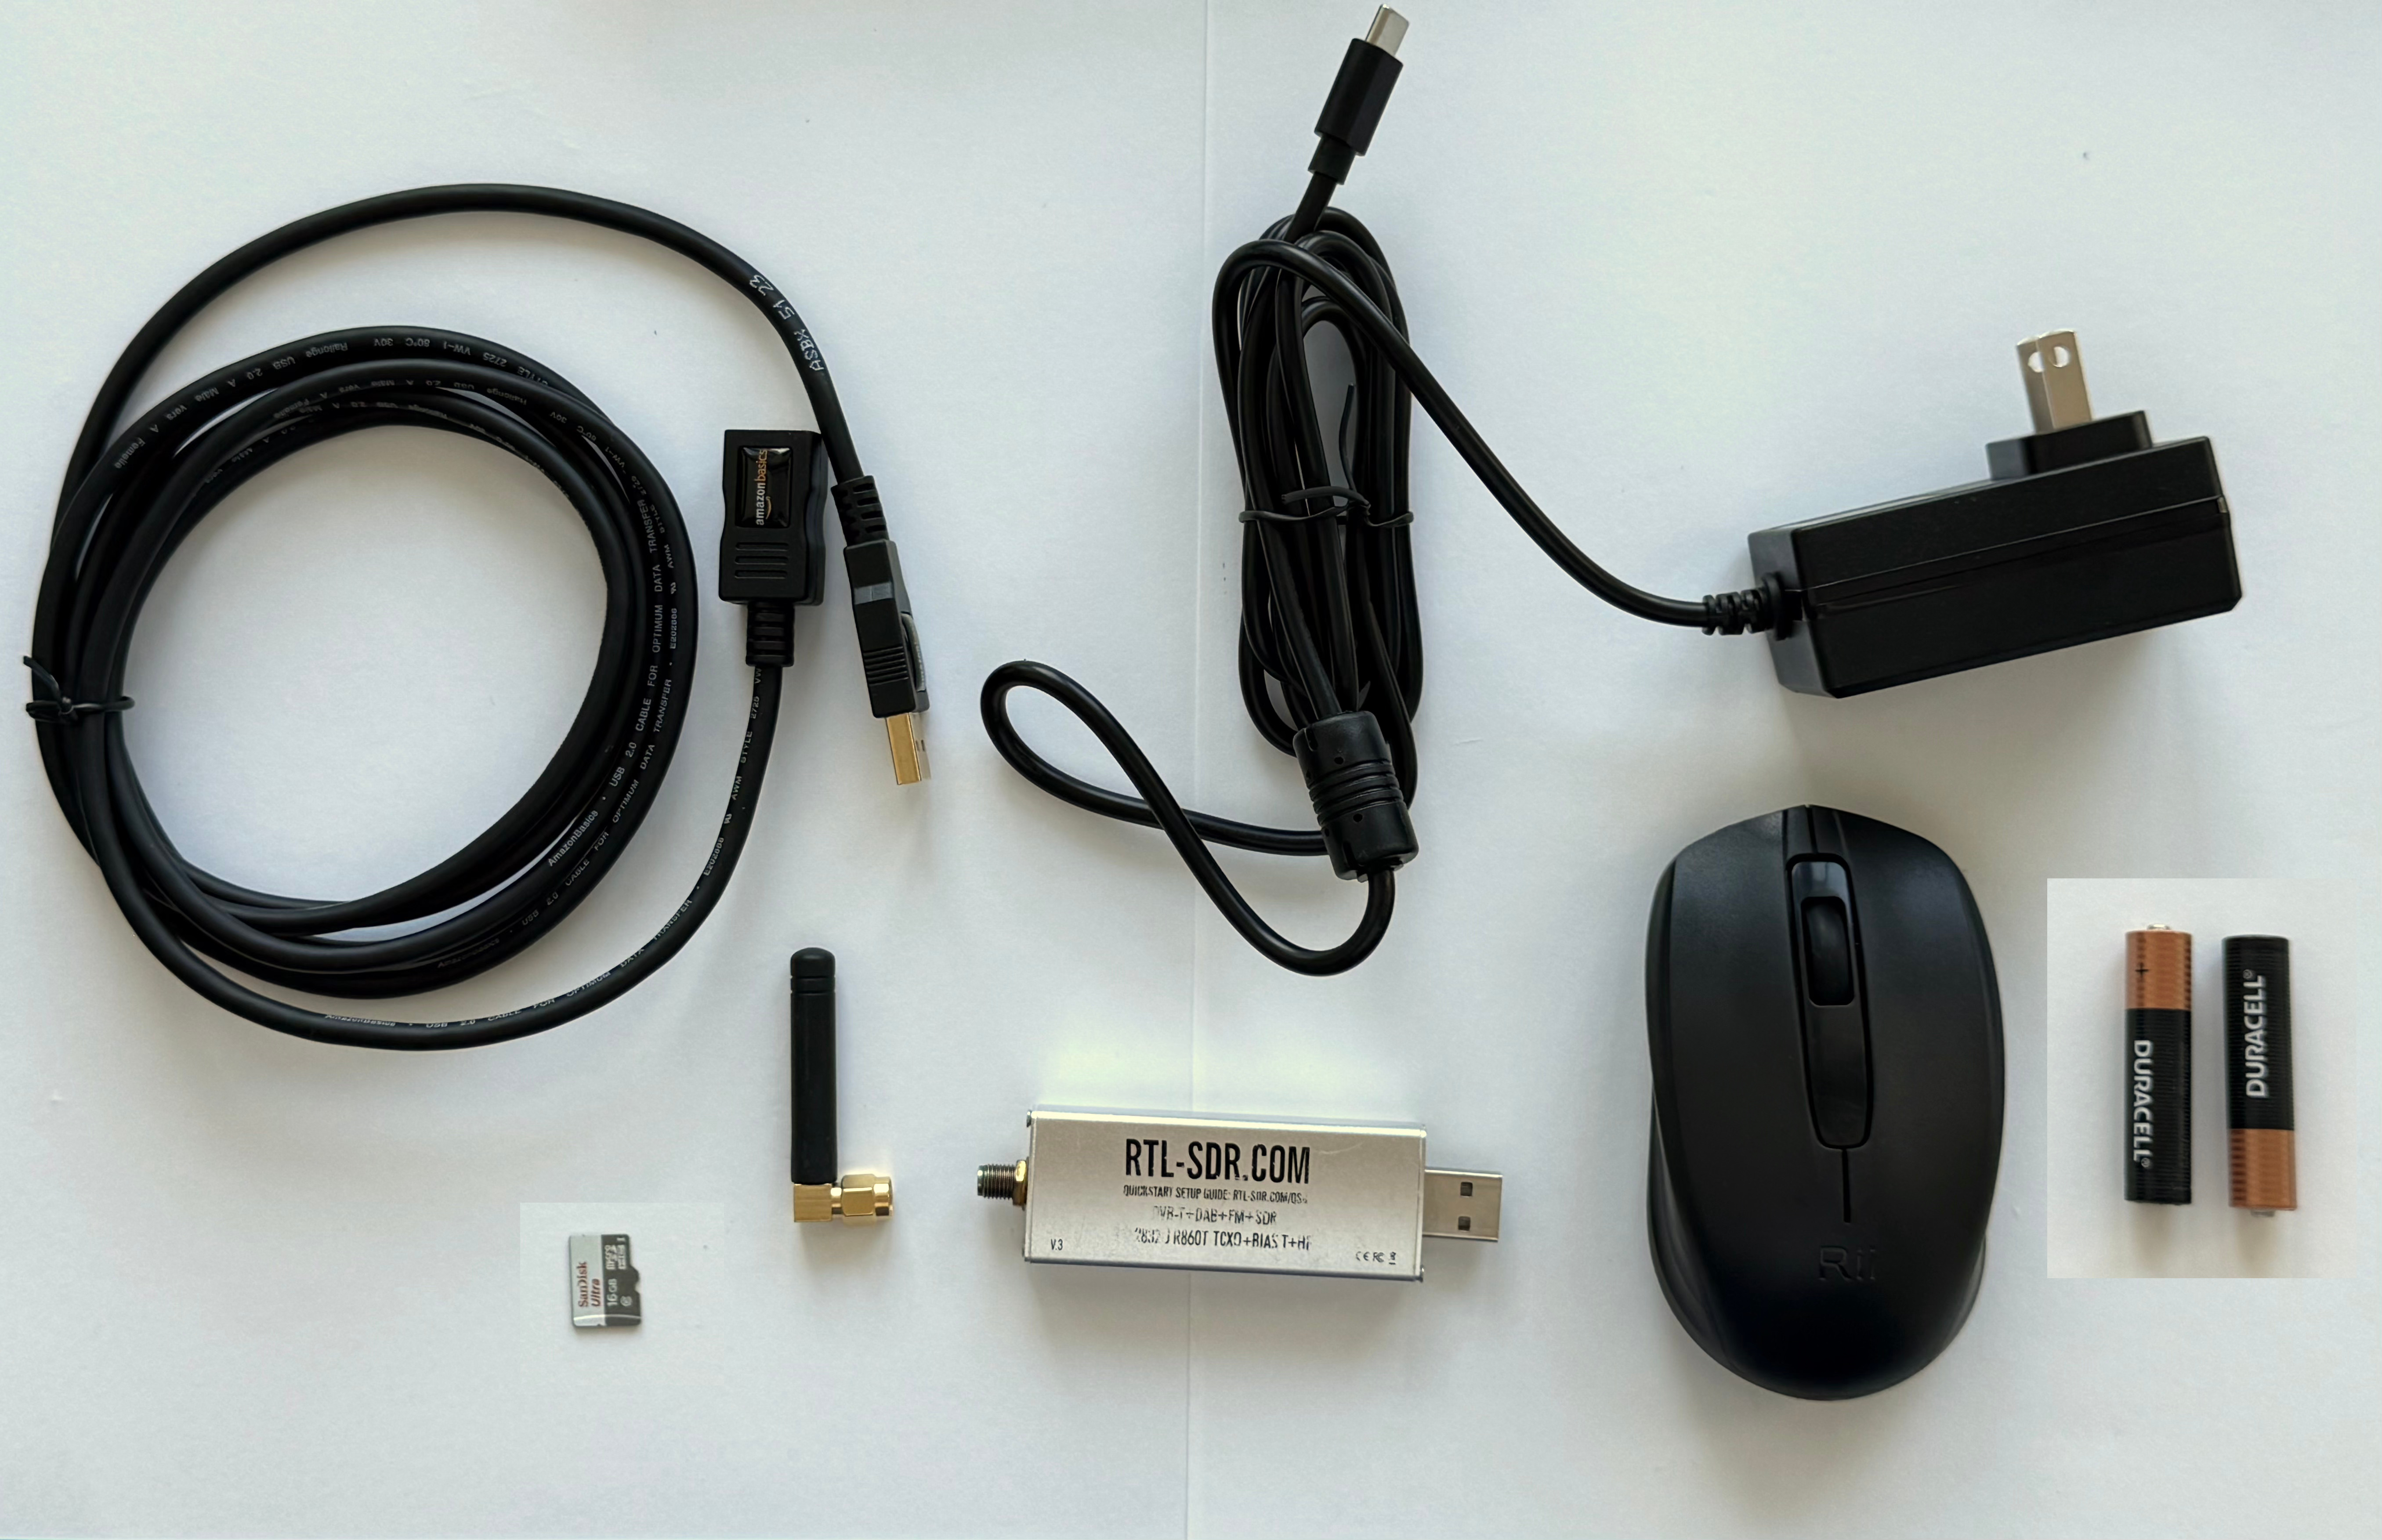
Here's what you need:
- Raspberry Pi 4 (or Raspberry Pi 5) Single Board Computer. Any RAM amount is fine.
- Micro SD card with Fox-in-a-Box v4 disk image (FIABv4)
- Sunfounder 7" Touch Screen with Speakers
- RTL-SDR radio dongle
- Antenna for RTL-SDR
- USB extender cable
- Raspberry Pi power supply
- Wireless mouse
- two AAA batteries for mouse
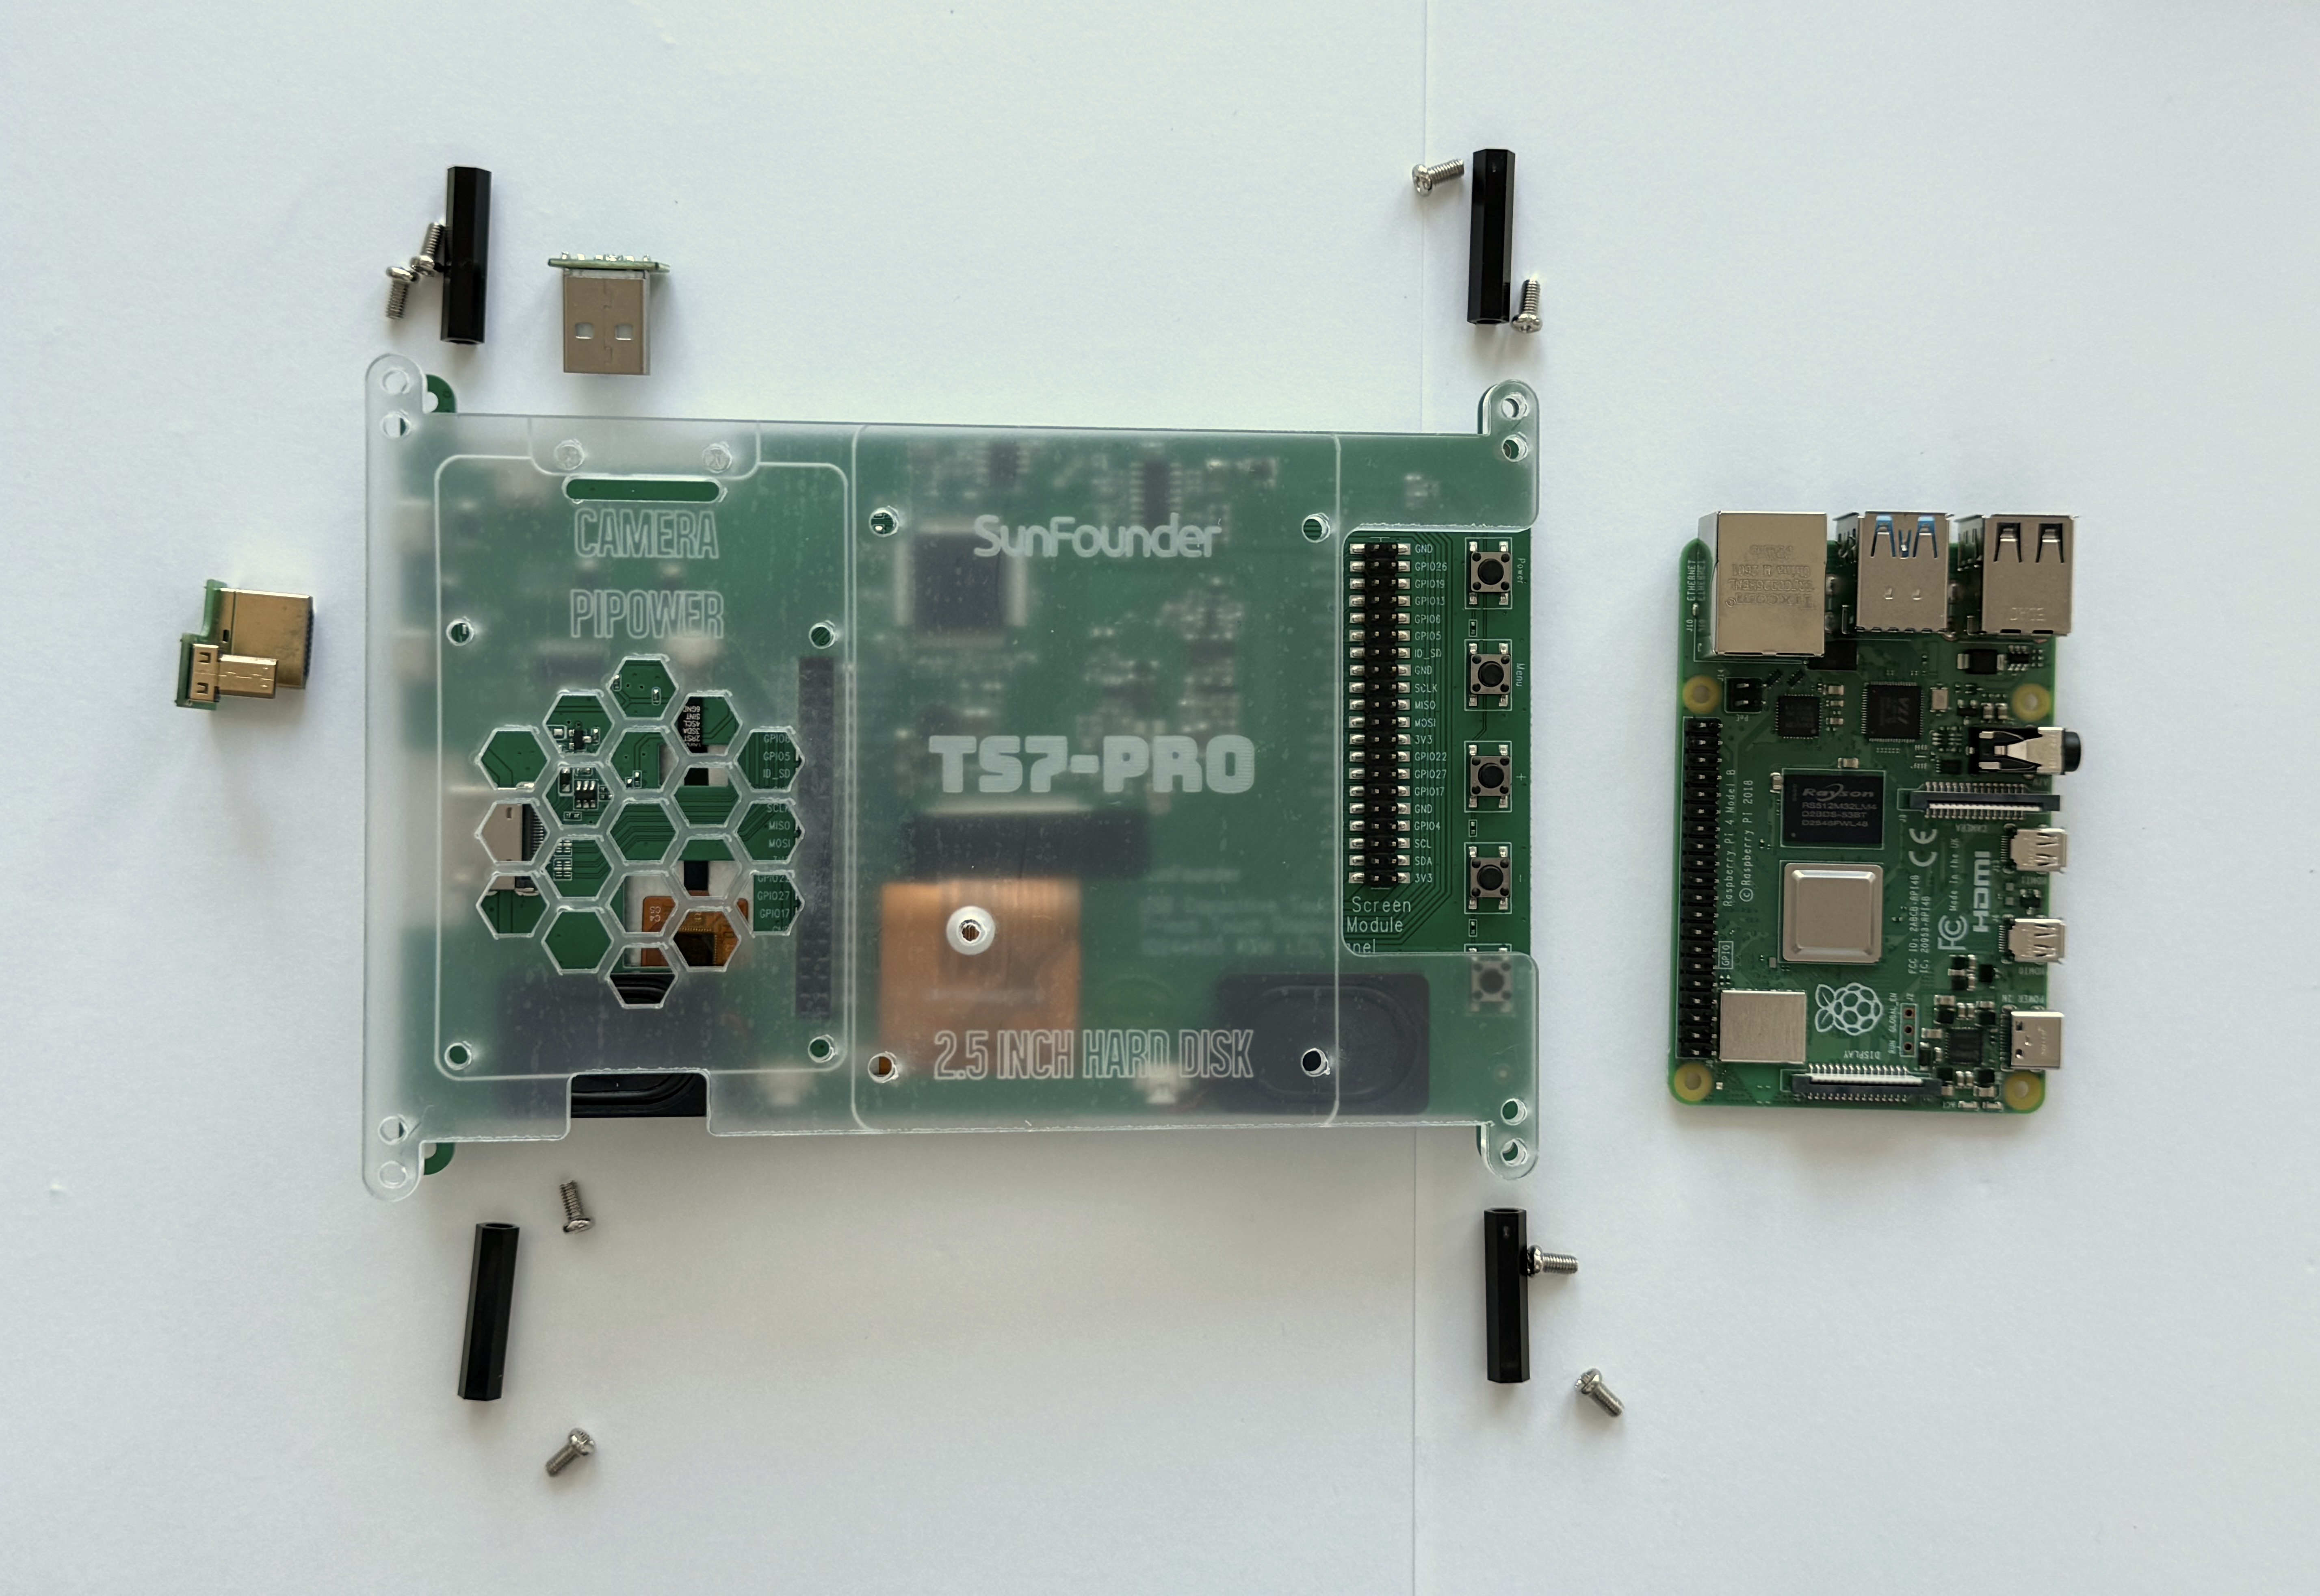
Here's how the parts look:

Steps
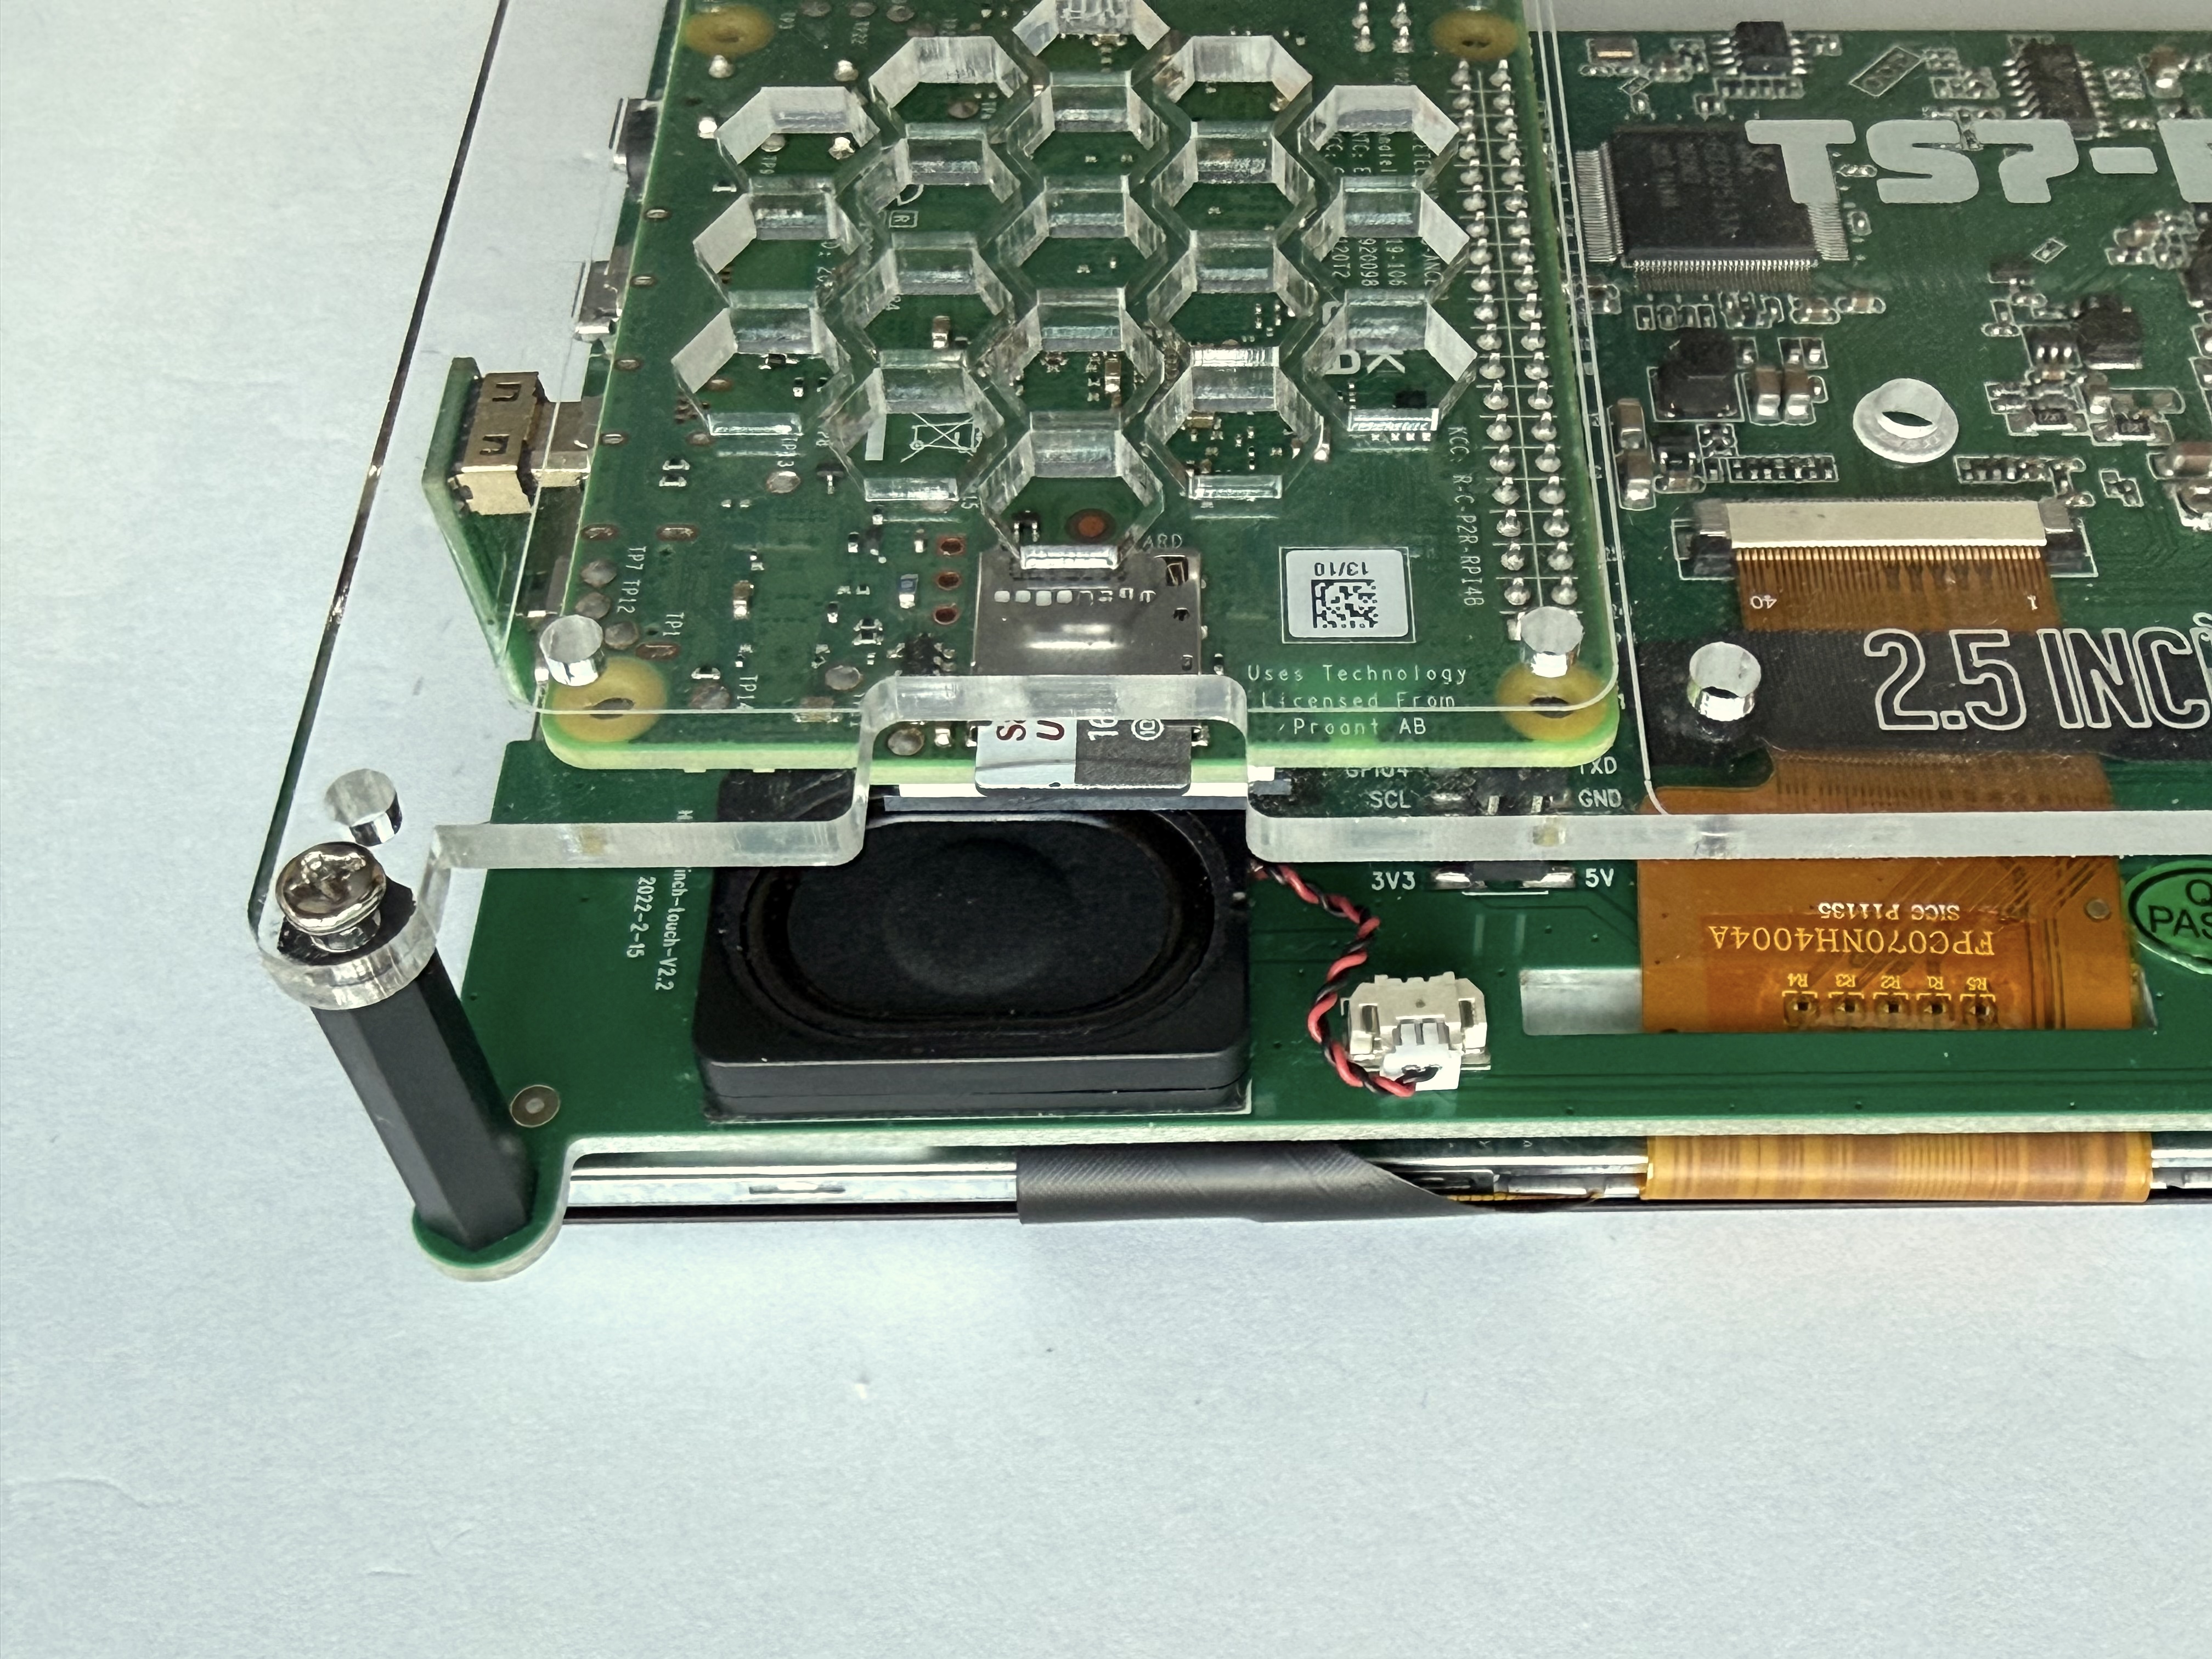
Here's the parts to put together the Touchscreen:
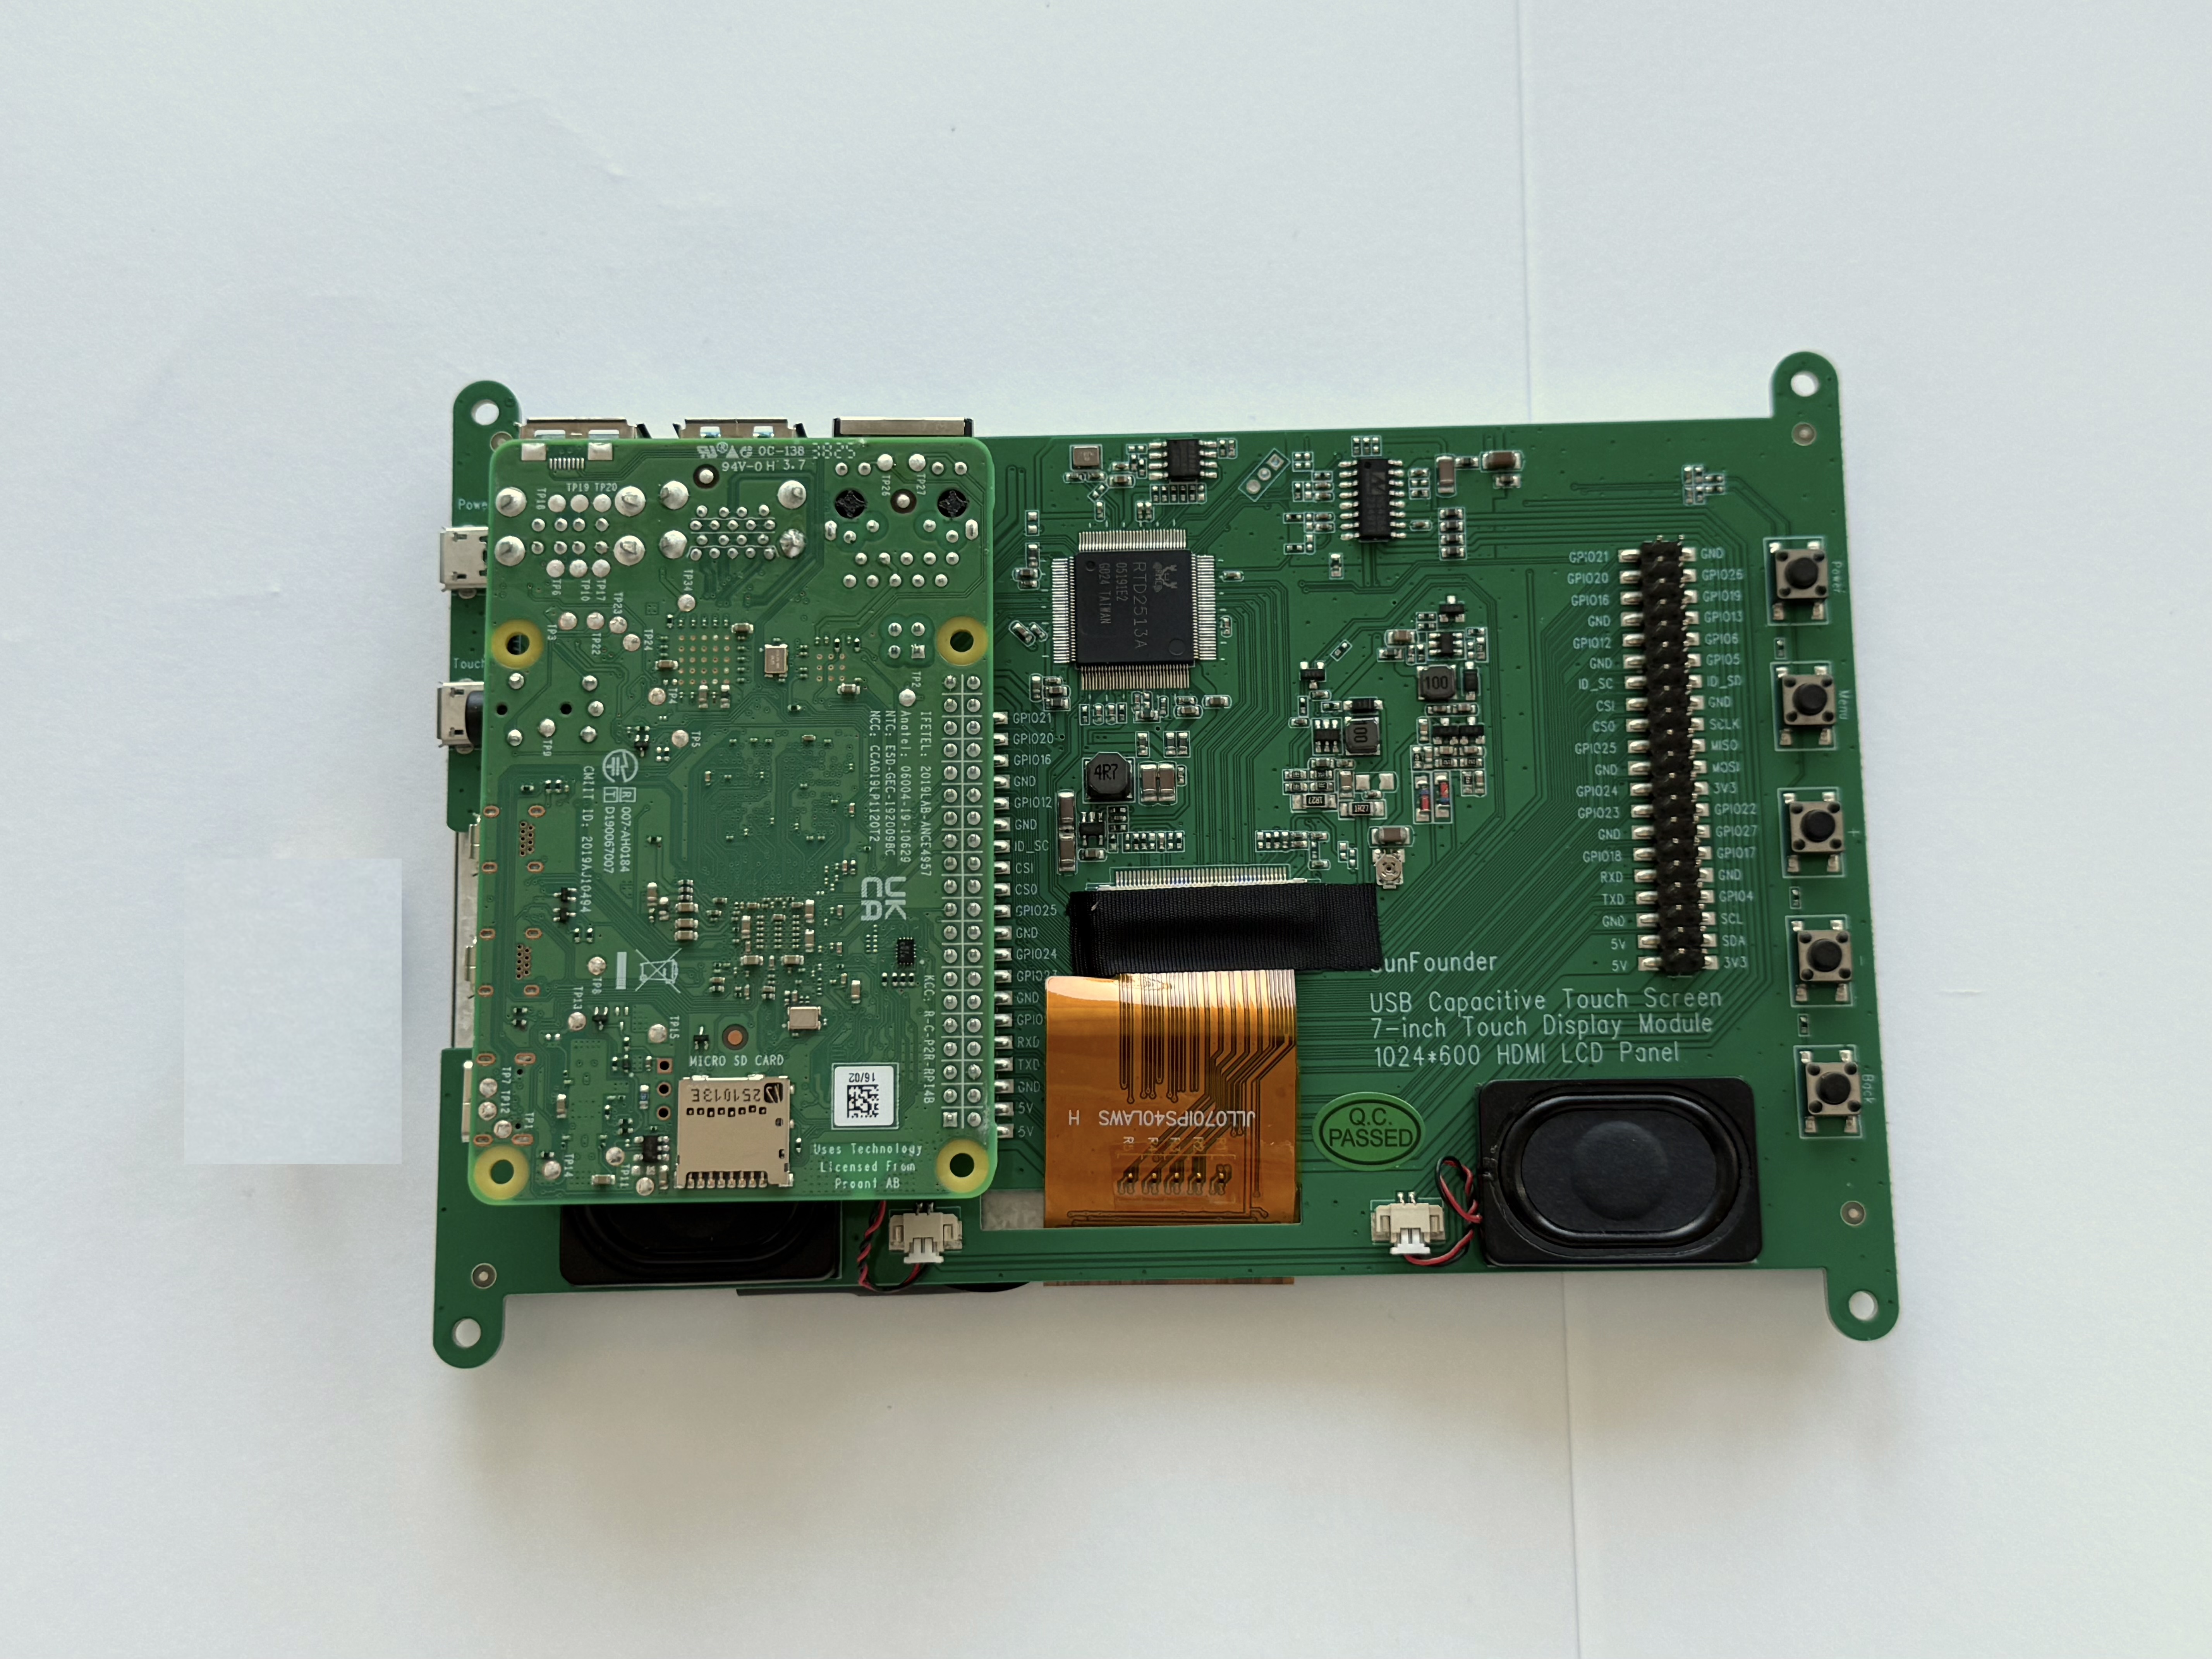
The first step is to plug the Pi 4 (or Pi 5) into the back of the touch screen:

Here's how it looks:
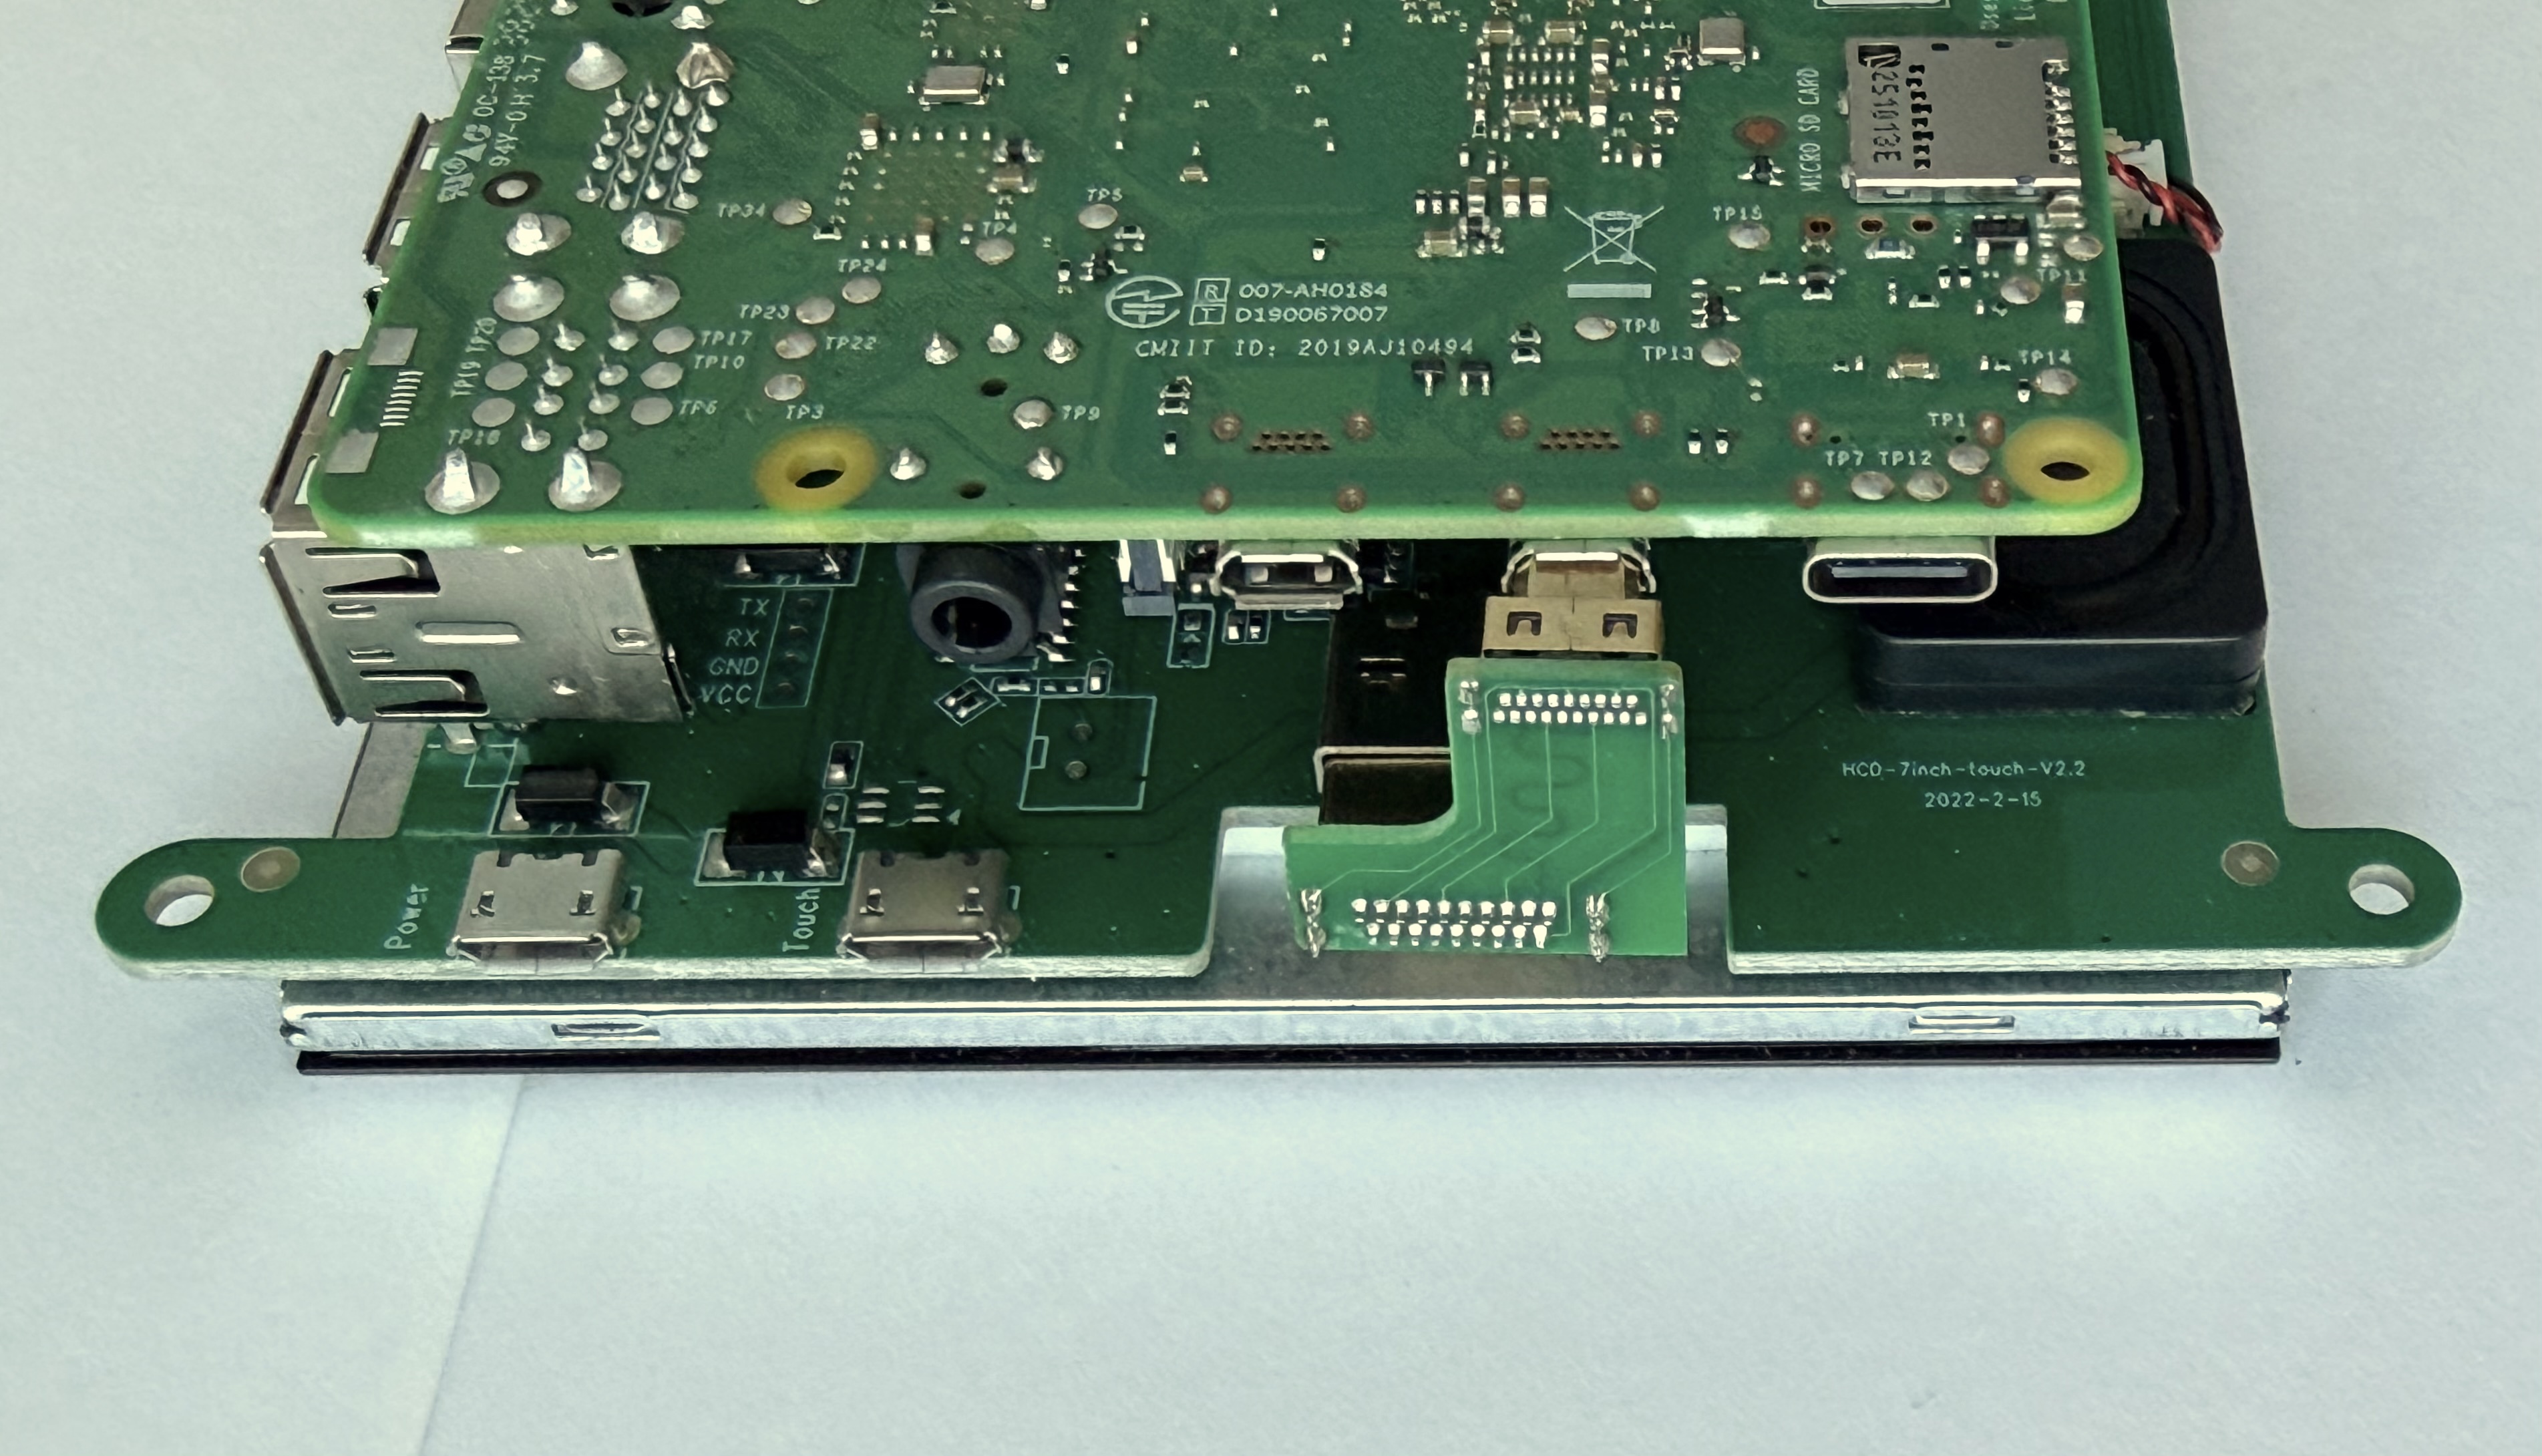
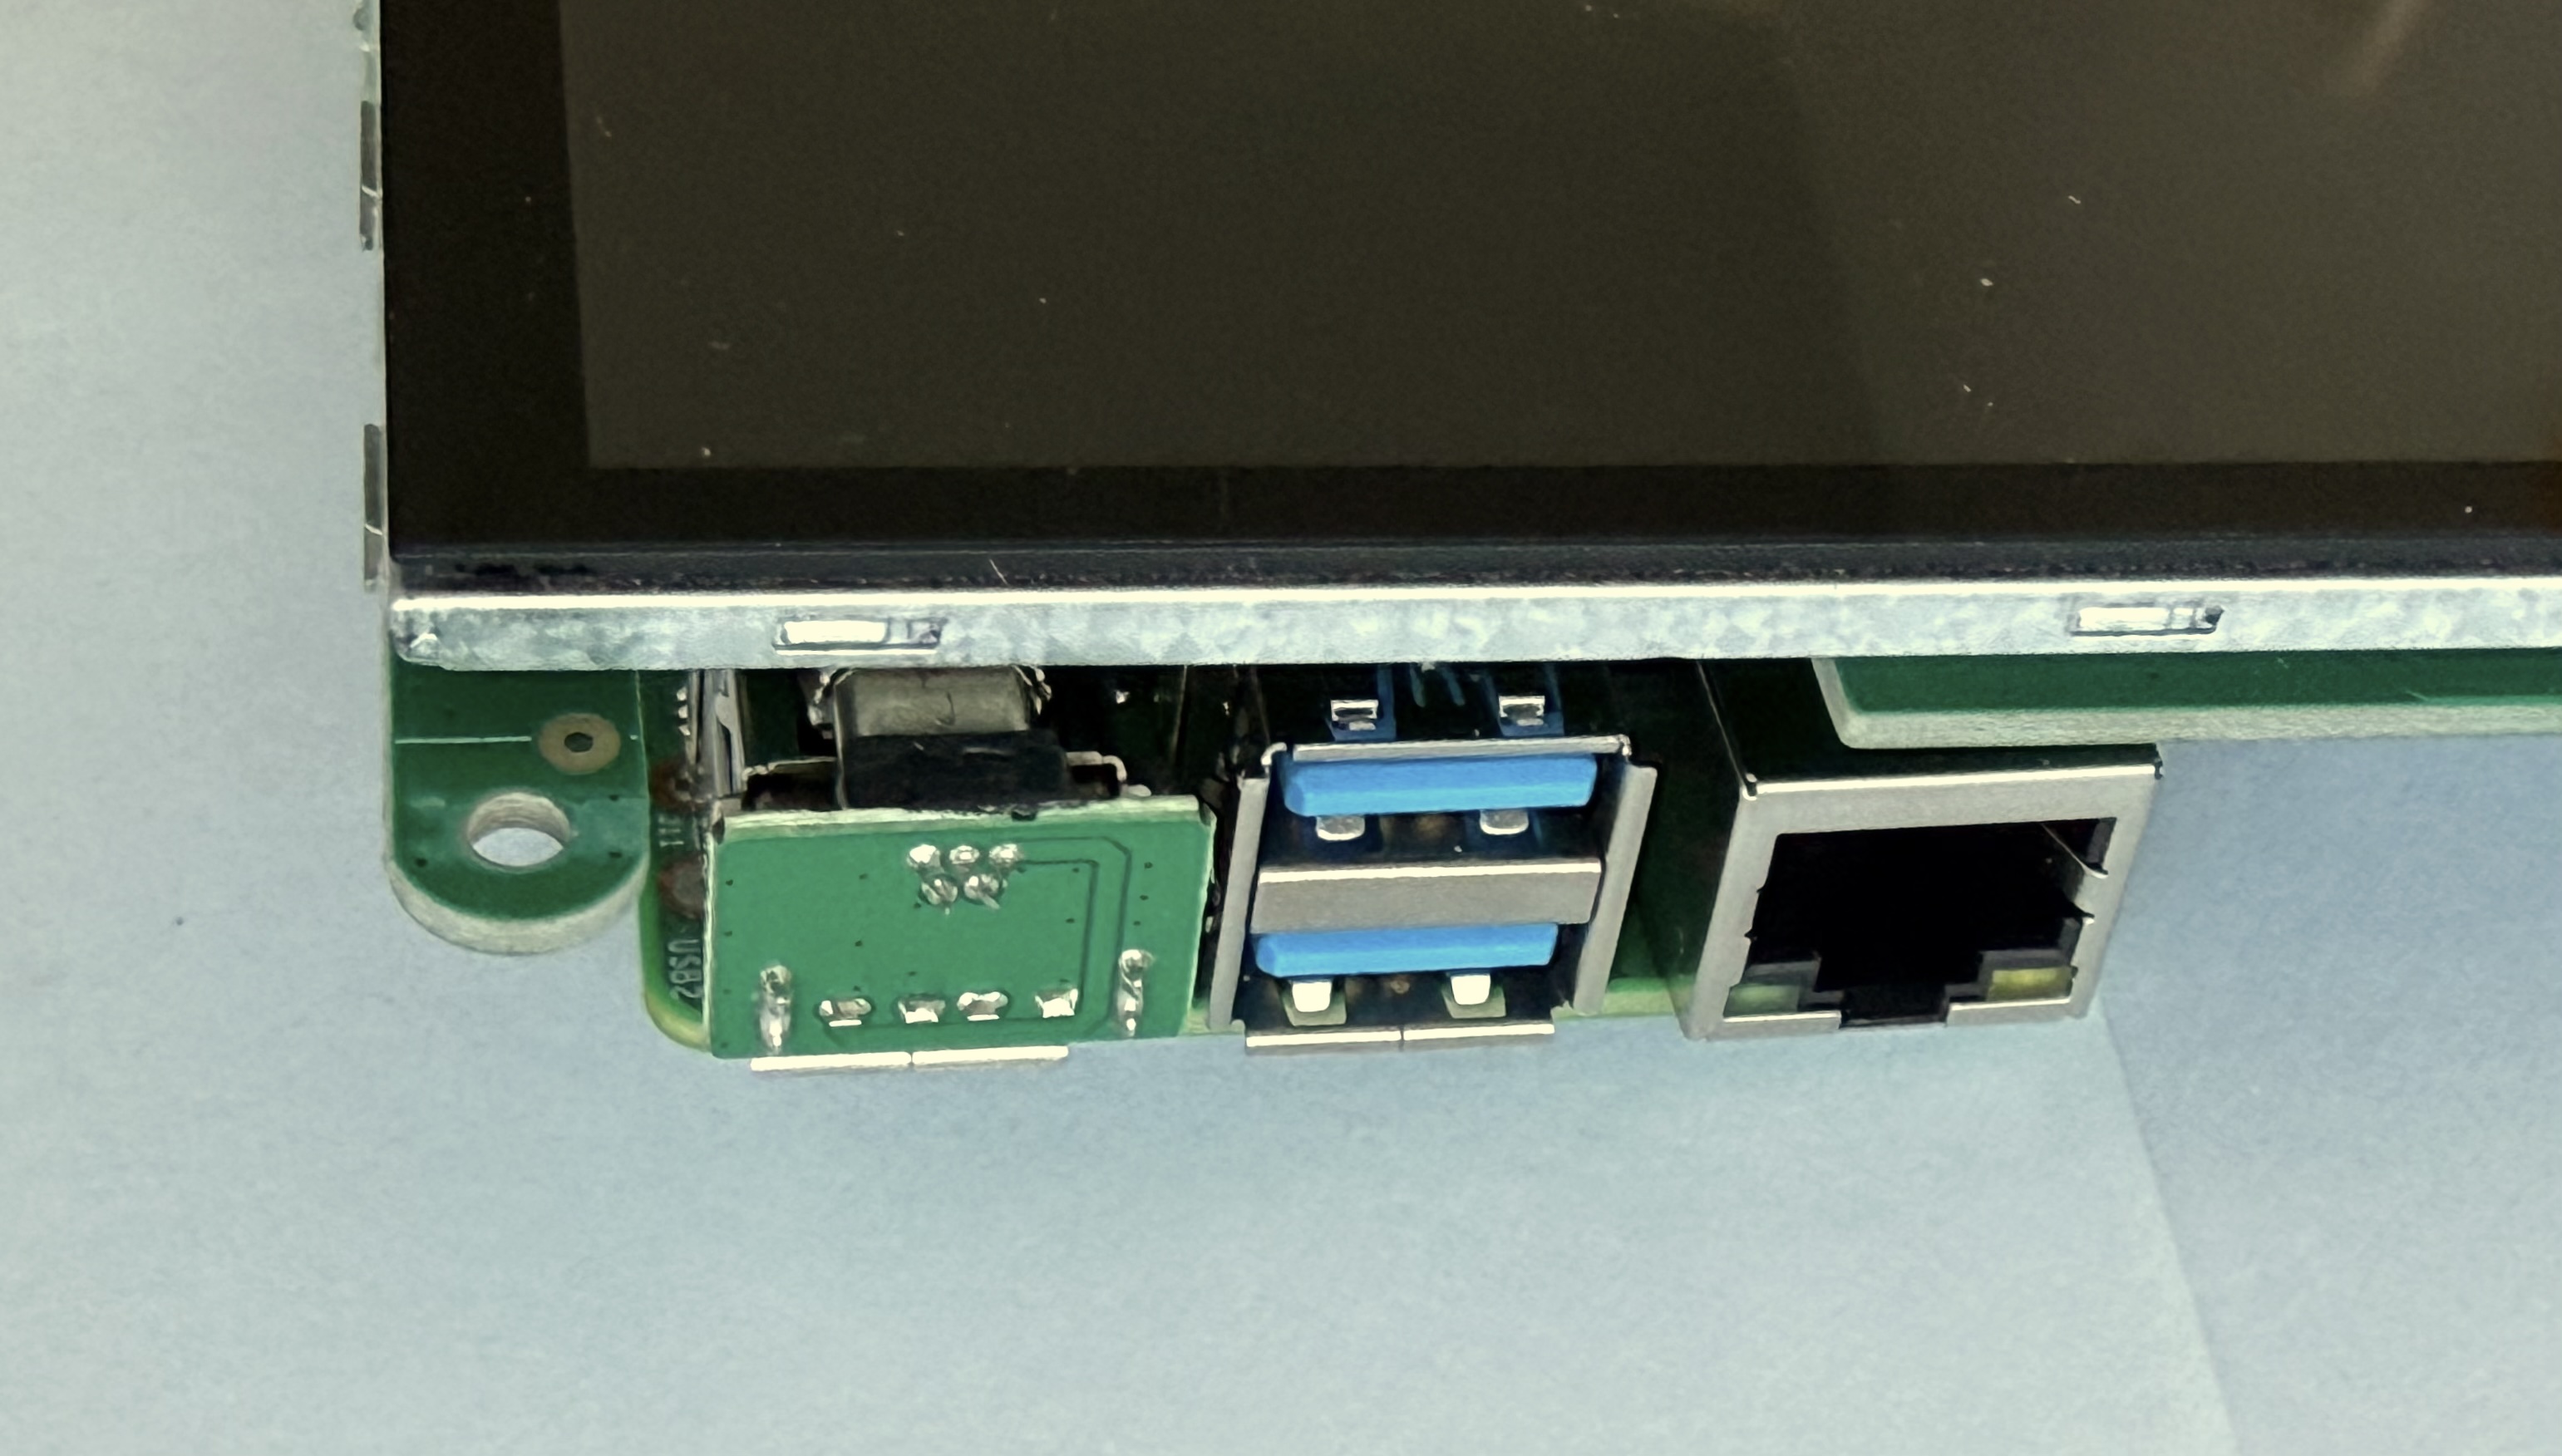
Next plug the HDMI adapter and the USB adapter into the Pi and the touch screen as shown:


Next, attach four nylon standoffs to the touchscreen back using four screws:

Here's how it looks:

Then place the screen on top and secure with four screws:


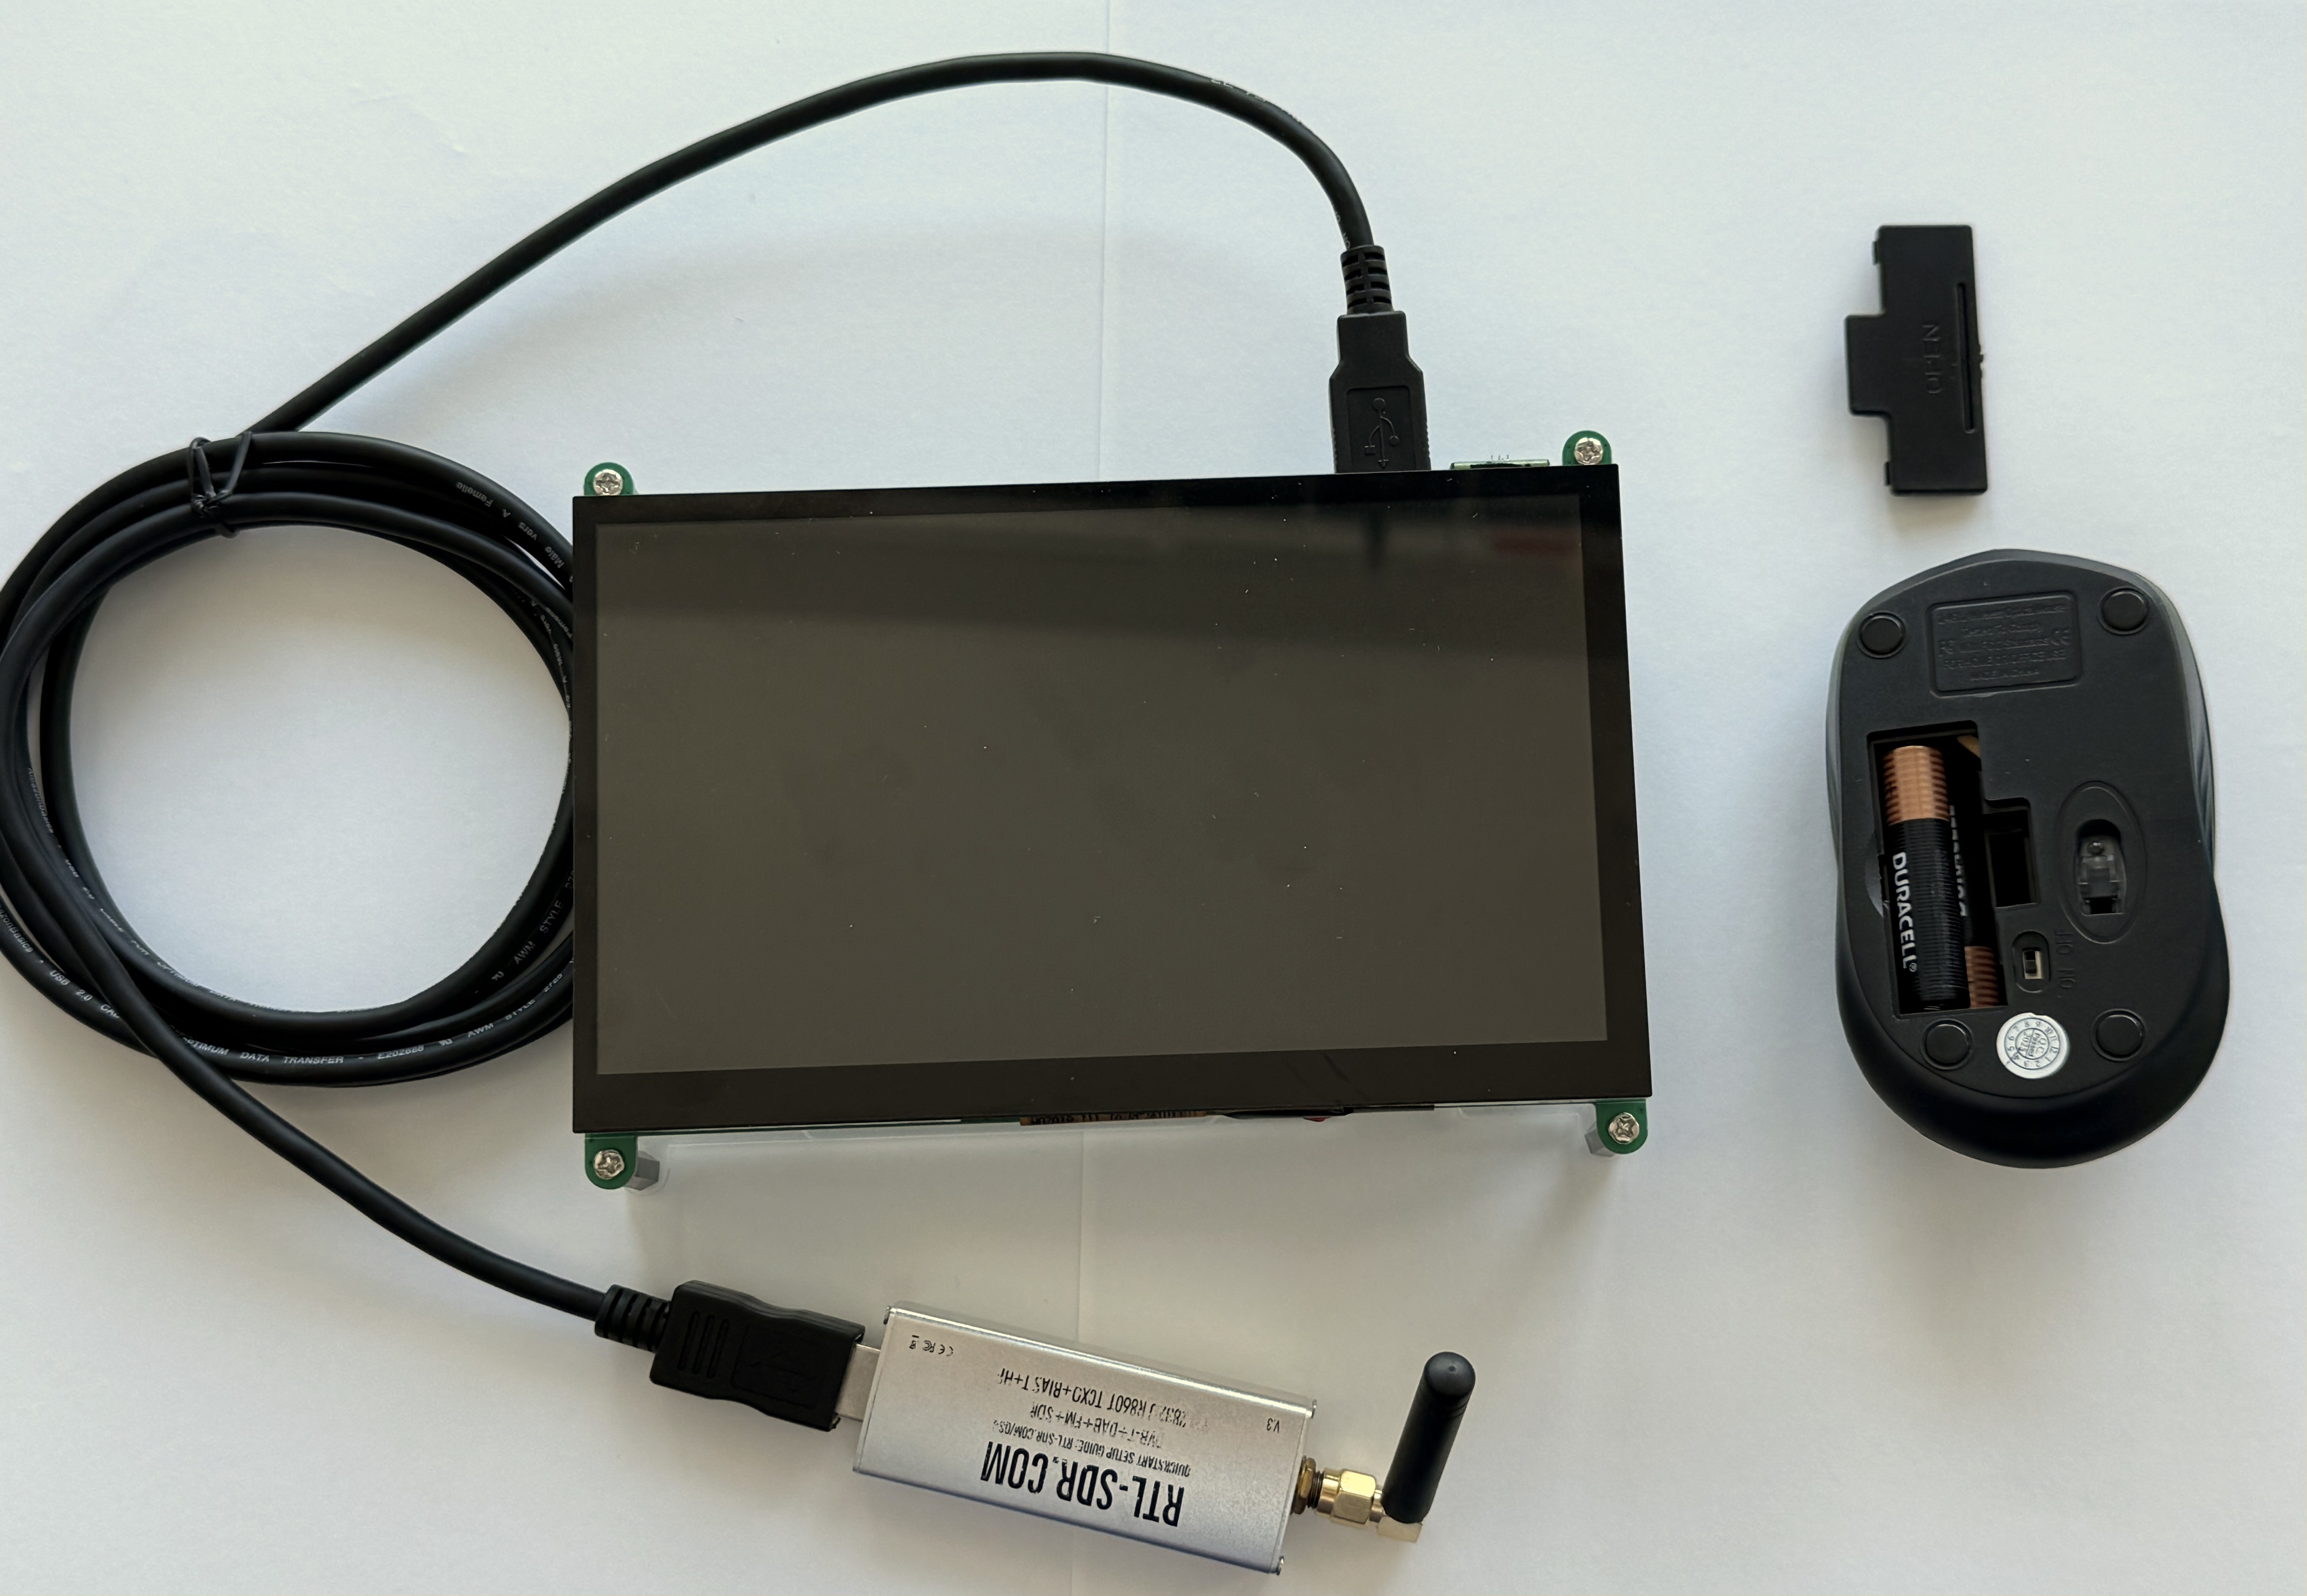
Here are the rest of the parts that we will plug in:
Start with the USB extender cable:


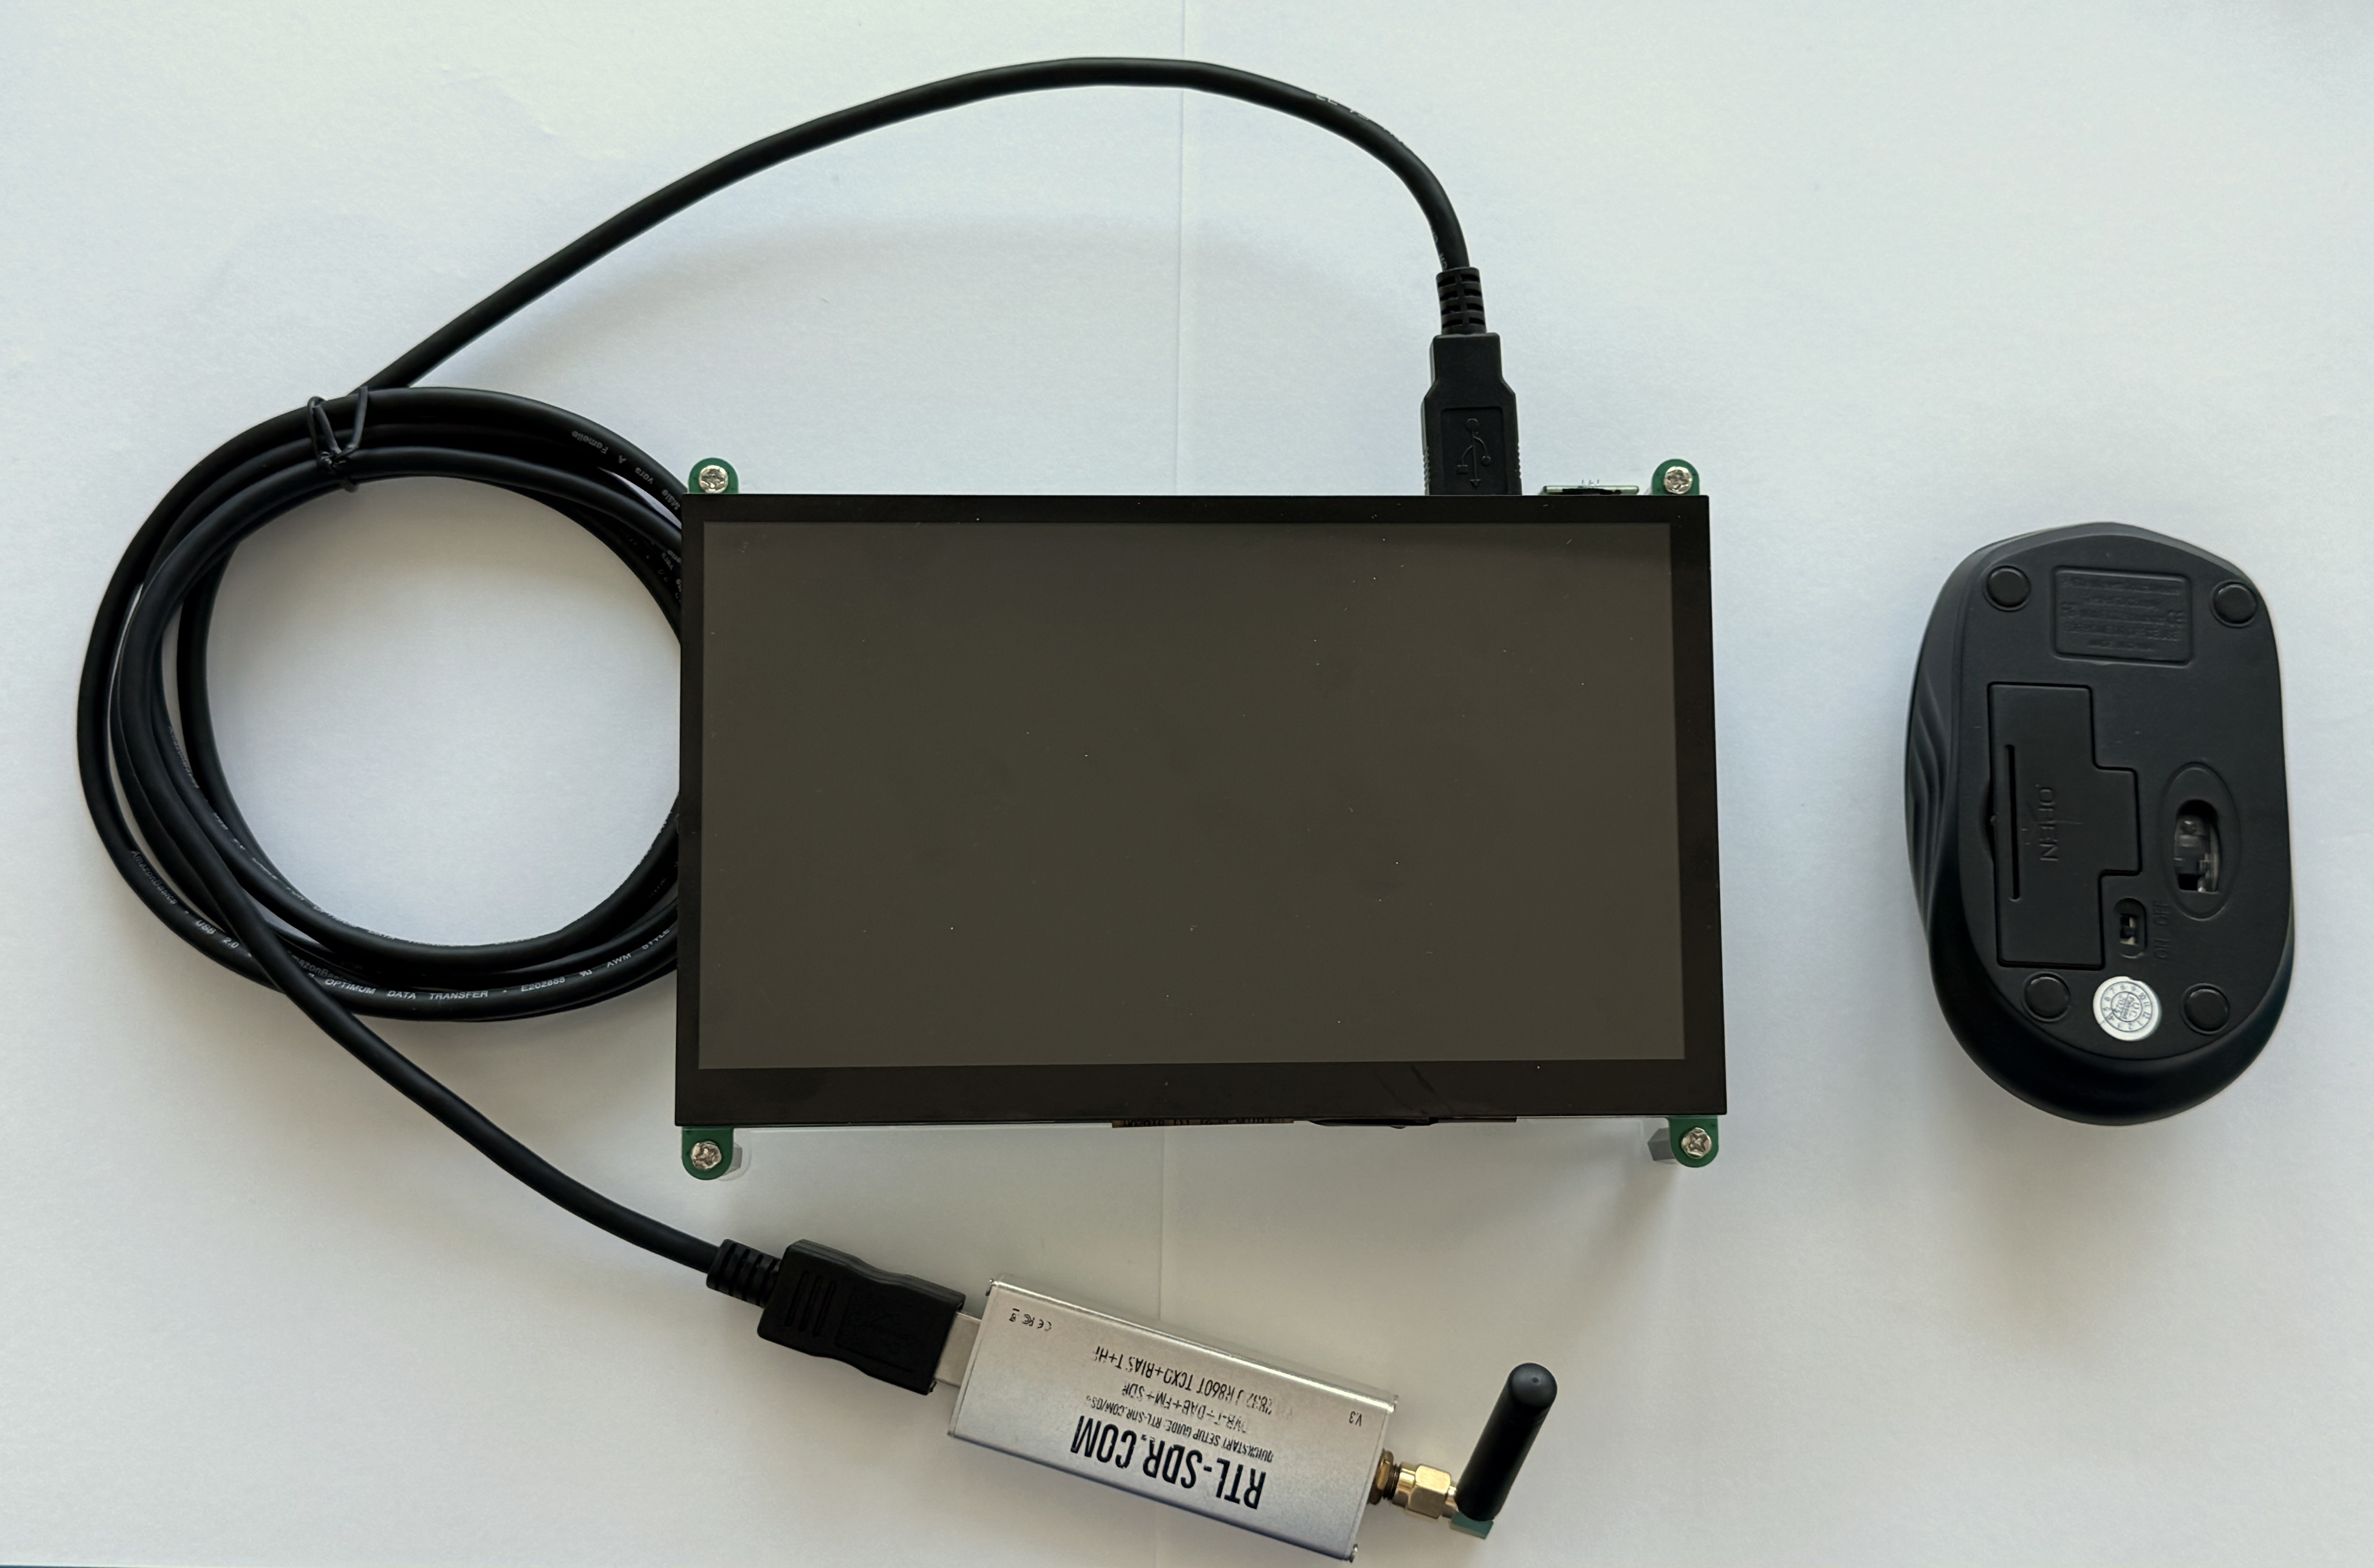
Then plug the RTL-SDR into the USB cable and screw the SMA antenna into the RTL-SDR:

Flip the mouse upside and remove the plastic cover:

Unplug the colored USB receiver and plug it into a USB port on the Pi:

Put two AAA batteries into the mouse:
Put the cover back on and slide the switch to the ON position:
Plug the micro SD card into the Pi:
Plug the USB-C power supply into the Pi:

Power up the Pi and you will see the AMSAT background then FoxTelem will run:


The Ground Station is now ready to use!
Here's how to turn off the Find Signal setting in FoxTelem. In FoxTelem, Go under the menu for File / Settings then uncheck the box next to Find Signal then click Save. Here's a video showing how to turn off Find Signal.
When your Raspberry Pi is connected to the internet, type these three commands to update the software to the latest:
    cd
    cd CubeSatSim
    git pull
Here's a video of testing it.