Raspberry Pi Ground Station Setup - alanbjohnston/CubeSatSim GitHub Wiki
A Raspberry Pi 3B or 3B+ can be used as a Ground Station for the CubeSat Simulator.
The Raspberry Pi Ground Station can do the following:
- Use an RTL-SDR to receive telemetry from the CubeSat Simulator. We use OpenWebRX software (https://sdr.hu/openwebrx). This software also allows others to receive the telemetry using just a web browser.
- Do automatic decoding of the AFSK 1200 AX.25 telemetry. This uses rtl_fm (http://kmkeen.com/rtl-demod-guide/) and multimon-ng (https://github.com/EliasOenal/multimon-ng) software.
- Analyze the CubeSat Simulator telemetry data using LibreOffice Calc
- Connect to the CubeSat Simulator by using the Raspberry Pi as a WiFi hub (future)
Components
- Raspberry Pi 3B+ with power supply. A 3B and other Pis may work, too, although they may run much slower
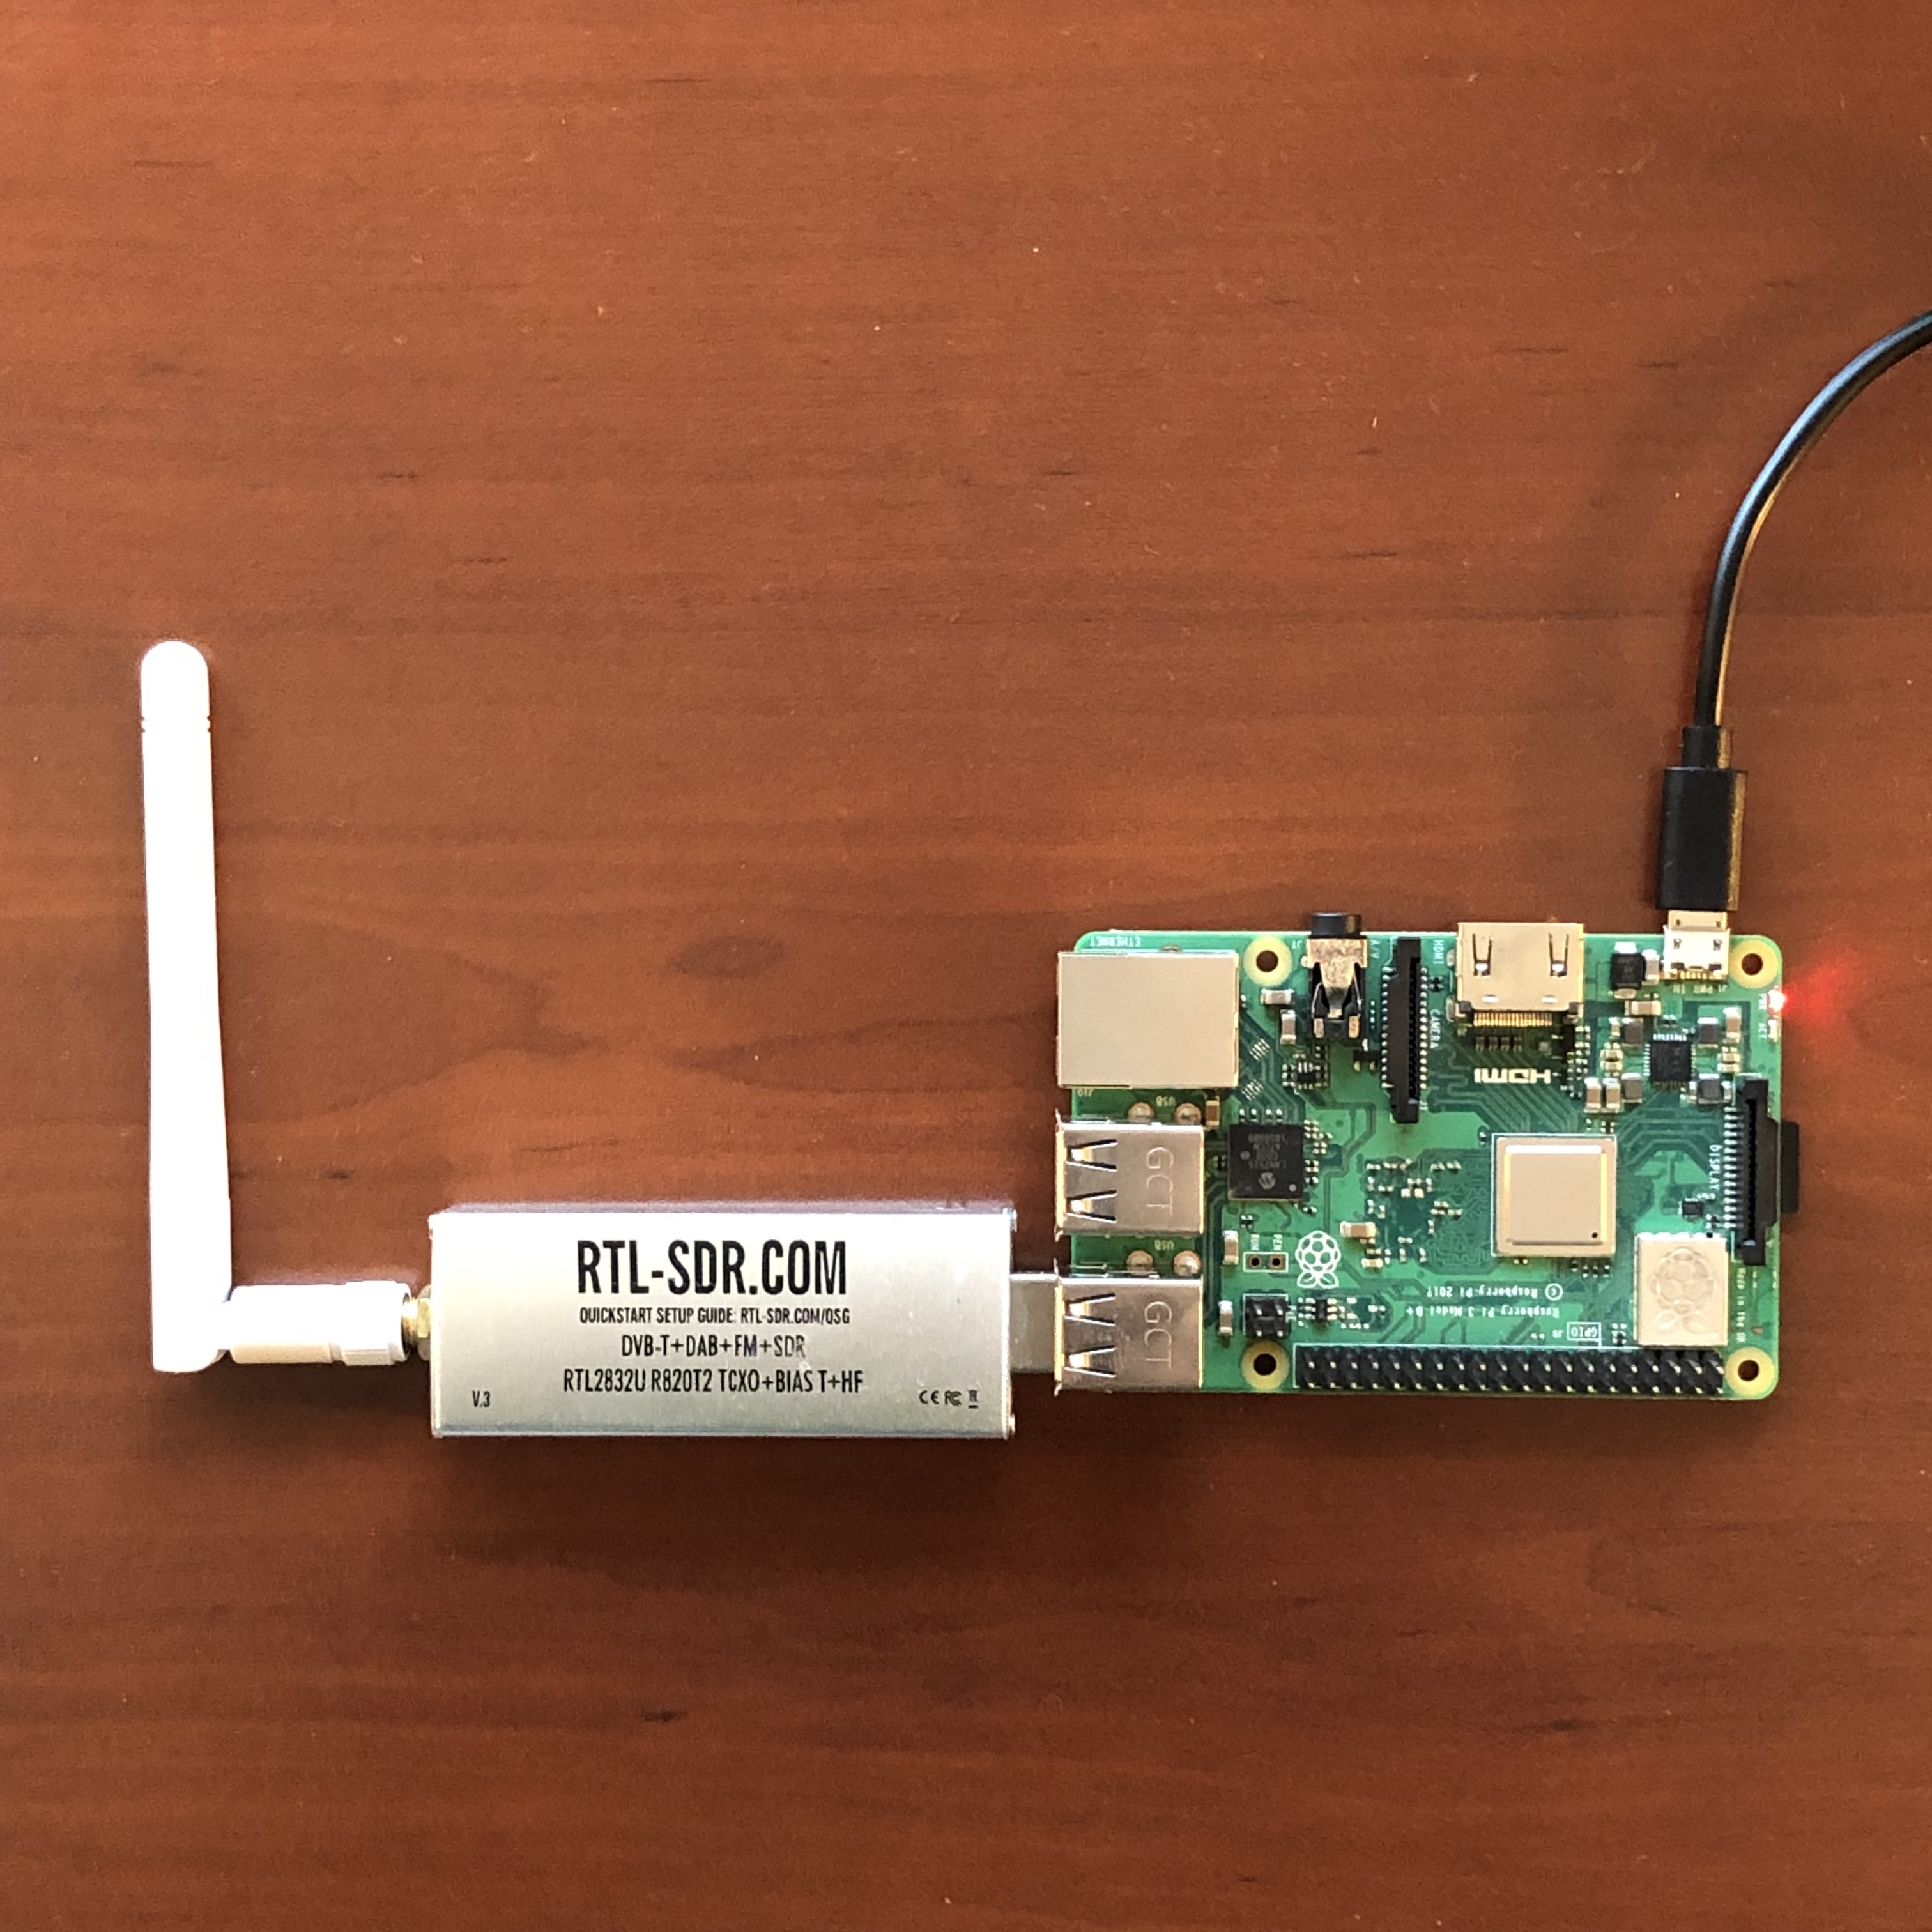
- RTL-SDR USB dongle and antenna
- micro SD card with Raspbian Stretch or Buster, or NOOBs to install Raspbian
- Optional 3.5" LCD display (see section below for instructions)

If you haven't configured your Raspberry Pi yet, there are instructions here on how to setup and configure your Pi: https://projects.raspberrypi.org/en/pathways/getting-started-with-raspberry-pi
Initial Configuration of the Raspberry Pi
Note: these installation steps work for Raspbian Stretch and also Raspbian Buster.
Plug in the RTL-SDR with antenna into one of the USB ports (lower right is a good choice). Plug in the micro SD card Connect your Raspberry Pi power supply. Connect your HDMI monitor, USB keyboard, and USB mouse. If you have a wired Ethernet connection, connect it to the Ethernet jack on the Pi. Your Pi will turn on as soon as power is supplied.
Note that unless you change it, the default login is username pi and password raspberry.
SSH Access to the Raspberry Pi
The initial configuration of the Raspberry Pi must be done with an HDMI monitor, USB mouse and keyboard. When you power up your Pi for the first time, follow the prompts to configure it. You can also join your desired WiFi network by clicking on the network icon in the top right corner of the desktop.
If you want to be able to access your Pi remotely from another computer, you need to enable SSH access to the Pi. To do this, open a Terminal window (by clicking on the black window on the top)

A Terminal window will be open.
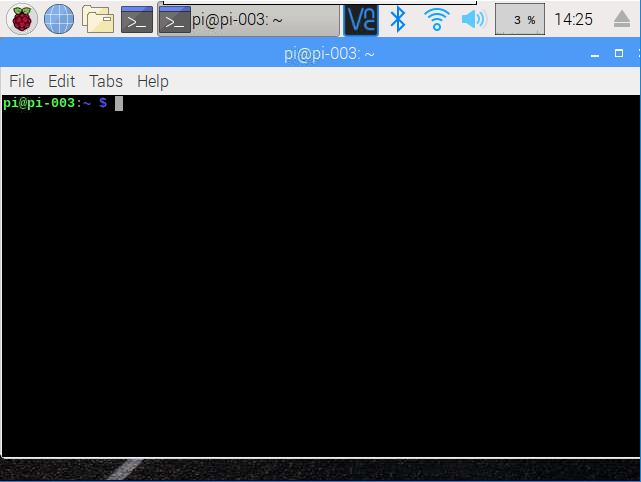
And type this in the window:
sudo raspi-config
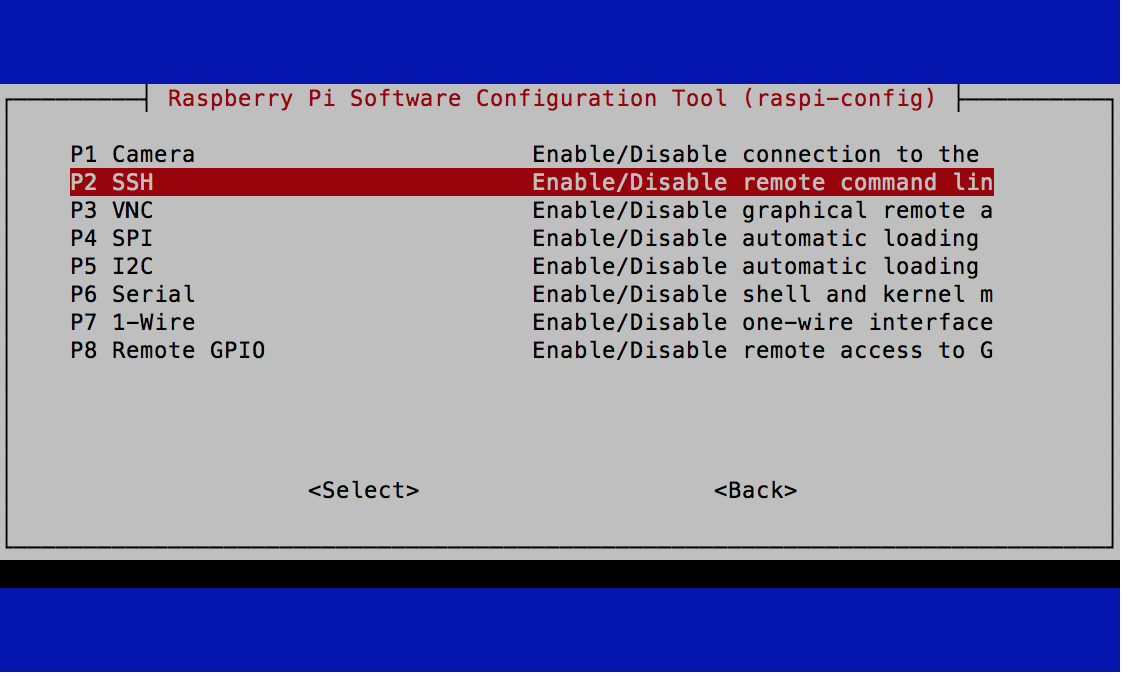
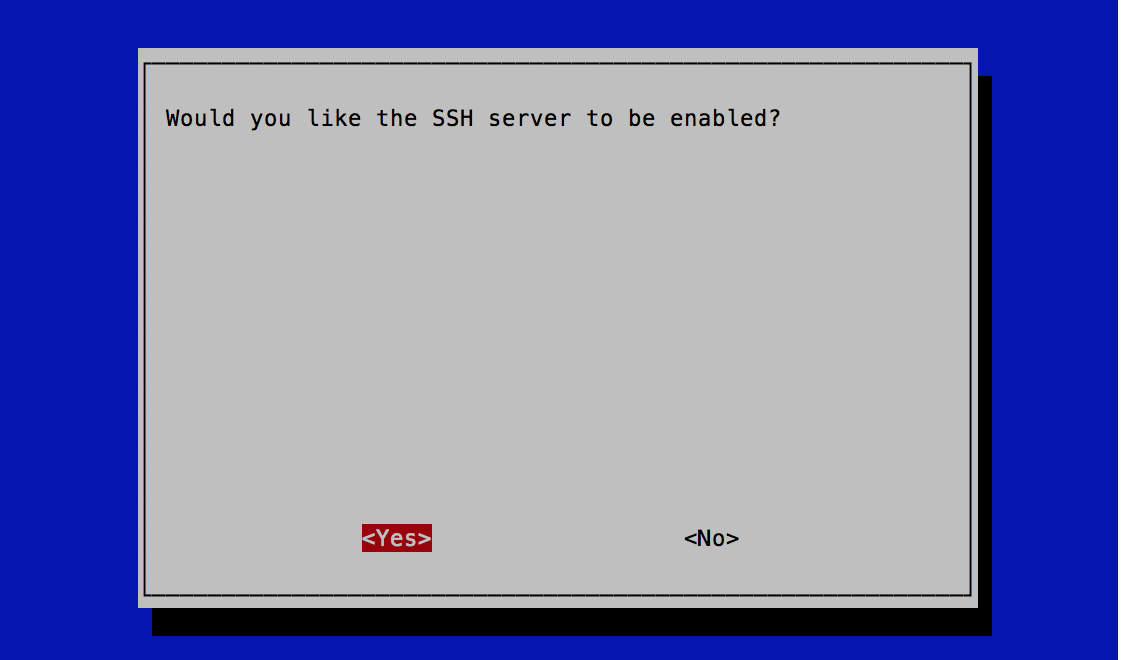
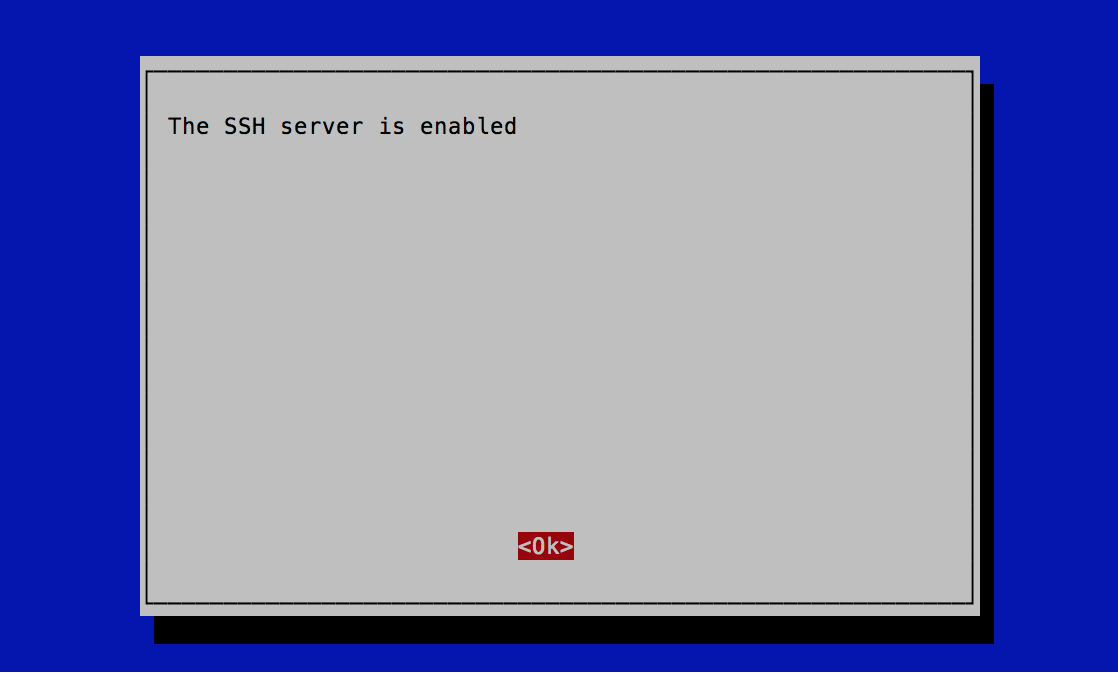
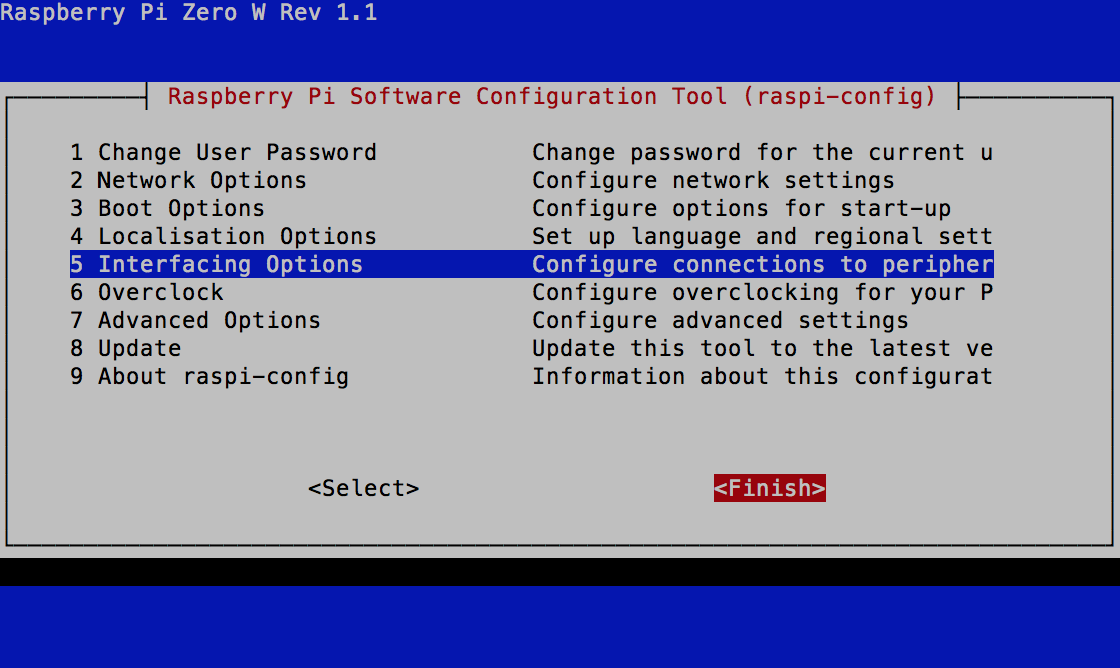
And under Interfacing Options select SSH then select Yes to enable.
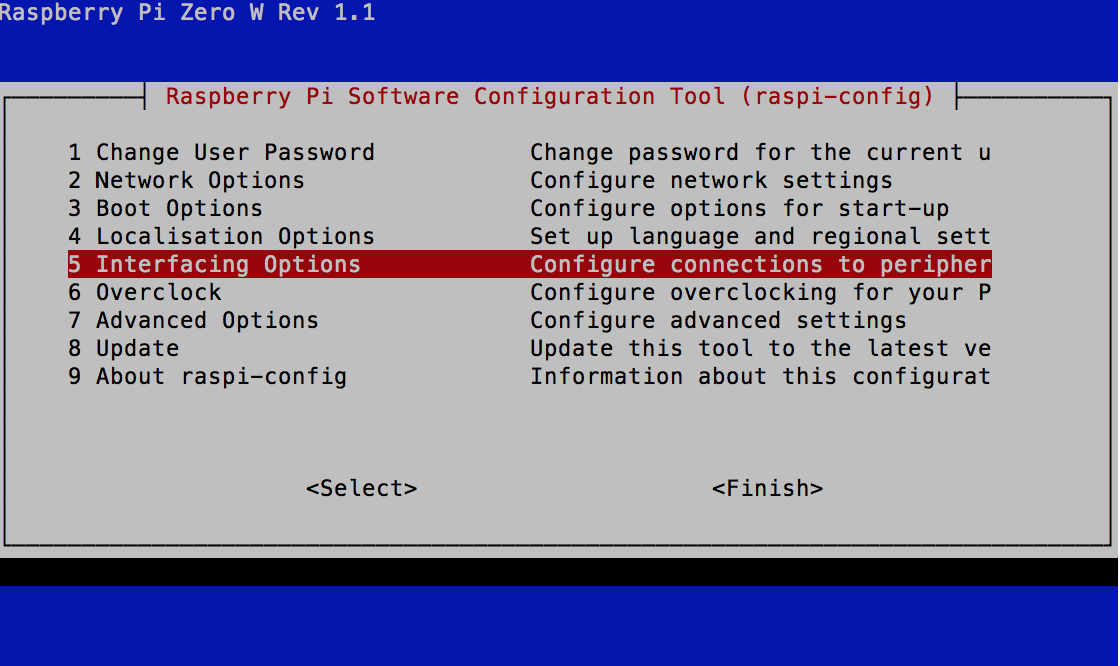
When you are done, select Finish to exit.
Say yes to rebooting if prompted, otherwise type sudo reboot now.
In order to connect to the Raspberry Pi, you will need SSH client software on the other computer. This is built-in to Linux and Mac computers, but on Windows, you will need to download and install a program called PuTTY. Follow the instructions here https://www.chiark.greenend.org.uk/~sgtatham/putty/latest.html
In order to remotely login to the Pi, you will need to be on the same network as the Pi and you will need to know the IP address of the Pi. If you mouse over the Networking icon on the top right of the screen, the IP address will be displayed:
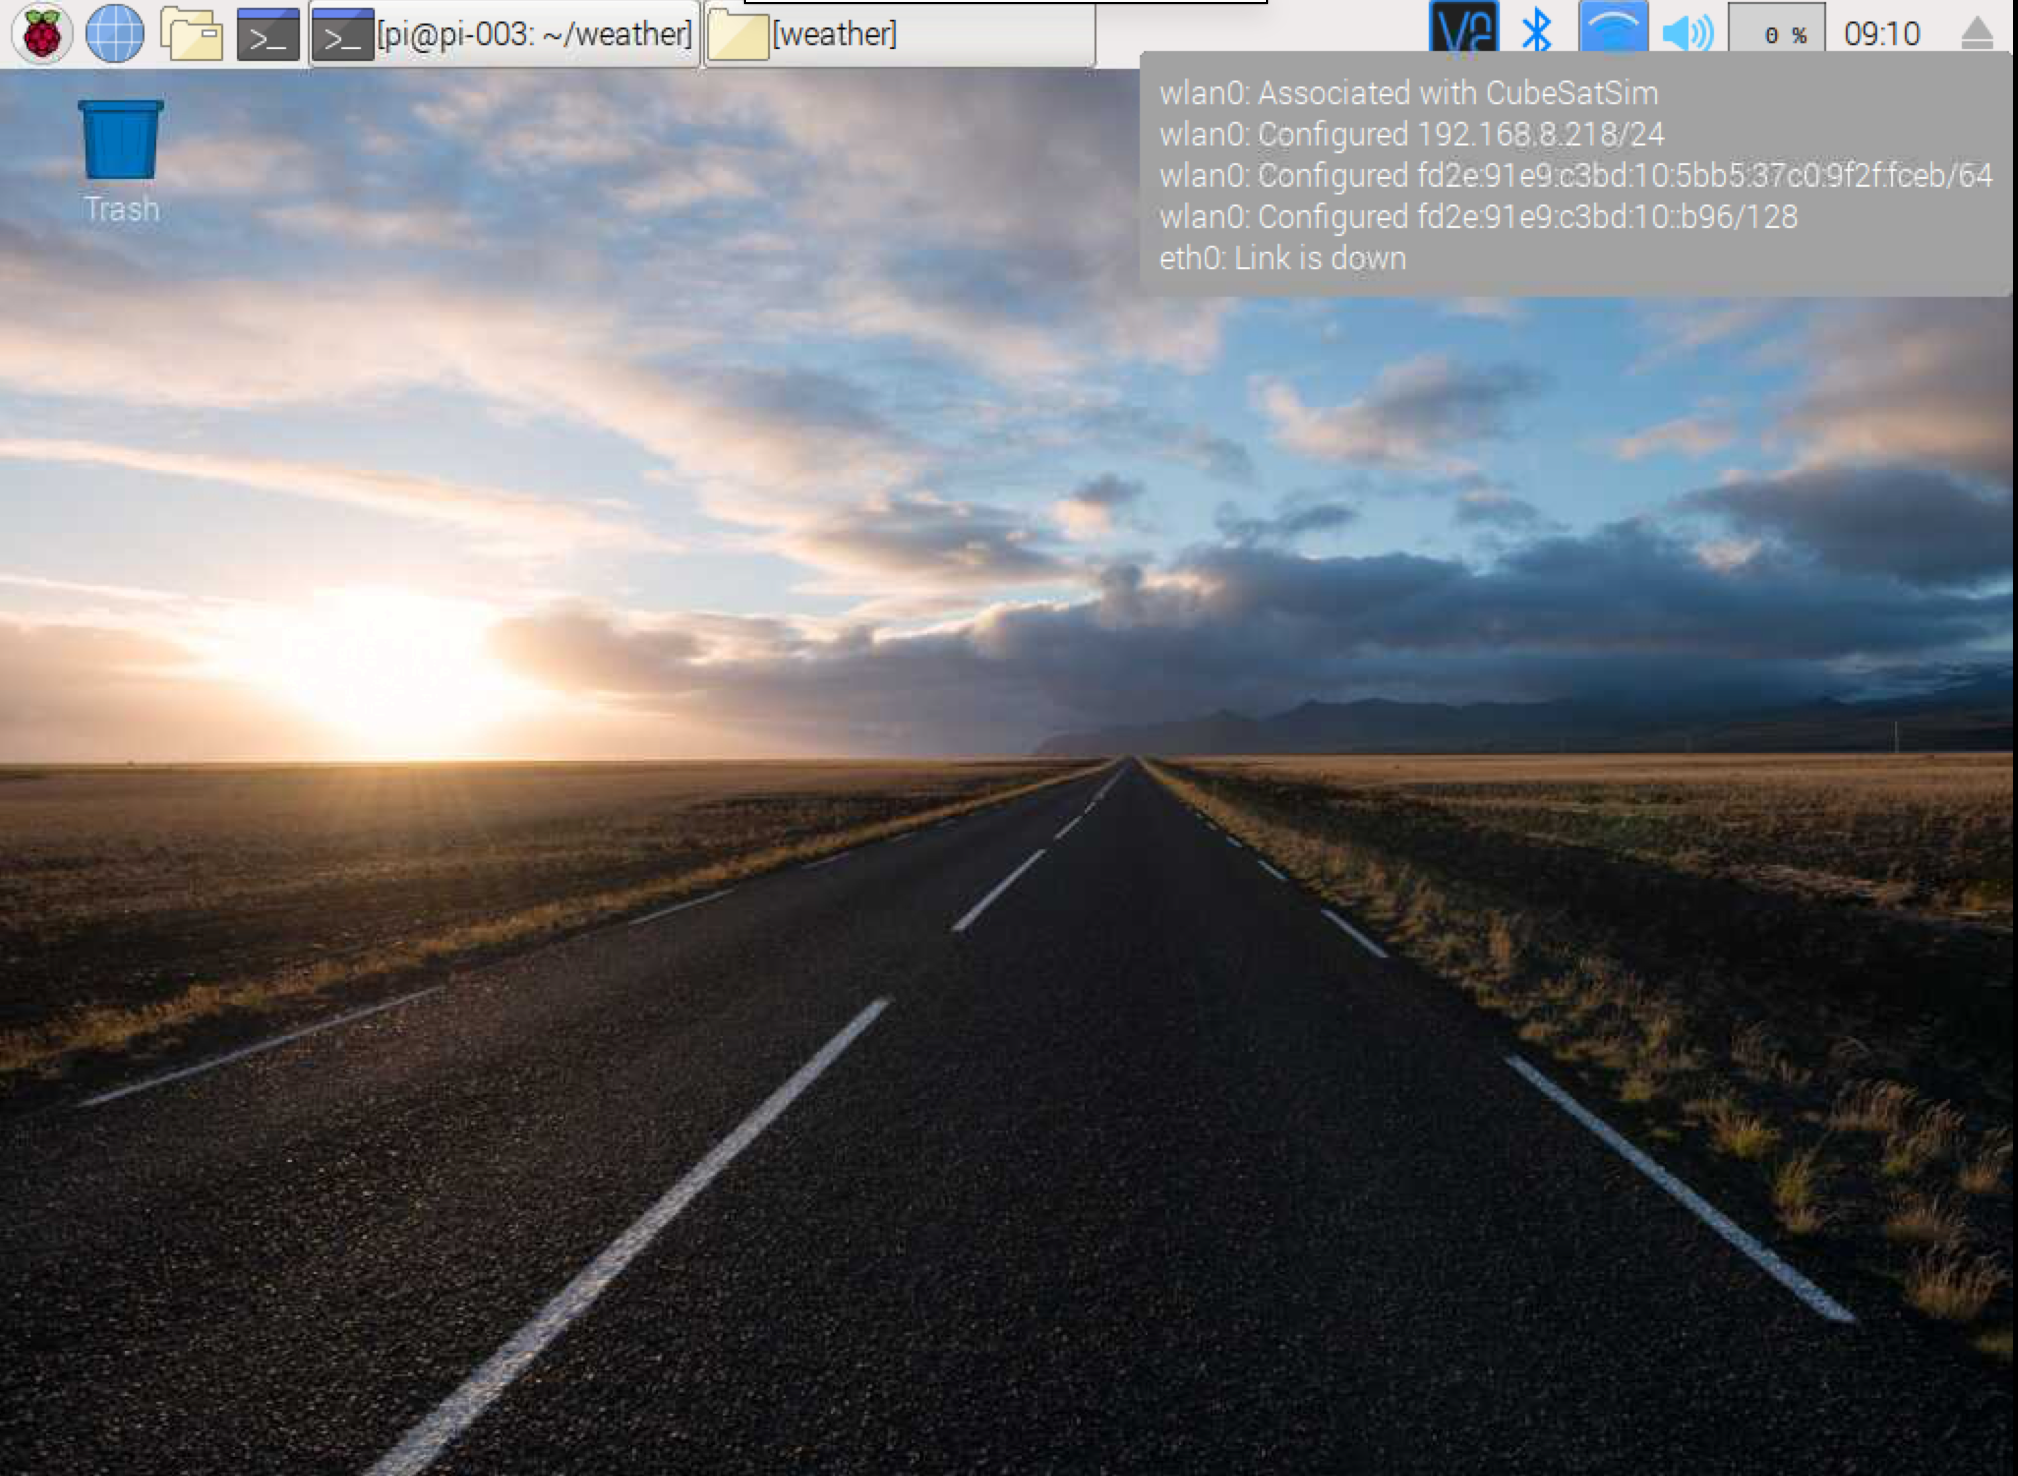
In this case it is 192.168.8.218 - it will most likely be in the form of 192.168.xxx.yyy or 10.xxx.yyy.zzz where xxx, yyy, and zzz are numbers from 0 to 255.
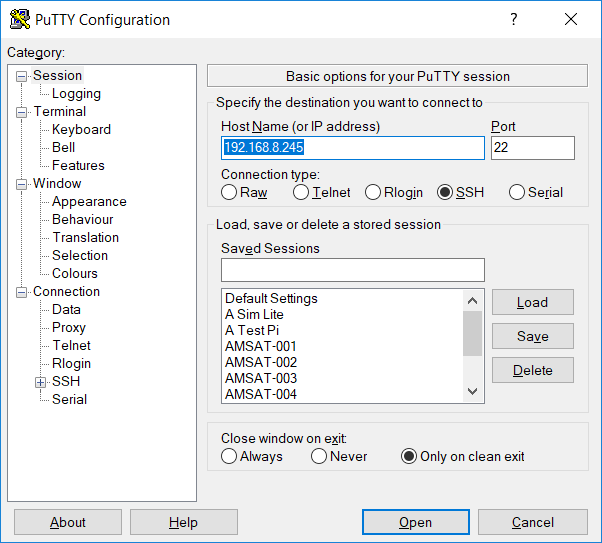
Run your SSH client or open PuTTY. In the Hostname or IP Address field, type in the address of the Pi. Leave the port at the default of 22.
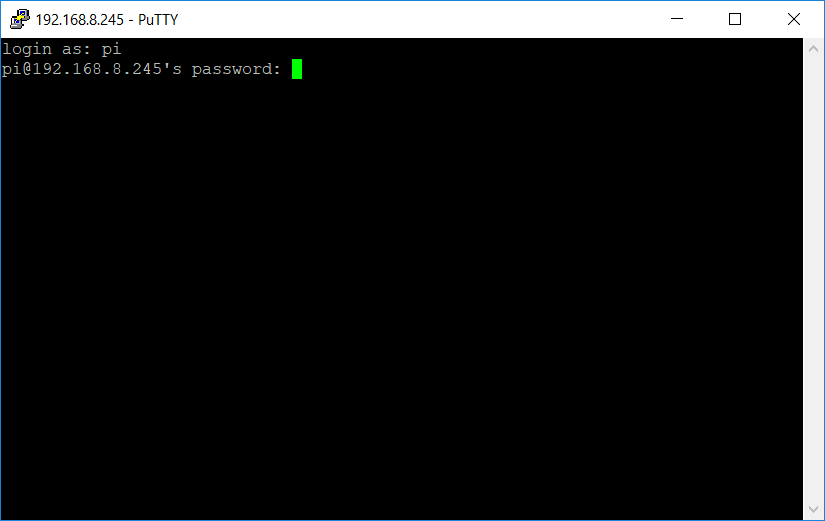
Click the Open button, and a black window will open and prompt you for a username. Type pi then hit enter. Next, enter the password.
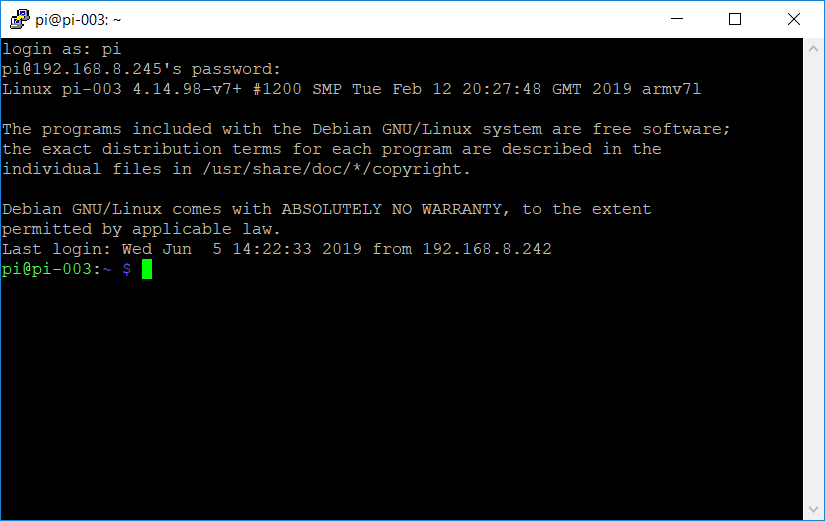
You should see a login message - you are now connected to the Pi in a Terminal window.
VNC Access to the Raspberry Pi Desktop
VNC gives you a remote graphical interface to the Raspberry Pi desktop. You can use it instead of PuTTY if you want, but PuTTY works just fine for everything we need to do. It is enabled on the Pi by typing in a Terminal window:
sudo raspi-config
and selecting Interfacing Options then VNC then selecting Yes to enable.
You will also need to install VNC software by typing:
sudo apt-get install realvnc-vnc-server realvnc-vnc-viewer
This will take a little while, and you will have to type y for yes to confirm the installation.
Also, the /boot/config.txt file needs to have these two lines added, otherwise, the screen resolution of the VNC screen is only 480x320 pixels. First make a backup of your /boot/config.txt file in case you make a mistake while editing:
sudo cp /boot/config.txt /boot/config.txt.0
Now edit the file using the nano editor:
sudo nano /boot/config.txt
Use the down arrow key to go down to the end of the file then add these two lines:
hdmi_group=2
hdmi_mode=16
Press Ctrl-X then type y then hit Enter to save the file and exit the editor. You should be back at the pi@... prompt.
Note that VNC does not give you access to the sound from the Raspberry Pi.
From VNC, you can run a terminal window by clicking on the black window icon at the top.
In order to use VNC, you will need to reboot your Pi by typing:
sudo reboot now
You will be immediately logged out. If you are remotely logged in using PuTTY, you will need to close the window run PuTTY again to log back into your Pi in about 30 seconds after it has finished booting.
Installation of Software on the Raspberry Pi
Here are the steps to install the Ground Station software on the Raspberry Pi.
First we will install OpenWebRX (using the instructions from http://www.n8mdp.com/openwebrx.php), which are reproduced here. These commands are typed into a Terminal window, which you can open using PuTTY, VNC, or directly if you have an HDMI monitor, mouse, and keyboard plugged into your Pi.
You should copy and paste these commands from this Wiki into the Pi Terminal window to avoid typing mistakes. Note that paste in PuTTY is a right mouse click. Paste in VNC on the Pi is a right mouse click then select Paste. For some of these commands, you may need to type a y for yes to continue. Some of these commands will take a few minutes to complete. Wait until each command completes - you can tell it has completed if the command line prompt returns, such as pi@pi-003:~ $
Start by typing:
cd
sudo apt-get install build-essential git libfftw3-dev cmake libusb-1.0-0-dev nmap
git clone git://git.osmocom.org/rtl-sdr.git
cd rtl-sdr
mkdir build
cd build
cmake ../ -DINSTALL_UDEV_RULES=ON
make
sudo make install
sudo ldconfig
cd
sudo bash -c 'echo -e "\n# for RTL-SDR:\nblacklist dvb_usb_rtl28xxu\n" >> /etc/modprobe.d/blacklist.conf'
sudo rmmod dvb_usb_rtl28xxu # disable that kernel module for the current session
git clone https://github.com/alanbjohnston/CubeSatSim.git
git clone https://github.com/simonyiszk/openwebrx.git
git clone https://github.com/simonyiszk/csdr.git
cd csdr
make
sudo make install
cd ../openwebrx
cp ../CubeSatSim/groundstation/config_webrx.py .
Next, install multimon-ng using the steps from http://tubbyaustin.blogspot.com/2013/03/compiling-multimon-ng-for-raspberry-pi.html which are reproduced here:
sudo apt-get update
sudo apt-get install libpulse-dev libx11-dev qt4-qmake qt4-default
sudo apt-get install git cmake build-essential
cd
git clone https://github.com/alanbjohnston/multimon-ng.git
cd multimon-ng
mkdir build
cd build
qmake ../multimon-ng.pro
make
sudo make install
cd
cp CubeSatSim/groundstation/decode.sh .
chmod 755 decode.sh
cp CubeSatSim/groundstation/sdr.sh .
chmod 755 sdr.sh
cp CubeSatSim/groundstation/ipaddress.sh .
chmod 755 ipaddress.sh
cp "CubeSatSim/spreadsheet/CubeSatSim TLM Analysis.xlsx" Documents/.
Testing the Ground Station
You can find out the IP address of the Pi by typing:
cd
./ipaddress.sh
The IP address will most likely be of the form 192.168.xxx.yyy or 10.xxx.yyy.zzz where xxx, yyy, and zzz are numbers 0 - 255. You will need this address in order to connect via SSH, VNC, or to access the SDR from a web browser.
Test the SDR by typing
./sdr.sh
Open a browser on a computer connected to the same network as the Pi (or on the Pi Desktop) and type in the address bar the IP address of the Raspberry Pi then :8073 and hit enter. For example, if the IP address is 192.168.8.245, then the complete address would be 192.168.8.245:8073 If the OpenWebRX SDR is running, you should get a web page loaded. Hit Control-C to stop the SDR.
Test the decoder by typing
./decode.sh
and you should see the decoder running. If the CubeSat Simulator is transmitting telemetry, you should see the telemetry decoded in the window. Hit Control-C to stop the decoding.
Note that you cannot run both the decoder and the SDR at the same time unless you have two RTL-SDR dongles plugged in.
See the Using the Raspberry Pi Ground Station page for more information.
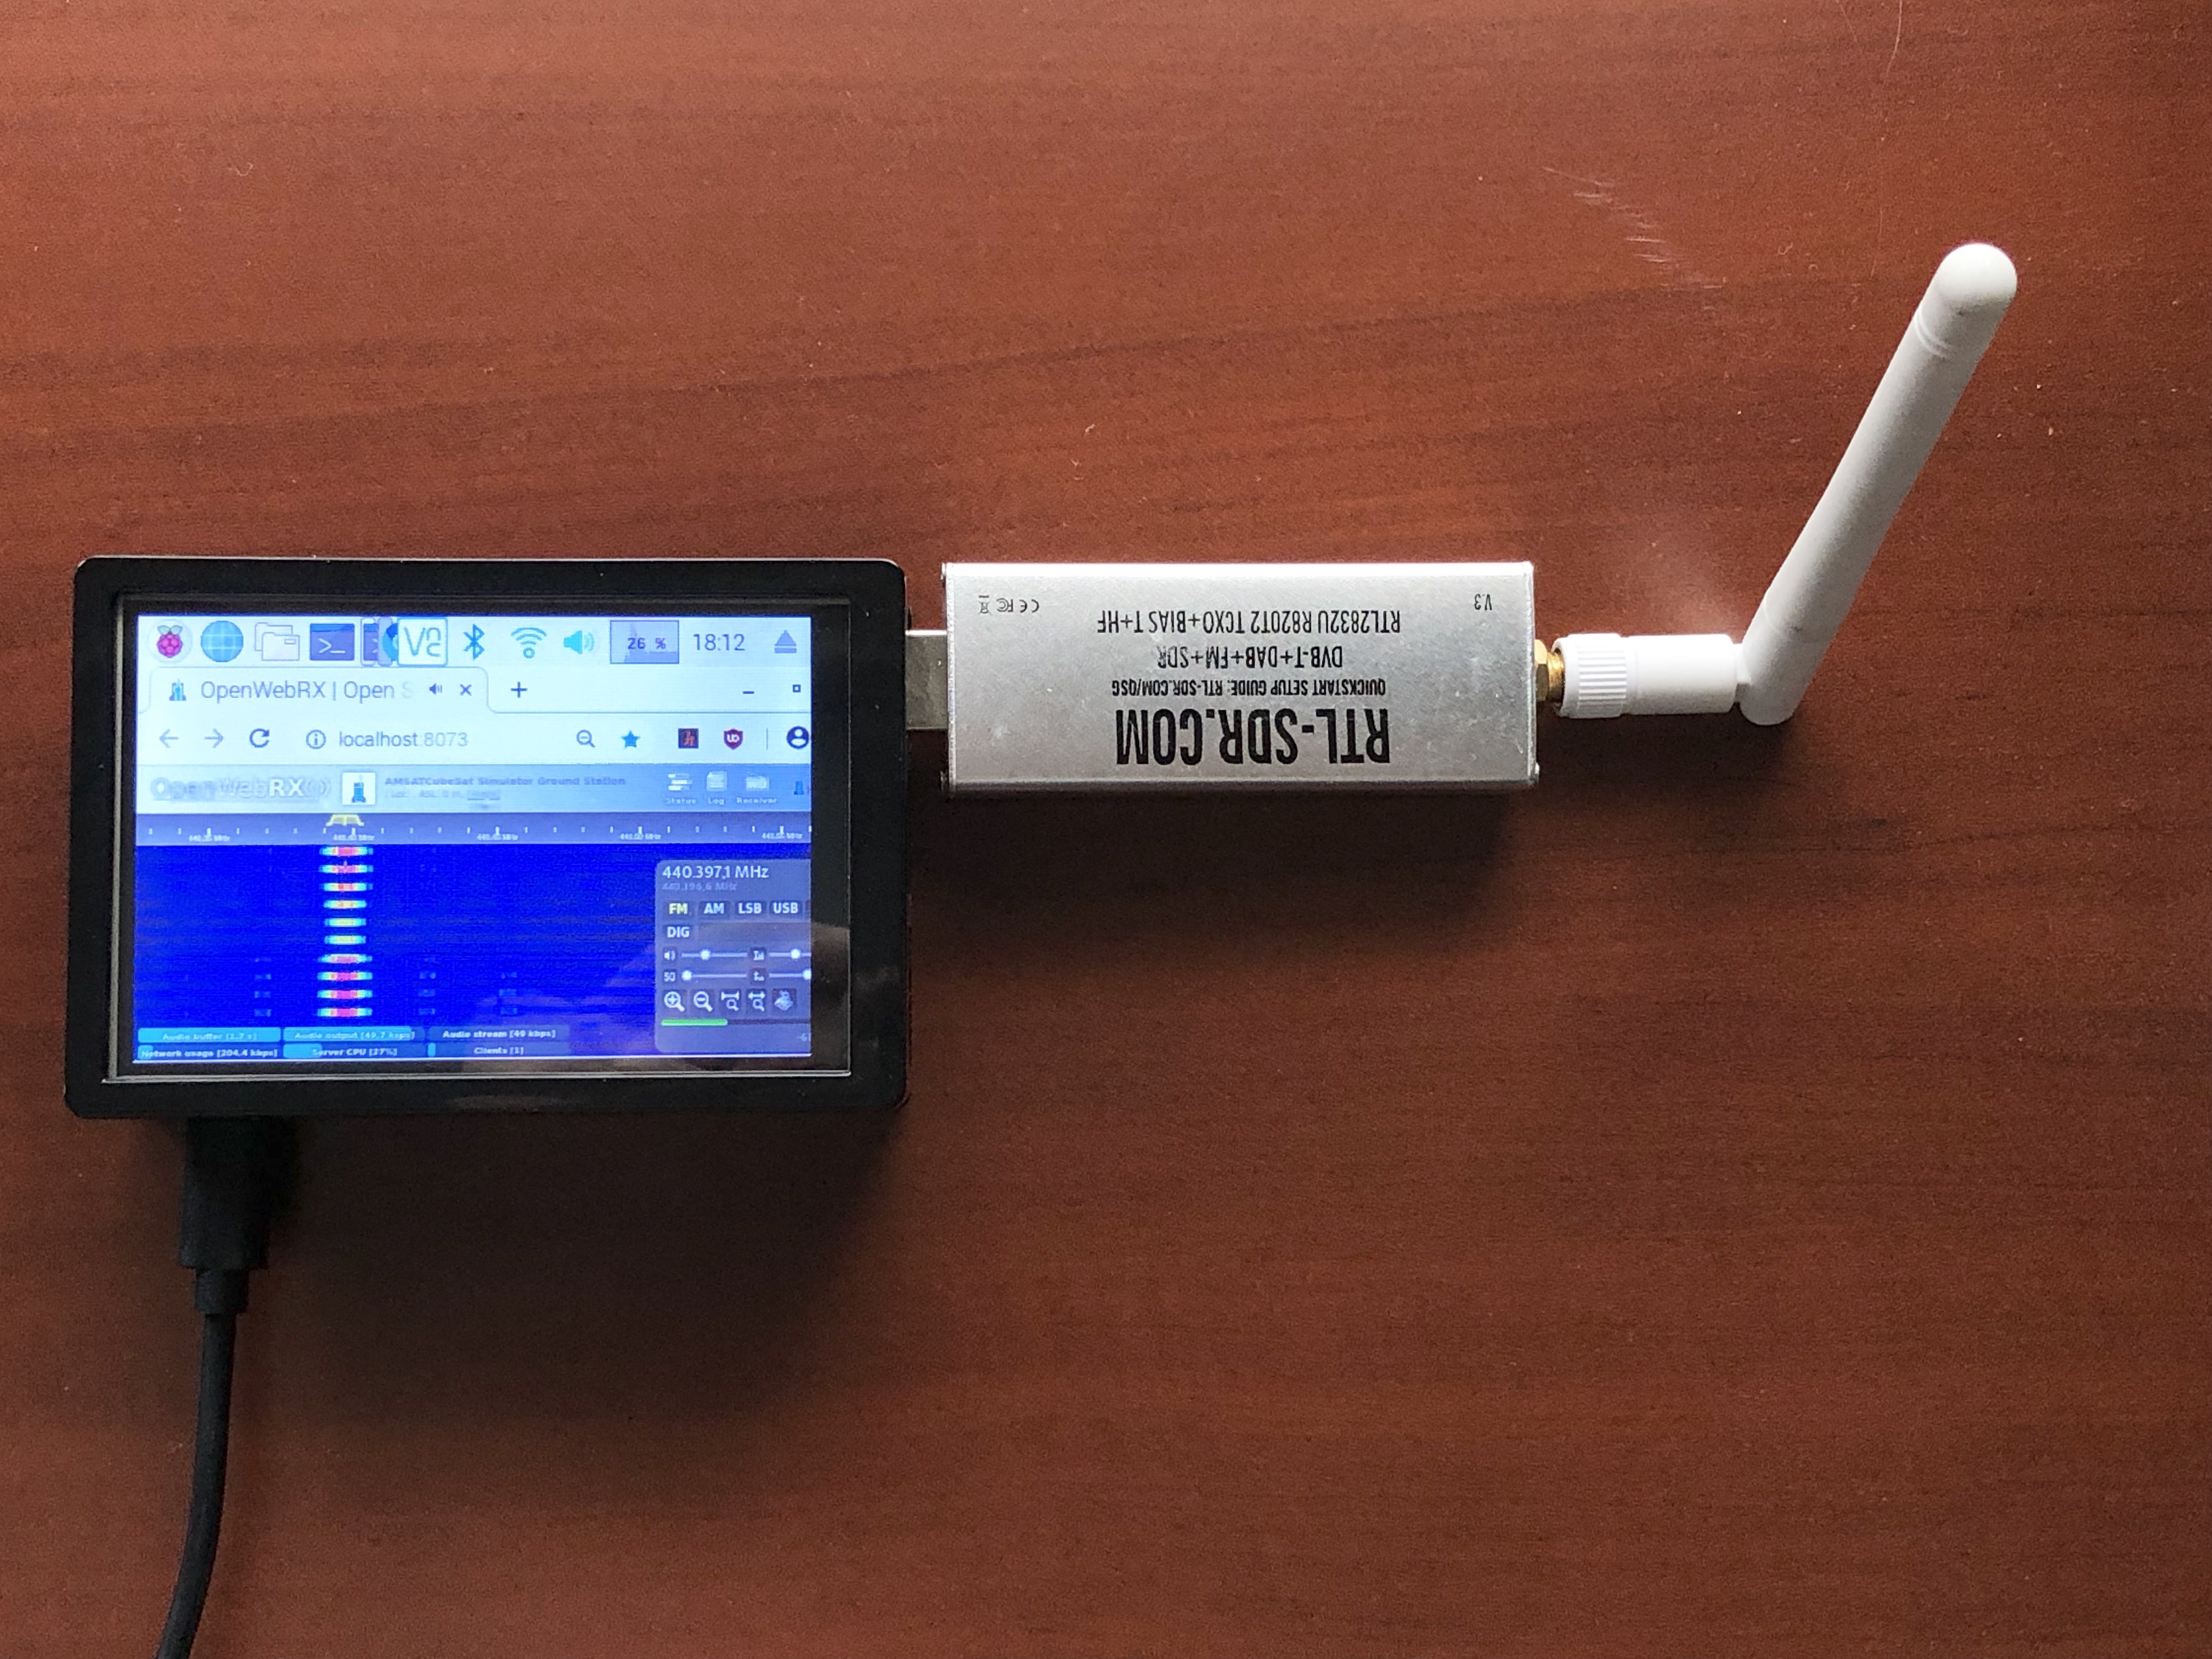
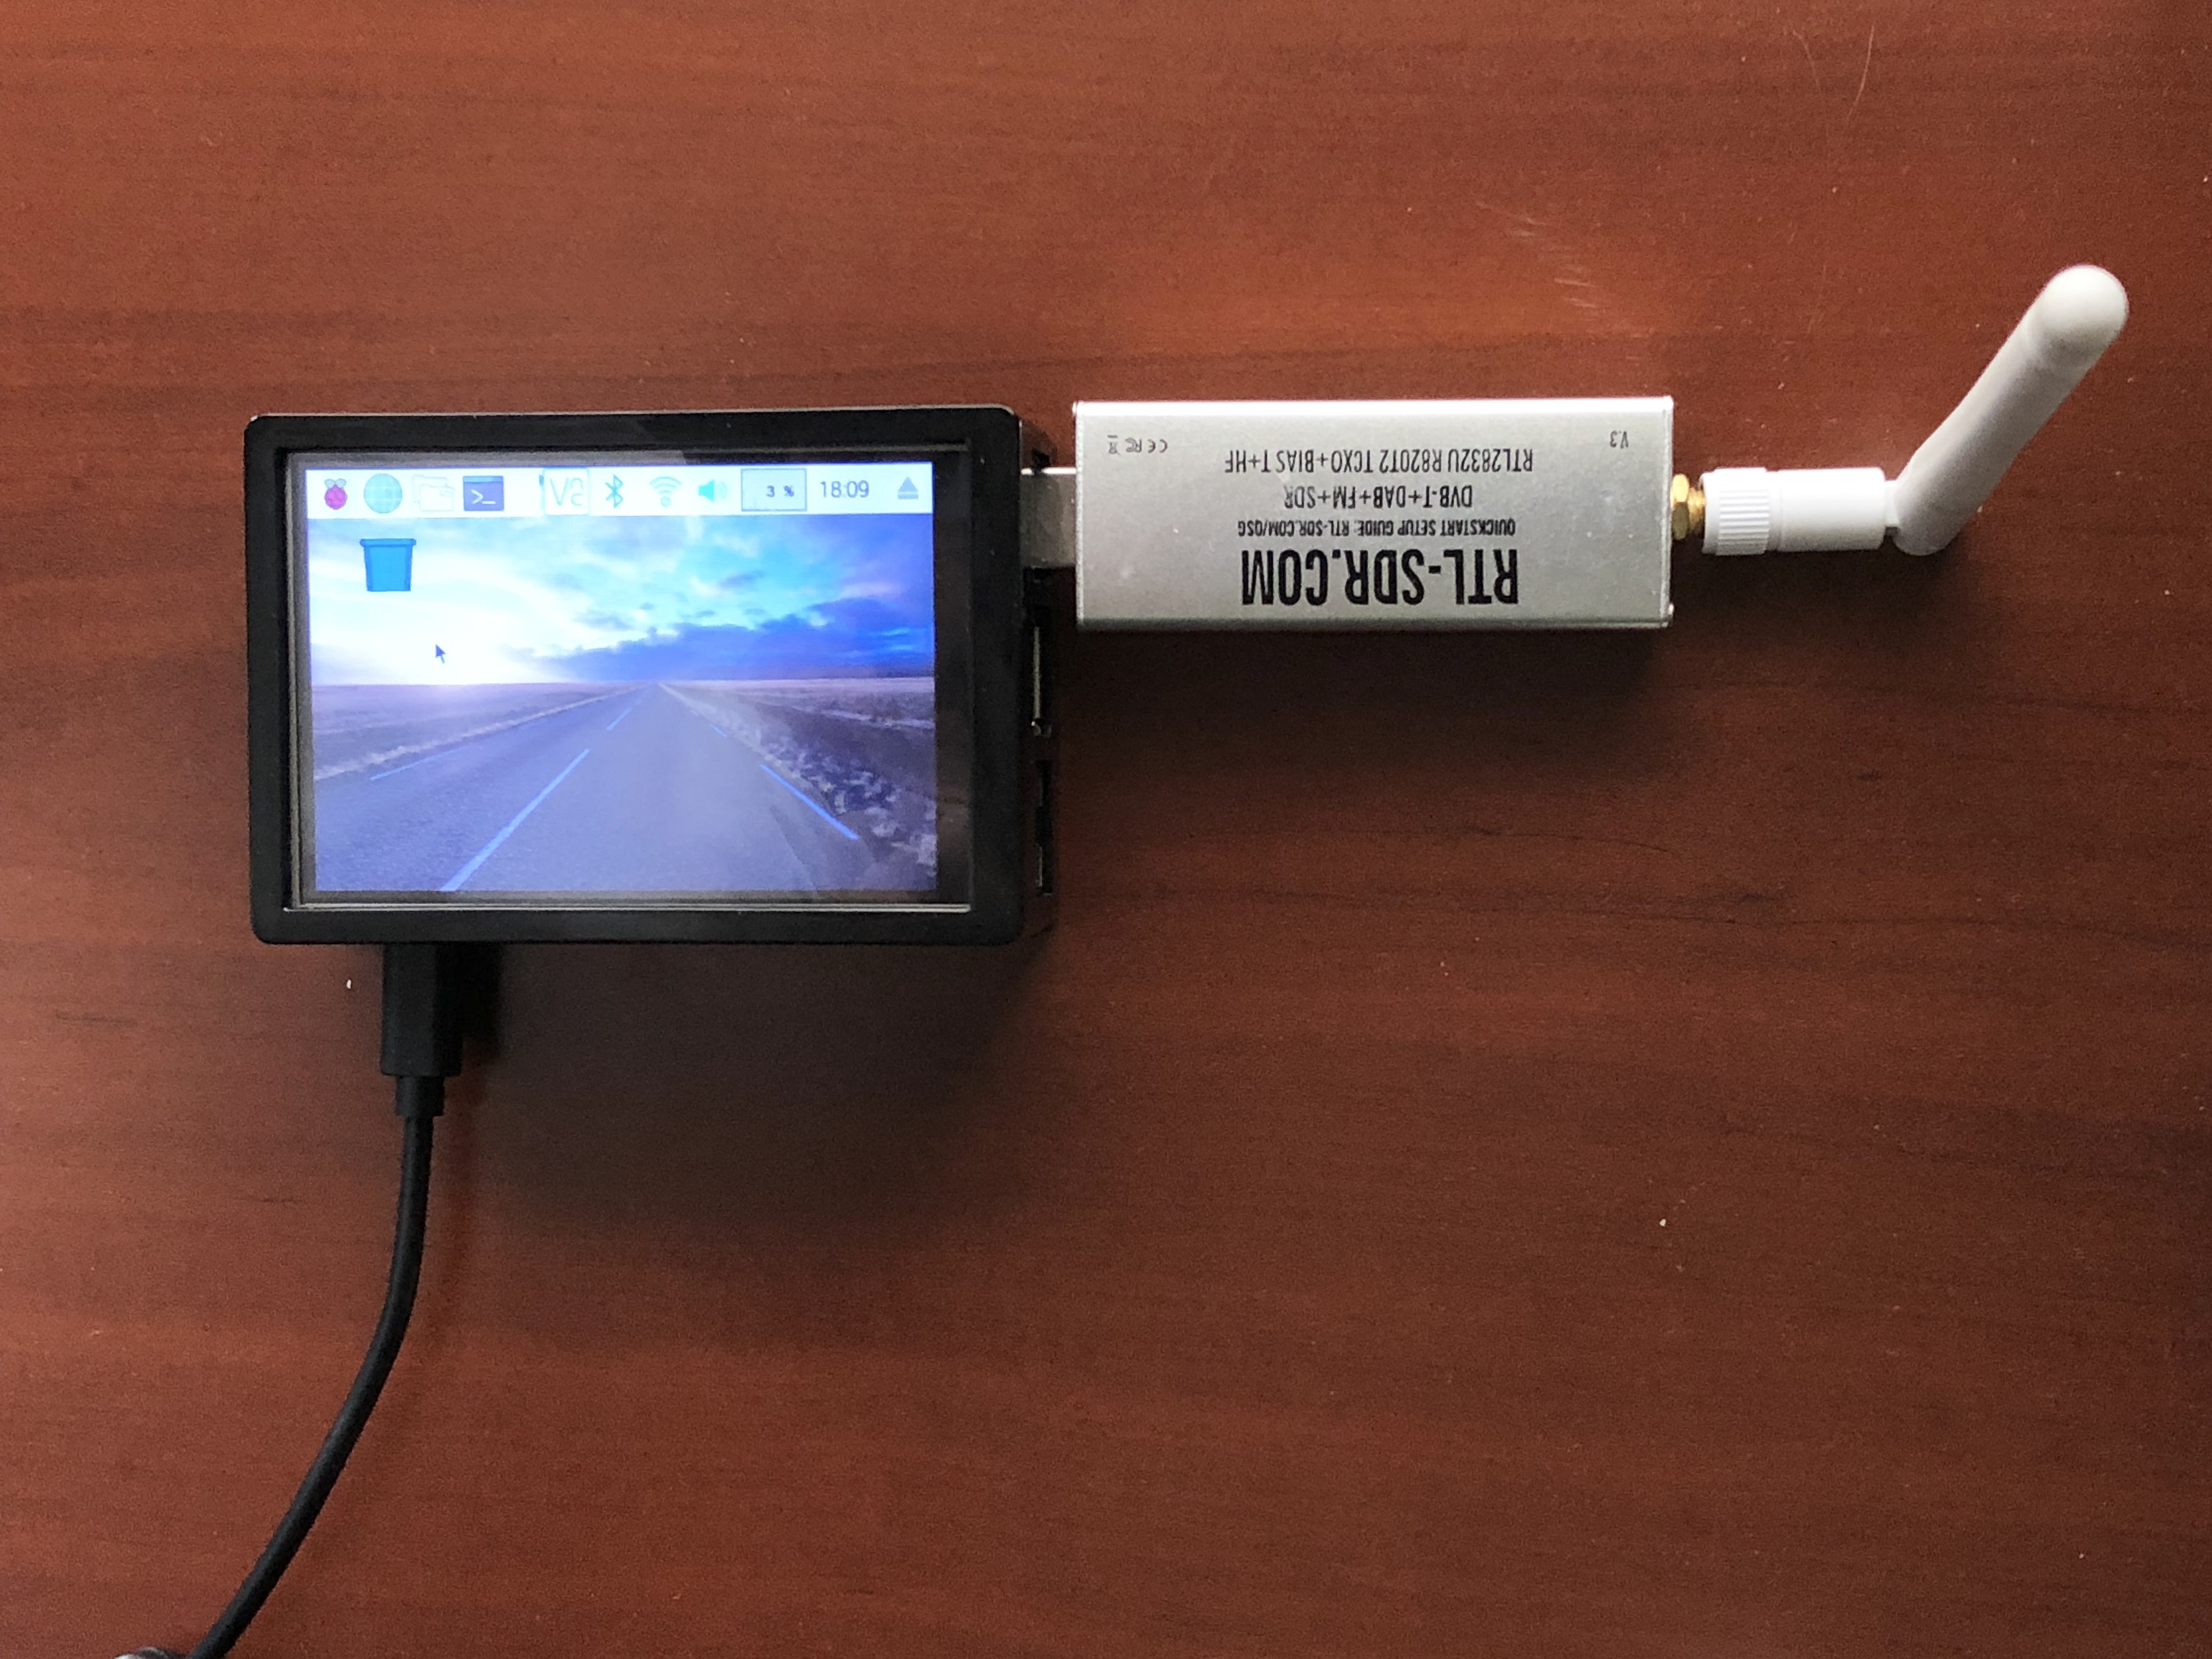
LCD Display
Adding a 3.5" LCD display to the Pi is a great way to make the Pi Ground Station self-contained. I used this display https://www.amazon.com/gp/product/B07N38B86S
Plug in your LCD display and boot up your Pi. The screen will initially be all white. Follow the instructions for your display. For mine, it was
cd
sudo rm -rf LCD-show
git clone https://github.com/goodtft/LCD-show.git
chmod -R 755 LCD-show
cd LCD-show/
sudo ./MHS35-show
The script will automatically reboot your Pi when it completes. The screen should now be on. My touchscreen input was rotated 90 degrees, and this was the fix for it https://raspberrypi.stackexchange.com/questions/65814/ads7846-touchscreen-configuration. Log back into your Pi and type:
sudo apt-get install xserver-xorg-input-evdev
sudo cp -rf /usr/share/X11/xorg.conf.d/10-evdev.conf /usr/share/X11/xorg.conf.d/45-evdev.conf
sudo reboot now
Now your touch screen should be correctly aligned. If you want a higher resolution screen (important if you use VNC or connect a monitor directly to your Pi), then edit /boot/config.txt and comment out these last five lines by inserting a # then save the file:
#hdmi_group=2
#hdmi_mode=1
#hdmi_mode=87
#hdmi_cvt 480 320 60 6 0 0 0
#hdmi_drive=2
Next install a touch keyboard:
sudo apt-get install matchbox-keyboard
After rebooting, you will find it under Accessories.
Next, you can add menu items for the Ground Station Scripts. On the desktop, click the Raspberry, Preferences, Main Menu Editor. Select "New Item" and you will get a "Launcher Preferences" box. For Name, put in "SDR OpenWebRX". Click on the Browse button, then the Home icon, and click on the sdr.sh file. Check the "Launch in terminal" checkbox. Click on OK.
Do the same for the "Decode Telemetry" script decode.sh and "Find IP Address" script ipaddress.sh.
Scroll to the bottom of the list and select one of the new menu items, such as "SDR OpenWebRX". Click the Move Up button until it is at the top. Do the same for the other items you created.
Click OK to close the Main Menu Editor.
Reboot to see the new menu items by selecting Raspberry, Shutdown, Reboot in the menu, or by typing sudo reboot now in a Terminal window.
Now test starting the SDR by click on the Raspberry the click on the "SDR OpenWebRX" item. A terminal window should open and the script run.
Click on the Globe icon at the top to open the browser. In the address field, type:
localhost:8073
when you hit enter, the OpenWebRX web page should load. Next to the address field, click on the star icon to add it as a bookmark. Now you can open it by just clicking on the name in the bookmark bar.