Radio Pi - alanbjohnston/CubeSatSim GitHub Wiki
ARISS Radio Pi
The ARISS (Amateur Radio on the International Space Station) Radio Pi is a software image for a Raspberry Pi computer that has various radio and satellite software pre-installed.
It is in Beta testing right now, but you can download a test image and write it to a 16GB micro SD card or larger.
The username is pi and the password is raspberry.
The Radio Pi has the following software pre-installed, as well as drivers for the low-cost RTL-SDR USB dongle https://www.amazon.com/RTL-SDR-Blog-RTL2832U-Software-Defined/dp/B011HVUEME/:
- OpenWebRX, a Web SDR that allows access to the RTL-SDR using any web browser – no software install required! It covers 500 kHZ to 1.2 GHz including the amateur radio bands, short wave bands, and selected VHF and UHF bands. It supports FM, AM, SSB demodulation, and also many digital modes including APRS, FT8, and WSPR.
- CubicSDR, a nice SDR application that runs on the Raspberry Pi. This is great for tuning in broadcast FM radio stations or tuning specific signals using the RTL-SDR.
- RTL-TCP, an application that streams the RTL-SDR signal over a network, allowing you to run any SDR application that supports RTL-TCP access.
- FoxTelem, AMSAT’s satellite telemetry decoding and uploading software. This allows for tracking an analyzing telemetry from any of the AMSAT Fox-1 satellites, HuskySat-1, or even the CubeSatSim,
- QSSTV, Slow Scan TV (SSTV) decoding software, with scripts for receiving from either the ISS or the CubeSatSim
- Direwolf, APRS decoding software
- Gpredict, tracking software that is pre-configured for common amateur radio satellites including AMSAT CubeSats.
Here are some videos that introduce the ARISS Radio Pi and how to use it:
https://www.youtube.com/playlist?list=PL-pgyk1pc4_P2wv84pcIsDarCyM4_H9ni
Here are detailed instructions on how to make your SD card and use it:
With the pre-built Raspberry Pi disk image on your SD card, your Pi then should boot up immediately and run the web SDR.
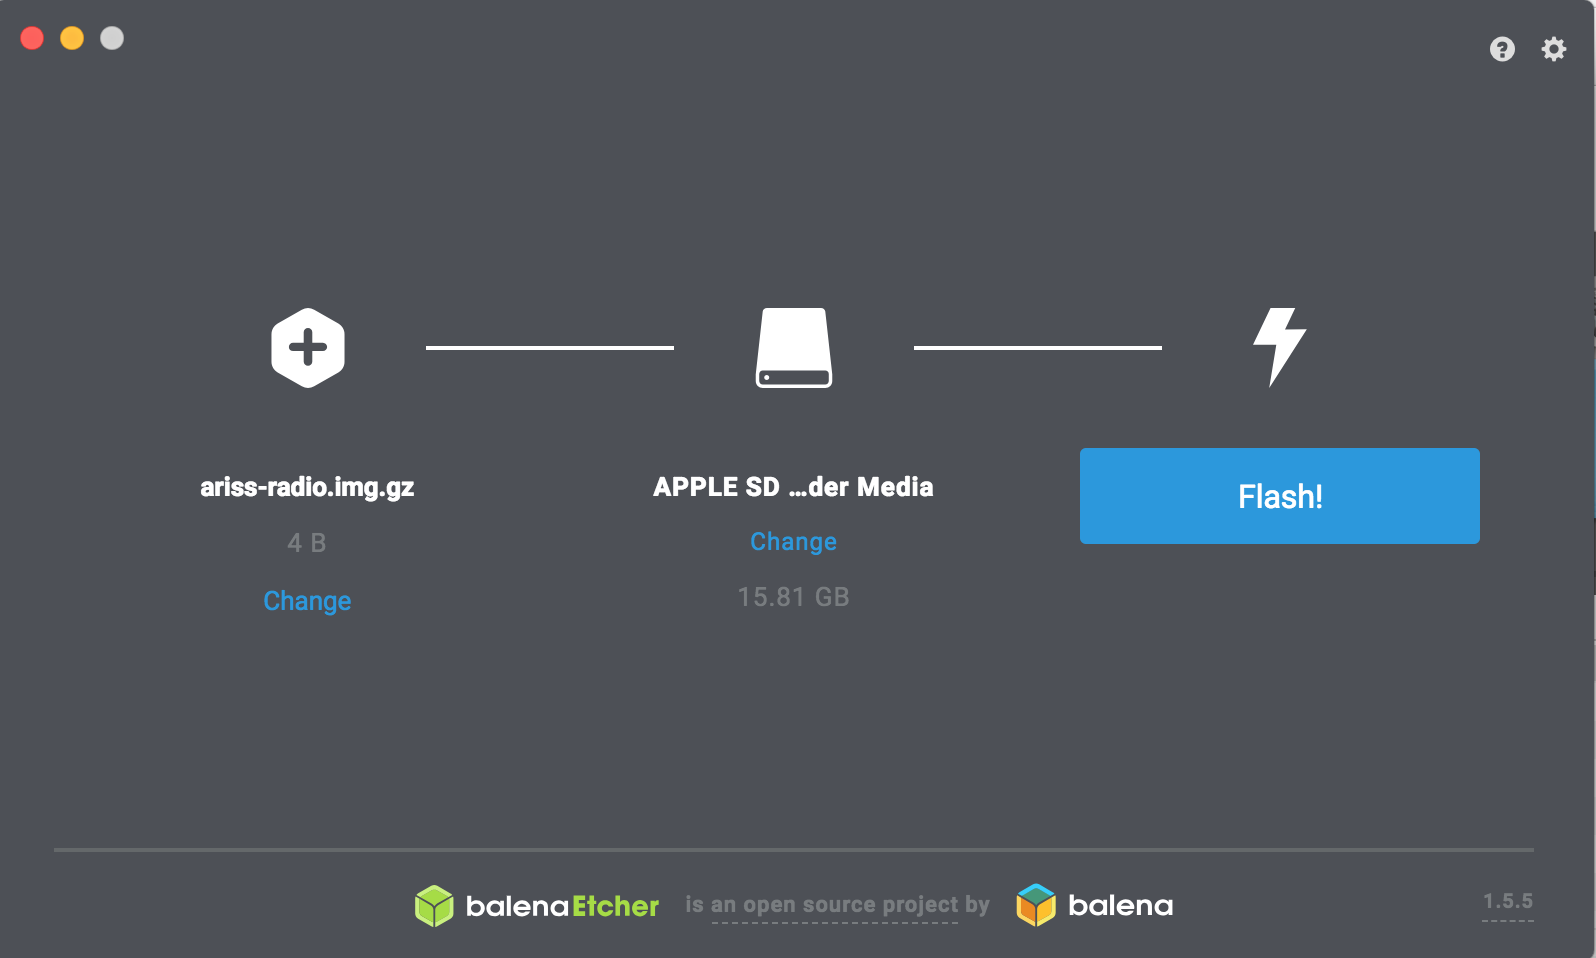
You will need a micro SD card with at least 16GB of capacity and a micro SD card writer (such as one of these https://www.amazon.com/s?k=sd+card+usb) and free software such as balenaEtcher: https://www.balena.io/etcher/ You will need to have administrator privileges on your computer in order to do this.
The image file is larger than 1GB, but with balenaEtcher you can write it from the URL without having to download it first. When you run balenaEtcher, select the Flash from URL option with this URL: https://cubesatsim.org/download/Fox-in-box-v3.iso.gz You can also try the very latest version which also runs on a Pi 5, the Fox-in-a-Box v4 Beta image: https://cubesatsim.org/download/fiabv4-beta.iso.zip Here is more info about the FIABv4 Beta image: https://github.com/alanbjohnston/CubeSatSim/wiki/FIABv4-Beta
Insert your micro SD card - the card will be erased in the process of writing. Click on Select Target and select your SD card writer. Then select Flash to begin writing. You will need to input your administrator password, then the write will begin. It will take a while.
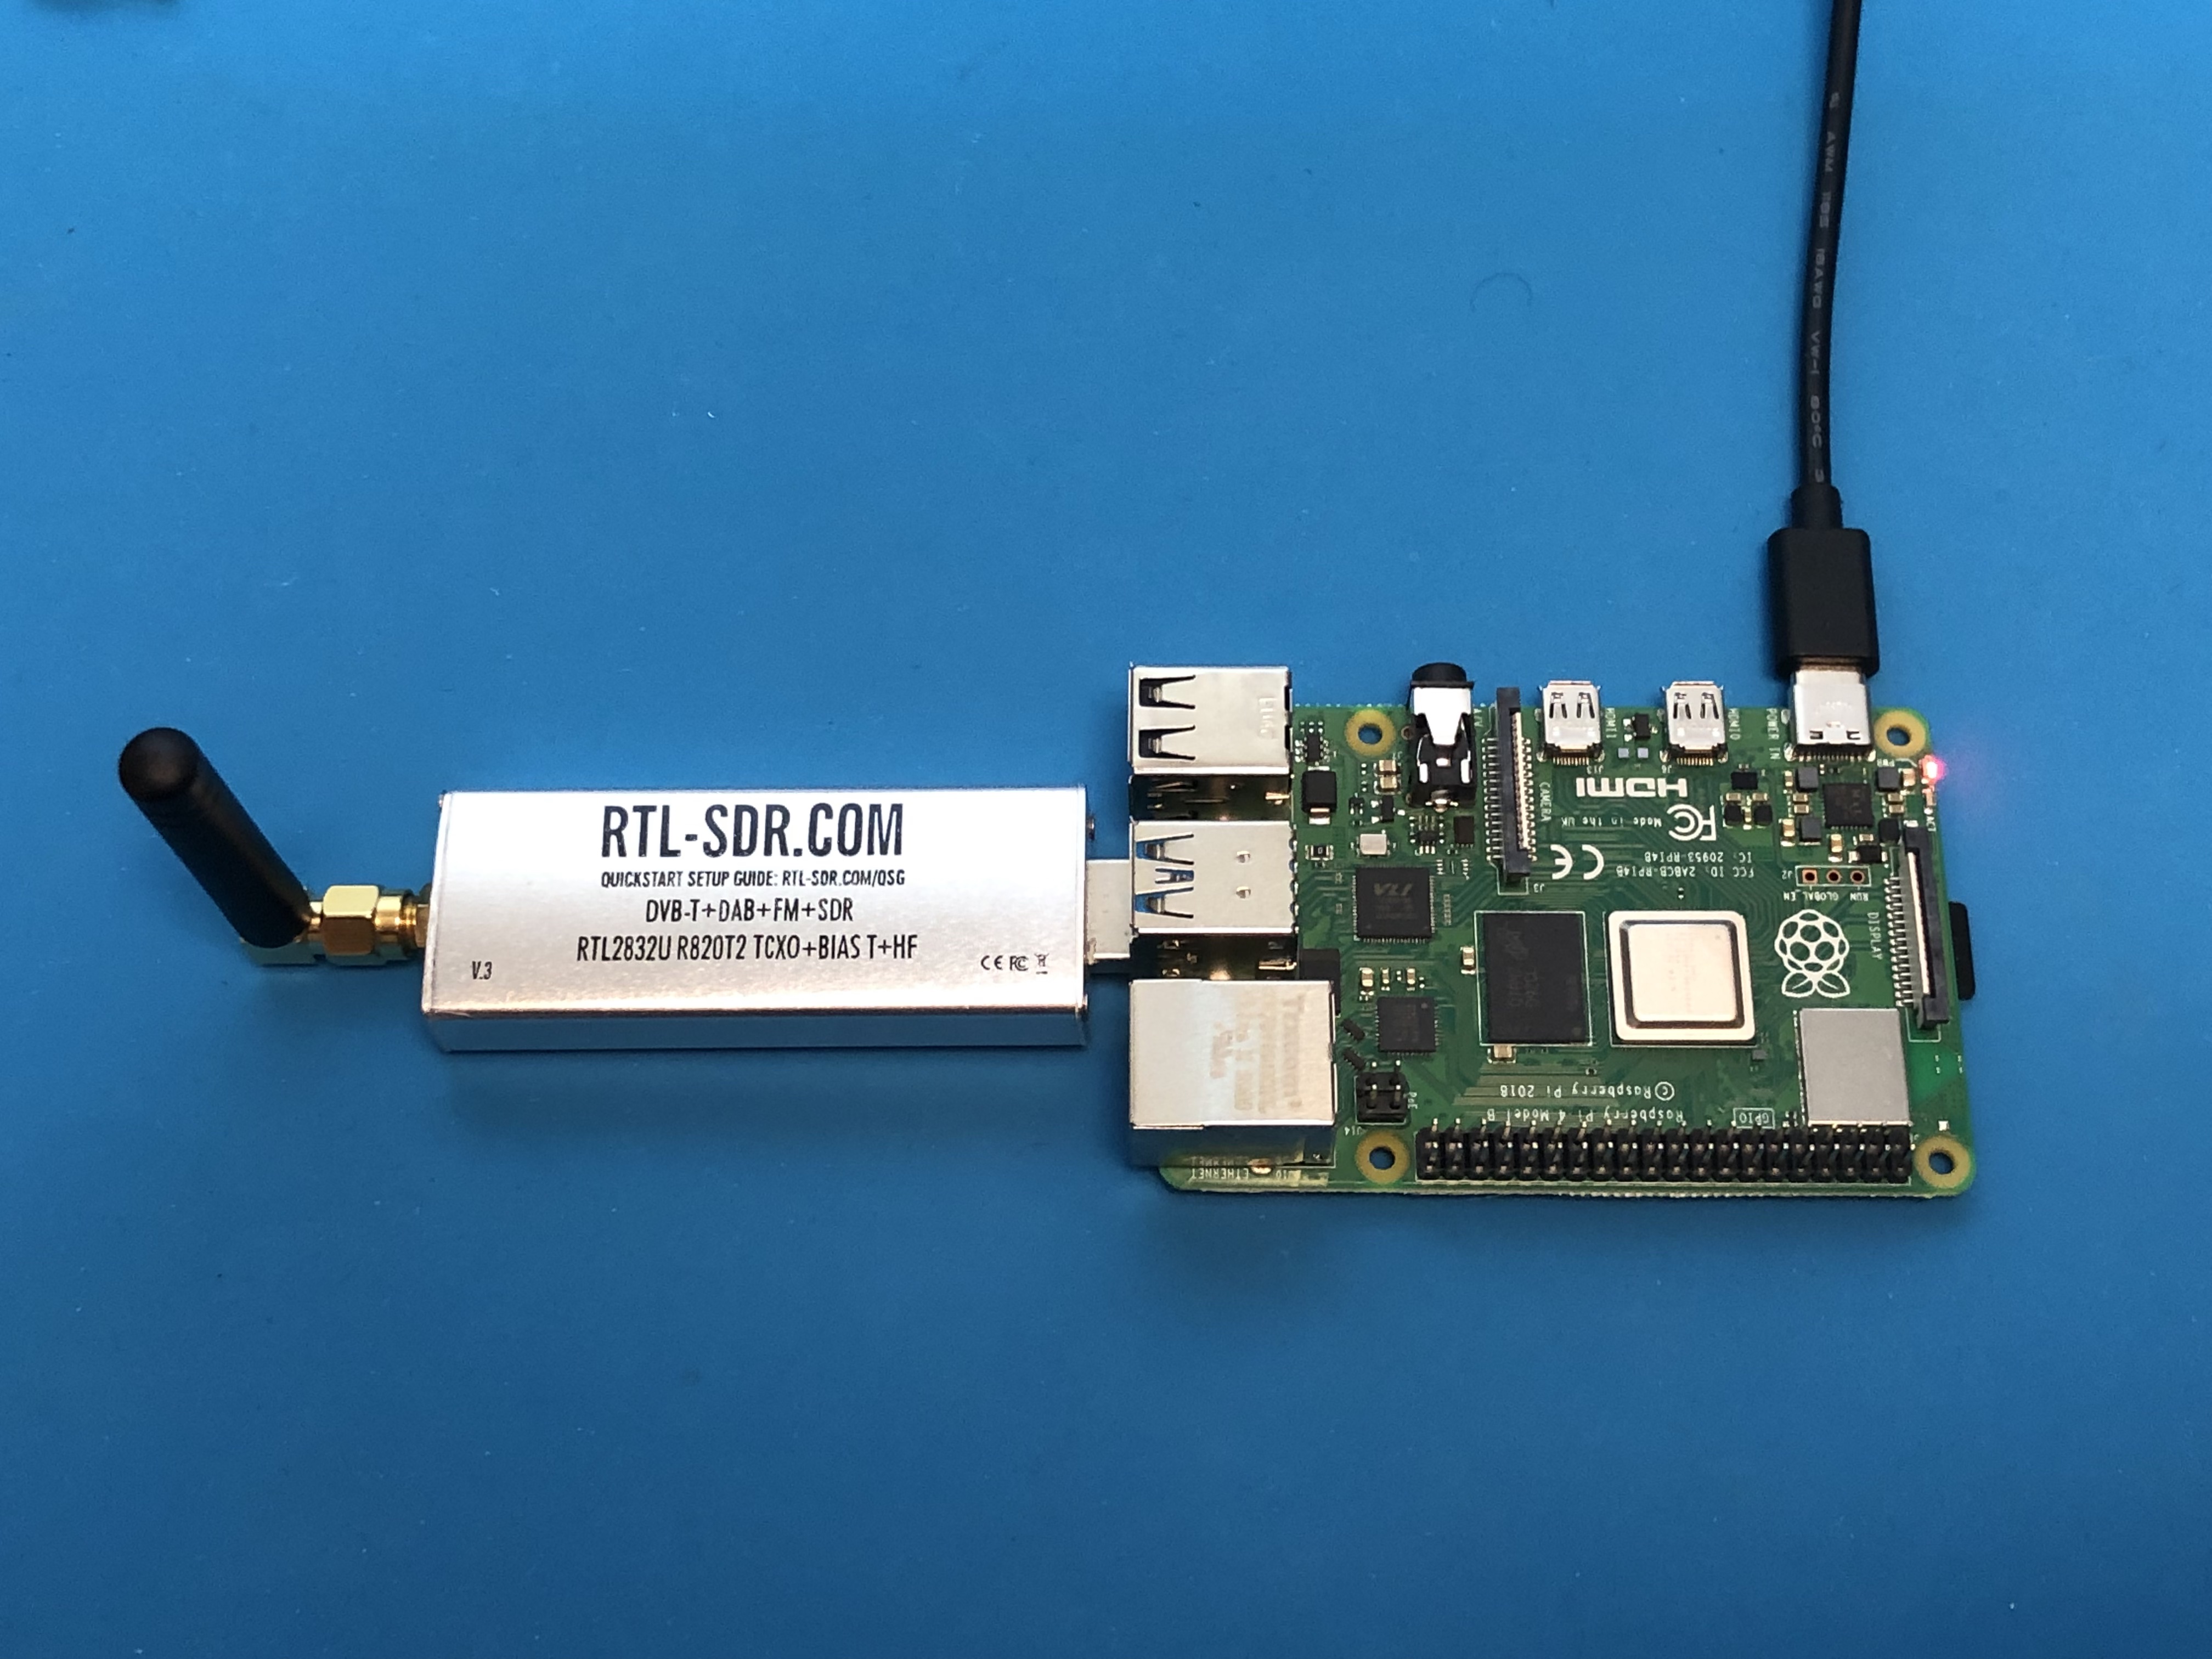
This will take a few minutes, and then the card will be ready to put in your Pi. Make sure power is off to your Pi before you insert the card. Plug in your RTL-SDR into the Pi with an antenna connected. As soon as you connect power to your Pi, it will turn on and boot up.
When the ARISS Radio Pi is running, you will have a number of ways of using the Pi:
-
You can plug an HDMI monitor, USB keyboard and mouse into the Pi. You may need an HDMI or USB adapter depending on your model of Raspberry Pi. You will then use the graphical user interface without needing another computer.
-
If you can connect your Pi to your network, you can run a VNC client application on a computer and connect to the Pi to get a graphical user interface. I recommend Real VNC Viewer https://www.realvnc.com/en/connect/download/viewer/ which runs on many platforms including iPhone and Andriod phones. See below for connecting the Pi to your network.
-
If you can connect your Pi to your network, you can run an SSH client on a computer and connect using a command line interface. You can use the built-in ssh client in Mac or Linux, or the PuTTY client for Windows https://www.putty.org/. See below for connecting the Pi to your network.
Connecting to Your Network
There are multiple ways to connect your Pi to your network.
-
If you have a router with an Ethernet port, you can connect your Pi using an Ethernet cable to a LAN port on your router.
-
The Pi is pre-configured for the CubeSatSim WiFi network with a network name SSID of CubeSatSim and a password of amsatao7 (Note that the second to last character is o for OSCAR, as in AMSAT AO-7, the best satellite ever!). If you have this network, or can configure an existing network for this SSID and password, then your Pi will automatically connect.
-
If you have an HDMI monitor, USB keyboard and mouse, you can use them to bring up the graphical user interface. Click on the WiFi icon in the top right of the screen and select your WiFi network and enter the password.
-
If you know the default private IP address of your Pi, then you can connect your Pi to your PC via an Ethernet cable. The private IP address will begin with 169 such as 169.254.159.107 (your IP address will be different). You can find this IP address by plugging the Ethernet cable into your computer then mousing over the WiFi icon in the top right corner of the Pi graphical user interface, as shown here (the private IP address is the eth0 address, ignore the numbers after the /):
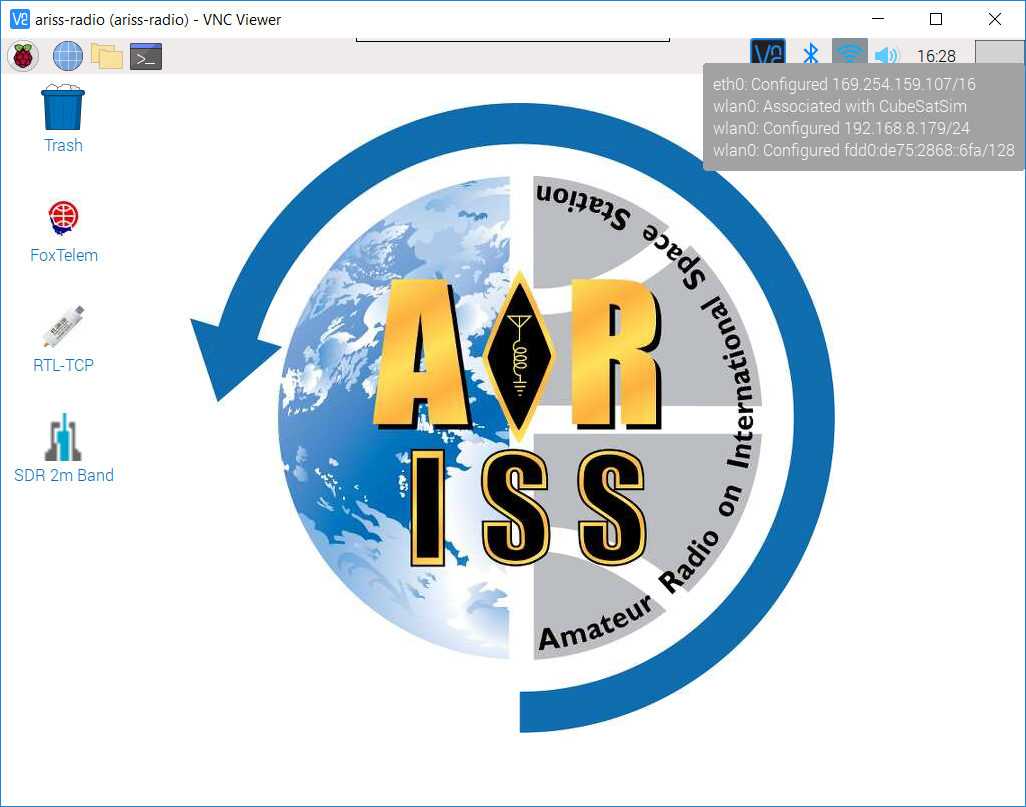
You can then connect to it over the Ethernet cable using this IP address.
VNC Connection
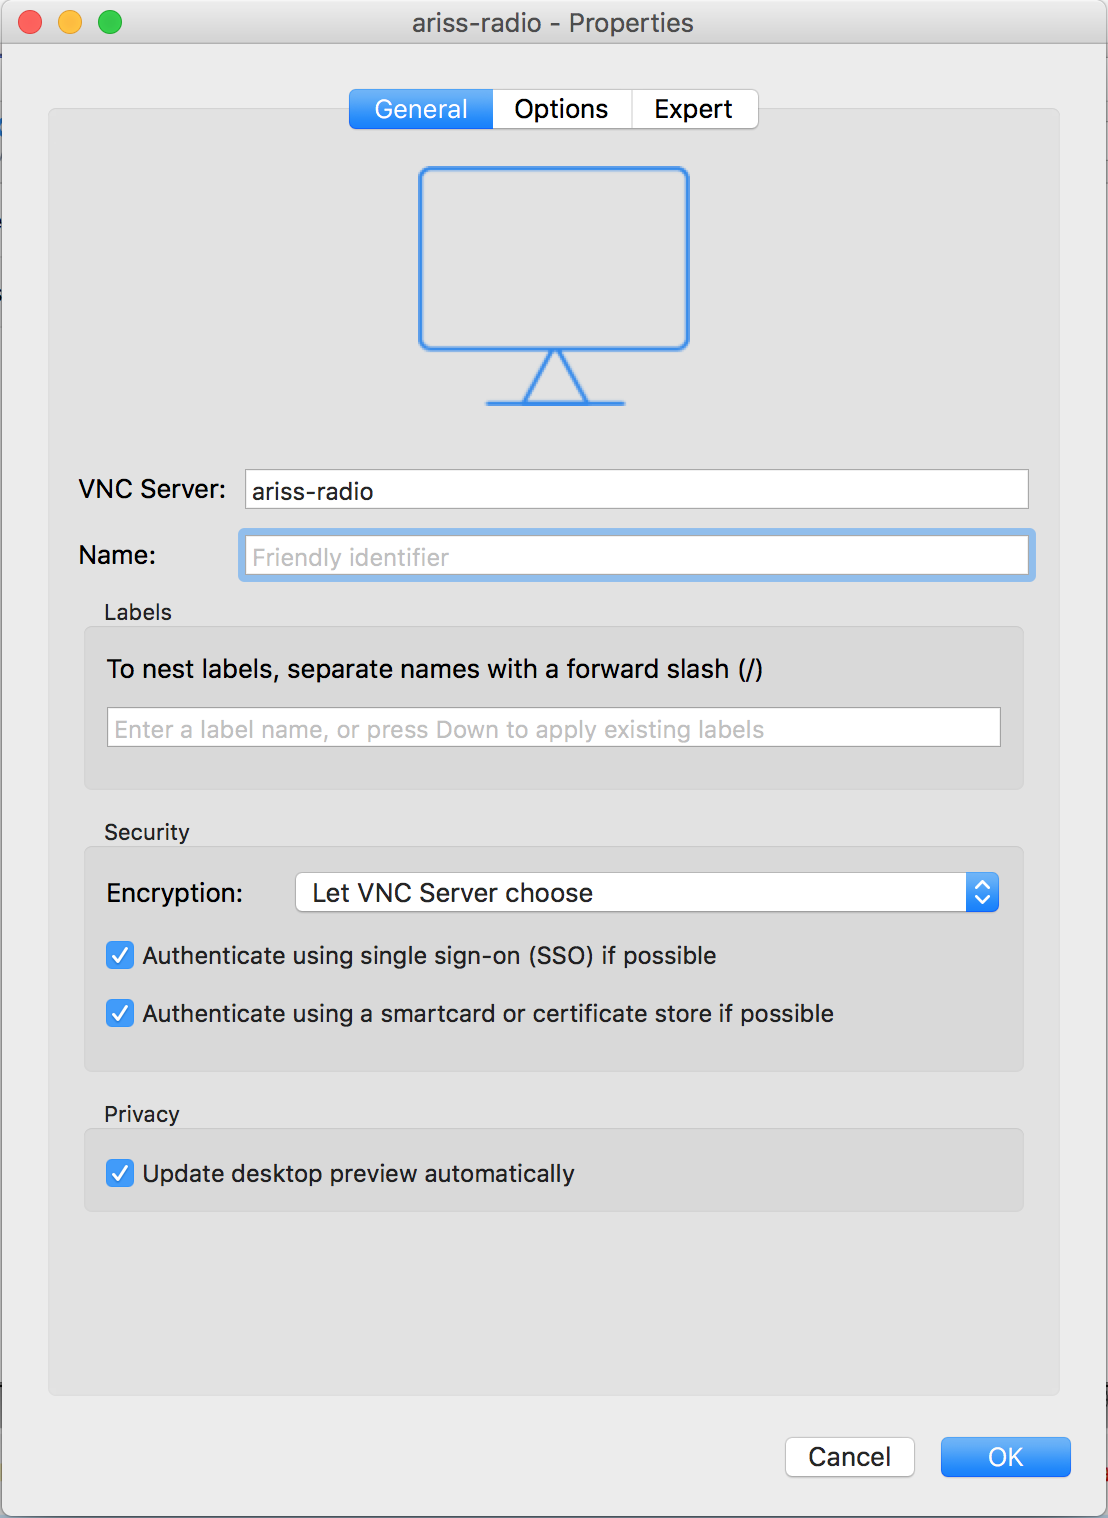
To connect to the Pi using VNC, your computer or phone needs to be on the same network as the Pi and have a VNC client installed. Then, you just enter into your VNC client the hostname (ariss-radio-pi) or IP address (you can get this by mousing over the WiFi icon in the top right of the Pi graphical user interface, labeled wlan0) - the port (5900) and all other parameters can be the default. For example, to connect using Real VNC Viewer on Windows, you only have to put in the hostname or IP address in the VNC Server field and click OK:
When you try to connect, you will be prompted for the username, pi, and the password, raspberry is the default until you change it.
SSH Connection
To connect to the Pi using SSH, your computer or phone needs to be on the same network as the Pi and you need an SSH client. Then, you just enter the hostname (ariss-radio-pi) or IP address (you can get by mousing over the WiFi icon in the top right of the Pi graphical user interface under wlan0). You can leave the port the default (22). You might have to enter the username pi and the the password, raspberry is the default until you change it.
Changing the Password
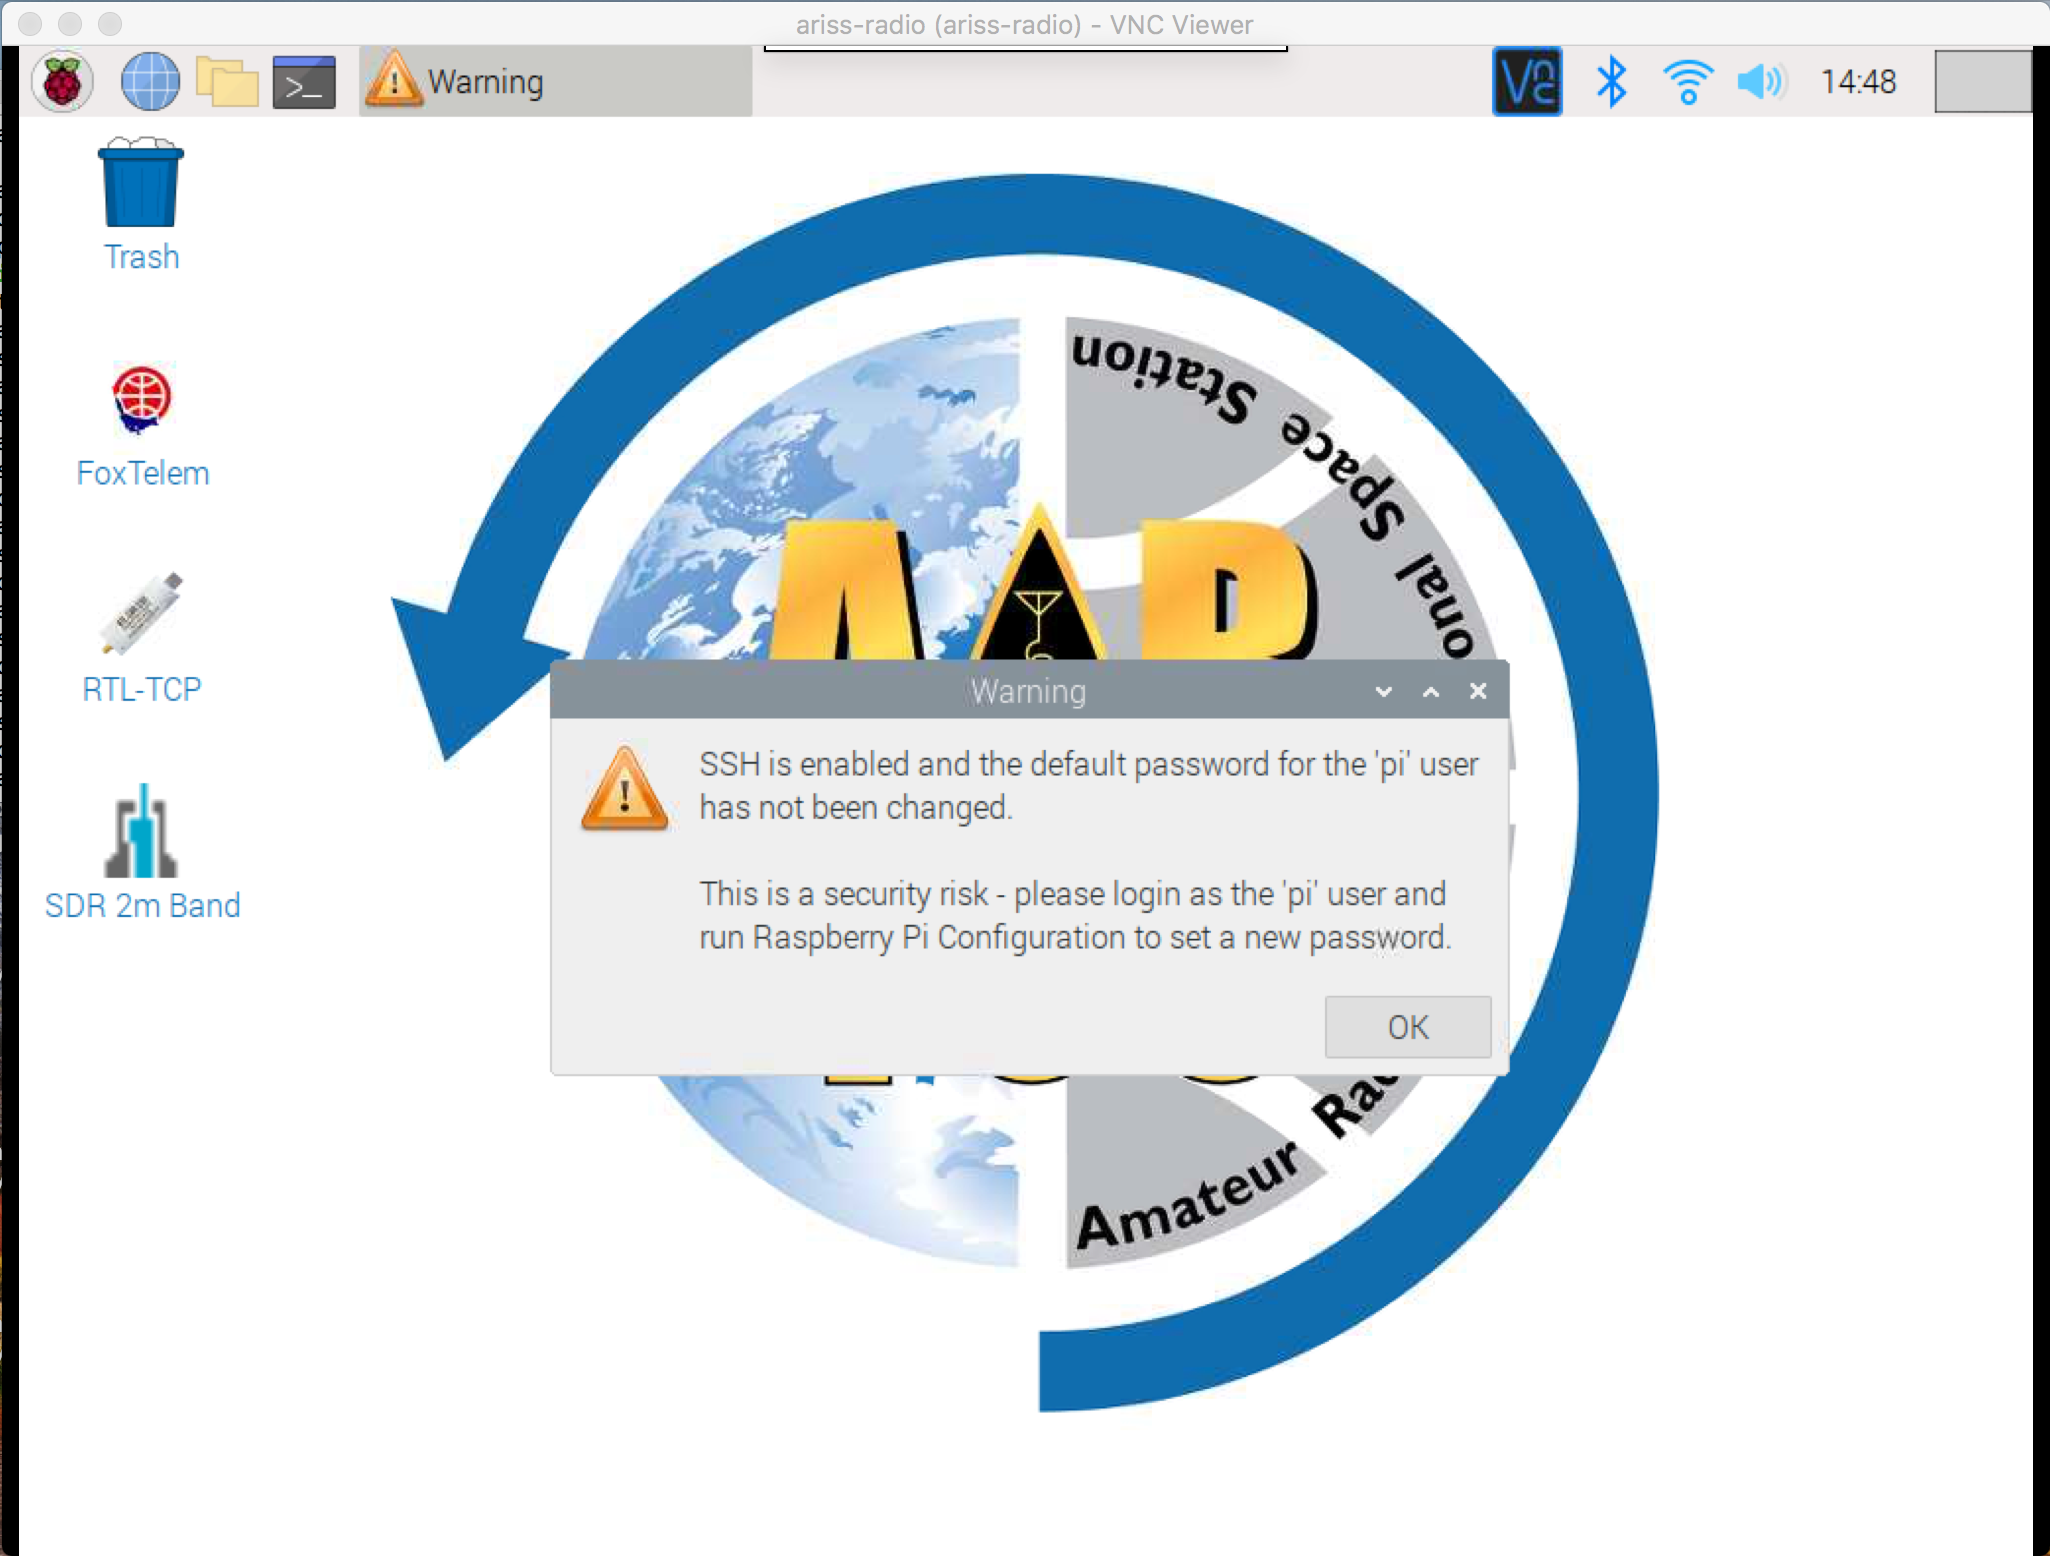
The first time you login you will get a warning about the default password.
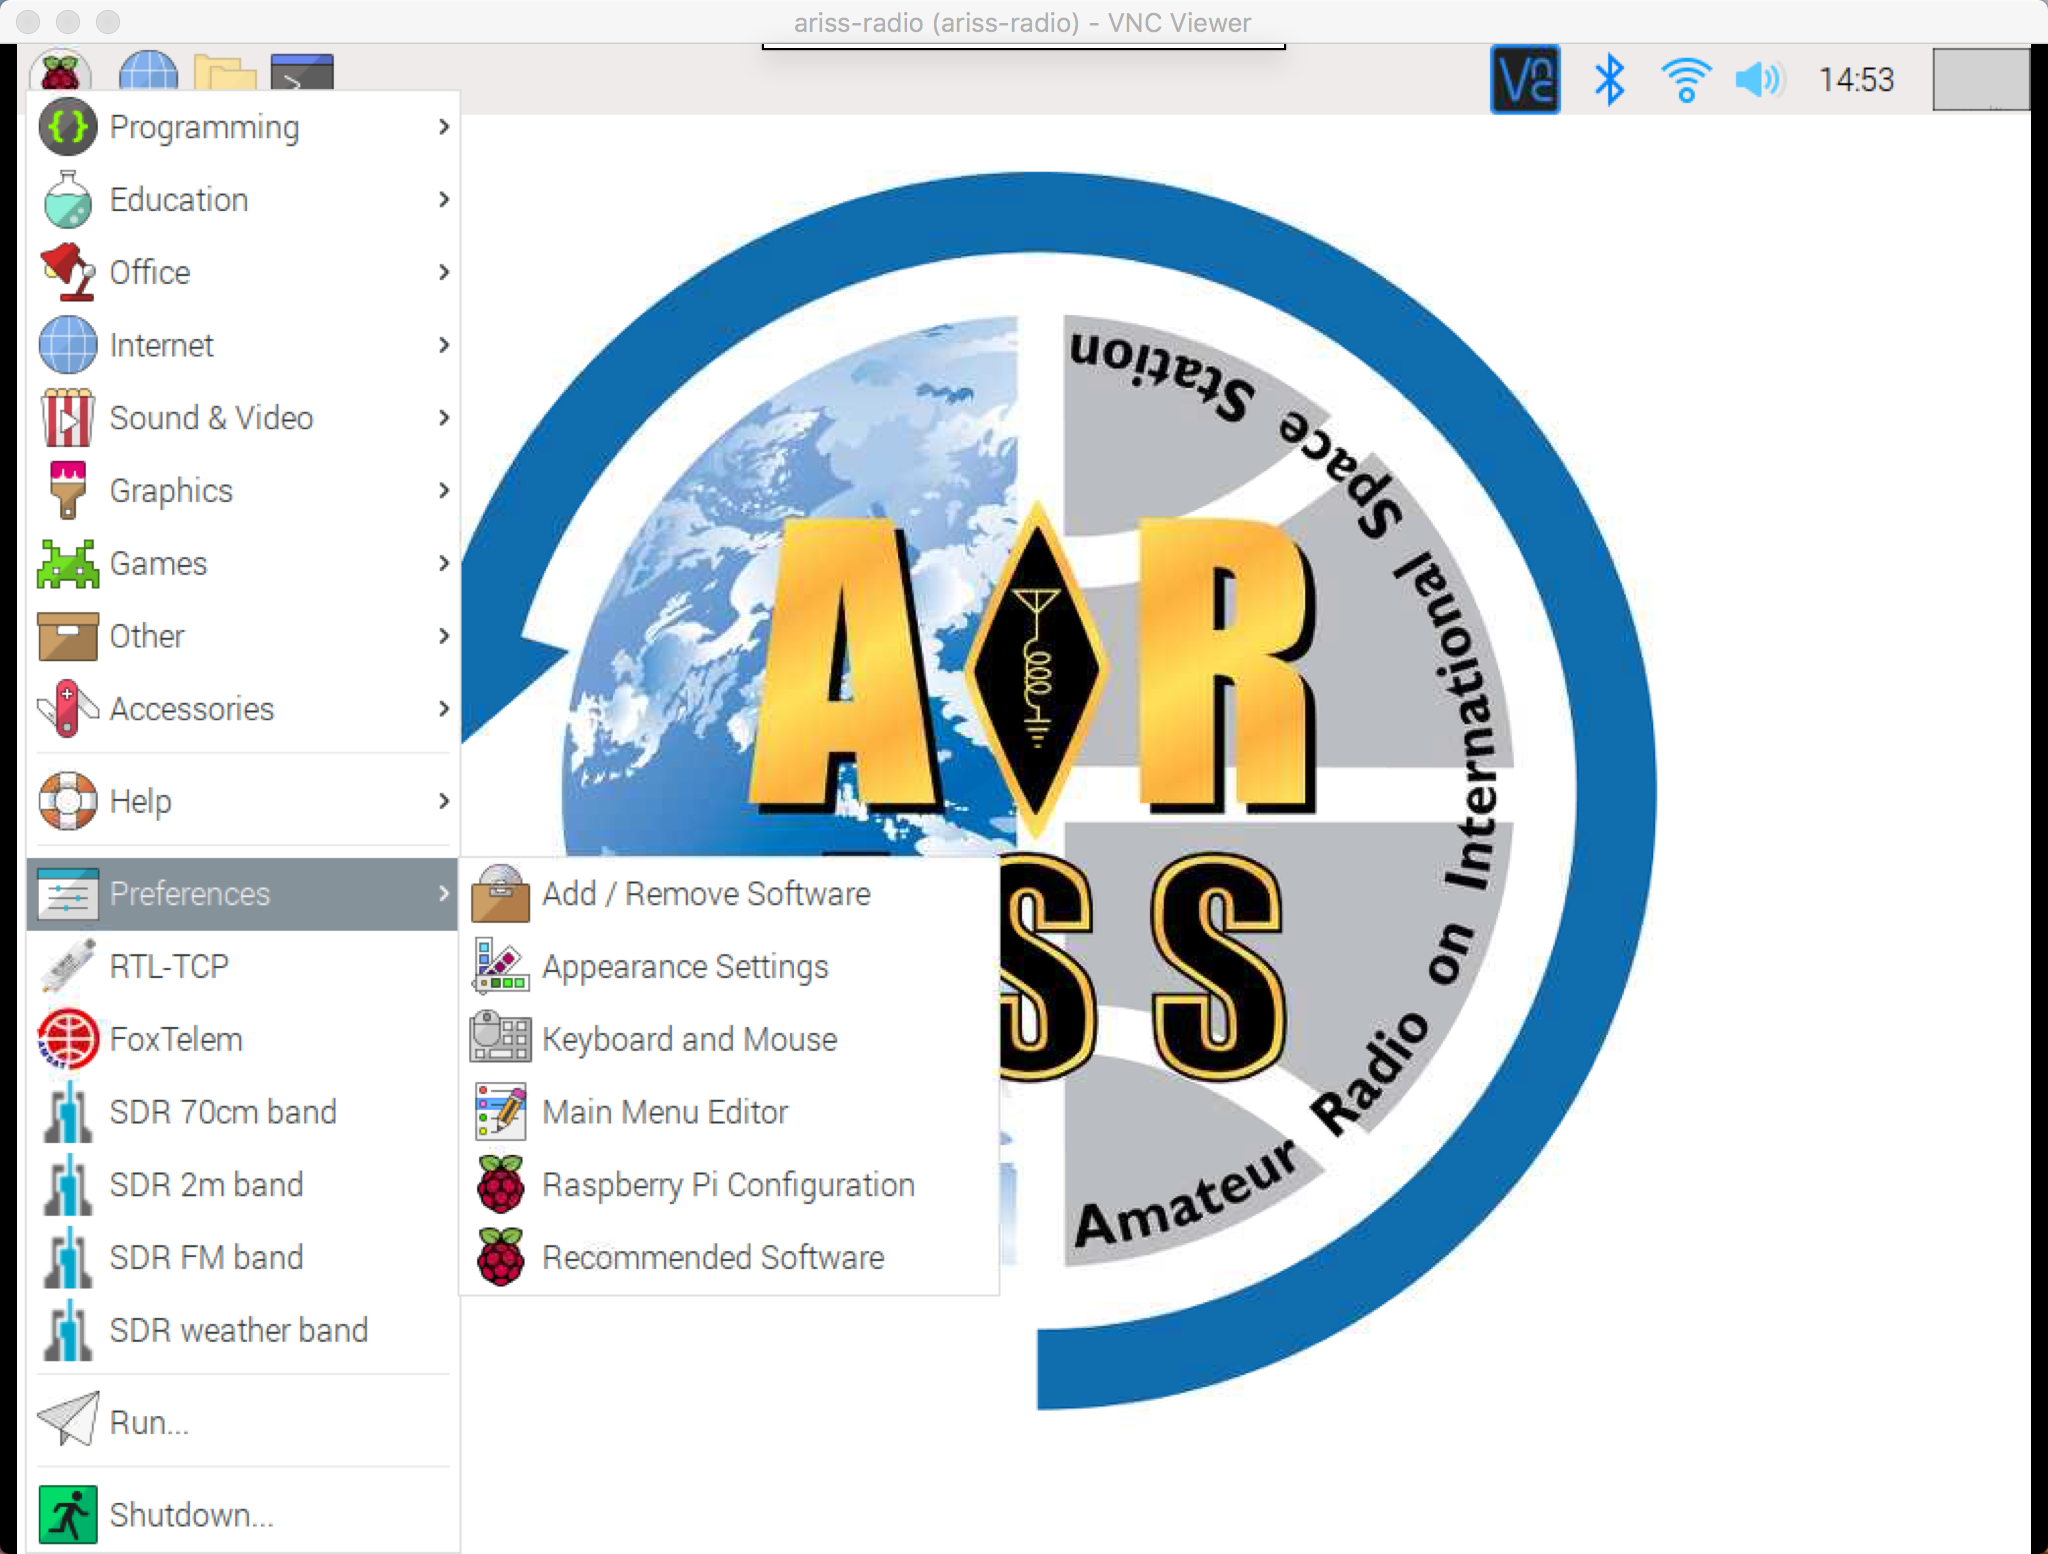
You should change the password to something unique. To do this, run the Raspberry Pi Configuration tool by clicking on the Raspberry icon in the top left, then selecting Preferences then Raspberry Pi Configuration
Select the Change Password option and put in your new password:

Using your ARISS Radio Pi
You are now ready to use your ARISS Radio Pi! Plug in your RTL-SDR into any of the USB ports on your Pi. You will also need an antenna. A simple dipole or vertical or "rubber duck" will allow you to pick up strong signals, such as FM radio even indoors. For other more interesting signals, you will need an outdoor antenna or one next to or sticking out a window. A USB extension cable can be used to run you antenna out a window. Or, a USB power pack can be used to run your Pi outside, as long as it still has WiFi connectivity.
The following sections are examples of things you can do.
Using RTL-TCP with an SDR
With your RTL-SDR and antenna plugged into your Pi, you can run RTL-TCP software on the Pi which allows you to access that RTL-SDR over your network. You can then run software such as SDR# on Windows, SDR Receiver on iOS, SDR Touch on Android, or GQSDR on Linux. See the instructions for your application on how to configure it to use RTL-TCP.
Here's how to run RTL-TCP on your Pi.
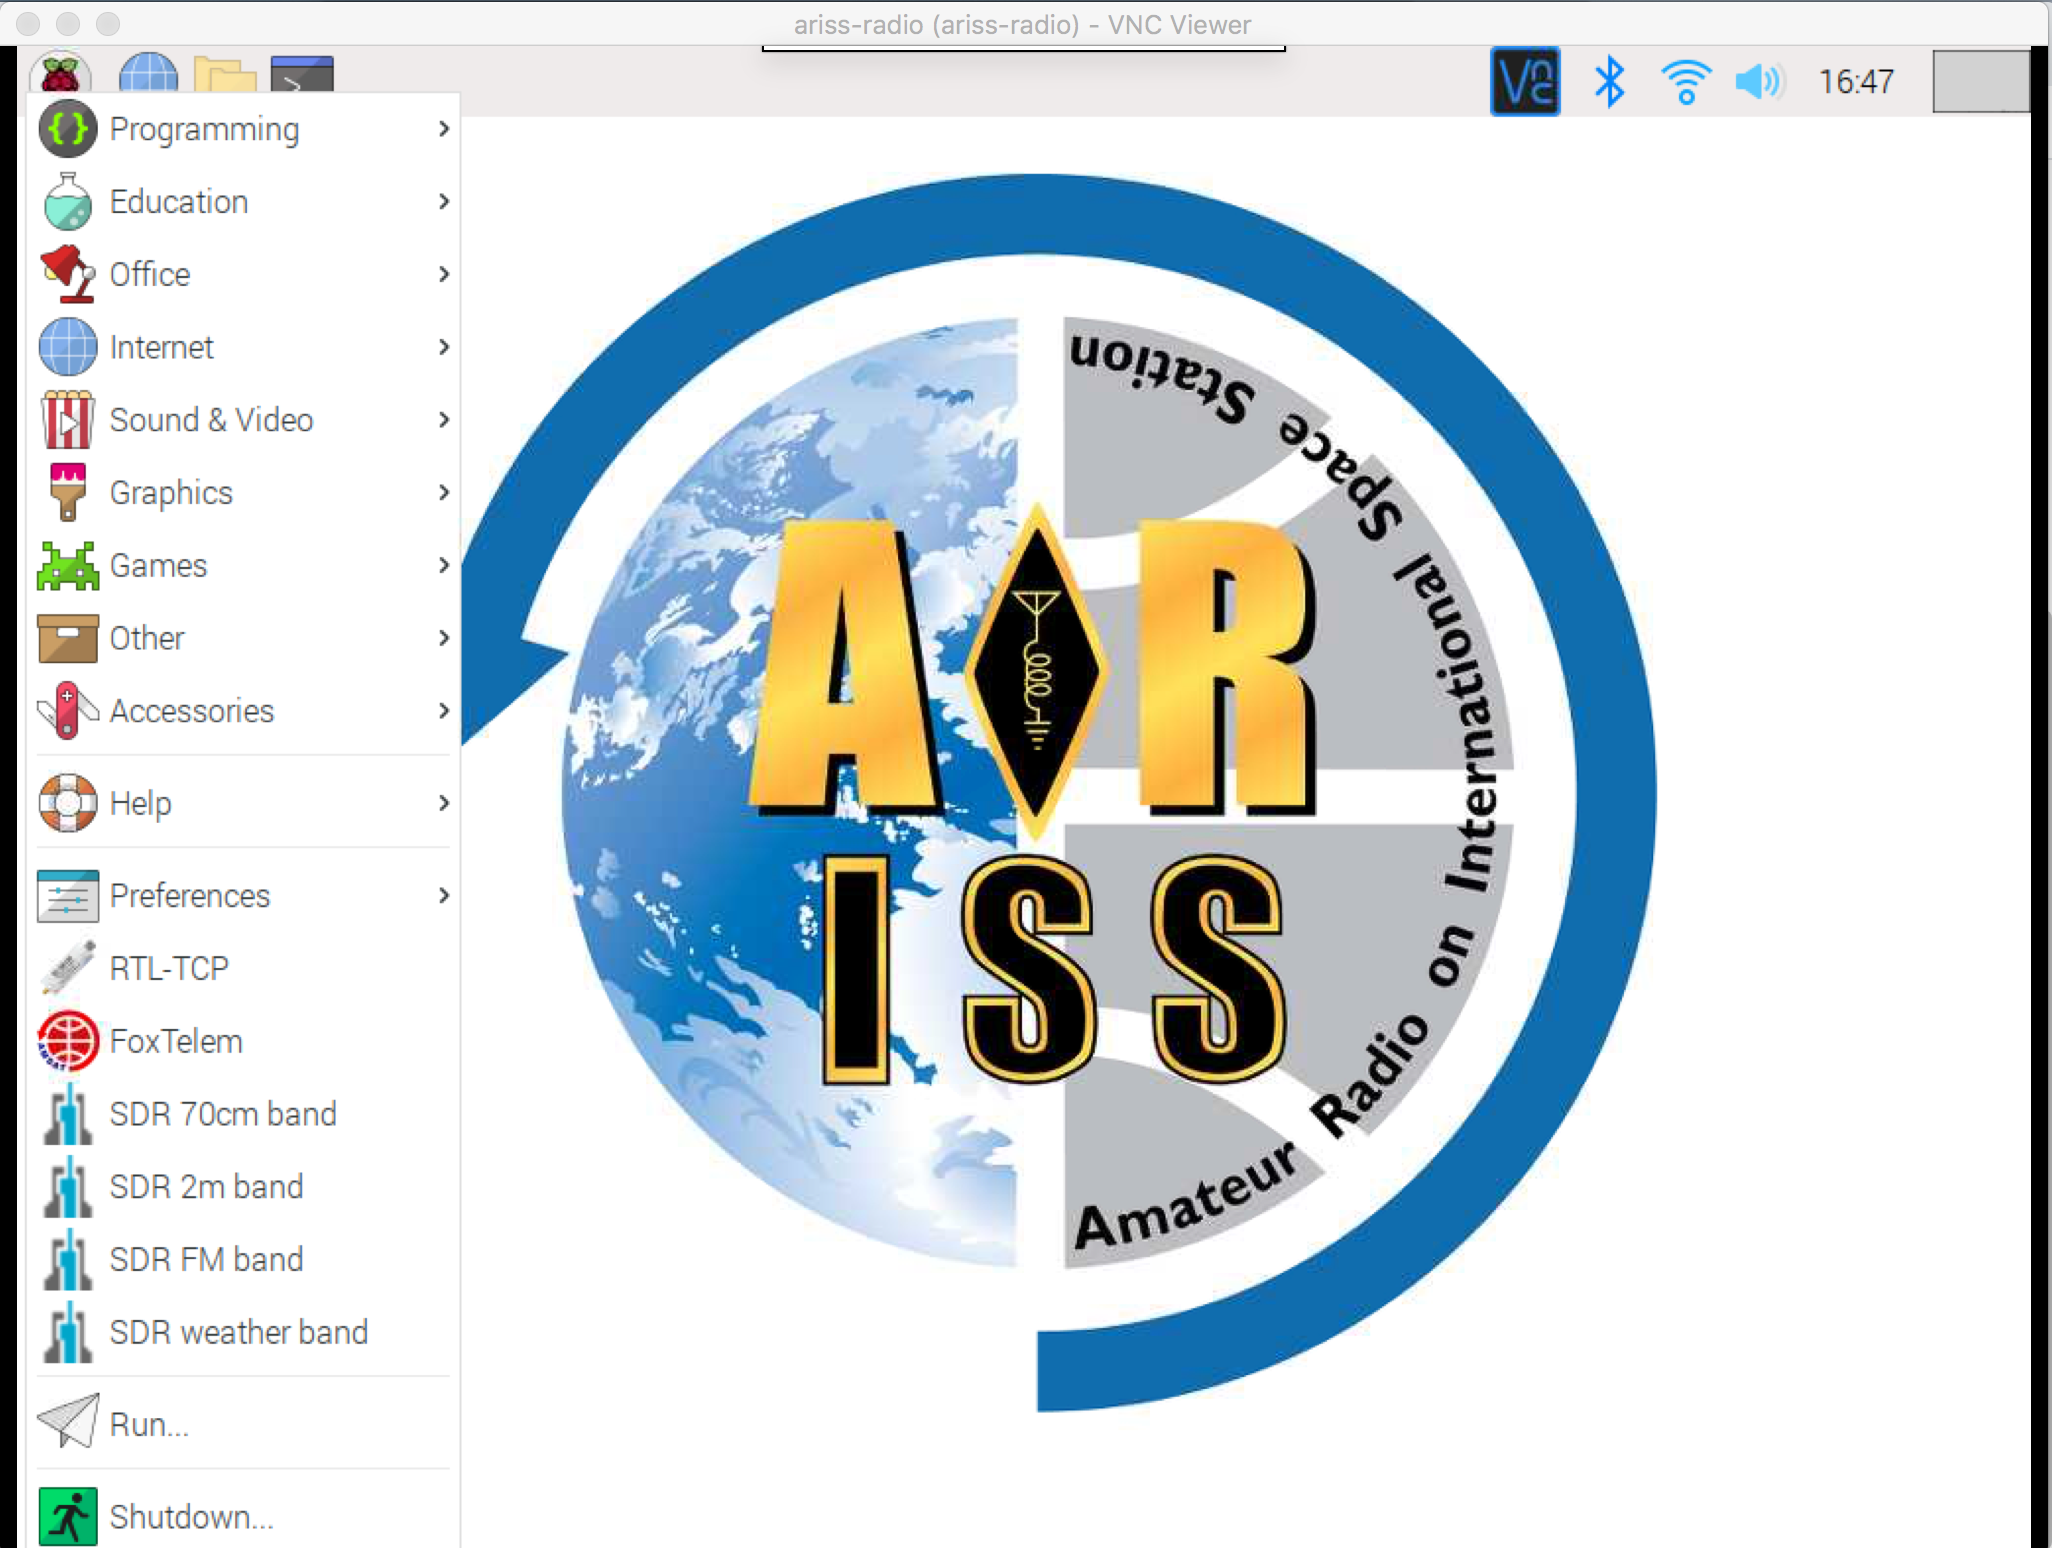
You can run RTL-SDR by either clicking on the RTL-TCP desktop icon or clicking on the Raspberry icon in the top left, the selecting the RTL-TCP menu option:
You may be asked if you want to "Execute" or "Execute in Terminal" - click on either option. If you have your RTL-SDR plugged in, you will see a window open:
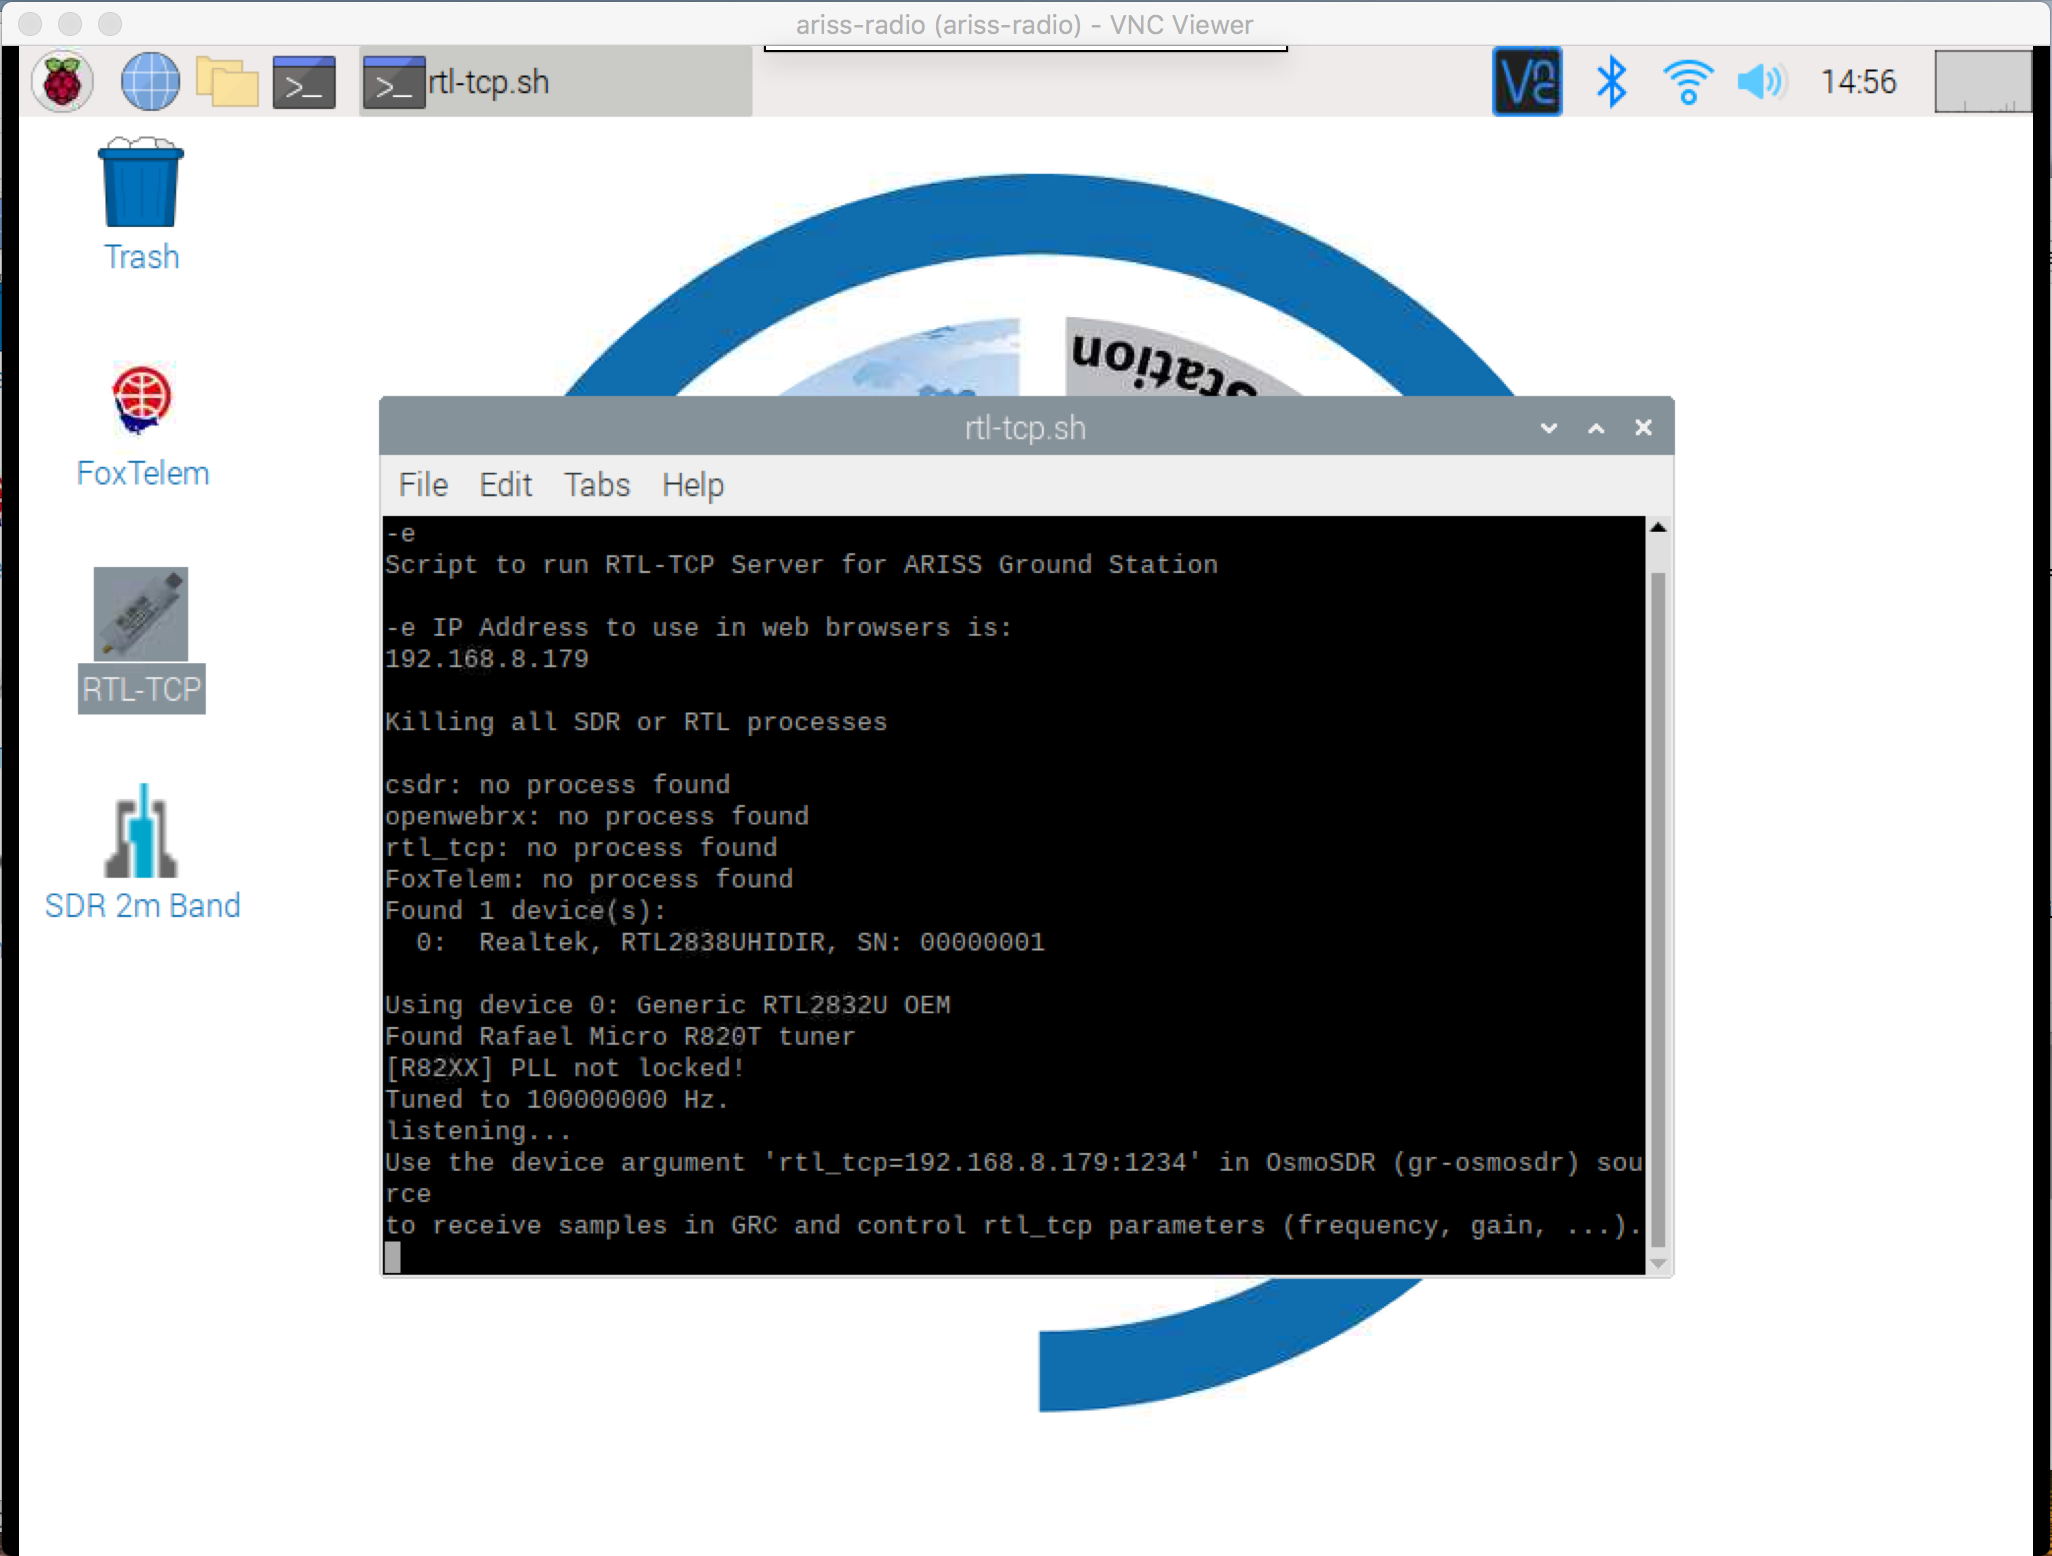
This window gives you the IP address to use in your SDR application, in this case 192.168.8.179 (your IP address will be different). You may also be able to enter the hostname of ariss-radio-pi instead of the IP address. You can use the default port of 1234. If your RTL-SDR is not plugged in, the window will open briefly then close. If this happens, check to make sure your RTL-SDR is plugged in and try again.
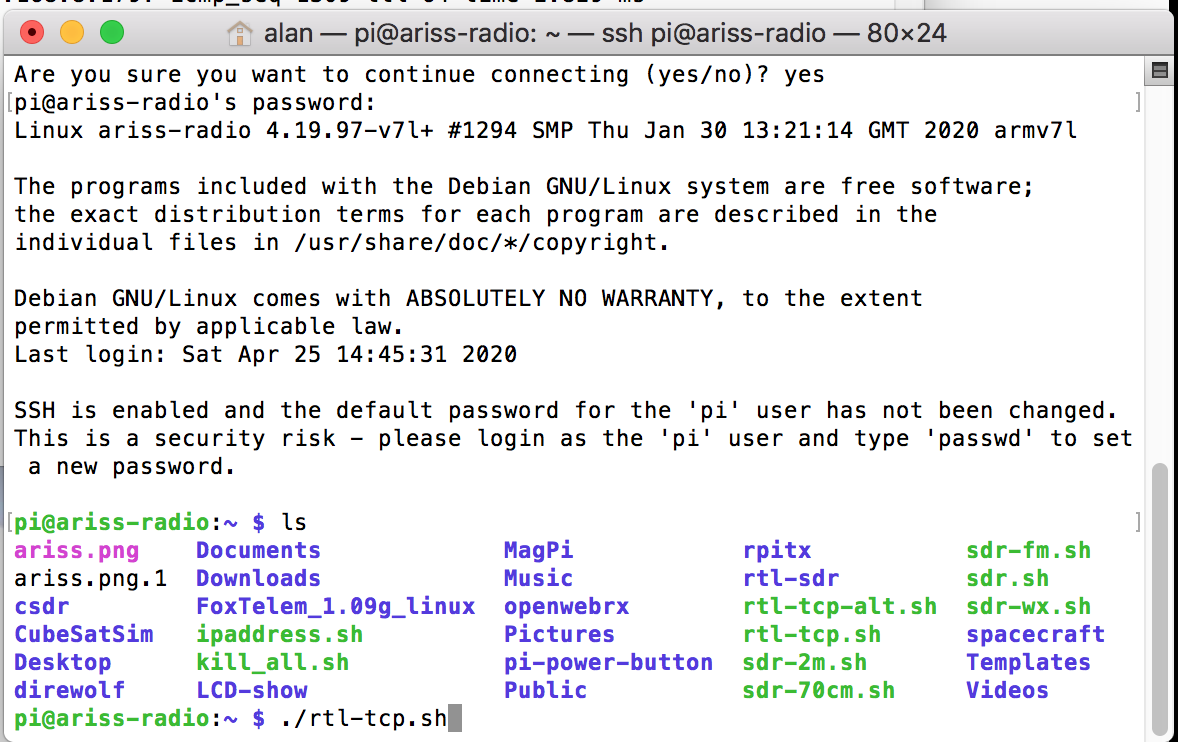
You can also start RTL-SDR using the SSH command line. You would log into the Pi using SSH then type ./rtl-tcp.sh to run the RTL-TCP Server:
Note that RTL-TCP takes a lot of bandwidth on your network, so you will most likely want to set the bandwidth to a minimum value, such as 0.25 MB/s or 1.024 MB/s or you will have dropouts and interruptions in your audio.
Note that only one SDR at a time can connect. If your connection drops, you may need to restart the RTL-SDR server on your Pi. You can just click on the RTL-SDR icon or menu option again and it will close the existing one and start a new one.
In order for multiple users to share the RTL-SDR, you need to use the Web SDR as described in the next section.
Web SDR - Accessing the RTL-SDR using just a Web Browser
The ARISS Radio Pi has an openwebrx software application which acts as a Web SDR. It allows any browser, including the Chromium browser on the Pi to access the RTL-SDR radio for one specific radio band. A number of users can connect at the same time, depending on which Pi you are using.
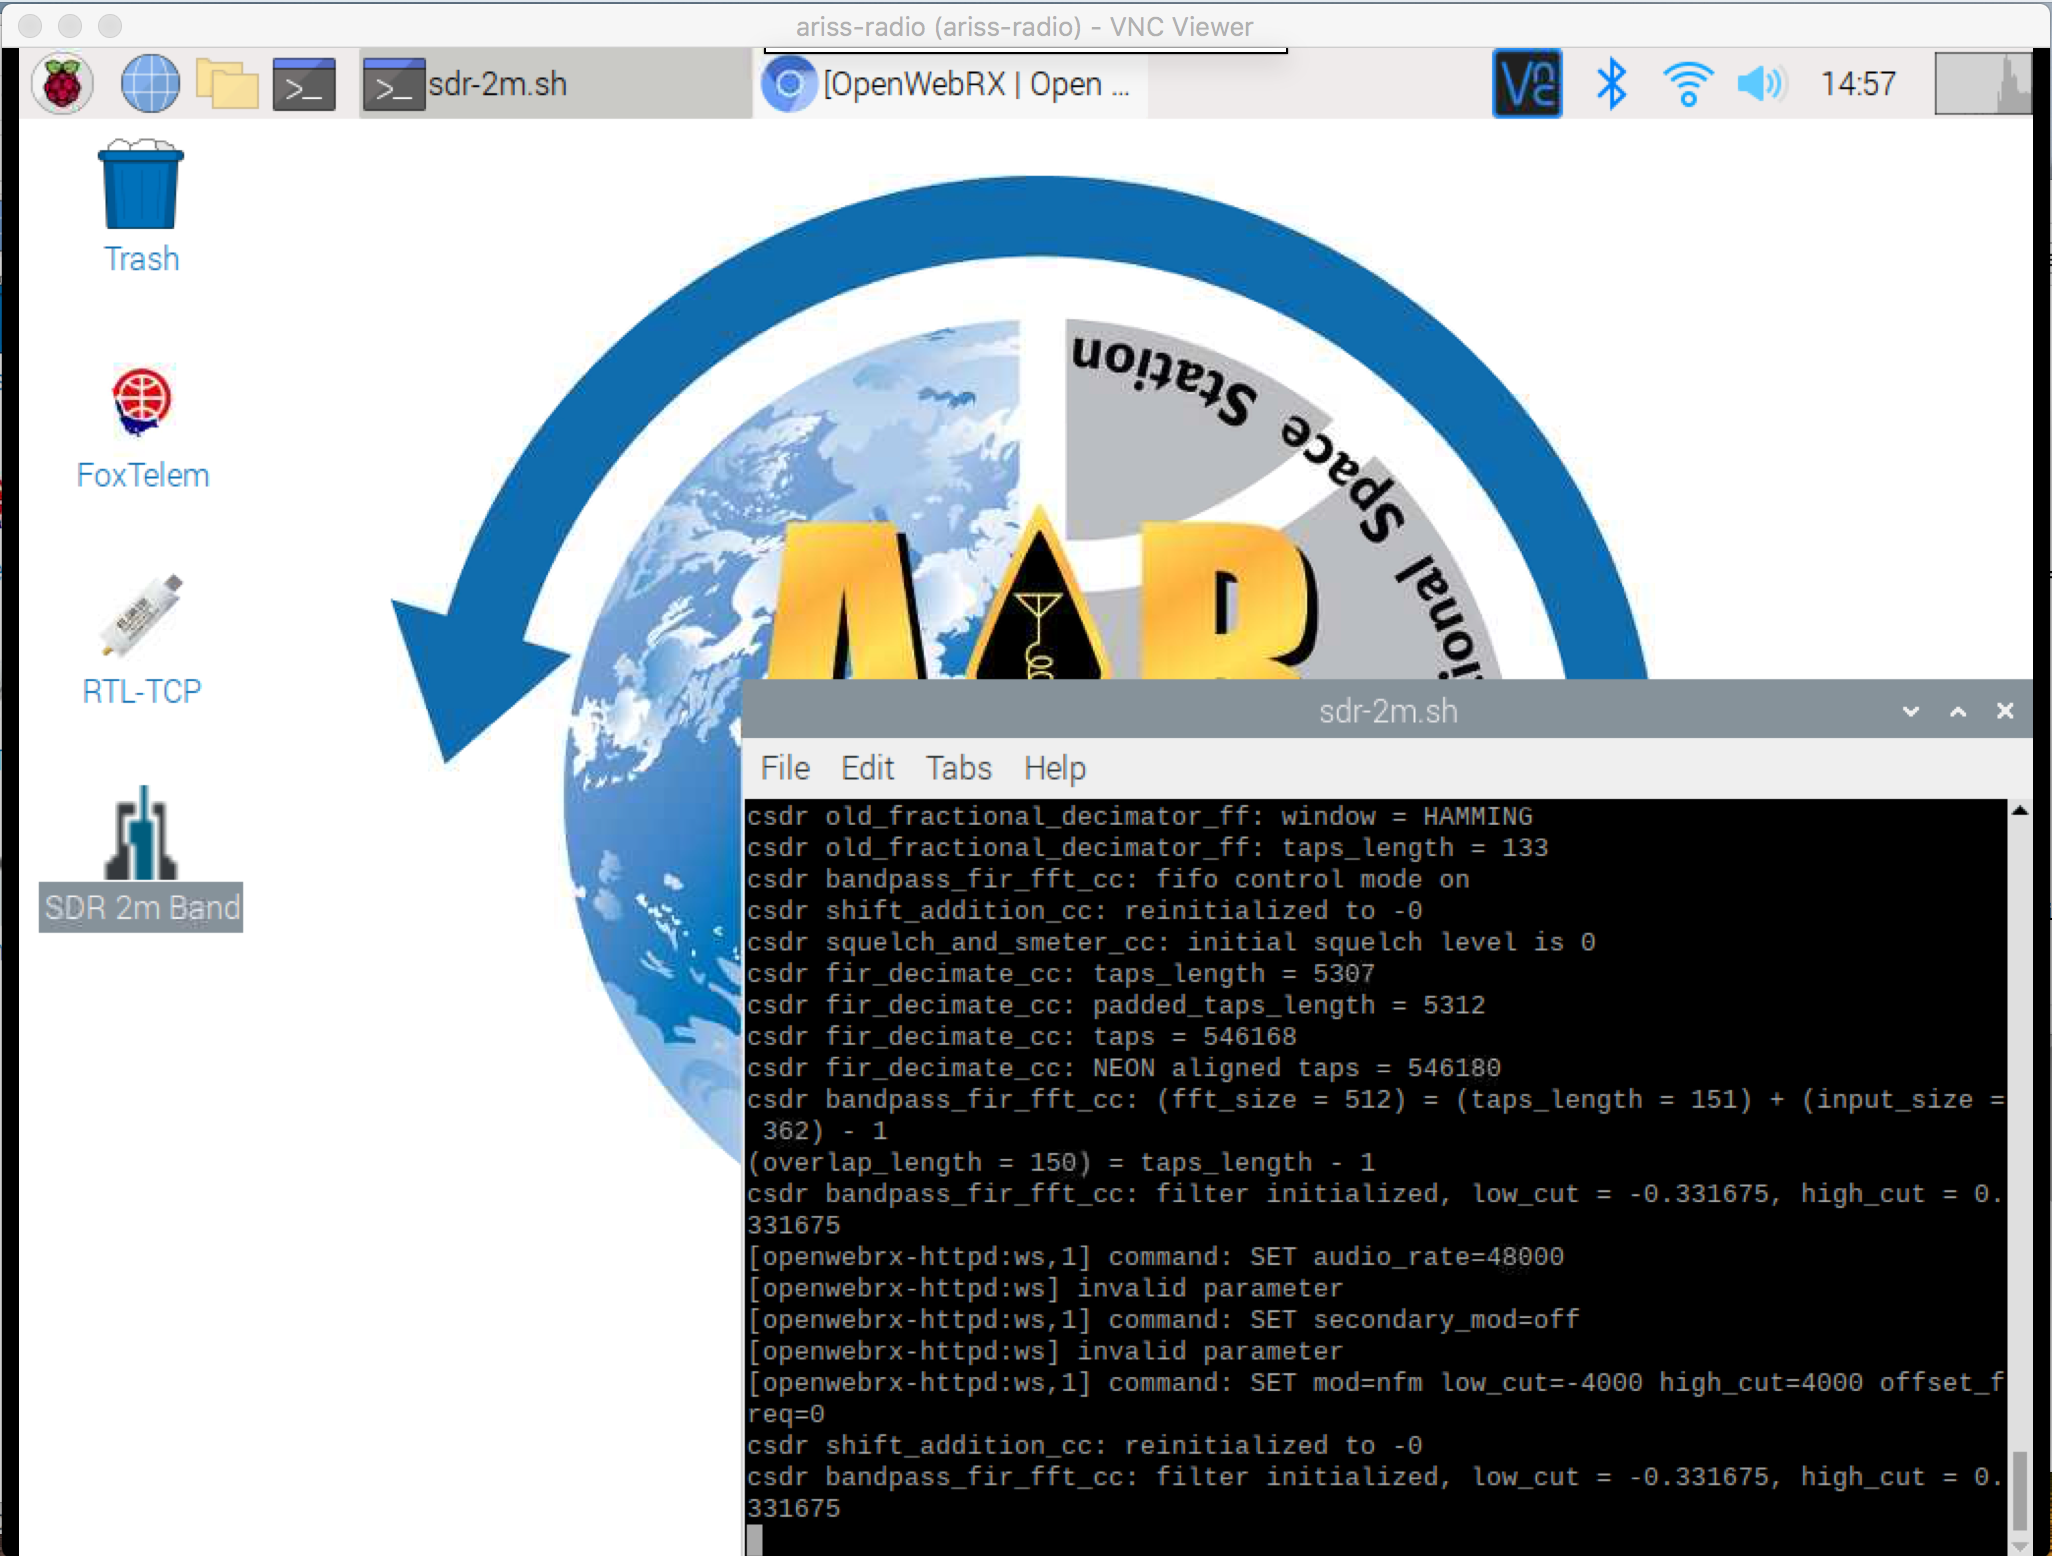
To run the WebSDR, just click on the SDR icon on the desktop or select the SDR menu item under the Raspberry icon in the top left of the screen. A window will initially pop up like this:
Then, the Chromium browser will open displaying the Web SDR:
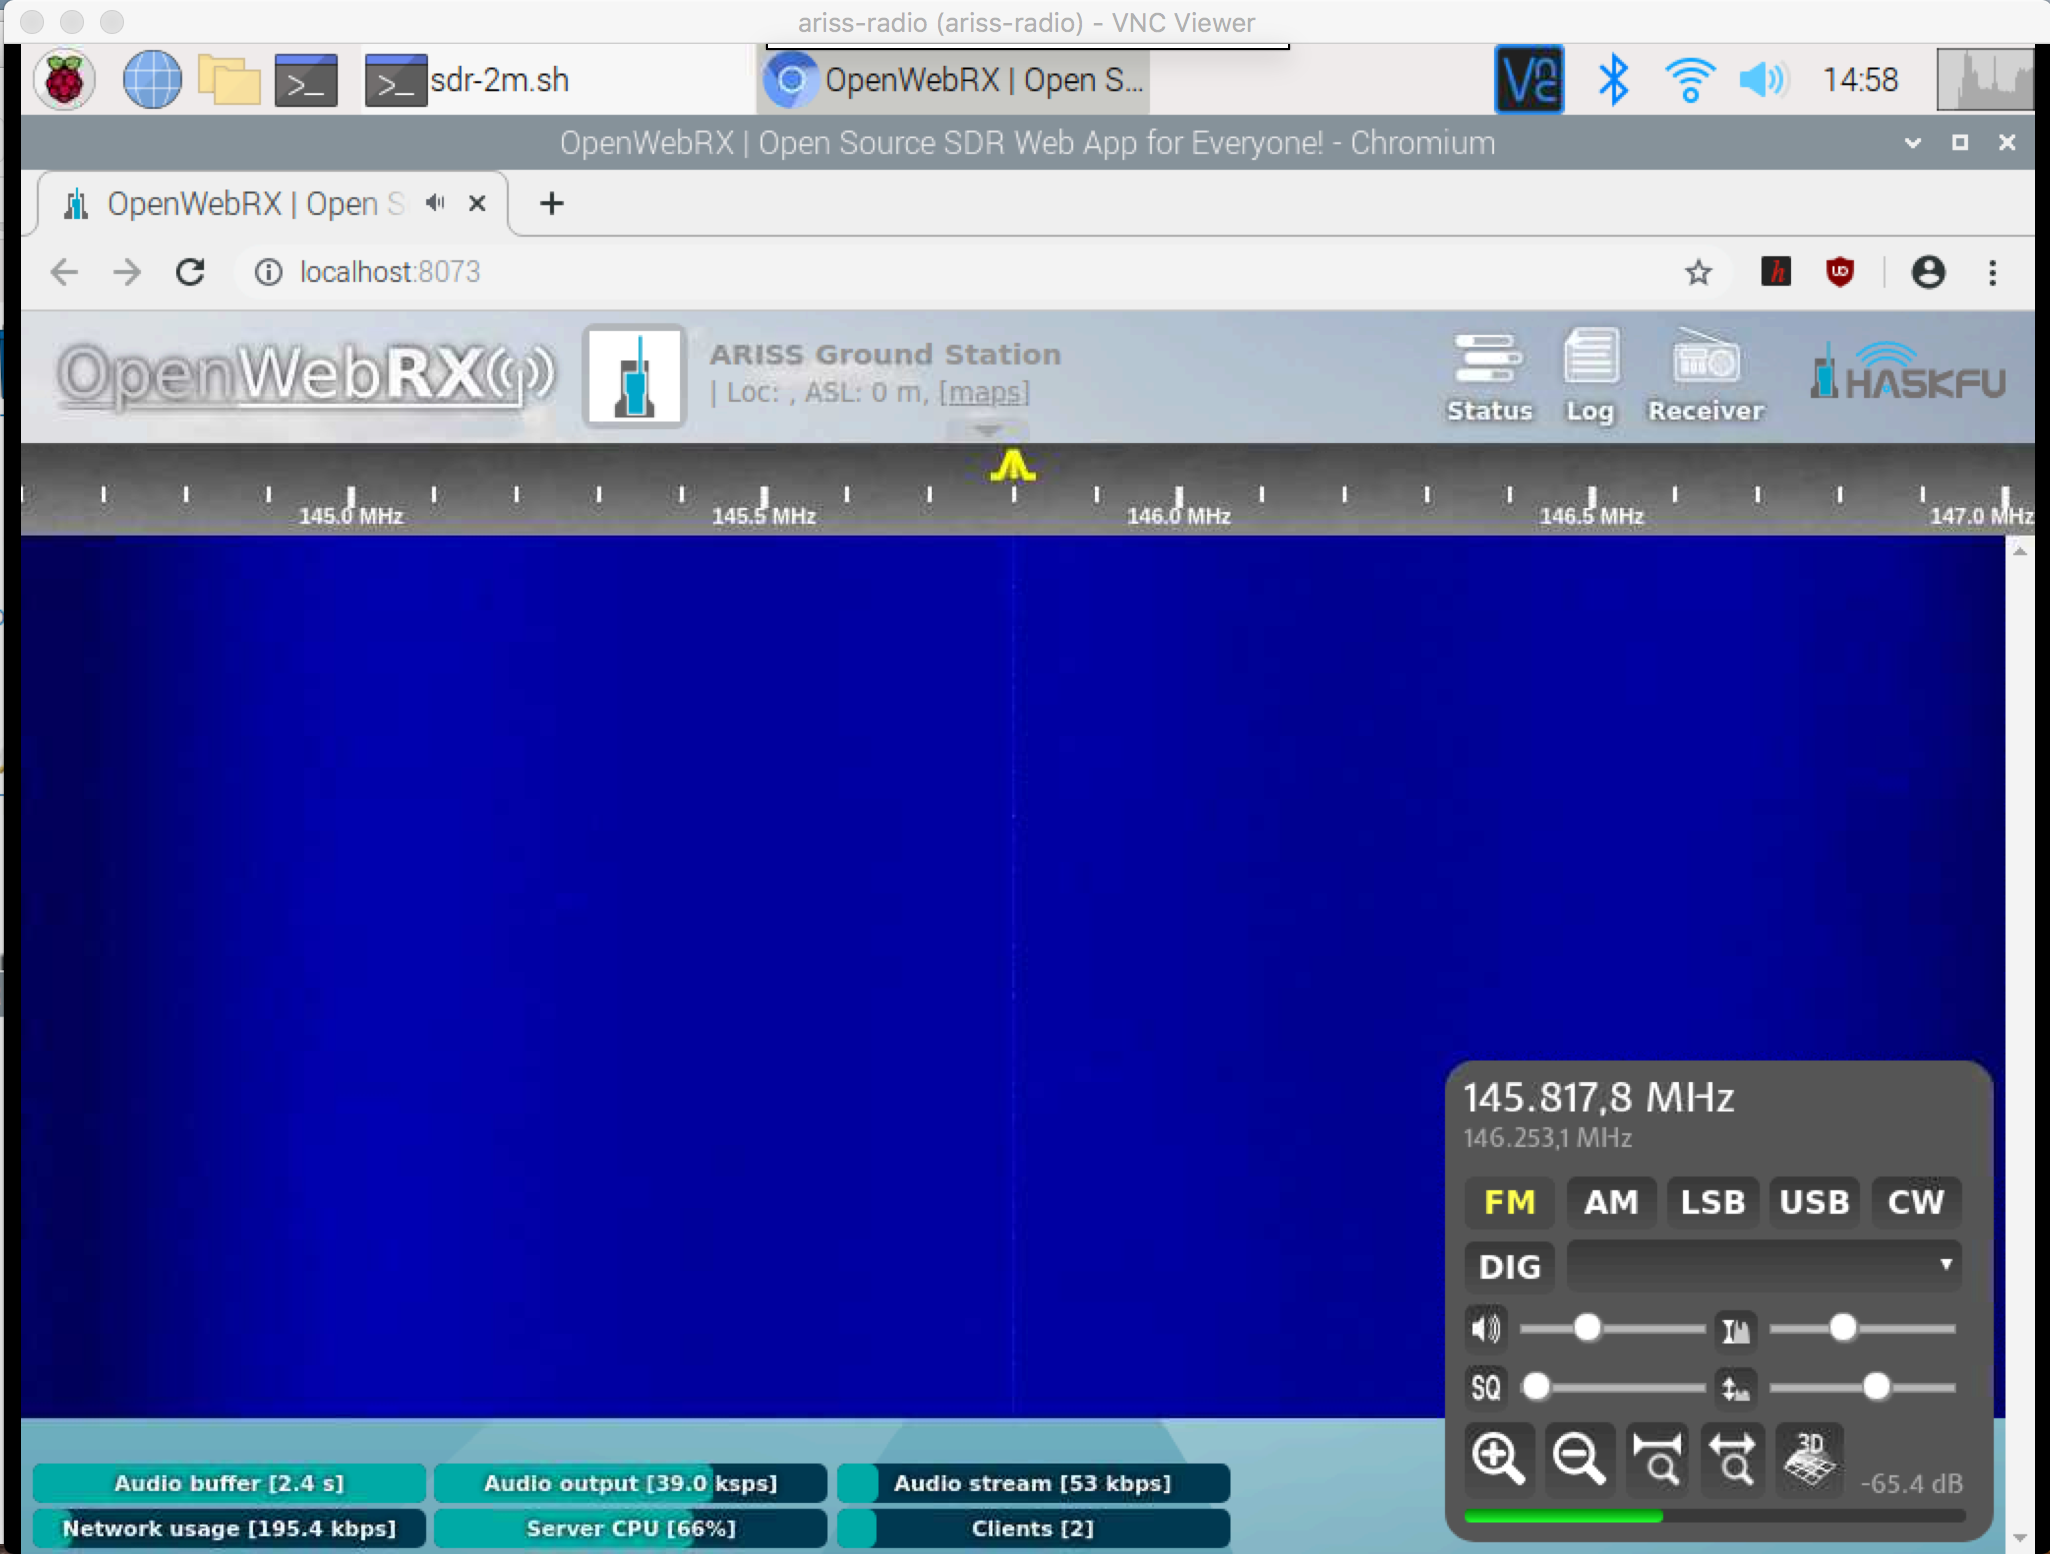
On other computers or phones that are on the same network as your Pi, you can use the Chrome, Firefox, or Safari browsers. On a phone, you may have to turn on the ringer to hear the audio. With an outside antenna, you may get signals such as this, and you might hear them by clicking to move the yellow tuning indicator:
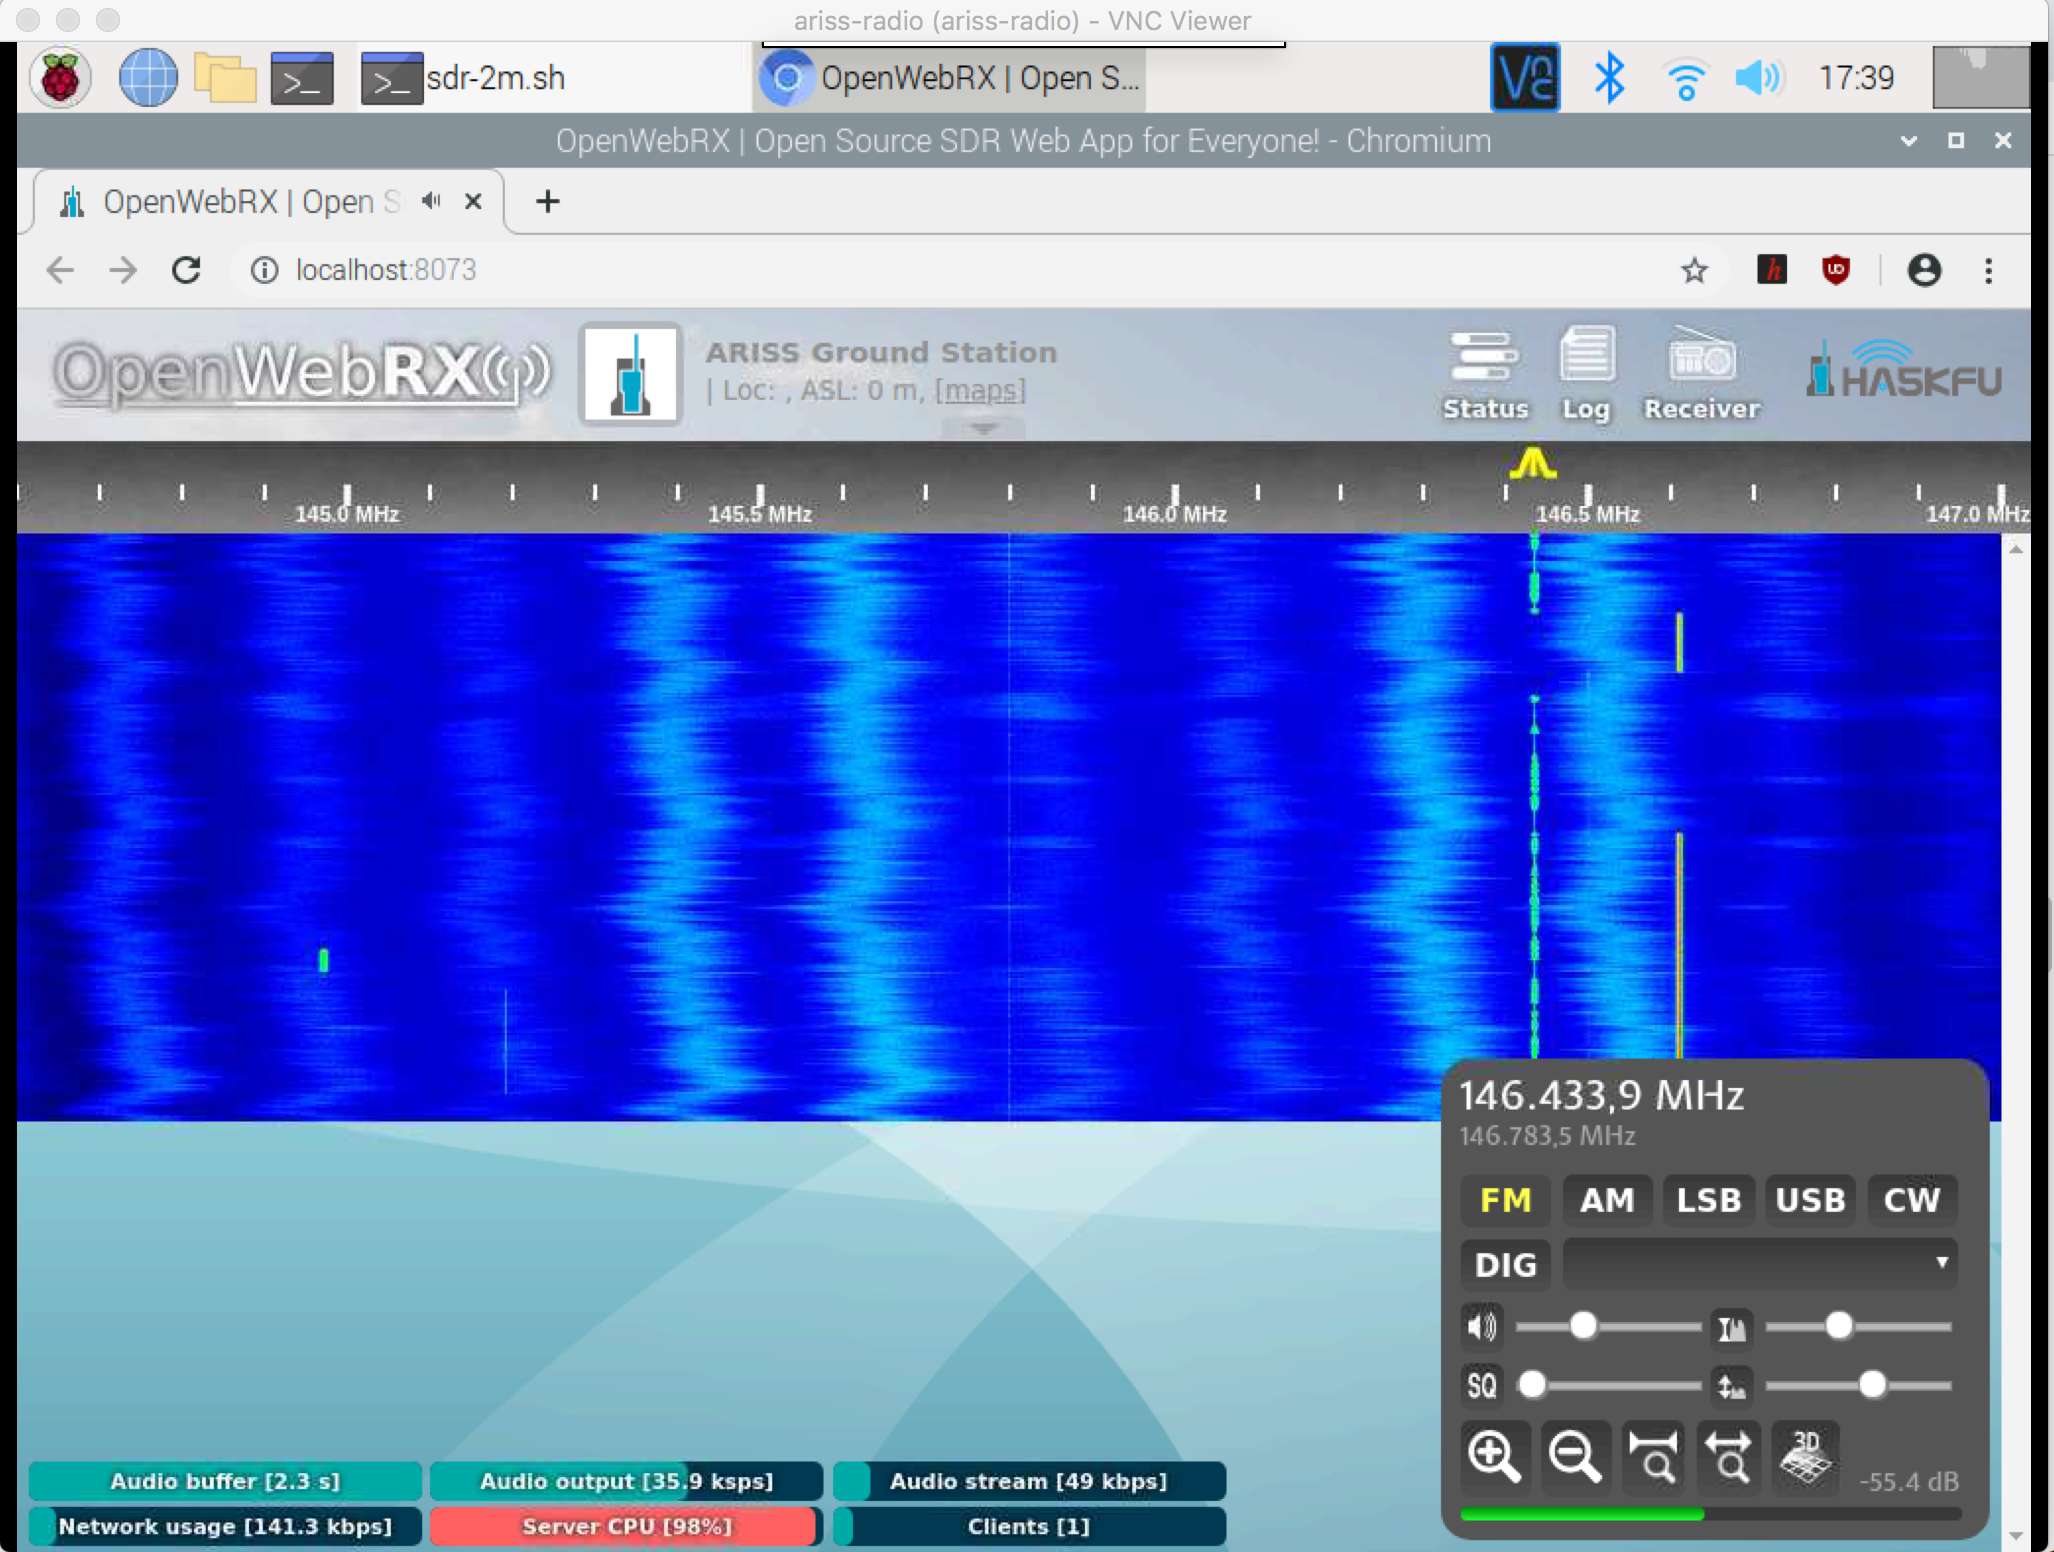
Signals from the CubeSatSim look like this:
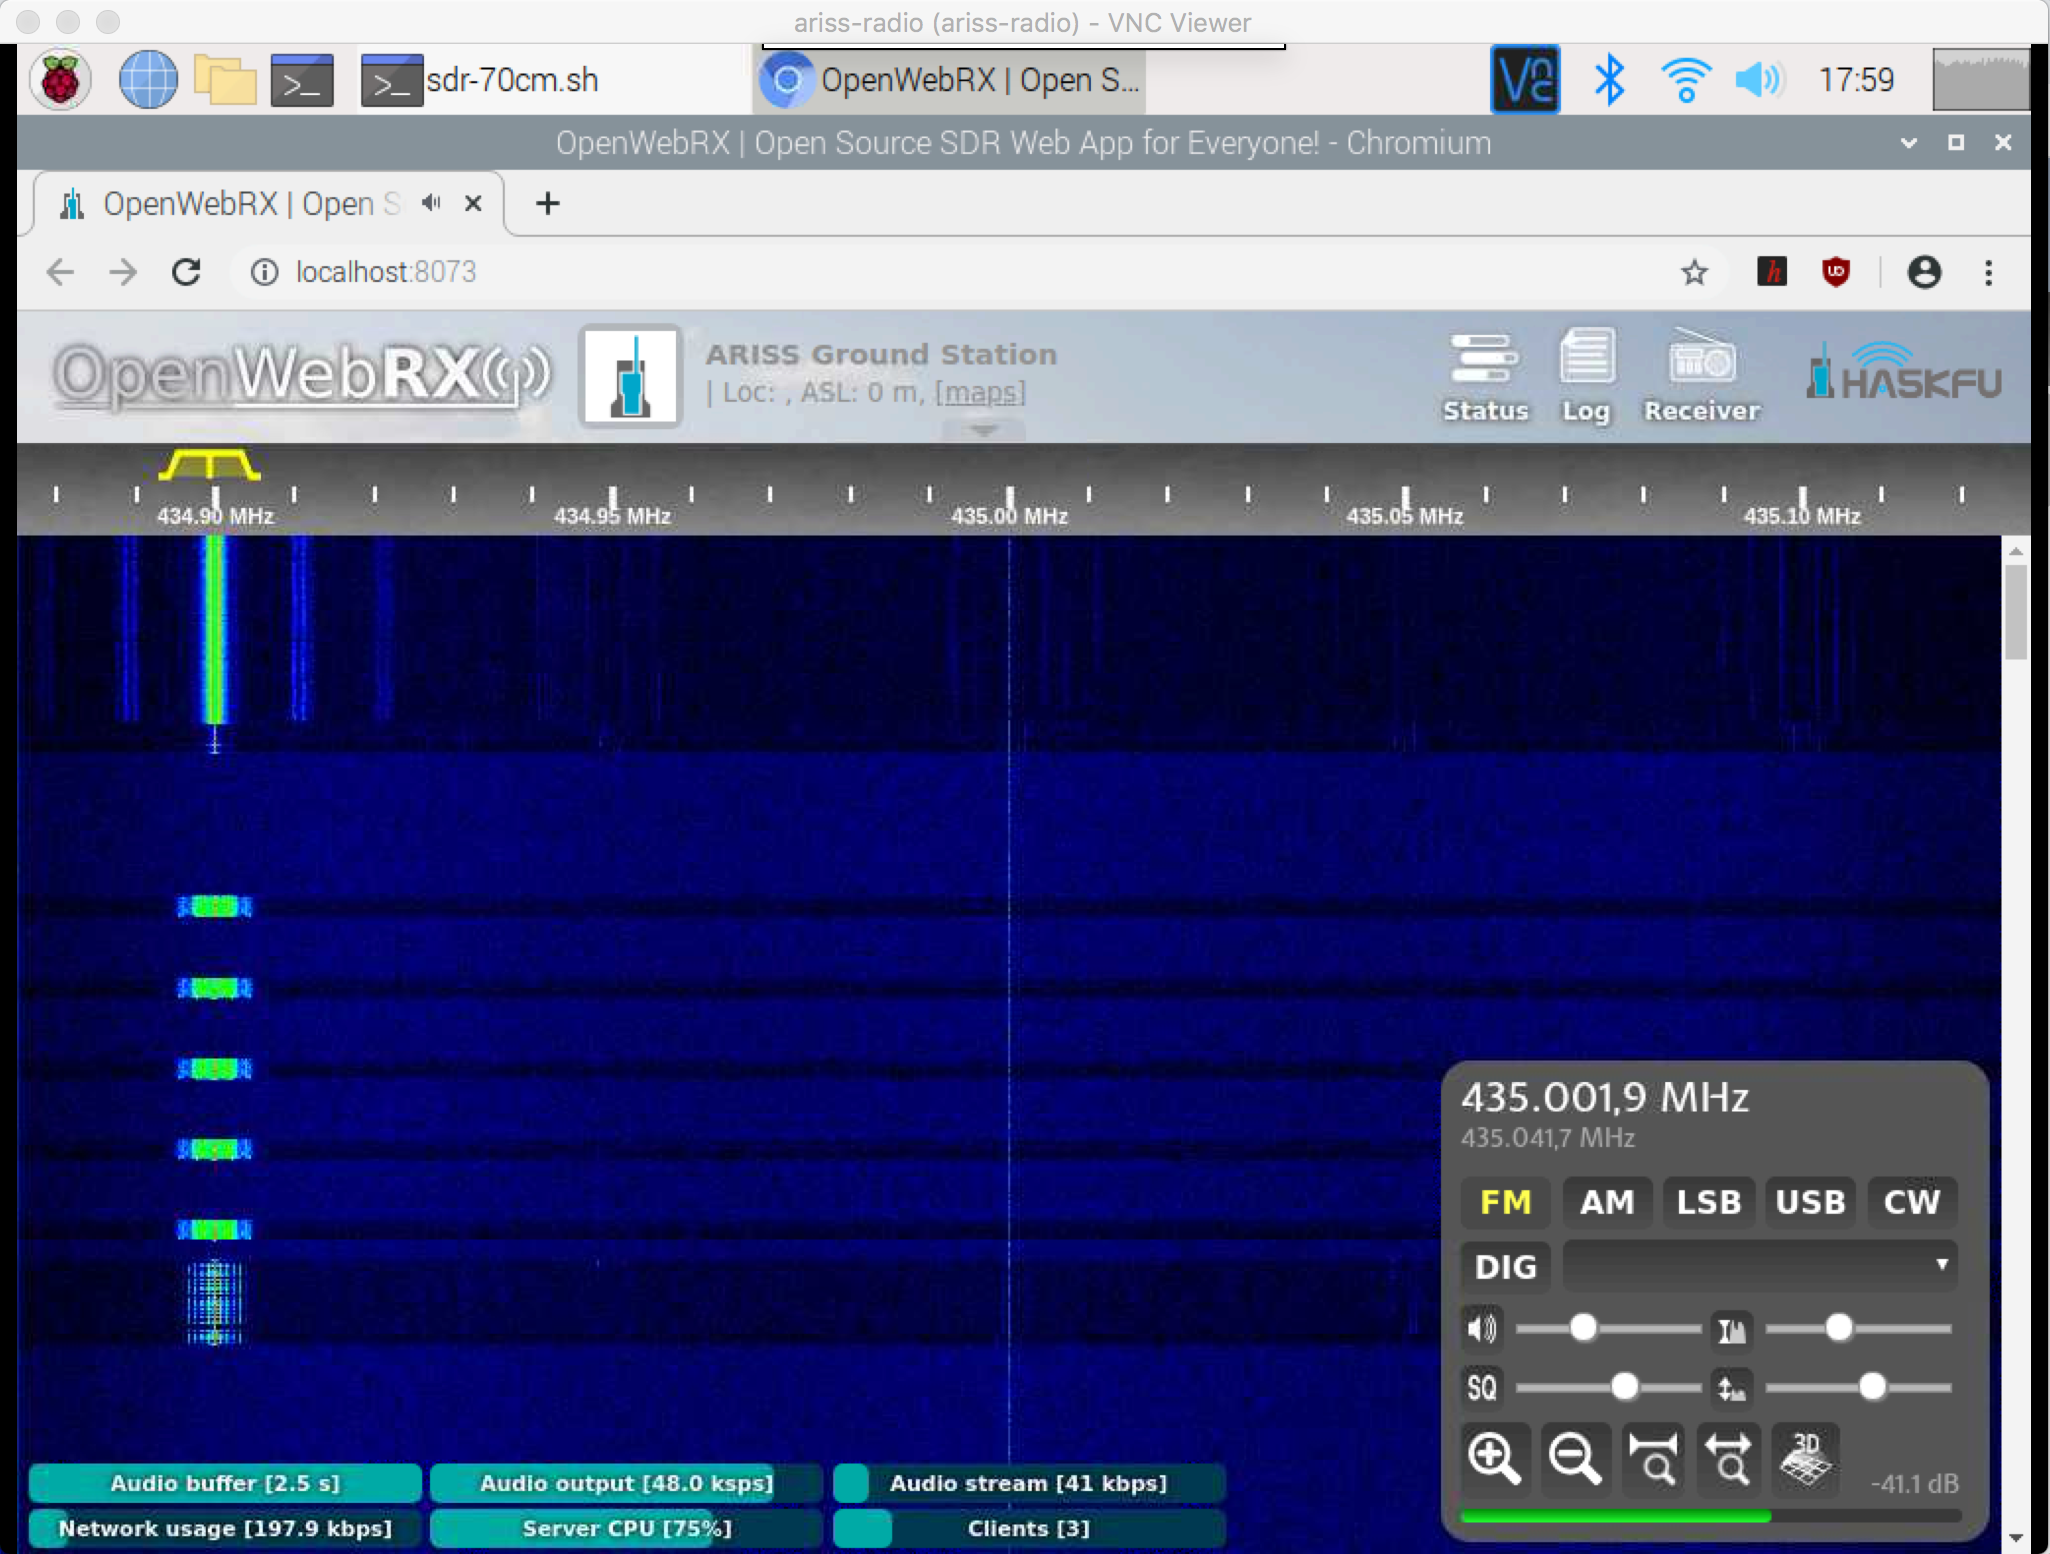
The software limit of connected browsers is 20, but on a Pi you will not get that many before the Server CPU utilization goes to 100% and everyone's response becomes choppy. Only one additional browser, besides the Pi browser is possible using a Pi 3B, while up to two additional browsers are possible on a Pi 4B. Closing the Chromium browser on the Pi saves a lot of CPU processing and allows up to about 5 additional browsers (the Web SDR will continue to run as long as the other window isn't closed).
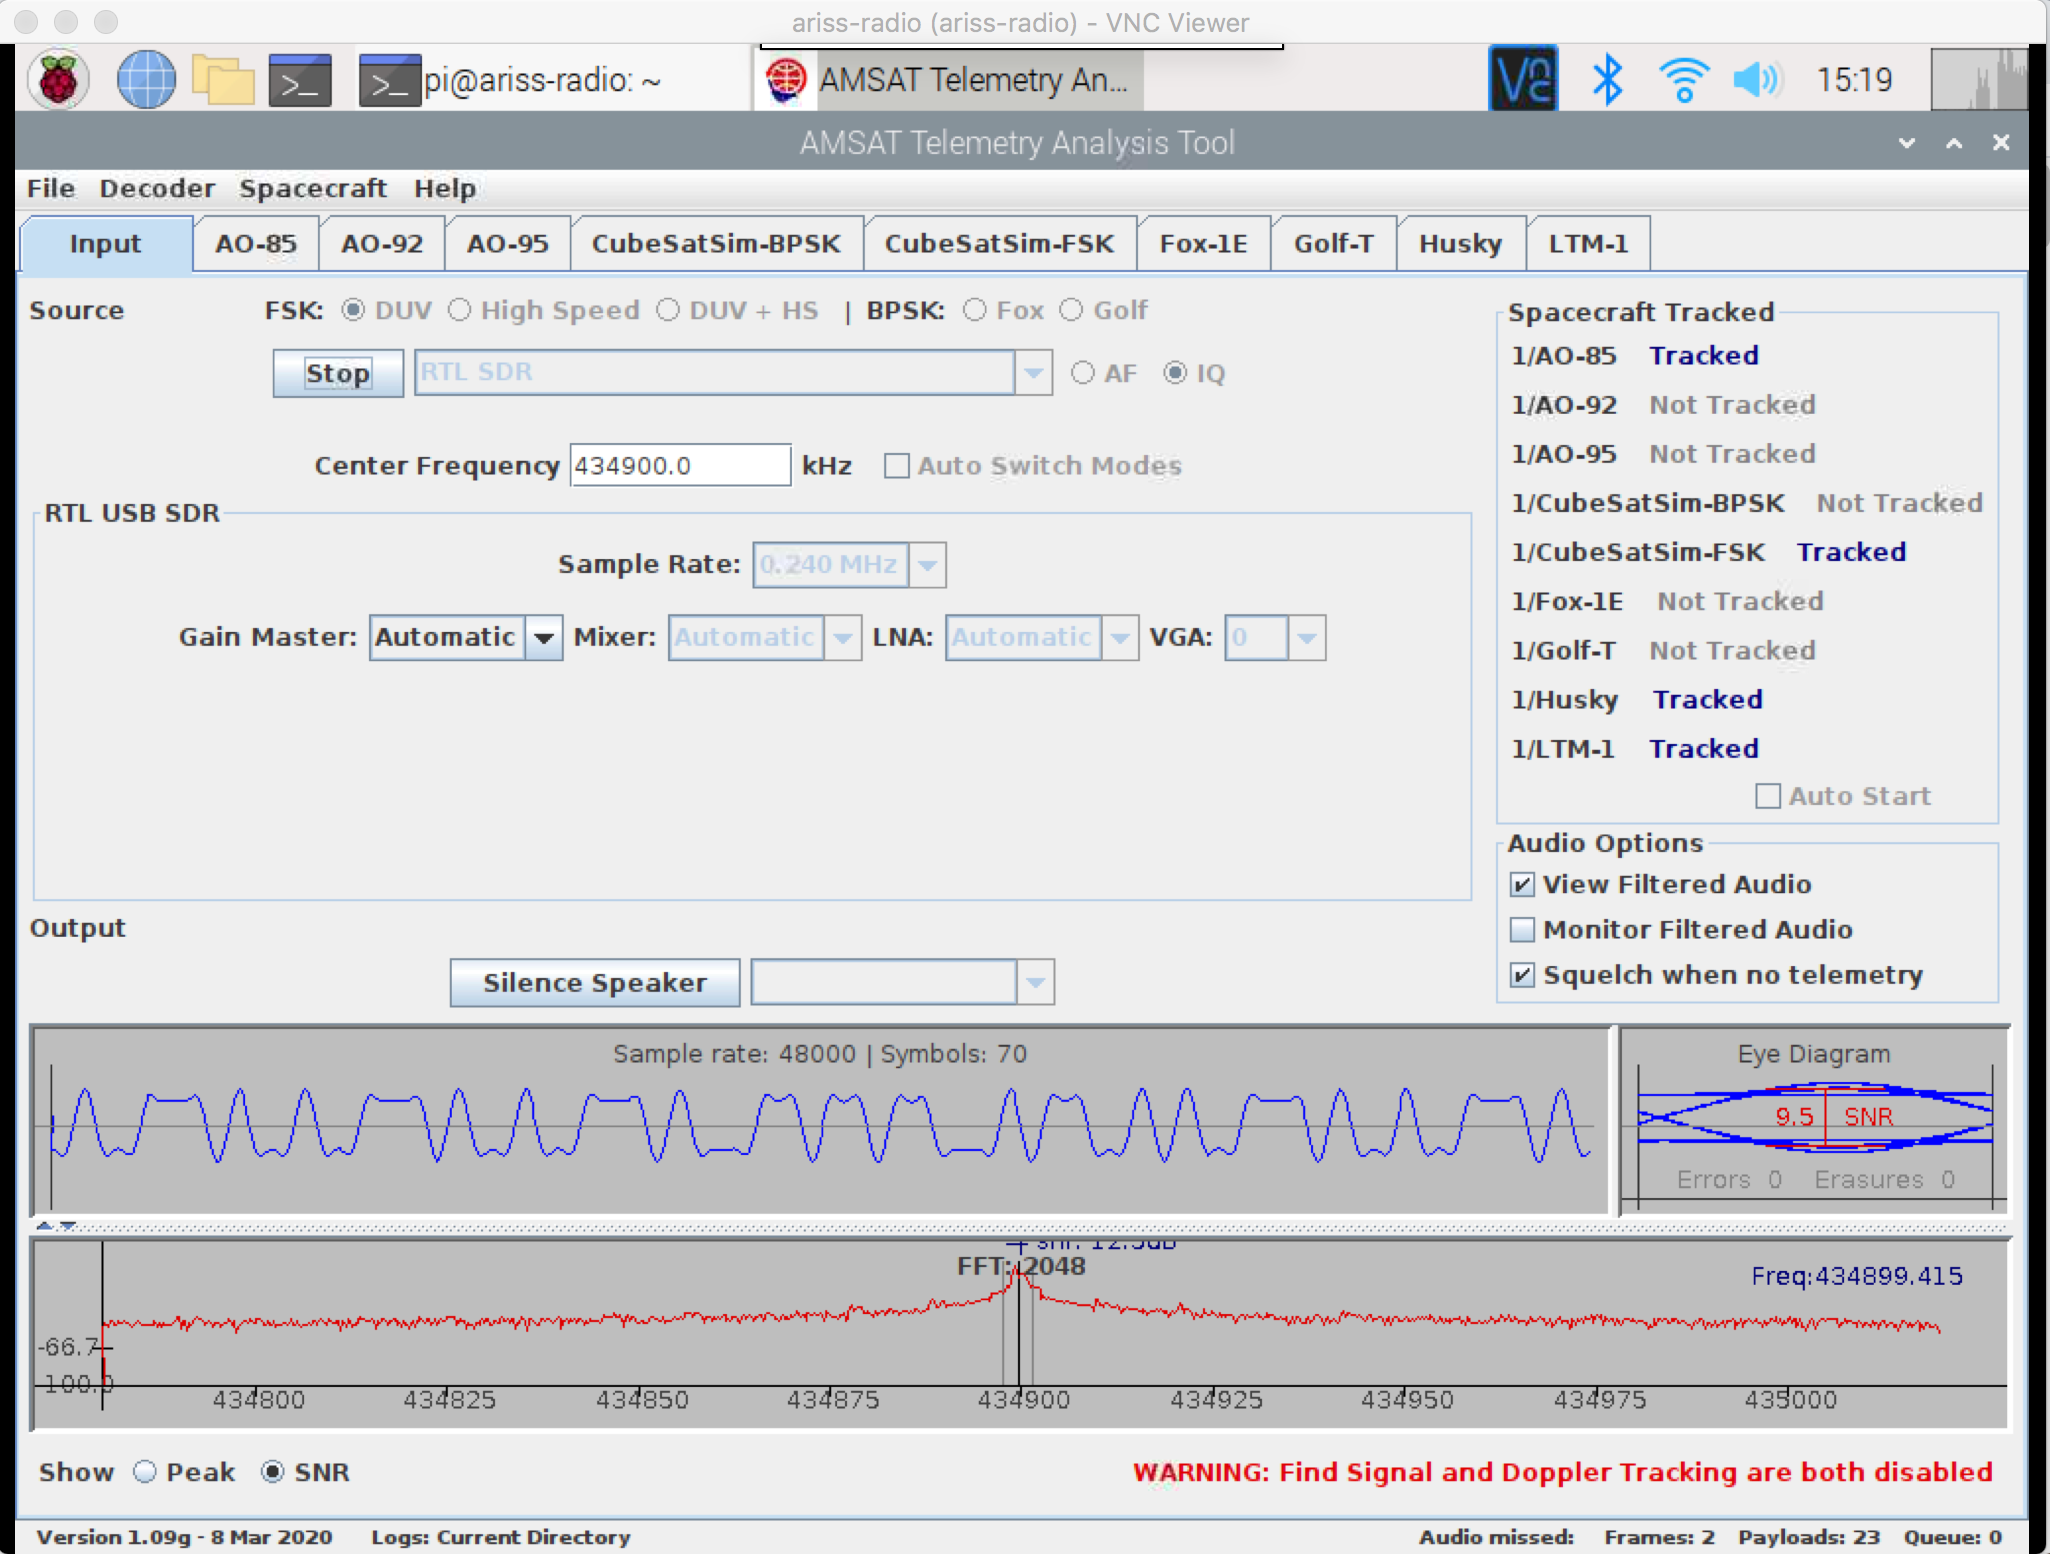
FoxTelem - Satellite Telemetry Analysis Software
FoxTelem is AMSAT's telemetry analysis software that is used for the Fox-1 series of CubeSat satellites, as well as HuskySat-1 and also CubeSatSim, the AMSAT CubeSat Simulator. http://cubesatsim.org You can run FoxTelem by clicking on the Foxtelem desktop icon or selecting the FoxTelem menu item. FoxTelem can receive radio from the RTL-SDR and decode and graph it in real-time. This is what you will get after clicking Start if you have a signal from a Fox CubeSat or a CubeSatSim:
Safely Shutting Down the Pi
You should always safely shutdown your Pi, rather than disconnecting power, which can cause the SD card to fail. In the graphical user interface, open the main menu by clicking on the Raspberry icon in the top left, then select the Shutdown option. You will get this menu, and you would then select Shutdown:
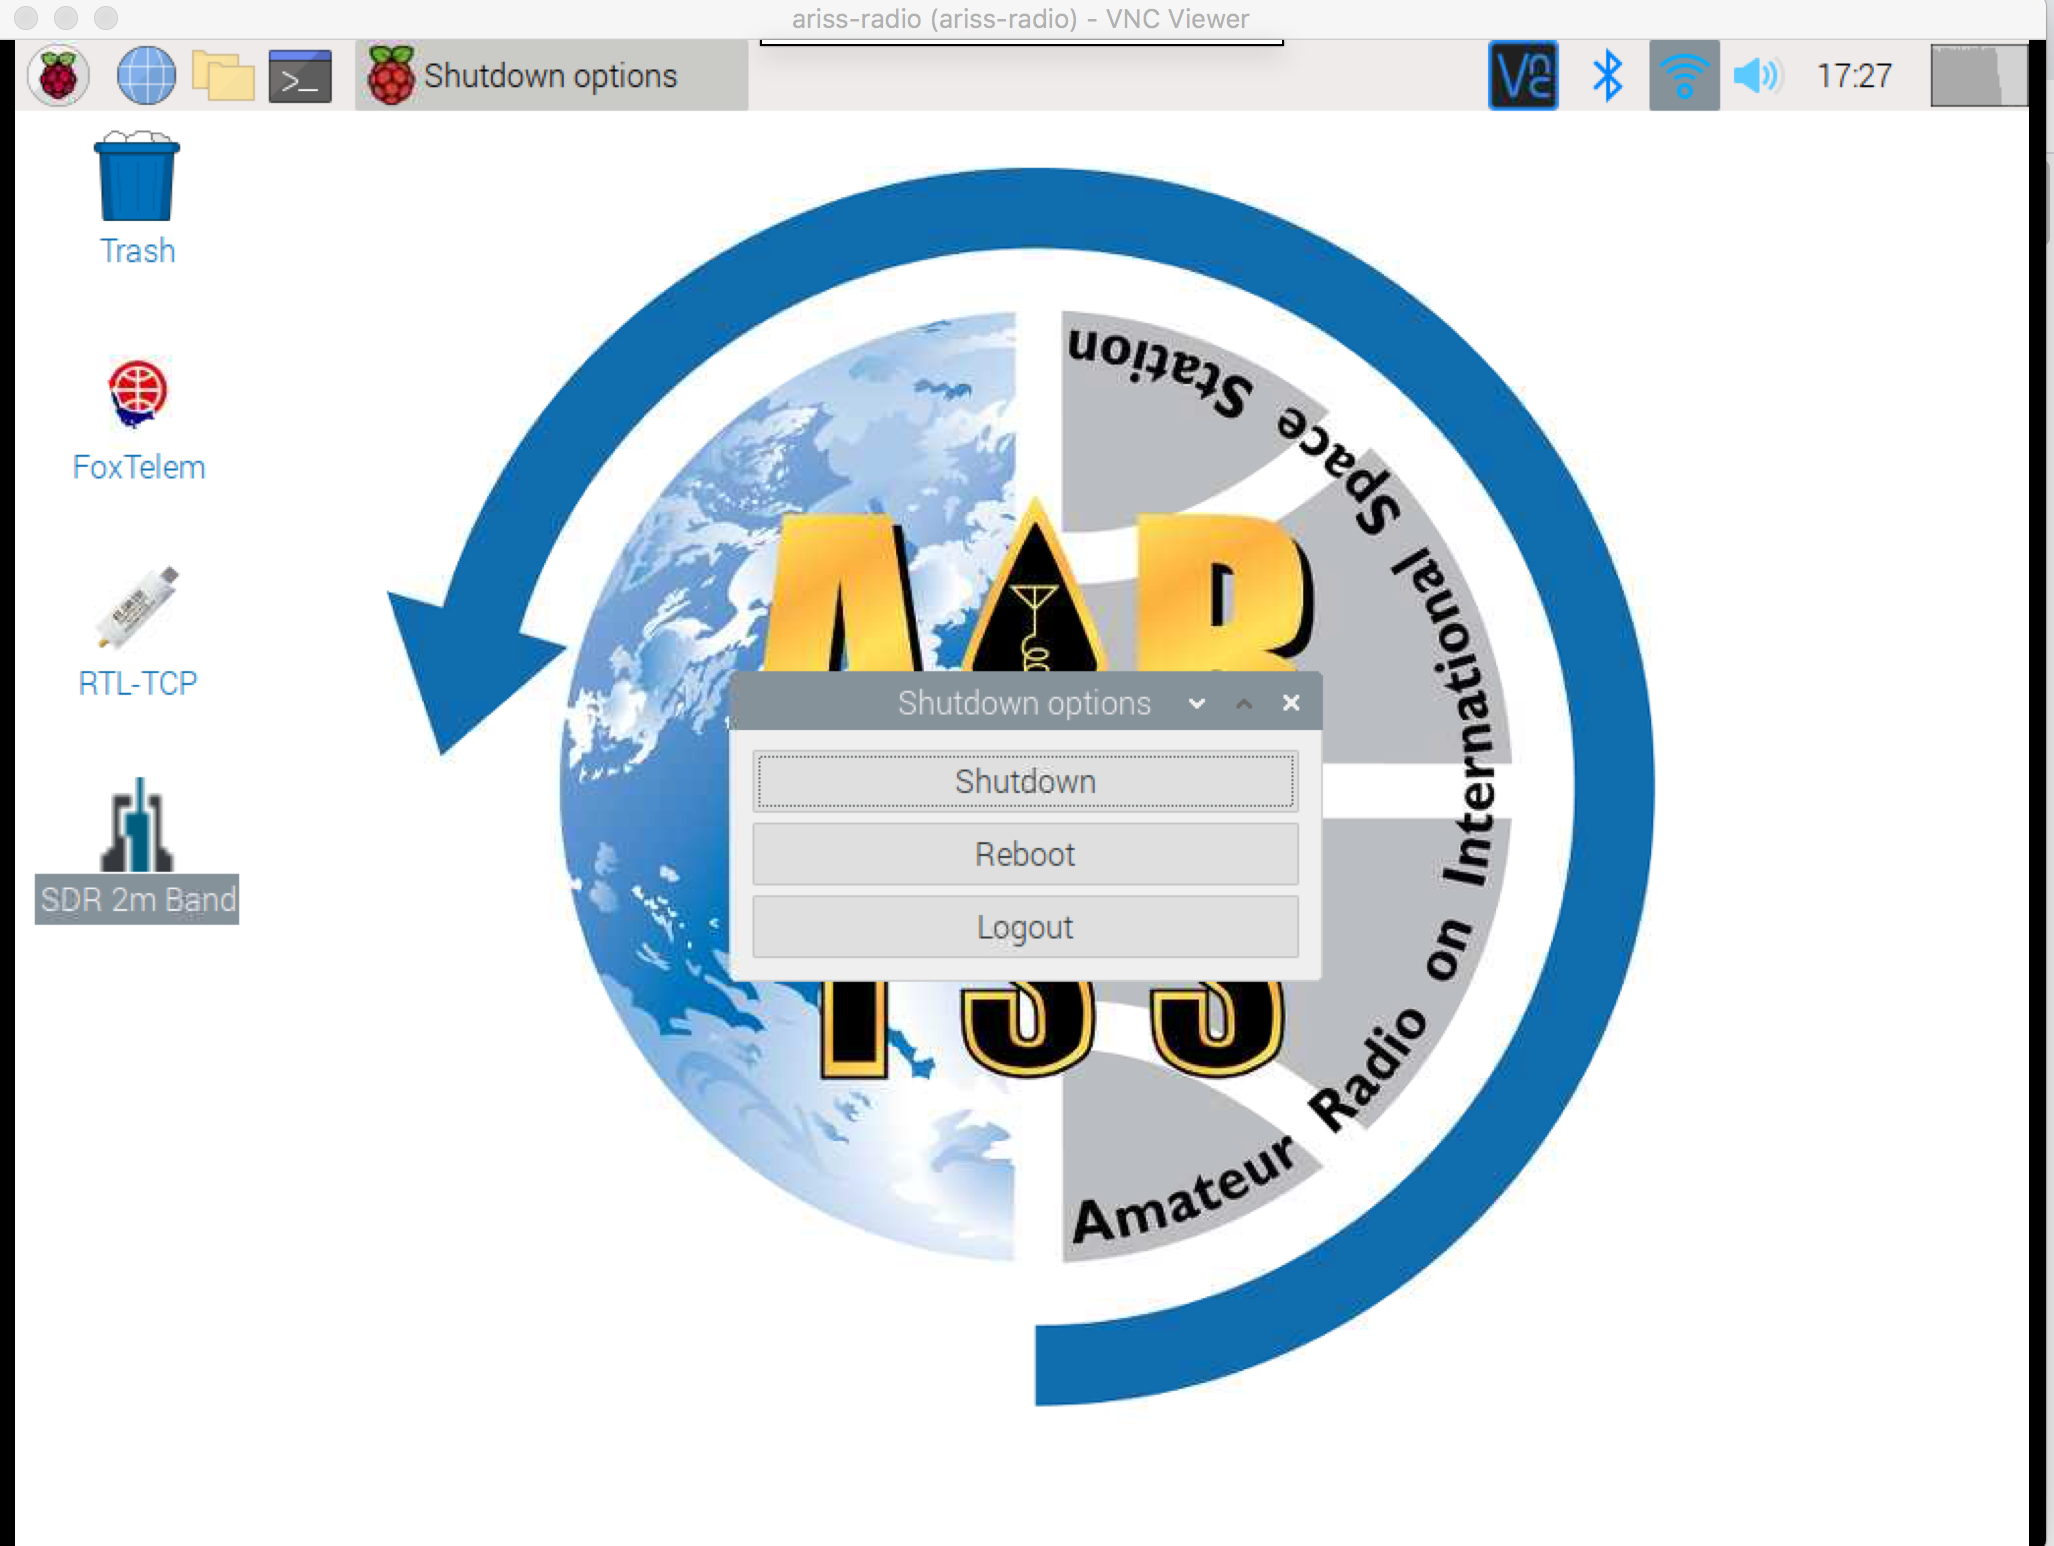
After a few moments, it is safe to unplug the power on your Pi.
From an SSH window, type sudo shutdown now to safely shutdown.
When you reconnect power, your Pi will start up again.