Upgrading Widget Snippets: Updating a Custom Built Widget Snippet - akumina/AkuminaTraining GitHub Wiki
In this sample we are updating a Custom Built Widget Snippet. We will need to add our widget to the Widget Manager.
We will take the same steps as in the previous example to retrieve our original snippet from this custom Stock Ticker widget.
We end up retrieving the following snippet:
<div class="ak-controls ak-stockticker-widget" id="{{RandomGuid}}" ak:stocklist="MSFT,AAPL" ak:displaytemplateurl="/sites/3316100661InterChange/Style%20Library/digitalworkplace/Content/Templates/StockTicker.html"></div>At this point, the snippet above needs to be pasted in a text file on your local machine. You will also need to retrieve the class name of the widget. As this is a custom widget, it will be found in the digitalworkplace.custom.js file. In this sample, the class name is
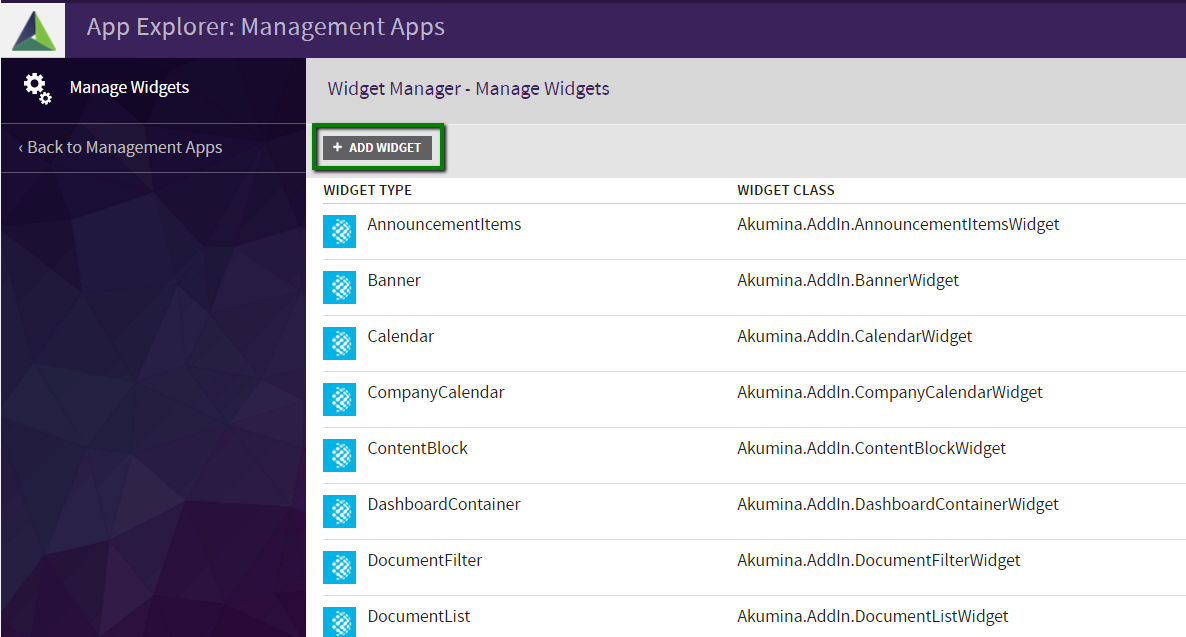
Akumina.AddIn.StockTickerWidgetAt this point we will use the snippet and class name acquired that we acquired to create a new widget within the Widget Manager. Open up the Widget Manager by going to the Management Apps tab of AppManager and clicking on the Widget Manager app. Click Add Widget.
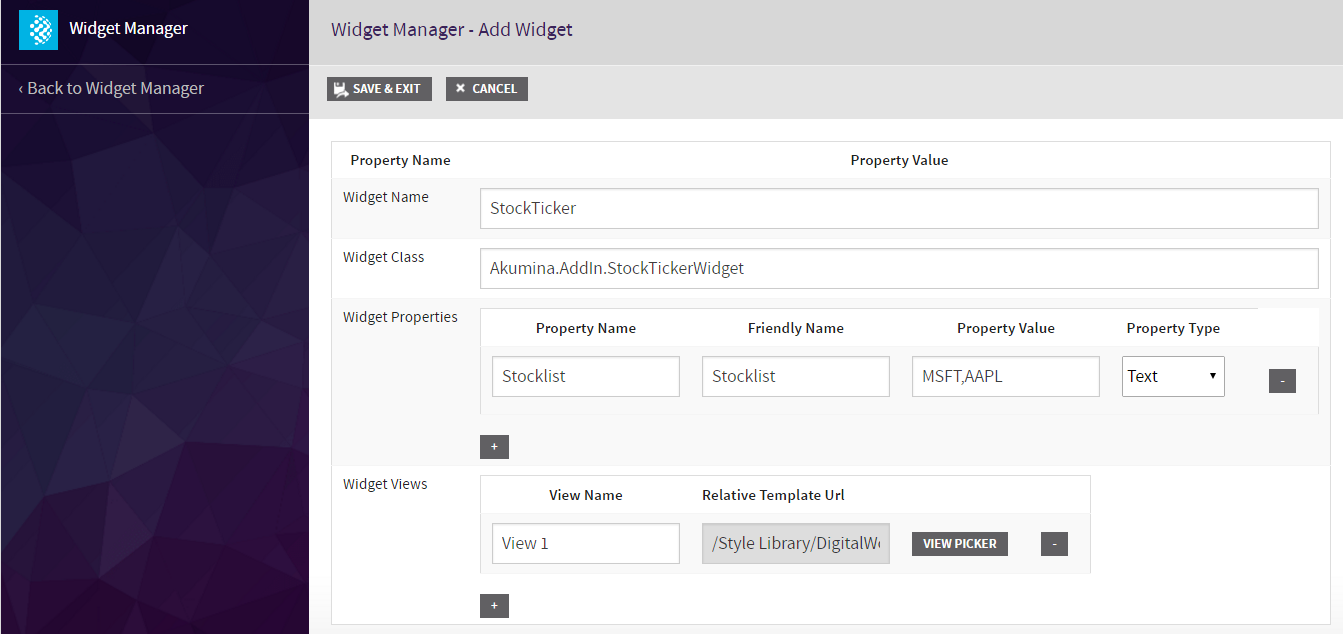
When we create the Widget Name we base it off of the ak--widget class name. So in our case we have the following class:
div class="ak-controls ak-stockticker-widget"So our Widget name will be StockTicker
We will use the name of the widget class that we acquired from digitalworkplace.custom.js
Akumina.AddIn.StockTickerWidgetWhen we create properties we base them off of the ak: elements within our original snippet. We omit the ak:displaytemplateurl since that will be handled in the Widget Views section.
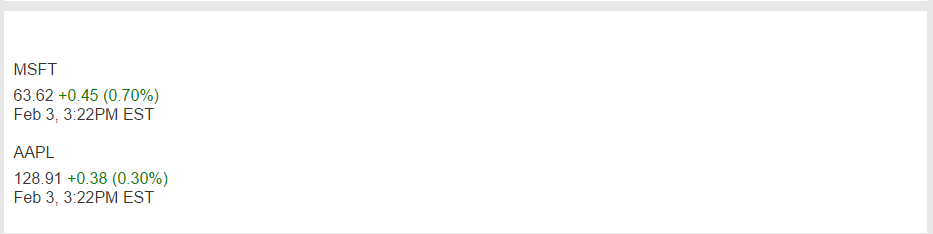
We create a property called “StockList” modeled off of the ak:stocklist in our snippet
ak:stocklist="MSFT,AAPL"The property value will be MSFT,AAPL The property type will be Text.
We will use the View Picker to select our view. We will use the value of ak:displaytemplateurl within our snippet as a reference
ak:displaytemplateurl="/sites/3316100661InterChange/Style%20Library/digitalworkplace/Content/Templates/StockTicker.html"We will want to select the template from the following path in the view picker digitalworkplace/Content/Templates/StockTicker.html We will name this view View 1.
Once all the fields are completed, click ‘Save & Exit’.
Your StockTicker Widget should now appear in the Manage Widgets menu. Click its ‘View Instances’ button
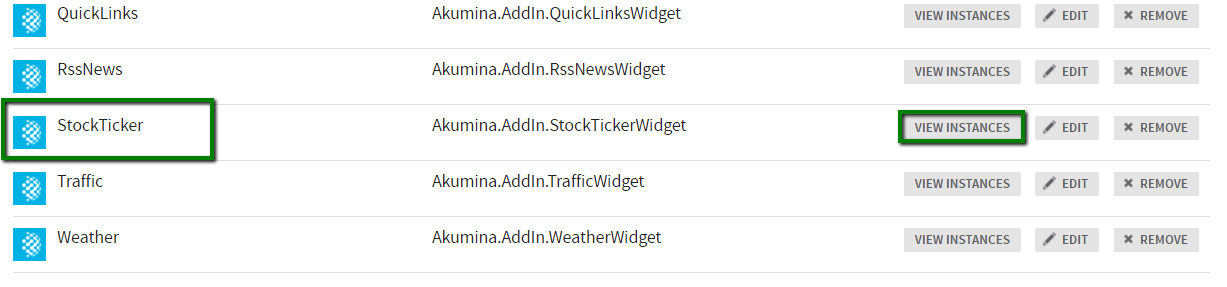


If you have multiple instances of a custom widget on your site, you will add a Widget Instance for each, changing the properties as necessary.