Digital Workplace Core Site Deployment: Creating a Custom Masterpage - akumina/AkuminaTraining GitHub Wiki
What enables a Masterpage to to support the Akumina Framework are a series of script links to the files that support the Framework Architecture. They are as follows:
<!-- DIGITALWORKPLACE JS FILES -->
<!--MS:<SharePoint:ScriptLink ID="ScriptLink1099" Name="~sitecollection/Style Library/DigitalWorkPlace/js/digitalworkplace.vendor.min.js" runat="server">-->
<!--ME:</SharePoint:ScriptLink>-->
<!--MS:<SharePoint:ScriptLink ID="ScriptLink103" Name="~sitecollection/Style Library/DigitalWorkPlace/js/digitalworkplace.vendor-nomin.js" runat="server">-->
<!--ME:</SharePoint:ScriptLink>-->
<!--MS:<SharePoint:ScriptLink ID="ScriptLink1098" Name="~sitecollection/Style Library/DigitalWorkPlace/js/digitalworkplace.min.js" runat="server">-->
<!--ME:</SharePoint:ScriptLink>-->
<!--MS:<SharePoint:ScriptLink ID="ScriptLink10943" Name="~sitecollection/Style Library/DigitalWorkPlace/js/digitalworkplace.custom.js" runat="server">-->
<!--ME:</SharePoint:ScriptLink>-->
<!--MS:<SharePoint:CssRegistration ID="CssRegistration1" Name="<% $SPUrl:~sitecollection/Style Library/DigitalWorkPlace/css/digitalworkplace.css %>" runat="server">-->
<!--ME:</SharePoint:CssRegistration>-->
<!--MS:<SharePoint:CssRegistration ID="CssRegistration3" Name="<% $SPUrl:~sitecollection/Style Library/DigitalWorkPlace/css/digitalworkplace.custom.css %>" runat="server">-->
<!--ME:</SharePoint:CssRegistration>-->When making Masterpage edits do not remove any of these links. They are required for the Akumina Framework to work on a site.
Internet Explorer requires the following <meta> tags between the <head></head> tags of your masterpage in order to load properly. Do not remove these.
<meta http-equiv="x-ua-compatible" content="ie=edge" />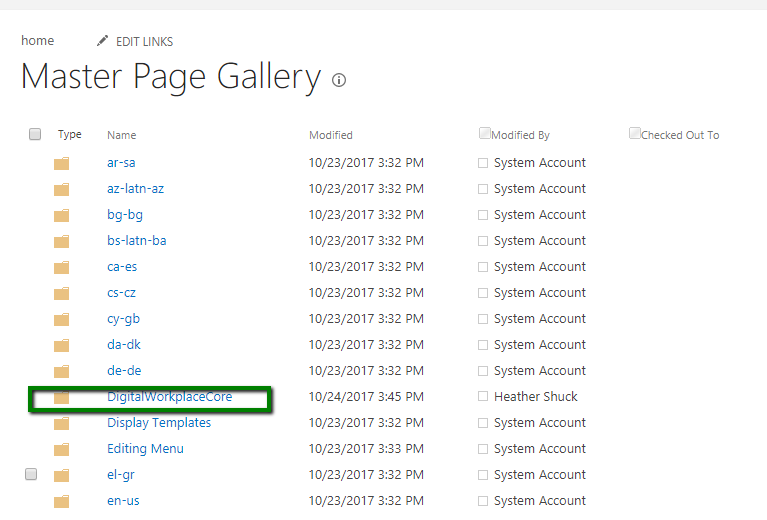
<meta http-equiv="X-UA-Compatible" content="IE=10" />The Digital Workplace Core Site deploys a masterpage named empty.html. You can locate it within the DigitalWorkplaceCore folder inside of the site's Master Page Gallery. The Master Page Gallery can be navigated to by clicking on the gear in the SharePoint ribbon, selecting Site Settings from the dropdown, and clicking the Master pages and page layouts link in the Site Settings page.
Once you locate empty.html, click the down arrow to the right of the file name and select Download from the dropdown menu.
Edit the masterpage to add elements to the site that you want to appear universally across your site. Common examples of masterpage additions are:
- Embedding an image within the markup to act as a site logo
- Adding markup to create customized headers and footers on the page
- Adding wrapping the page in markup that allows styling of the page
- Embedding widget snippets within the page. A Quicklinks widget for the main menu is very common.
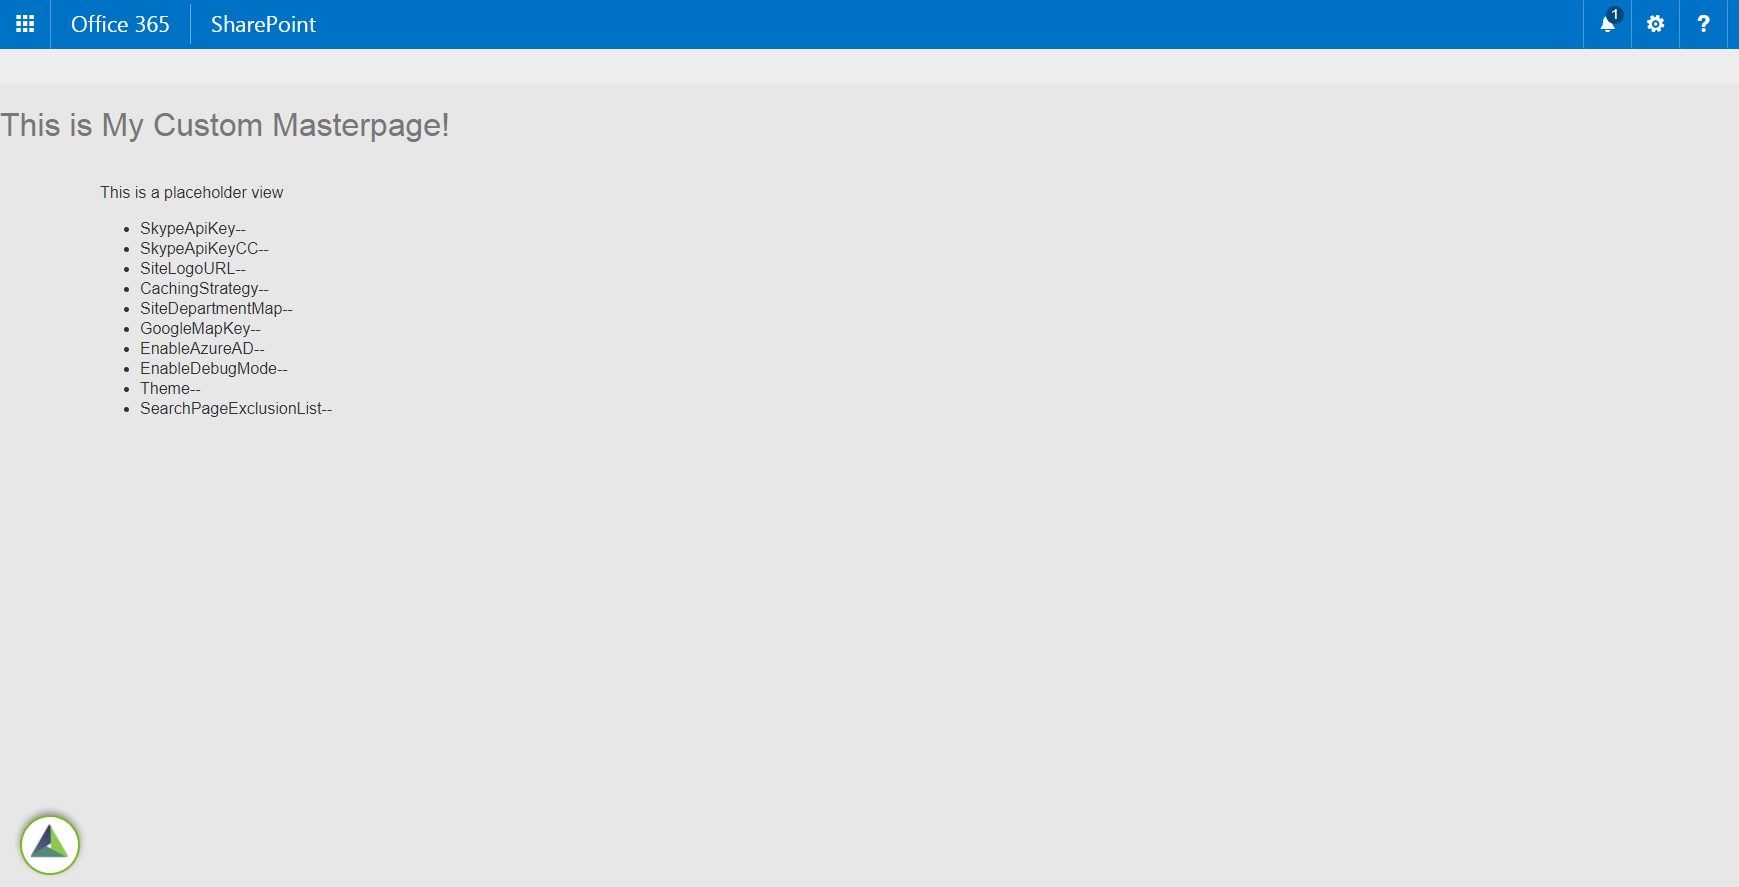
In this example we will just add the <h1 class="my-custom-h1">This is My Custom Masterpage!</h1> header to our site.
<div id="s4-workspace">
            <div id="s4-bodyContainer">
                <div class="ak-page-outer">
		<h1 class="my-custom-h1">This is My Custom Masterpage!</h1>
                    <div class="ak-page-container">
                        <div class="ak-page-wrapper">
                            <!--CS: Start PlaceHolderMain Snippet-->
                            <!--SPM:<%@Register Tagprefix="SharePoint" Namespace="Microsoft.SharePoint.WebControls" Assembly="Microsoft.SharePoint, Version=16.0.0.0, Culture=neutral, PublicKeyToken=71e9bce111e9429c"%>-->
                            <!--MS:<SharePoint:AjaxDelta ID="DeltaPlaceHolderMain" IsMainContent="true" runat="server">-->
                                <!--MS:<asp:ContentPlaceHolder ID="PlaceHolderMain" runat="server">-->
                                <!--ME:</asp:ContentPlaceHolder>-->
                            <!--ME:</SharePoint:AjaxDelta>-->
                            <!--CE: End PlaceHolderMain Snippet-->
                        </div>
                    </div>
                </div>
            </div>
        </div>
After edits are made, save your file as my-custom.html
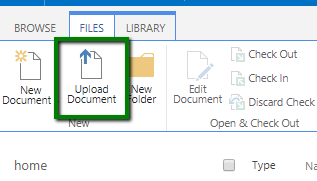
Navigate back to the DigitalWorkplaceCore Folder of the Masterpage gallery. Click Files on the top ribbon, then click Upload Document.
In the following popup, select the my-custom.html file from your local storage. Click OK.
On the following popup, ensure your Content Type is Html Master Page

and the Associated File checkbox is selected.

Click Save.
Custom masterpages should be verified in the Design Manager before being set as the site Masterpage. Navigate to the Design Manager by clicking the gear in the SharePoint ribbon and selecting Design Manager from the Dropdown Menu. In the left column of the Design Manager, select 4. Edit Master Pages. You will see your custom masterpage and its status in the window.
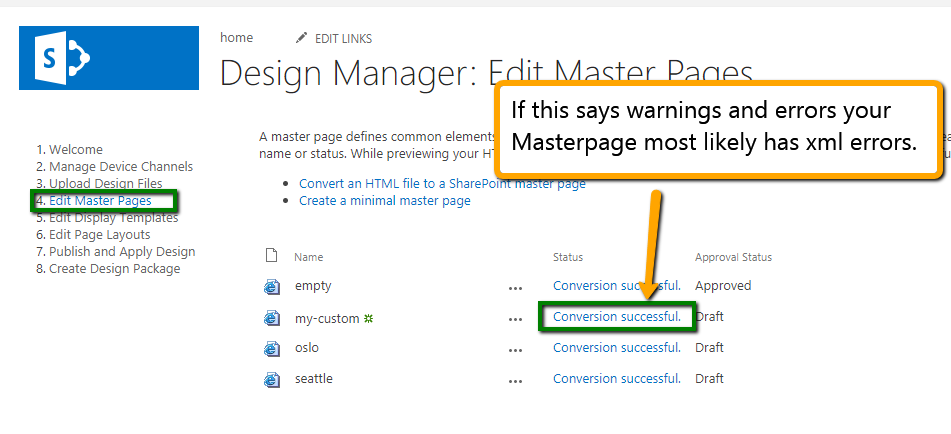
You can preview you master page by selecting its name. If your Masterpage's status is Warnings and Errors you can see which line is breaking your Masterpage by selecting its name.
Once you've verified your Masterpage has converted successfully you can publish it and apply it to the site. In order to publish your Masterpage, navigate back to the DigitalWorkplaceCore folder within the Master Page Gallery. Click the down arrow next to my-custom.html and select Publish a Major Version form the dropdown menu.
Now you can apply your masterpage to the site. Click on the gear in the SharePoint ribbon, select Site Settings from the dropdown, and click the Master page link in the Site Settings page. This will take you to the Site Master Page Settings page. Select your masterpage from the dropdown menu of the Site Master Page row. Click OK.
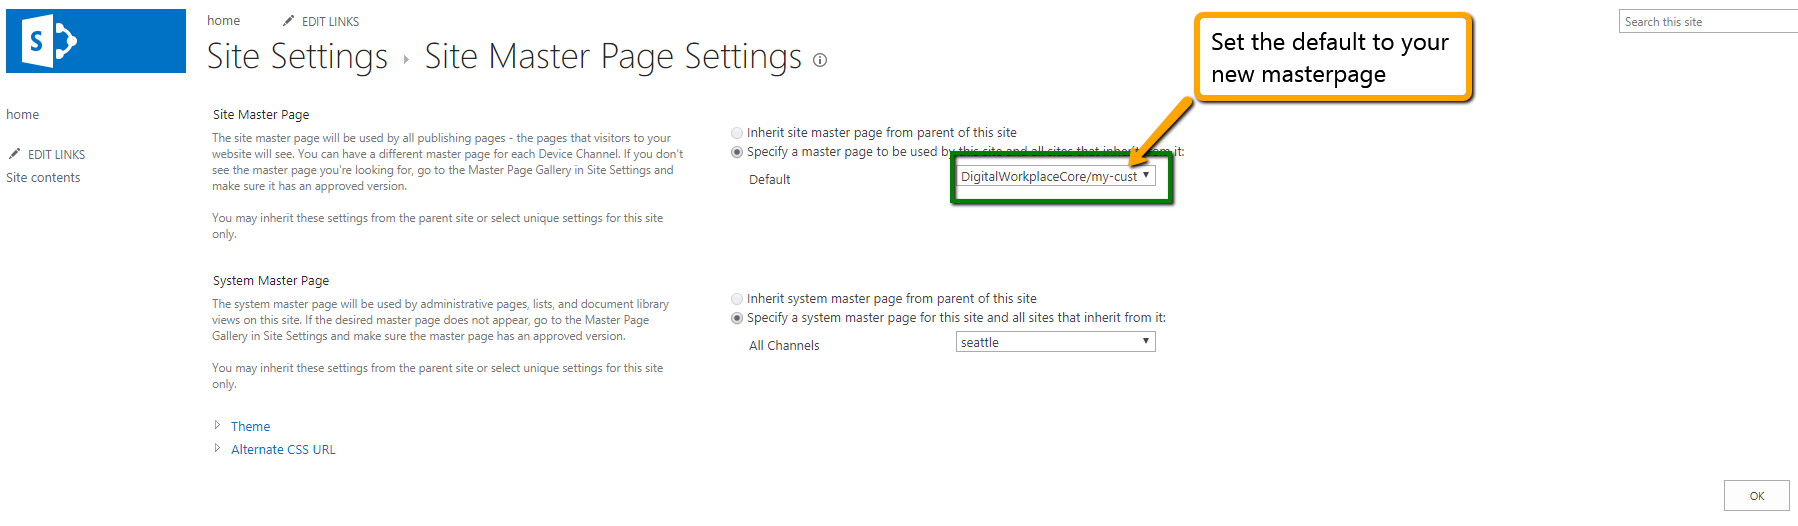
Your masterpage will be applied