Building A Generic List Control Widget - akumina/AkuminaTraining GitHub Wiki
In this document we will go through an example of using the Akumina Widget framework to build a Generic List Widget (GLC). A GLC is a widget that will utilized data that is stored within a SharePoint list on your Akumina Foundation site. The Widget Definitions is already predefined within our framework so the only elements you will need to create are:
- The SharePoint List, which stores the data
- The Callback, which retrieves the data
- The Template, which displays the data
- Create the Sample_AK list within your Akumina Foundation site. The Sample_AK list will need an additional text field called ‘Value’
- Download digitalworkplace.custom.js from the “/Style Library/DigitalWorkplace/JS” folder within SharePoint
- Paste the Callback within digitalworkplace.custom.js
- Upload the updated digitalworkplace.custom.js to the “/Style Library/DigitalWorkplace/JS” folder within SharePoint
- In the Management Apps tab of AppManager, click on the View Manager. Click “Add New”. In the left pane navigate to “/DigitalWorkplace/Content/Templates/” for the folder path. Click “Choose File”, navigate to your custom template (ListItems.html). Click “Save”. Repeat for ListItems2.html.
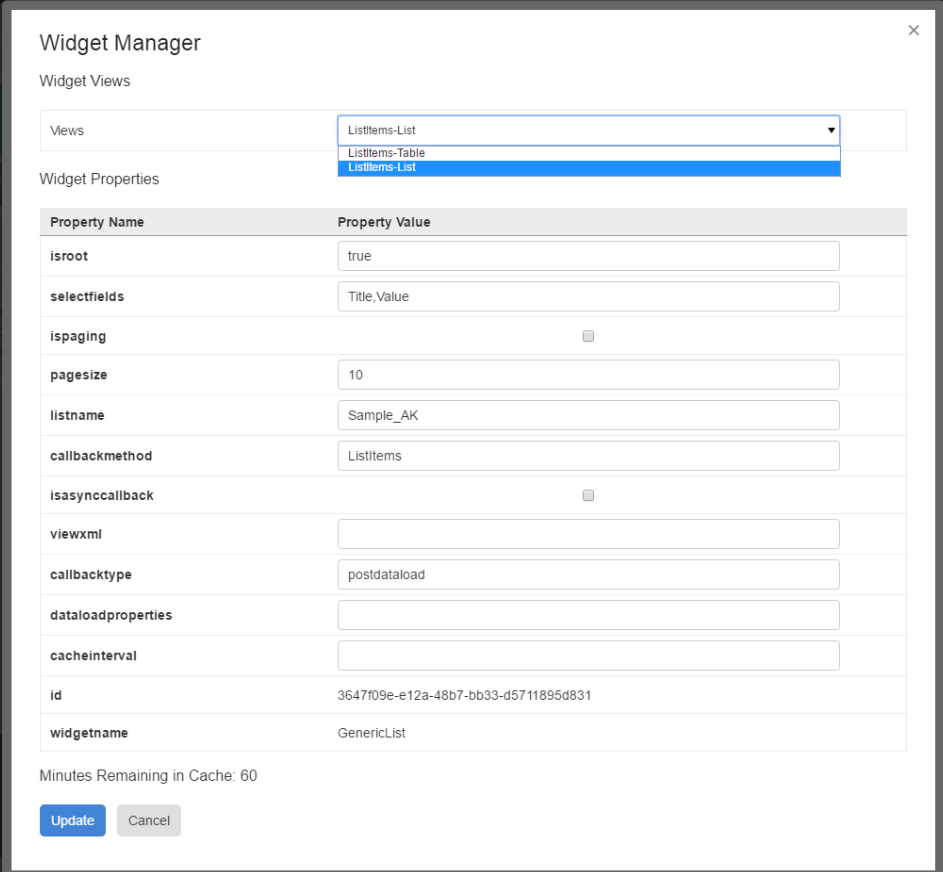
- In the Management Apps tab of AppManager, click on the Widget Manager app. Then in the list of Widgets find the GenericList widget. Click Edit. Add our newly added templates to the WidgetViews field. Refer to the values in the Widget Manager – Widget Definition section
- In the Manage Widgets window, find the GenericList widget and click its ‘View Widget Definitions’ button. Then click on ‘Add New’. Create your widget instance with the values in the Widget Manager – Widget Instance section. Click Save & Exit
- Copy the Widget Snippet of your Widget Instance.
- Paste the snippet into a Content Editor Web Part on a page within the site. Publish the page.
- Flush your cache by clicking on the Akumina icon in the left rail, clicking the refresh icon, then clicking “Refresh All Cache”
- Refresh the page. You will see your GLC List Items Widget
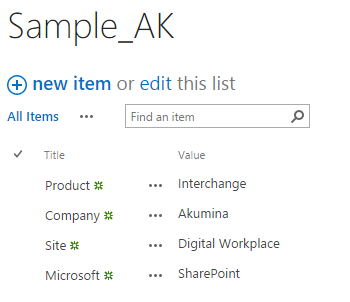
Create a new custom list called ‘Sample_AK’. Add an additional column called ‘Value’ with the type ‘Single Line of Text’. Add the following values to the list.
function ListItems(data) {
    var itemList = {};
    itemList.Items = [];
    for (var i = 0; i < data.Items.length; i++) {

        itemList.Items.push({ Key: data.Items[i].Title, Value: data.Items[i].Value });
    }
    return itemList;
}<div>
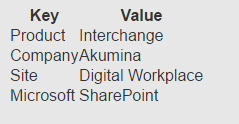
{{#if Items}}
<table>
<thead>
<tr><th>Key</th><th>Value</th></tr>
</thead>
{{#Items}}
<tr><td>{{Key}}</td><td>{{Value}}</td></tr>
{{/Items}}
</table>
{{else}}
No Items available.
{{/if}}
</div>{{debug}}
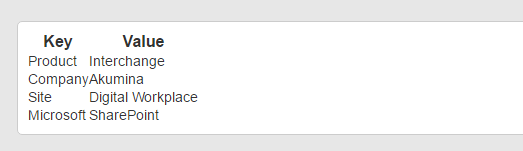
<div>
{{#if Items}}
<ul>
{{#Items}}
<li><strong>Key:</strong> {{Key}}, <strong>Value:</strong> {{Value}}</li>
{{/Items}}
</ul>
{{else}}
<h2>No Items available</h2>
{{/if}}
</div>As this is a GLC widget we will be editing the GenericList widget within the Widget Manager.


ListItems-Table
/Style Library/DigitalWorkplace/Content/Templates/ListItems.html
ListItems-List
/Style Library/DigitalWorkplace/Content/Templates/ListItems2.html
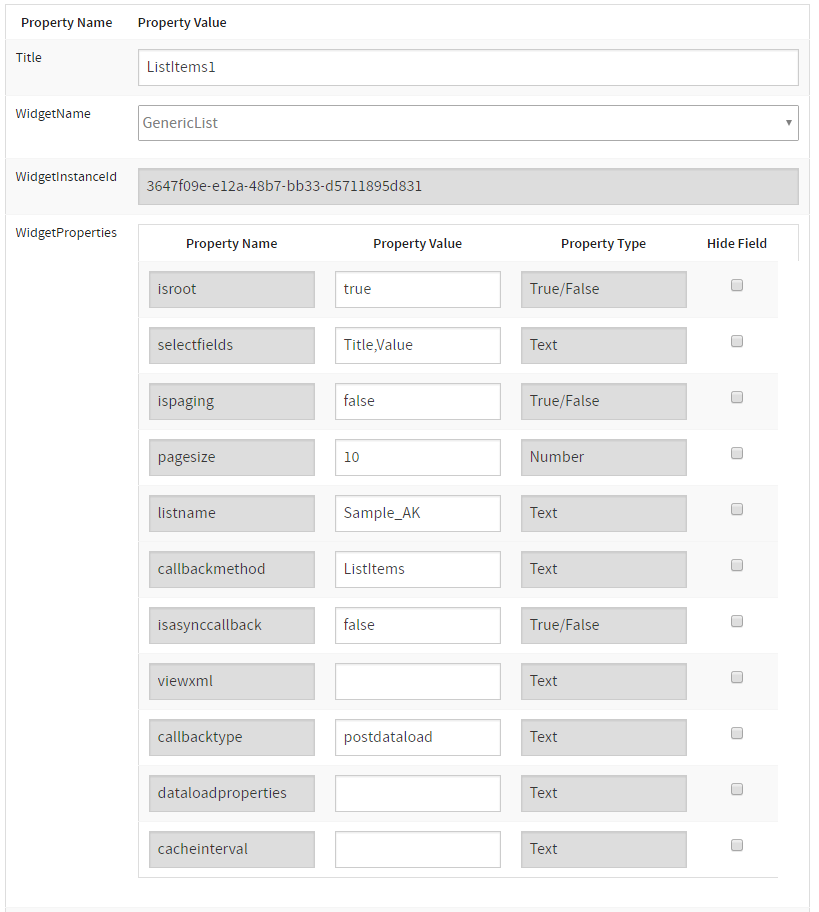

ListItems1
Title,Value
Sample_AK
ListItems
Checked
Selected
Checked
Not Selected


- In the Management Apps Tab of AppManager, click on the Dashboard Widget Manager. Then Click Add New. Add the instance of the ListItems GLC we just created. Use the Dashboard Widget Manager for reference. Click Save & Exit
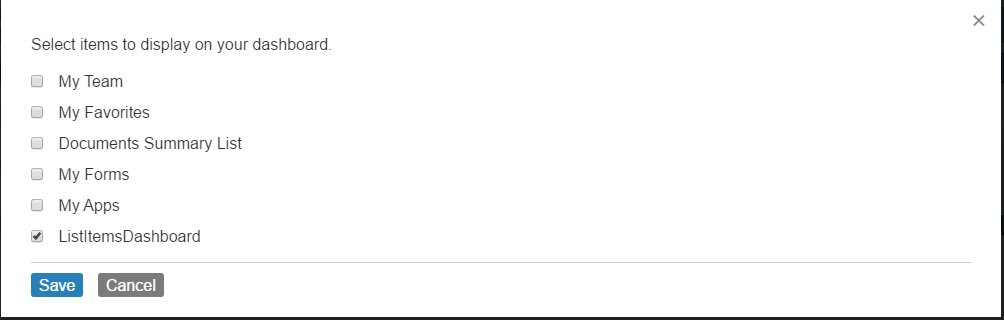
- Navigate to the Dashboard.aspx page of your site. Click Customize, check ListItemsDashboard. Click Save.
- Flush your cache by clicking on the Akumina icon in the left rail, clicking the refresh icon, then clicking “Refresh All Cache”
- Refresh the page. You will see your GLC List Items Widget
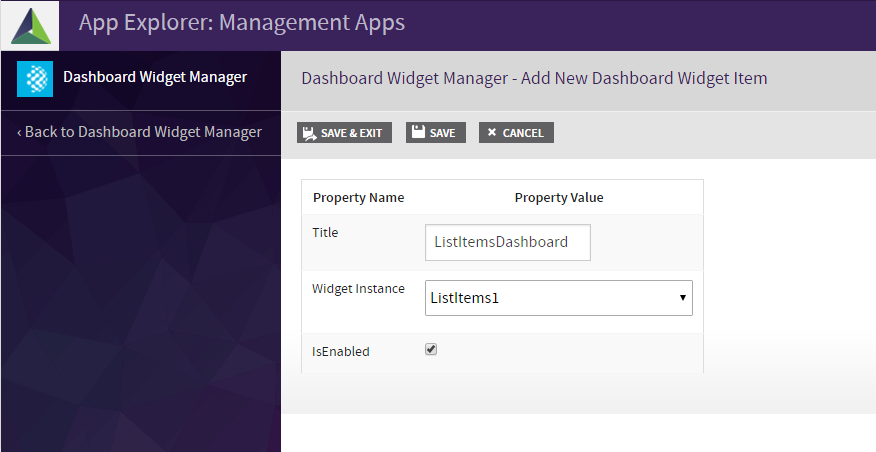
ListItemsDashboard
ListItems1
Checked