Building A Custom Widget: Hello World Widget - akumina/AkuminaTraining GitHub Wiki

- Download digitalworkplace.custom.js from the “/Style Library/DigitalWorkplace/JS” folder within SharePoint
- Paste the Widget Definition within digitalworkplace.custom.js
- Upload the updated digitalworkplace.custom.js to the “/Style Library/DigitalWorkplace/JS” folder within SharePoint
- In the Management Apps tab of AppManager, click on the View Manager. Click “Add New”. In the left pane navigate to “/DigitalWorkplace/Content/Templates/” for the folder path. Click “Choose File”, navigate to your custom template (helloworld1.html). Click “Save”. Repeat for helloworld2.html.
- In the Management Apps tab of AppManager, click on the Widget Manager app. Then click on Add Widget. Create your widget with the values in the Widget Manager – Widget Definition section. Click Save & Exit
- In the Manage Widgets window, find HelloWorld and click its ‘View Widget Definitions’ button. Then click on ‘Add New’. Create your widget instance with the values in the Widget Manager – Widget Instance section. Click Save & Exit
- Copy the Widget Snippet of your Widget Instance.
- Paste the snippet into a Content Editor Web Part on a page within the site. Publish the page.
- Flush your cache by clicking on the Akumina icon in the left rail, clicking the refresh icon, then clicking “Refresh All Cache”
- Refresh the page. You will see your Hello World Widget
if ((typeof Akumina.AddIn.HelloWorldWidget) === 'undefined') {
    Akumina.AddIn.HelloWorldWidget = function () {
        var _cur = this;
        this.GetPropertyValue = function (requestIn, key, defaultValue) {
            var propertyValue = "";
            for (var prop in requestIn) {
                if (key.toLowerCase() == prop.toLowerCase()) {
                    propertyValue = requestIn[prop];
                    break;
                }
            }
            return (propertyValue == undefined || propertyValue.toString().trim() == "") ? defaultValue : propertyValue;
        };
        this.SetDefaultsProperties = function (requestIn) {
            var requestOut = requestIn
            requestOut.SenderId = _cur.GetPropertyValue(requestIn, "id", "");
            requestOut.DisplayTemplateUrl = _cur.GetPropertyValue(requestIn,
            "displaytemplateurl", "");
            requestOut.Test = _cur.GetPropertyValue(requestIn, "test", "");
            return requestOut;
        };
        //"Init" is the main function called from the framework, everything else is specific to this widget
        this.Init = function (HelloWorldRequest) {
            _cur.HelloWorldRequest = _cur.SetDefaultsProperties(HelloWorldRequest);
            _cur.HelloWorldRequest.EditMode = Akumina.AddIn.Utilities.getEditMode();
            //Widget Framework
            var widgetName = "HelloWorld";
            Akumina.Digispace.WidgetPropertyViews.AddViewForProperty(widgetName,"DisplayTemplateUrl", "TemplatePicker");

           _cur.Prerender();
        };
        this.Prerender = function () {
            var targetDiv = this.HelloWorldRequest.SenderId;
            $("#" + targetDiv).html(Akumina.Digispace.ConfigurationContext.LoadingTemplateHtml);
            //subscribe to loader completed event, this is fired at the end of the DWP page lifecycle
            Akumina.Digispace.AppPart.Eventing.Subscribe('/loader/completed/', _cur.Render);
            //subscribe to refresh event, called by Widget Manager on DWP
            Akumina.Digispace.AppPart.Eventing.Subscribe('/widget/updated/', _cur.RefreshWidget);
        };
        this.Render = function () {
            var data = {}
            data.Test = _cur.HelloWorldRequest.Test;
            if (!_cur.HelloWorldRequest.EditMode) {
                _cur.BindTemplate(_cur.HelloWorldRequest.DisplayTemplateUrl, data, _cur.HelloWorldRequest.SenderId);
            }
        };
        this.RefreshWidget = function (newProps) {
            if (newProps["id"] == _cur.HelloWorldRequest.SenderId) {
                _cur.HelloWorldRequest = _cur.SetDefaultsProperties(newProps);
                _cur.Render();
            }
        };
        this.BindTemplate = function (templateUri, data, targetDiv) {
            new Akumina.Digispace.AppPart.Data().Templates.ParseTemplate(templateUri, data).done(function (html) {
                $("#" + targetDiv).html(html);
            });
        };
    }
}We define the widget name with this line. Naming will follow the convention of Akumina.AddIn.
Helper method to get properties
We set the default values to properties if nothing is passed in for them.
this.Init calls the functions to render the widget. We also specify the widget name that we will use for the Widget Class step and we subscribe the widget to the Template Picker.
this.Prerender defines what will show while the widget is rendering. We use subscriptions to call the this.Render function when loading is complete and this.RefreshWidget when the widget is updated.
this.Render gets the data and the template
this.RefreshWidget resets the properties and calls this.Render
<div class="interAction">
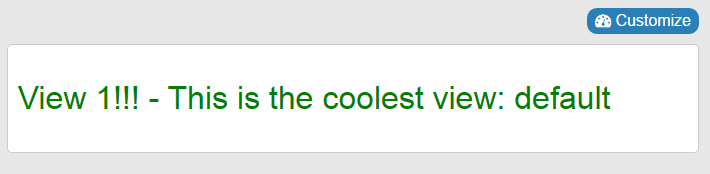
<h1 style="color:green;">View 1!!! - This is the coolest view: {{Test}}</h1>
</div><div class="interAction">
<h1 style="color:red;">View 2: This is the view 2! {{Test}}</h1>
</div>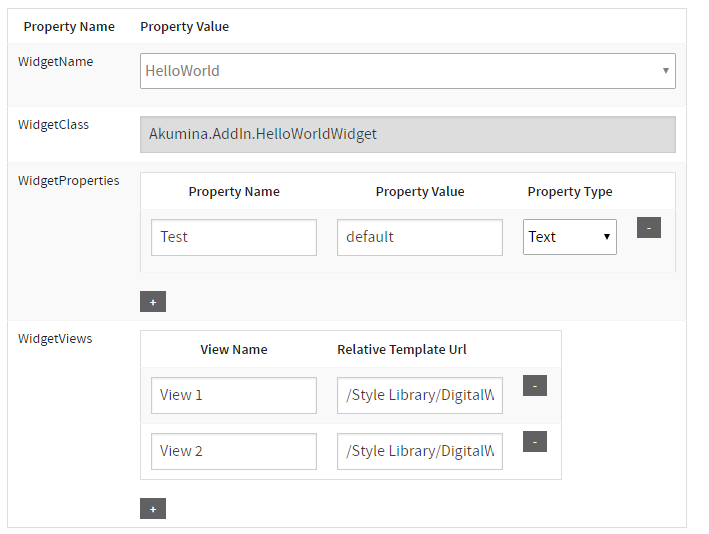
HelloWorld
Akumina.AddIn.HelloWorldWidget
Test
default
Text
####View 1
View 1
/Style Library/DigitalWorkplace/Content/Templates/helloworld1.html
View 2
/Style Library/DigitalWorkplace/Content/Templates/helloworld2.html
Most of the fields here will be auto generated
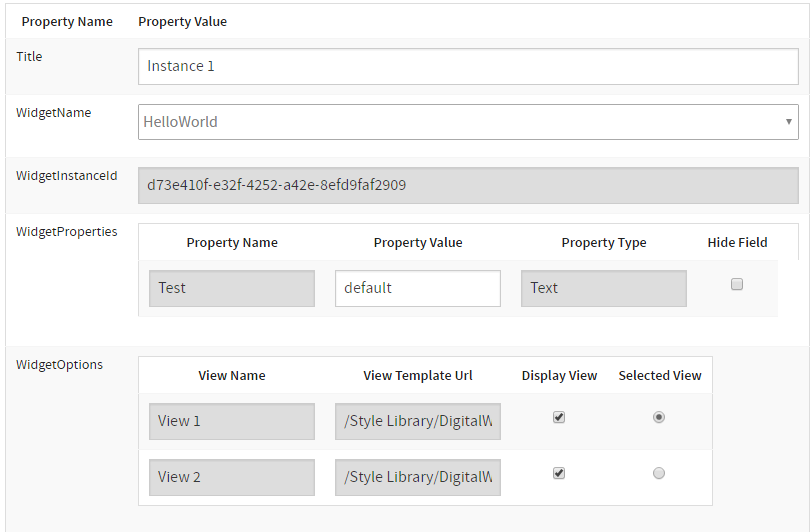
Instance 1
Checked
Selected
Checked

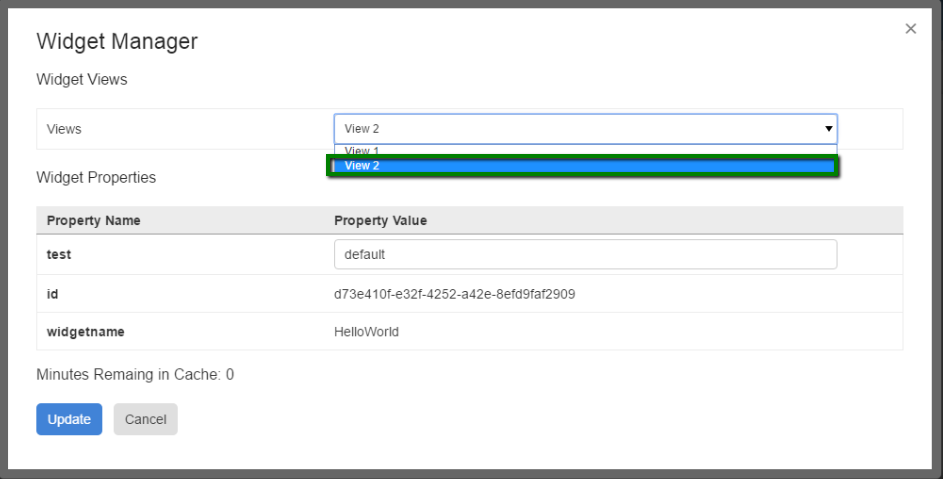
In your Akumina Foundation Site, click on the Akumina Icon in the Rail, click on the pencil, then click on your HelloWorldWidget to bring up the Widget Manager. Change the View to View 2. Click Update.

- In the Management Apps Tab of AppManager, click on the Dashboard Widget Manager. Then click Add New. Add the instance of the HelloWorldWidget we just created. Use the Dashboard Widget Manager for reference. Click Save & Exit
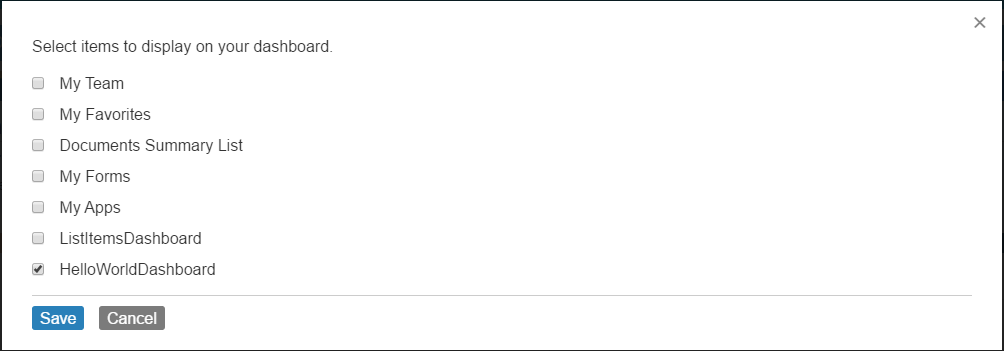
- Navigate to the Dashboard.aspx page of your site. Click Customize, check HelloWorldDashboard. Click Save
- Flush your cache by clicking on the Akumina icon in the left rail, clicking the refresh icon, then clicking “Refresh All Cache”
- Refresh the page. You will see your Hello World Widget
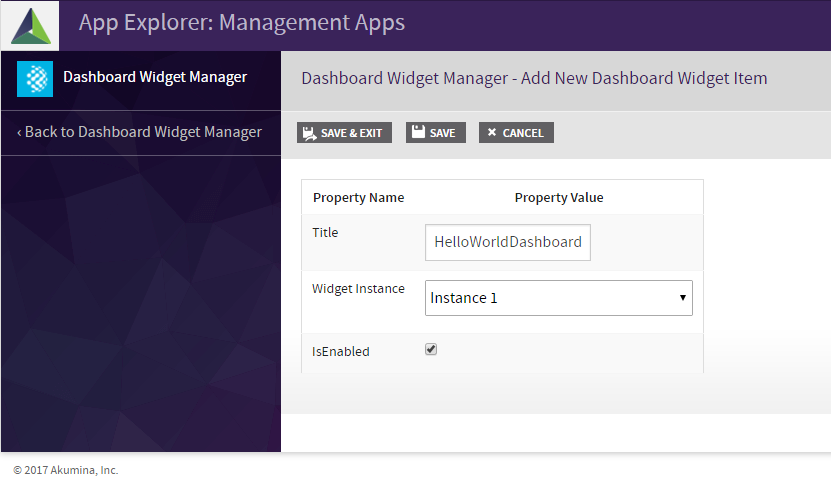
HelloWorldDashboard
Instance 1
Checked
For more info on Custom Widgets see the following articles