Plex Media Server Setup Guide - ajgillis04/GillisDockerDepot GitHub Wiki
Plex Media Server is a digital media server that allows you to organize, stream, and share your personal media collection.
- Docker installed
- Plex Media Server container running in your Docker stack
- Plex account
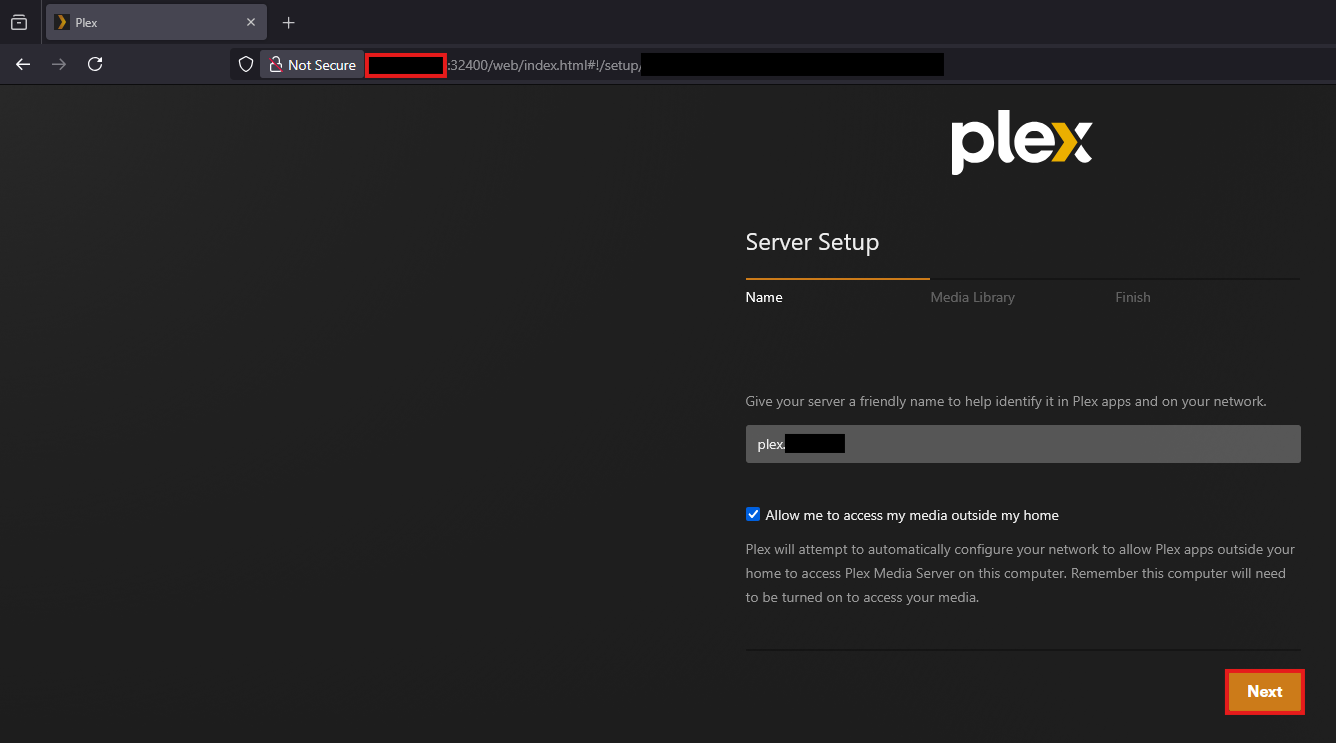
- Open your browser and navigate to
http://<your-ip-address>:32400/web. - Log in with your Plex account credentials.
- Follow the initial setup wizard to configure basic settings.
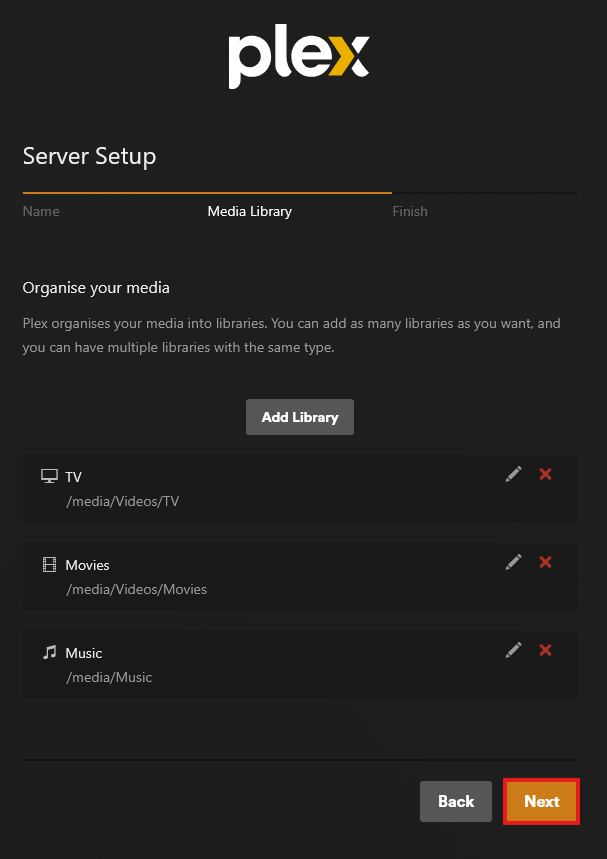
- Ensure you server is named correctly and allow access to media outside my home is enabled. Next
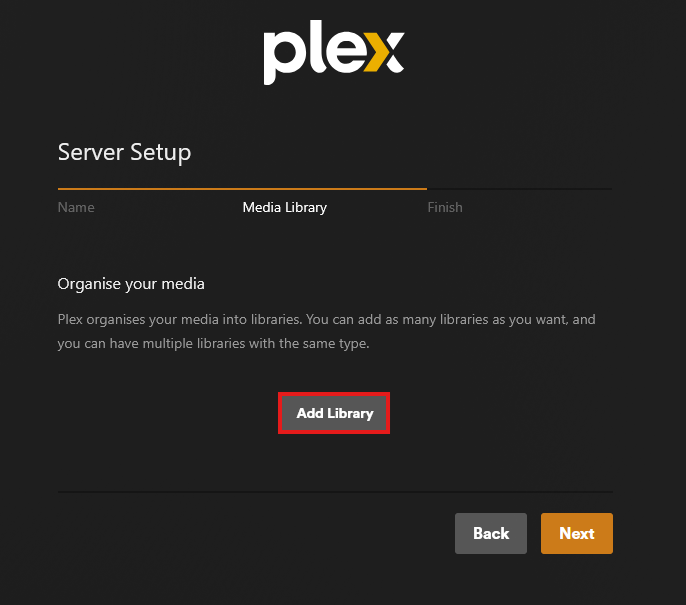
- Choose
Add Library - Click
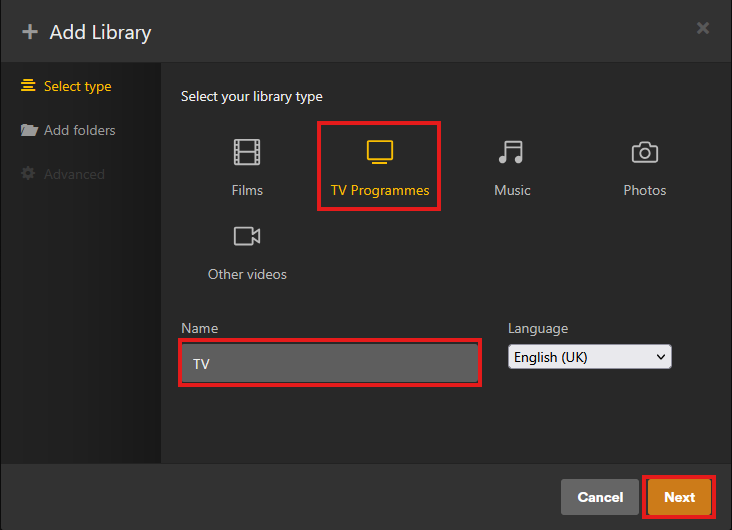
Add Libraryand select the type of media (e.g., Films, TV Programmes, Music). - Enter a name you would like to call the new library (e.g., TV) and click
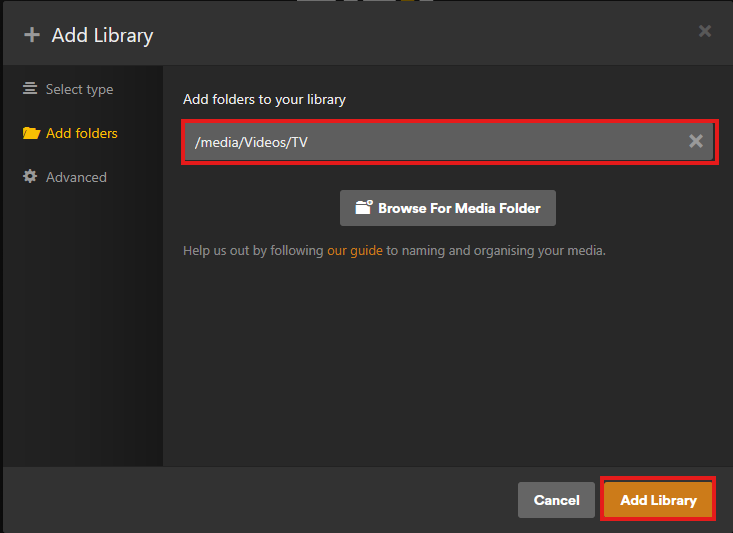
Next - Enter the path to your media folder.
- Click
Add Library. - Repeat the process for each Library type you want to include.
- Next
- Done
💡 If you want external access to Plex you must open a the port (32400) on your firewall to your hosts IP
- Go to the
Settingstab. - Navigate to the
Remote Accesssection. - Ensure `Disable Remote' Access is not enabled and plex is accessible to the internet.

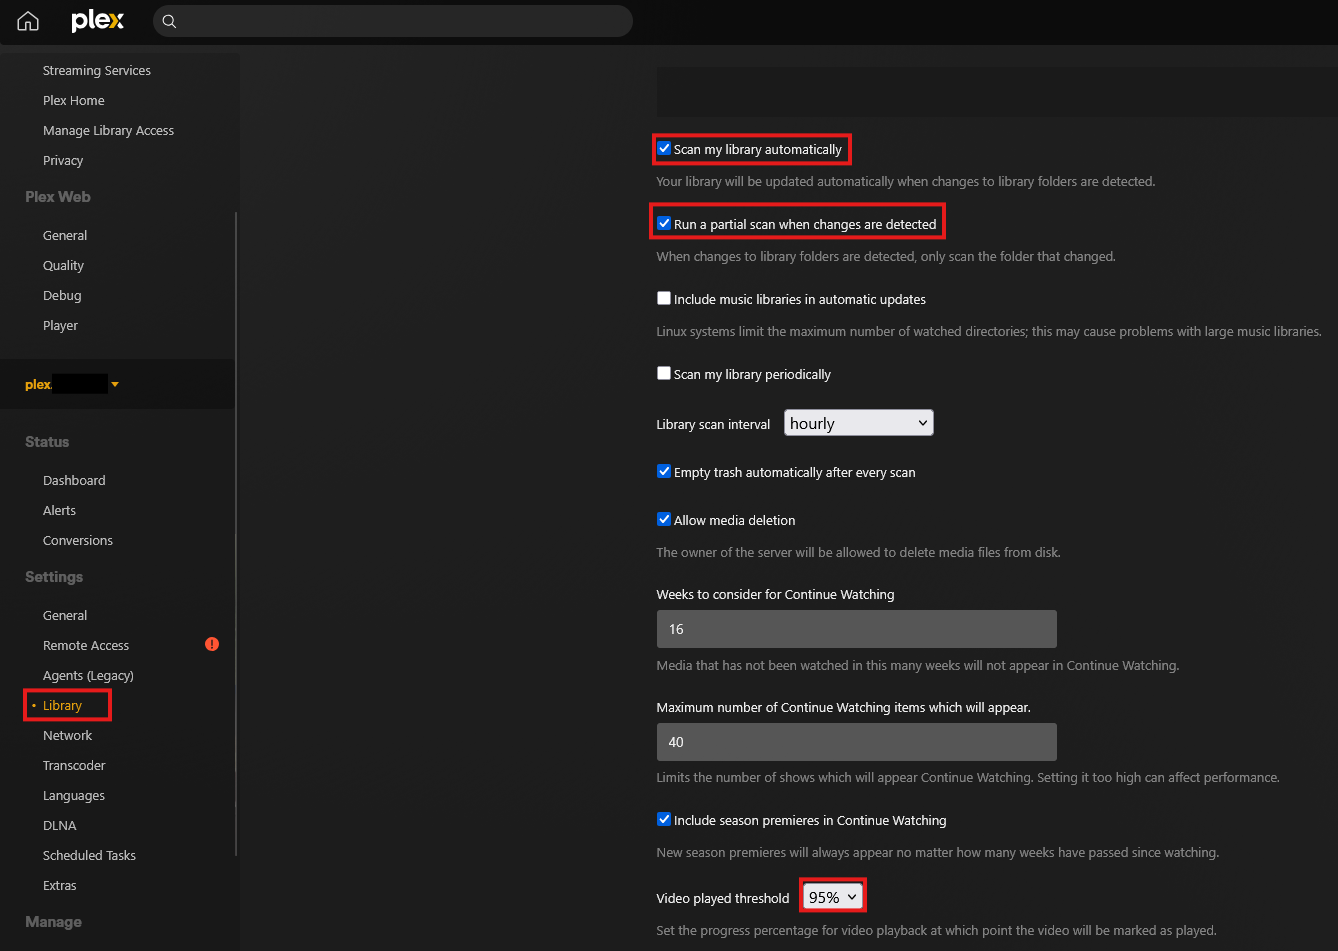
- Navigate to the
Librarytab. - Enable
Scan my library automatically,Run a partial scan when changes are detected - Change
Video played thresholdto 95%. Once you have watched 95% of the program its considered watched - Save Changes
- Navigate to the
Networktab. - Find
Custom server access URLsand enter your custom domain name (e.g. https://plex.example.com) - In the next option
List of IP addresses and networks that are allowed without authenter all the ip addresses your server has assigned (e.g. local, docker IP's, router IP's like 127.0.0.1/32,172.30.0.0/24,192.168.1.0/24 - Click
Send Invitation.
💡 You can only use Plex transcoding if you have purchased a Plex Pass and your hardware supports it
-
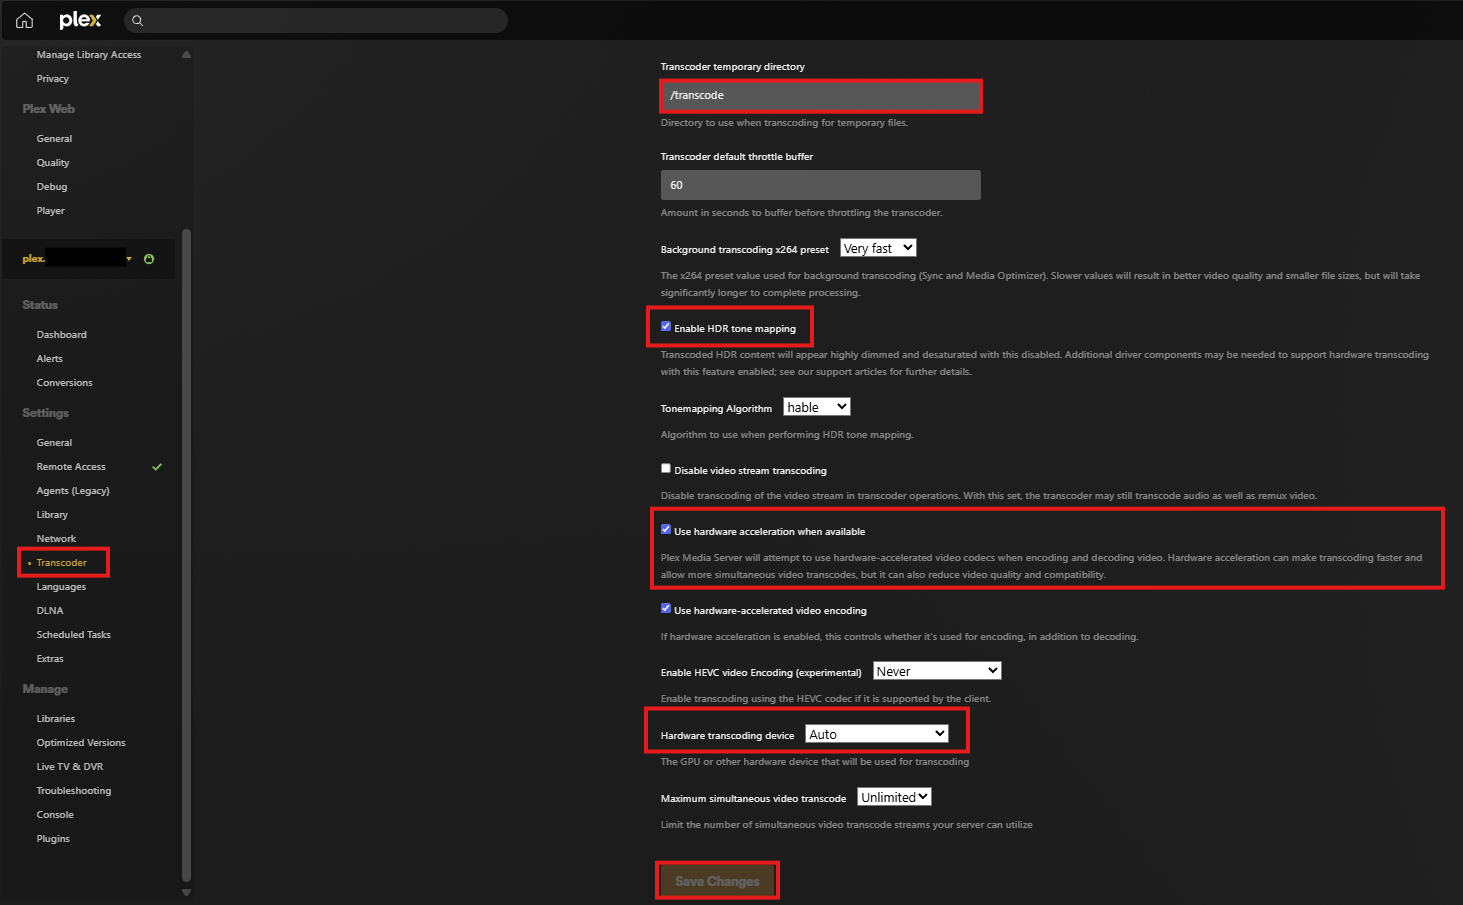
Navigate to the
Transcodertab. -
Enter your transcode directory
Transcoder temporary directory- Ensure you’ve mapped
/dev/shm/plexon the host to/transcodein the Docker container using yourdocker-compose.yml:volumes: - /dev/shm/plex:/transcode - On the host, create the directory and set proper permissions:
mkdir -p /dev/shm/plex
chmod 1777 /dev/shm/plex
- Ensure you’ve mapped
-
Enable
Enable HRD ton mapping -
Select
Use hardware acceleration when available -
Set
Hardware transcoding deviceto auto -
Save
- Navigate to the
Languagestab. - Change
Prefer audio tracks into English - Set
Subtitle modeto Shown with foreign audio - Save

💡 **If you wish to setup additional users for Plex follow this
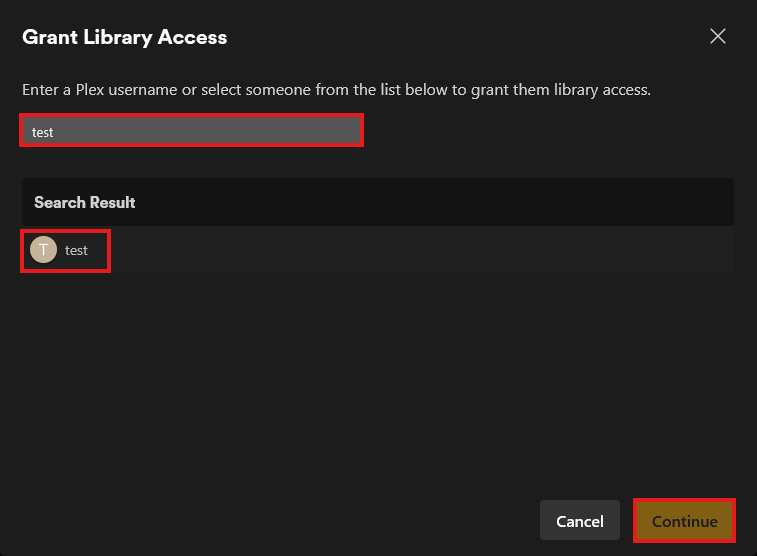
- Navigate to the
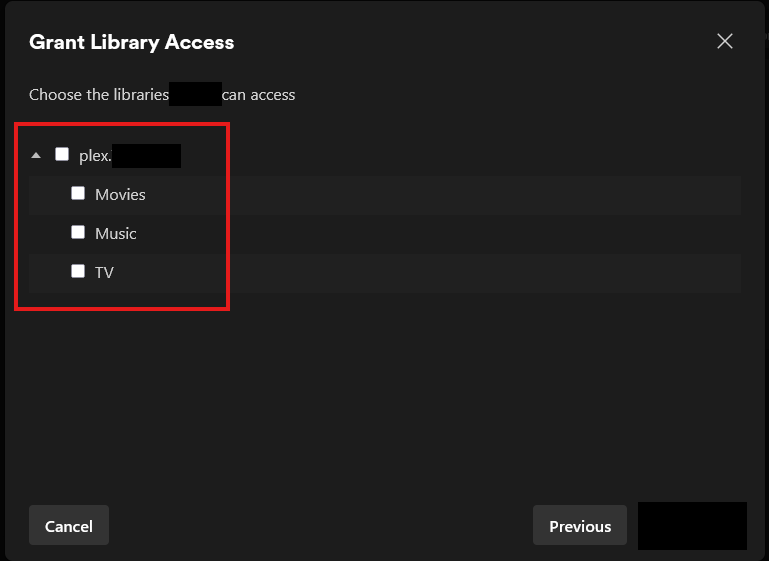
Manage Library Accesstab. - Click
Grant Library Accessand enter the user's email address. - Select the user name below the Search Result
- Click
Continue. - Select the Library access you wish the user to have access to (e.g. can either be 1 library, all, or a variation),
Continue - Choose whether wish to allow users to download videos for offline viewing,
Continue - Select
Send <friendname> a friend requestif you wish, andSend Finish
- The
/dev/shm/plexdirectory leverages RAM for transcoding, providing faster performance and reducing wear and tear on your SSD. - Monitor RAM usage to ensure
/dev/shmdoesn’t fill up during heavy activity:df -h /dev/shm