Cloudflare DDNS Setup Guide - ajgillis04/GillisDockerDepot GitHub Wiki
Cloudflare DDNS Setup Guide
Introduction
Cloudflare DDNS is a dynamic DNS service that automatically updates your Cloudflare DNS records to match your current public IP address, making it ideal for personal websites and home networks.
Prerequisites
- Docker installed
- Cloudflare DDNS container running in your Docker stack
- Cloudflare account with API token
Configuration Steps
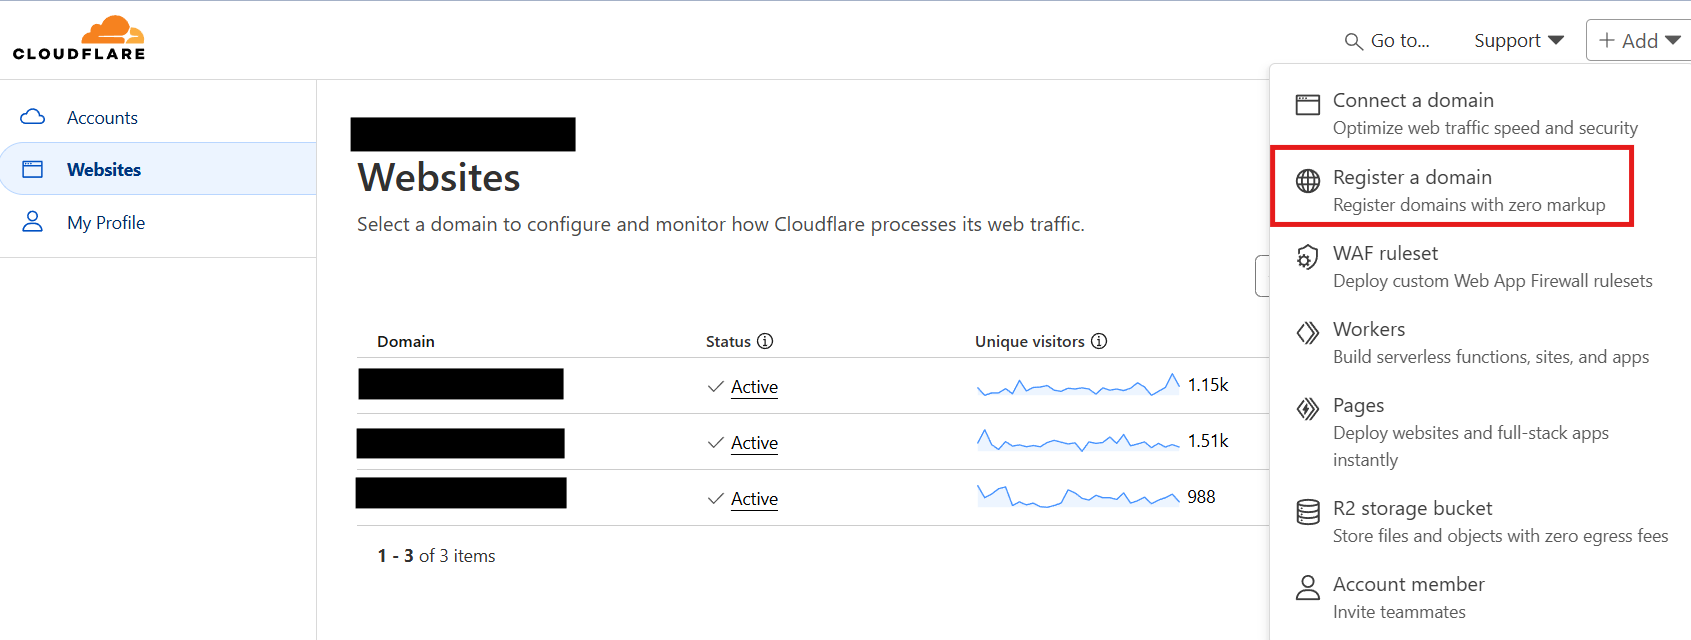
Step 1: Prerequisite you must have a Cloudflare account, a Domain name, and the API Token
- Open your browser and navigate to
https://dash.cloudflare.com/. - Log in with your Cloudflare credentials.
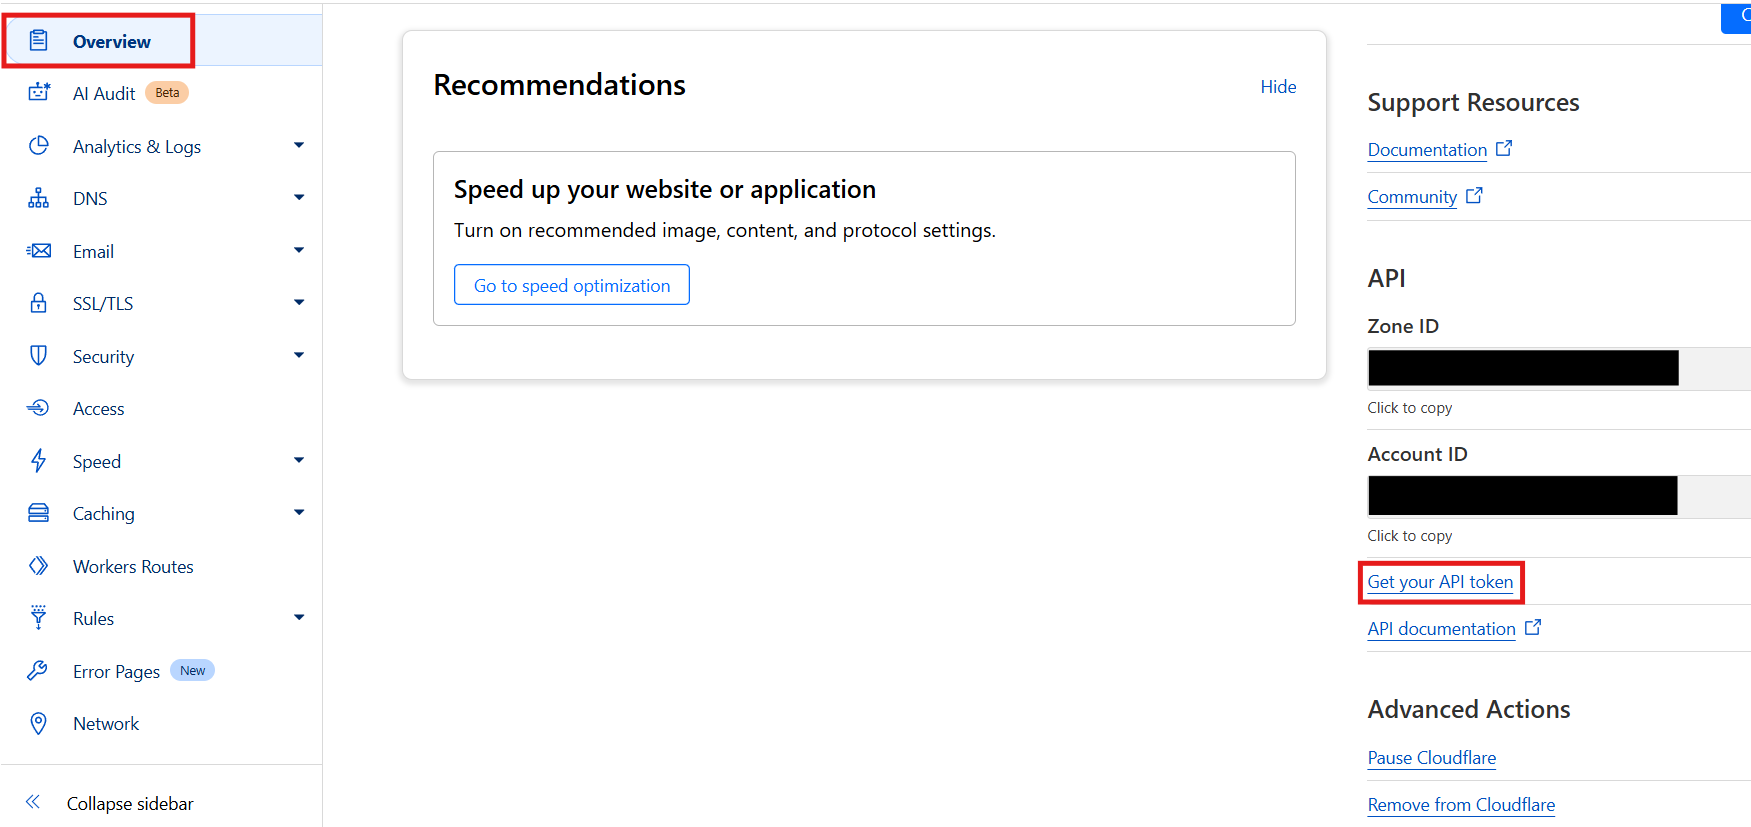
Register your Domain, if you have not already- once complete go to the domain and under overview you will find
Get your API token. Select it
Cloudflare_Domainreg.png
Step 2: Adding Cloudflare Account
- Go to the
Settingstab. - Click
Add Account. - Enter your Cloudflare API token and email address.
- Click
Save.
Step 3: Configuring Domains
- Navigate to the
Domainstab. - Click
Add Domain. - Enter your domain name and the corresponding DNS record types (e.g., A, CNAME).
- Click
Save.
Step 4: Setting Update Intervals
- Go to the
Settingstab. - Configure the update interval to define how often the IP address should be checked and updated.
- Click
Save.
Step 5: Reviewing Logs
- Navigate to the
Logstab. - Review the logs to ensure that the DDNS updates are being applied correctly.
Step 6: Customizing Settings
- Go to the
Settingssection. - Customize the settings according to your preferences (e.g., notification settings, security).
- Click
Save.
Notes
- Ensure all paths and environment variables are updated in the
cloudflare-ddns.yamlfile. - Regularly backup your
configdirectory to save your settings.
Troubleshooting
- Common Issues: List common issues and solutions.
- Logs: Check Cloudflare DDNS logs for error messages.
- Support: Link to the Cloudflare community and support resources.