Getting Started Guide - adobe/aem-site-template-standard GitHub Wiki
Caution
This page contains outdated instructions.
Quickly get aquatinted with the new Sites-30 features and gain experience by using them in a simple example.
The Sites-30 pilot program introduces exciting new features to AEM as a Cloud Service, accelerating deployment of custom-branded sites based on new site templates.
By eliminating the requirement for Java programming or AEM-specific and separating responsibilities into clear roles, the process of creating a new site and its content as well as branding becomes simple, fast, and greatly decreases time-to-value.
This getting started guide provides an overview of how to use these new features. Although the example is simple, it illustrates all of the important new features that you need to know to get started.
Caution
The features described here are offered as part of a limited pilot program and as such they are subject to change.
Part of the simplification that Sites-30 brings includes simplifying the responsibilities of the users involved. For getting started with a basic site, these roles are:
- AEM Administrator - This is the technical business owner who is typically responsible for setting up the Cloud Manager program and for configuring the AEM templates, but is not a developer.
- Site Author - This is a non-technical person who creates and edits pages and content by using components as building blocks.
- Front-End Developer - This is a developer with JavaScript and CSS expertise, but no Java or AEM knowledge.
The basic flow of setting up a new site with Sites-30 is simple and easy to understand for the AEM Administrator, who knows AEM well, but also for the Front-End Developer, who will be familiar with the process even if the person has no knowledge of AEM. For the Site Authors, nothing changes.
- The AEM Administrator creates a new site based on a Site Template.
- The Site Authors begin creating content for the new site.
- The AEM Administrator downloads the Site Theme and provides it to the web agency to customize the styling and apply branding.
- The Front-End Developer of the agency creates a GitHub repository for the theme and checks in the source.
- The Front-End Developer starts a local proxy to preview changes to styling.
- The Front-End Developer customizes the styling locally and previews based on actual AEM content using the proxy.
- The Front-End Developer commits the changes to Git.
- The Front-End Developer runs a GitHub action to transfer changes to AEM author instance.
- The AEM Administrator reviews the changes and can choose to deploy them to the publishing instances.
Important points of note about this workflow:
- The Site Authors can create content while the styling is developed by the Front-End Developers, allowing parallel work on the site.
- The Front-End Developer receives the theme as a typical front-end build package and requires no knowledge of AEM in order to customize the styling.
- Using a local proxy, the Front-End Developer can preview style changes based on actual, live AEM content with no risk of affecting AEM.
- The AEM Administrator retains ultimate control over whether any styling changes are published.
The following steps lead you through the above flow by using a simple example. It is assumed that for the purposes of demonstration that the reader will perform all tasks, but it should be noted that in a production instance these tasks will typically be carried out by the various roles described above.
The AEM Administrator begins with a fresh instance of AEM as a Cloud Service. No content is required or any code is necessary.
-
The Sites-30 features are based around the concept of a Site Template. To get started the AEM Administrator can download the basic site template here:
https://github.com/adobe/aem-site-template-basic- The
README.mdin the GitHub repository details this template, but note that it is very simple, making no assumptions about the site you want to create.
- The
-
Download the latest release available.
-
In the AEM Sites console, you can then choose Create -> Site (Template).
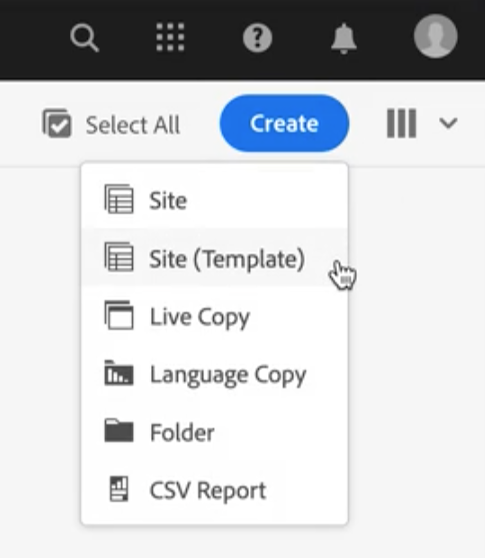
-
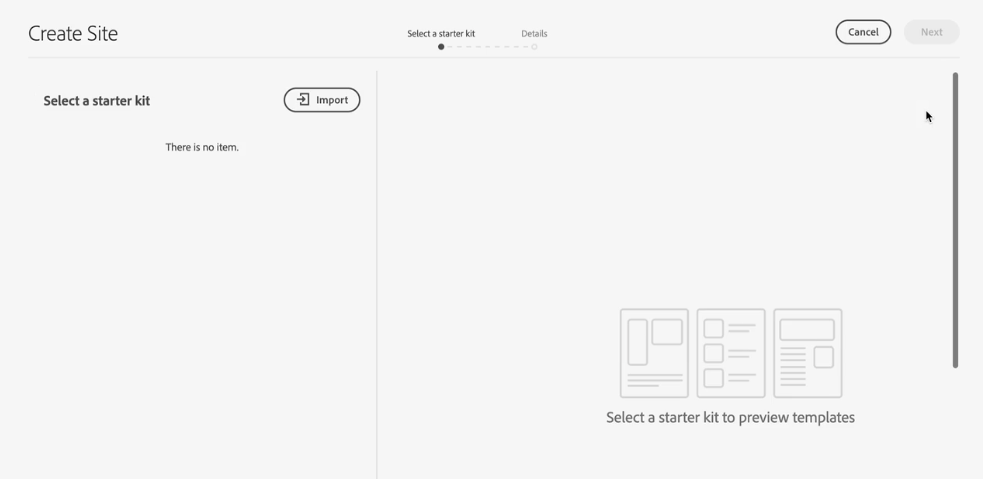
The Create Site wizard starts. Choose Import to upload your Site Template.
-
In the dialog, select the
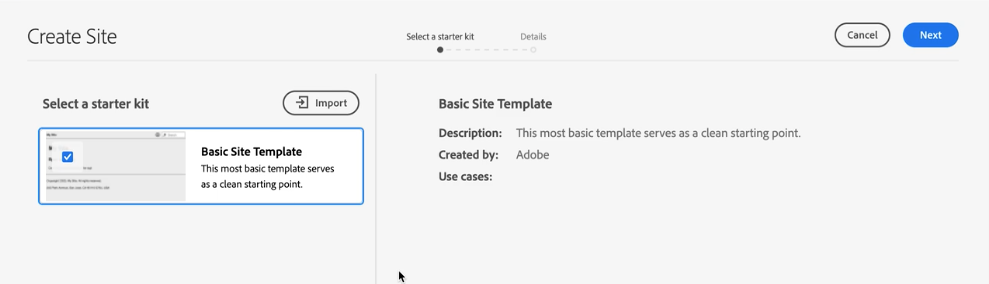
.zipof the Site Template that you downloaded and choose Open.- The Site Template is then loaded into AEM and is selectable in the Create Site wizard. Note that it can be reused to create multiple sites without having to upload it again.
-
Select the template and tap or click Next.
-
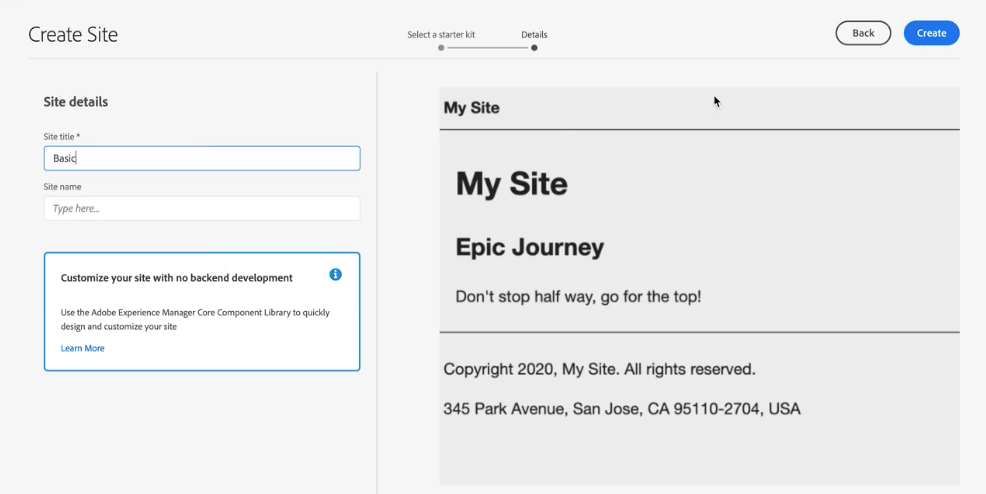
Provide the basic site details:
- The Title should be descriptive.
- The Name will become the node name in the repository.
- It will be automatically generated based on the title and adjusted according to AEM naming conventions.
- It can be adjusted if necessary.
-
-
Tap or click Create to finish creating the site based on the template.
-
Tap or click Done in the confirmation dialog to return to the Sites console.
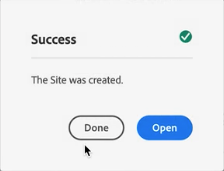
The site is now created and can be viewed in the Sites console.
The site is fully-functional in AEM including support for:
- Page Editor and Template Editor
- Core Components and Style System
- Responsive Layout
- Adobe Client Data Layer
Because it is fully-functional, the site can now be passed on to the Site Authors to begin creating content while at the same time your web agency and Front-End Developers customize the site. These parallel activities accelerate delivery of the final site and improves time-to-value.
While your Site Authors are creating content, you can pass on the site's theme to your Front-End Developers at your web agency.
-
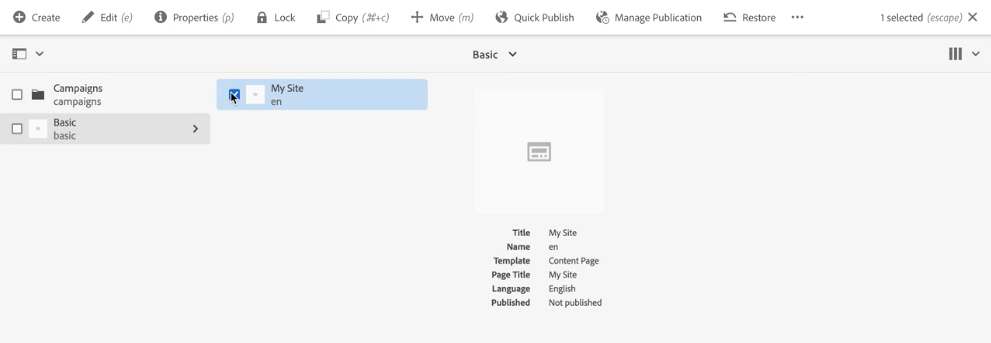
Open the Sites console, select the new site, and open the Sites rail.

- Any site built from a Site Template allows the user to download the theme.
-
Tap of click Download Theme Sources to save a copy locally.
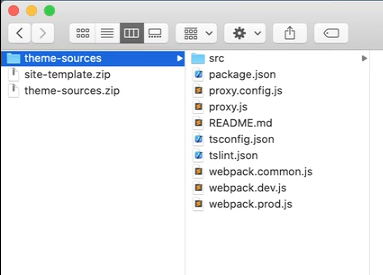
- The download is a simple
.zipfile of the sources. If you examine it, you will find a standard front-end project without any Java code or AEM-specific details.
- The download is a simple
-
You can pass this sources file on to your web agency and Front-End Developers.
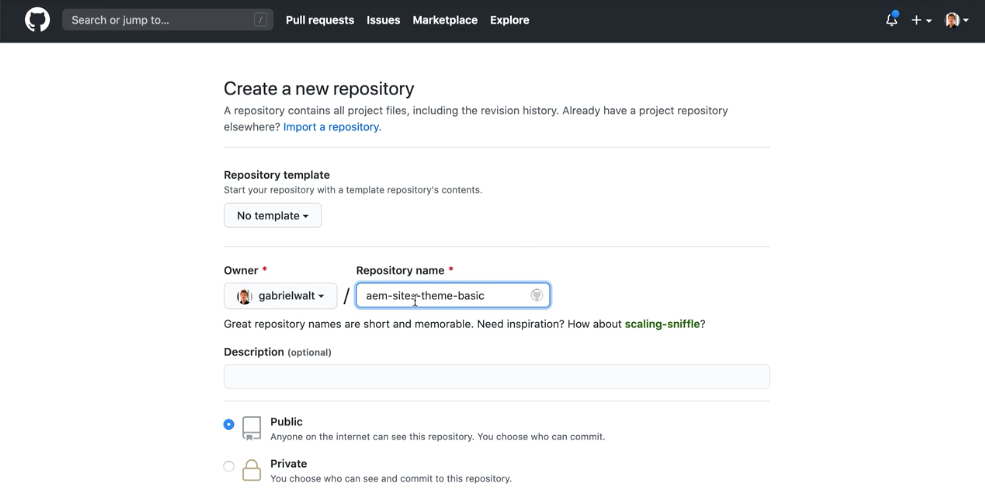
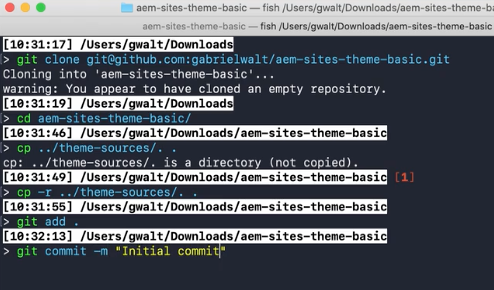
The Front-End Developer at your web agency will first create a new GitHub repository for this site project so progress can be checked and the code can be managed.
Note
Because the steps to create and use a new GitHub repository is standard procedure for any development project and not unique to AEM, they will only be outlined here.
-
The repository can be created as the developer requires.
-
The developer can then clone the new repo locally and copy the theme source files to the git-tracked folder and commit them.
-
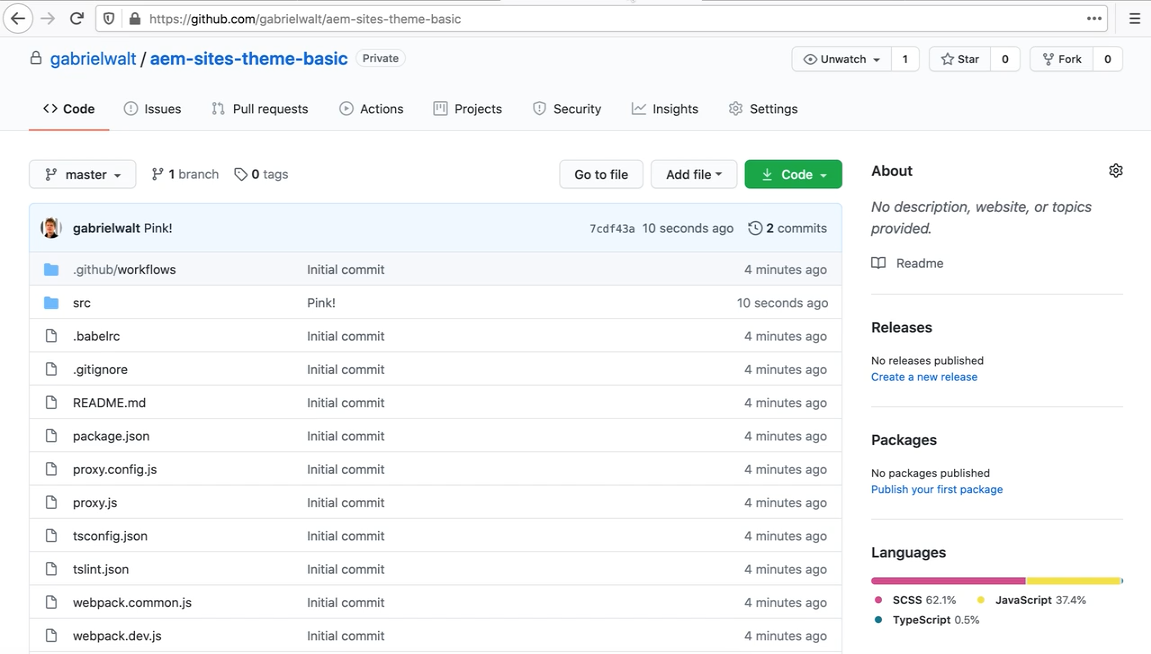
After pushing, the code is visible in the new GitHub repo.

Now that the theme source is tracked in GitHub, the local development environment and proxy can be set up.
The Font-End Developer can start his/her favorite editor such as Visual Studio Code to view the project. The README.md give a good overview of the project and the steps needed to customize.
-
First the project must be installed by running the command
npm installfrom the project folder. -
Next complete the
.envfile in the project. This allows the developer to connect to the AEM authoring instance for previewing the customization changes made:# AEM URL URL=<site URL> # Credentials and download-location for deploy AEM_USER=<username> AEM_PASS=<password> GIT_ORG=<gitorg> GIT_REPO=<gitrepo> GIT_ARTIFACT_ID=<gitartifactid> GIT_TOKEN=<gittoken> AEM_SITE_PROXY_PORT=7000 # Web site name SITE=<site name> -
Once the details are provided to
.env, then the front-end developer can run the commandnpm run liveto start the preview server locally.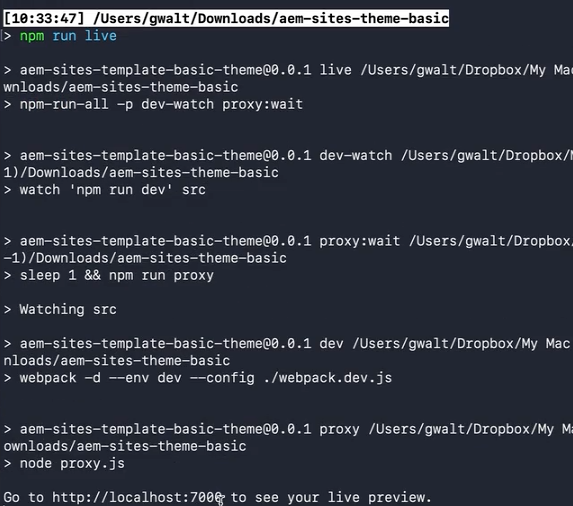
-
Once started the console output will tell you the URL where you can view the preview locally. By default, this will be
http://localhost:7000, but this can be modified in the.envfile.
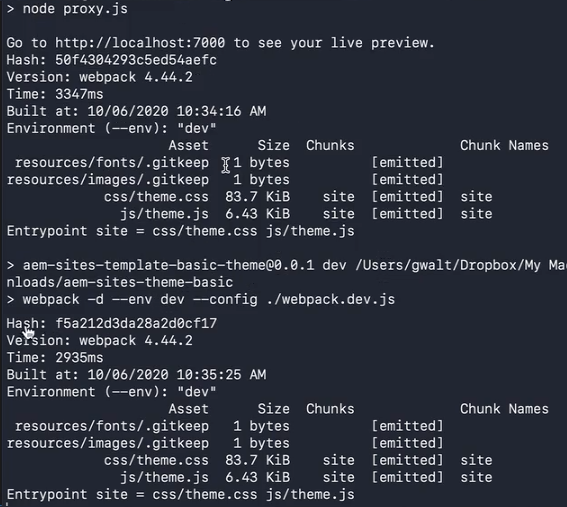
The server started acts as a proxy, reading the content from the AEM author instance and merging it with the styling and theme information in the local git project, and then delivering the local preview.
Using this preview tool, the Front-End Developer can create customizations based on real AEM content created by the Site Authors without affecting the production instance.
With the proxy configured, the Front-End Developer can begin the core work of customizing the styling and applying the necessary branding to the site.
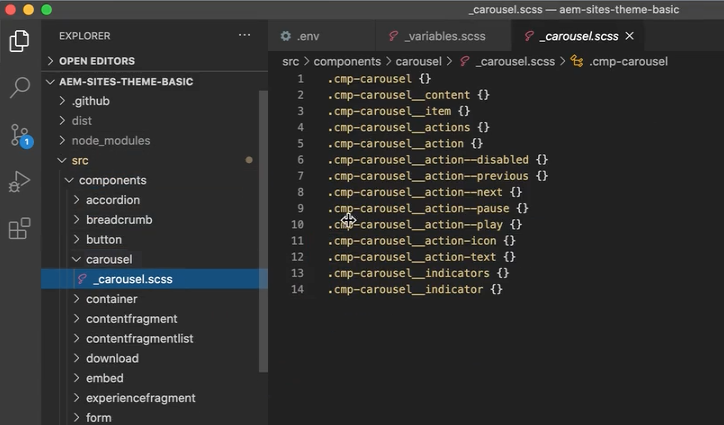
The README.md of the project gives an overview of the project structure, which is very standard.
-
src/main.ts: This is the main entry point of the JS & CSS theme. -
src/site: Files that are generic to the entire site -
src/components: Files that are specific to components -
src/resources: Associated files, like icons, logos, fonts
As a simple example, let's say that the Front-End Developer needs to apply a pink color to the theme.
-
Simply edit the
variables.scssfile and change thecolor-backgroundvariable topinkor your favorite color. -
Save the changes. By saving the change, the project rebuilds the sources automatically as visible in the console output.
-
Reload the site preview and see that the new change is applied.

Using this preview tool, the Front-End Developer can create customizations based on real AEM content created by the Site Authors without affecting the production instance.
Additionally, the project makes it even easier to make the necessary changes by including for example the components and their CSS selectors.
The Front-End Developer can now continue to make whatever styling changes necessary and preview them using the local proxy until the customization is complete.
Once the customization is complete, the Front-End Developer can commit the changes to git.
Note
Because the steps to commit to a GitHub repository is standard procedure for any development project and not unique to AEM, they will only be outlined here.
-
Create a commit and push to GitHub.

-
Now the changes are visible in the GitHub repository.
Now that the customization changes are complete and safely committed to GitHub, the Front-End Developer can deploy the changes to AEM.
To do this the developer needs to connect GitHub to AEM using a GitHub action. In order to keep this connection secure, the developer needs to provide some secrets within GitHub to define the connection.
-
In the repository, go to Settings -> Secrets and tap or click New Secret and provide the following secrets:
URL=<site URL>AEM_USER=<username>AEM_PASS=<password>SITE=<site name>
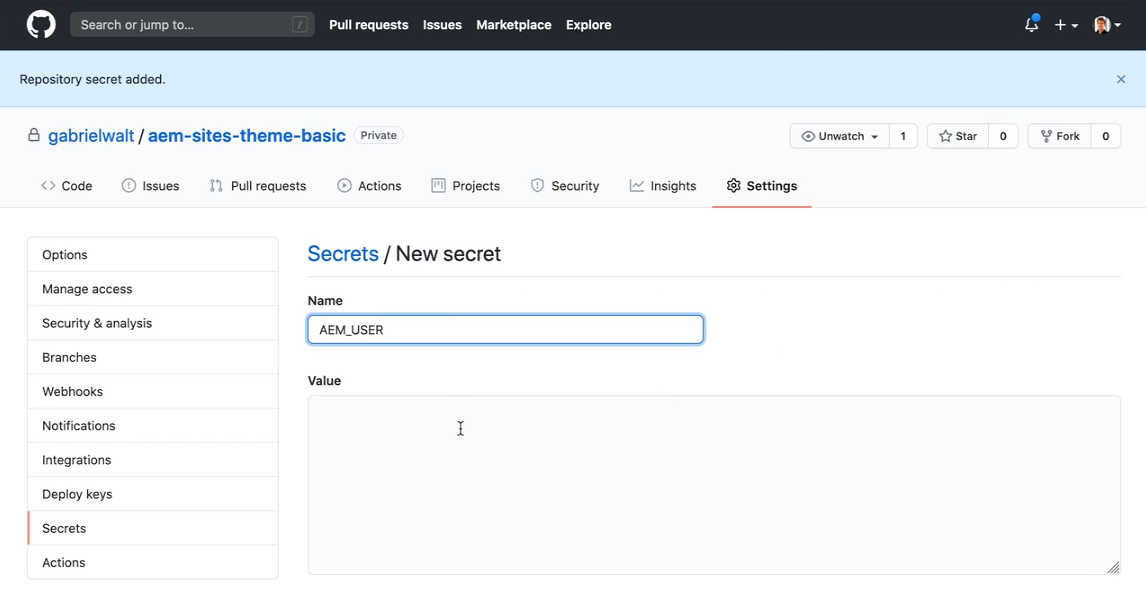
[!NOTE]
The user here is specifically for deploying to AEM and is different from the preview user used in the local project.
-
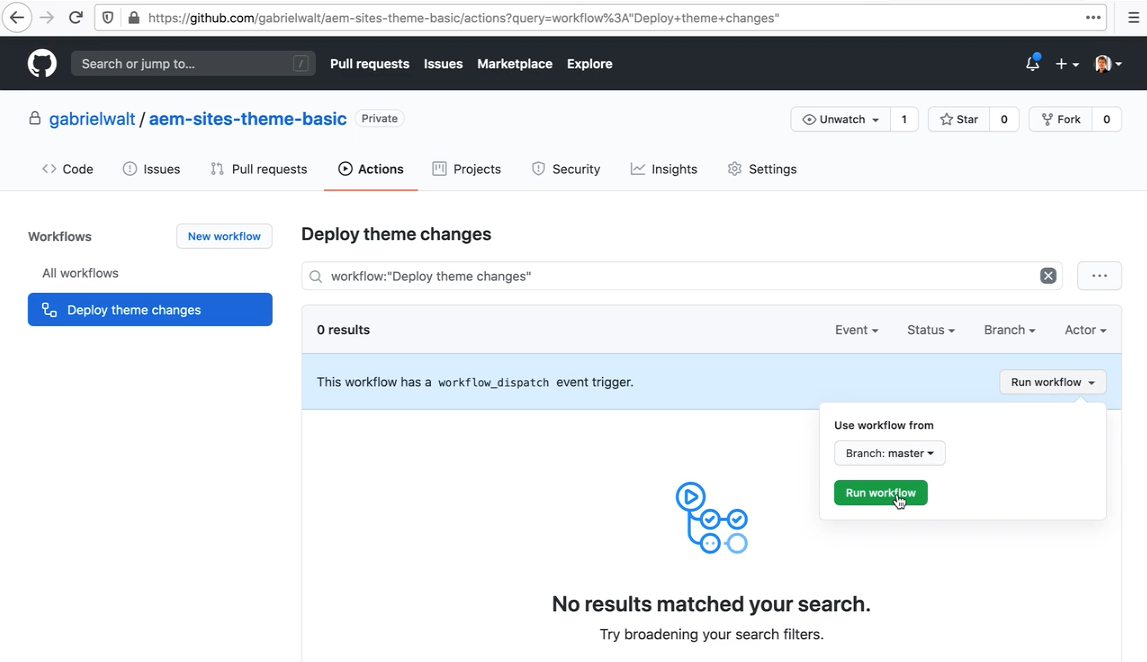
As part of the project, a GitHub action is included. In the repository, go to Actions tab, select the Deploy theme changes workflow, and click Run workflow.
-
Select the branch to deploy (by default
masteris selected). -
Click Run workflow.
The workflow uses the deploy credentials provided to connect to the AEM instance and push the changes to AEM. It will take a few moments for GitHub to build (and test is tests are included) and deploy to AEM. You can view the status of the workflow on the Actions tab.
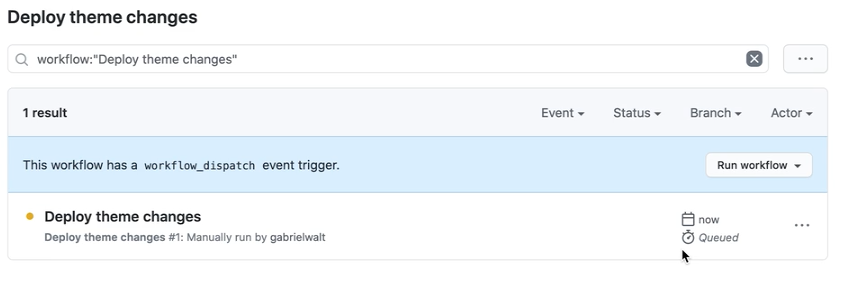
Once the workflow completes, the changes are available on the AEM author instance.
The AEM Administrator can now sign into the author environment and preview the changes that the Front-End Developer pushed using the GitHub action.
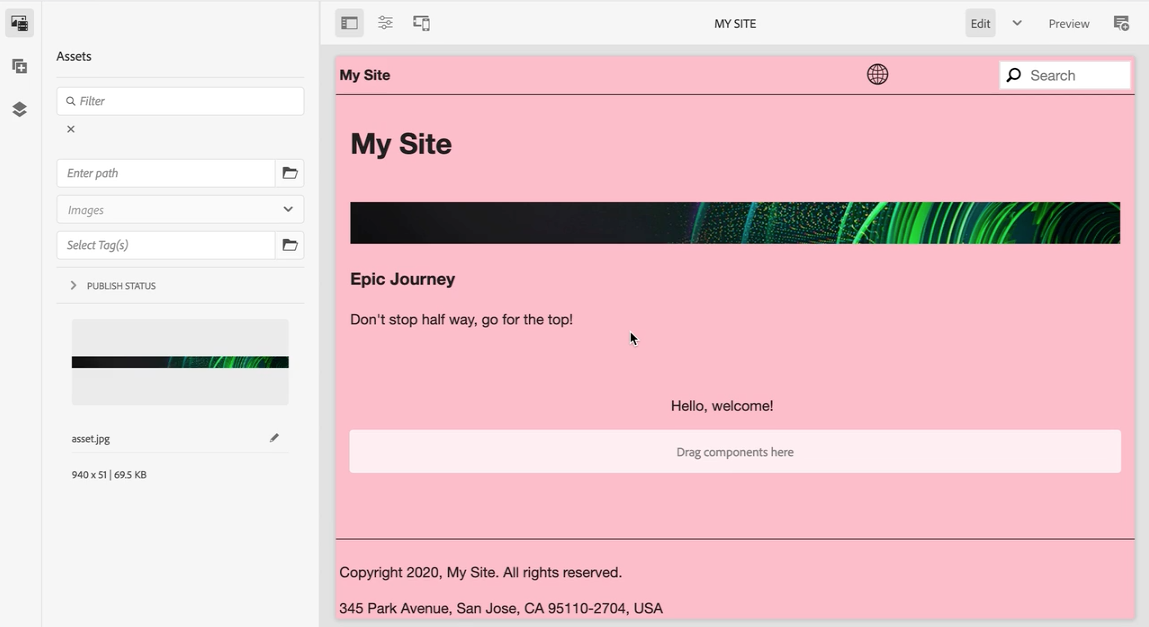
In our simple example, the pink background is now visible.
It is the discretion of the AEM Administrator (or those with publish rights) to determine if the changes are acceptable and to publish them to the publish instance. Only when the site is published are the changes visible on your public site.
In this way, the AEM Administrator maintains control of what changes made by the Front-End Developer is published.