L7 : Send Custom Data : Mbox Parameters - adobe-target/mobile-lab GitHub Wiki
Step 1: What are mbox parameters and when to use them
Target becomes more powerful when you send custom data about your users. As a real time decisioning engine, you can optimize and personalize the content based on real time behavior inside your app. Here are some common examples
- A banking app that wants to show credit card offers if the user goes to a particular screen
- A retail app that wants to tell their users about free shipping if the cart total is above $100
Some of these data points are temporal and might be applicable only during the current visit or the session. You can send these custom data points in your Target call as Mbox parameters
Step 2: Add some mbox parameters to the target call.
2a. Go to MboxParamsViewController.m
2b. On line #38, replace the a1 in the target location with your unique user number. eg: If you number is k1, change it to k1-mobile-mboxparams.
2c. mboxParamaters should be passed as a dictionary to the Target call. On line #33 and #34, there are two key-value pairs (@"business", @"currentCategory", @"yes", @"isloggedin") in the dictionary named targetParams. This dictionary is passed along with the target call. Feel free to add any additional key-value pairs to that dictionary.

2d. This step is just to verify and understand how the mbox parameters are attached to the Target call. Build the app and open the open the debug console(⇧ ⌘ Y (Shift + Command + Y)) if it is not already open. In your app, go to Customdata > mbox parameters. In the debug console you will see a call to Target like this

Step 3: Build your audience
3a. Go to the audiences tab in the Target UI
3b. We are going to build audiences using the mbox parameters that you just set. Click the Create Audience button, give a name for your audience and select 'Custom'
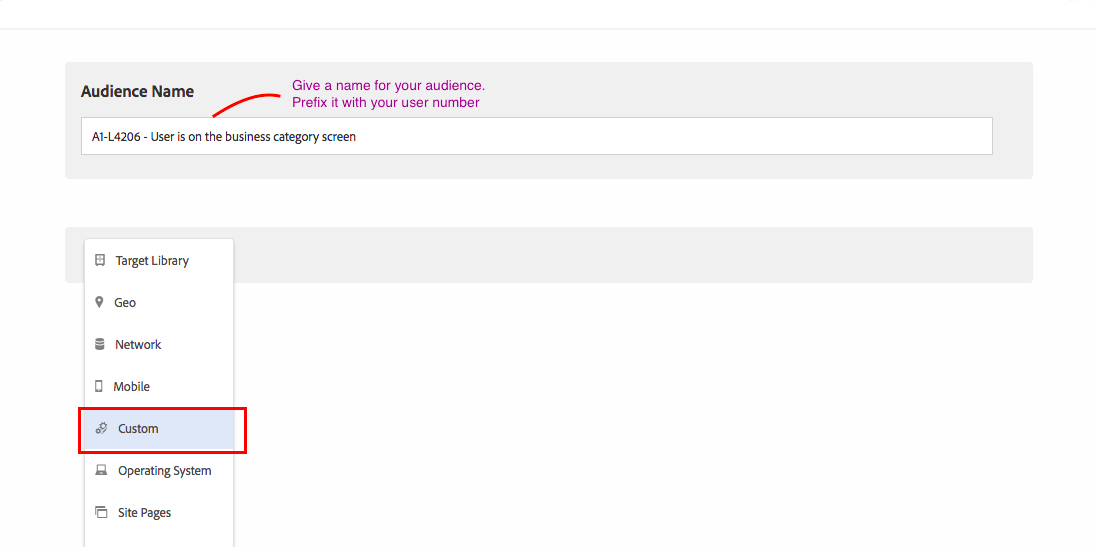
3c. Click 'Add Rule' and select
- Your mbox name (eg: k7-mobile-mboxparams)
- Your mbox parameter name (eg: currentCategory)
- Operator (In this case, "equals")
- Value (Eg: business or fashion). This should match what you sent in the app if you want to qualify for this audience.
A couple of examples


Step 4: Create an AB test and add this audience
Let's create an AB test and add this audience in the step 2 of the creation workflow. Refer to L3 if you want a step by step guidance.
Create - Select the mbox and for your experiences, select 'HTML offer' and add these two URLs
- Experience A : https://dummyimage.com/375x100/F7DC6F/fff.png&text=fashion-A
- Experience B : https://dummyimage.com/375x100/EB984E/fff.png&text=fashion-B
Target - Add the audience you just created.
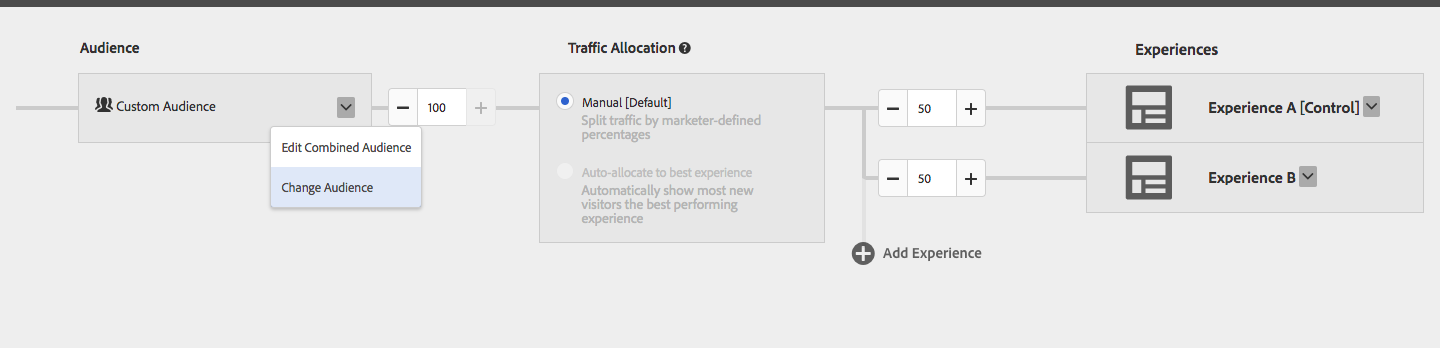
Goal & Settings - Select Adobe Target as a reporting source and select a random metric.
Step 5 : Build the app and view your experience
Build the app, go to custom data > mbox parameters. Did you see what you expected? If you set qualified for that audience, you should now be in the A/B test and see one of the two experiences.
Step 6 : Bonus step : Add a life cycle metric based audience to your activity.
Did you notice all the lifecycle parameters in the Target call. You can use any of those to build your audience. Some examples
- a.Launches - How many times has the user launched the app
- a.OSVersion - What version of iOS is the user currently on. You can use this if you want to show content to users on certain older versions.
- a.HourOfDay, a.DayOfWeek - If you want to show an experience only during certain hours of the day.
Try creating an audience based on a.DayOfWeek (Sunday is 1, Monday is 2 and so on) and qualify yourself. You can add this audience to the test you just created.