L5 : Create an Experience Targeting (XT) activity - adobe-target/mobile-lab-emea GitHub Wiki
| Level | Beginner |
|---|---|
| Time | 10 mins |
Experience Targeting (XT) is valuable for defining rules that target a specific experience or content to a particular audience. Several rules can be defined in an activity to deliver different content variations to different audiences.
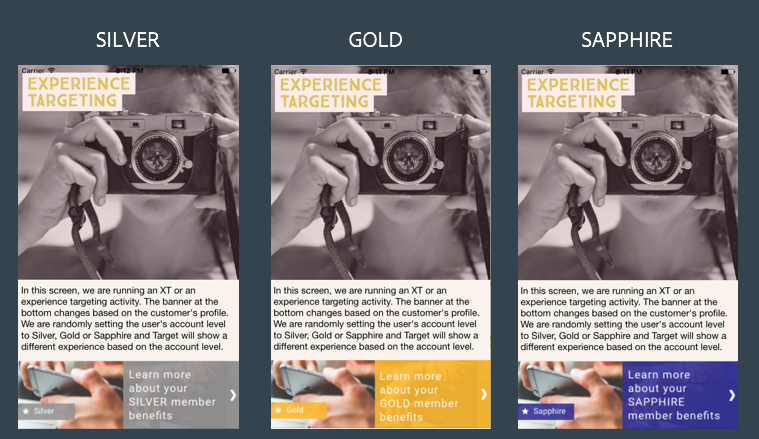
Imagine you have a travel app where your users can be in one of the three membership levels - Silver, Gold and Sapphire. We will now create an XT activity to show different experiences to users in different member levels.
Step 1 : Create your Target location for this activity
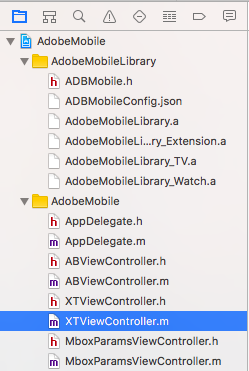
1a. Open Xcode and navigate to XTViewController.m. The next few steps are similar to what you did for the AB activity creation.
1b. Scroll down to the method with the name - (void)XTActivity. The code to create a Target Location is already in place. This snippet makes a call to the Target server and gets the content for that particular location. **All you have to do is uncomment. **
- Go to line #29 and delete "/*".
- Go to line #53 and delete "*/".
After you delete line #29 and #53, your method should look like this
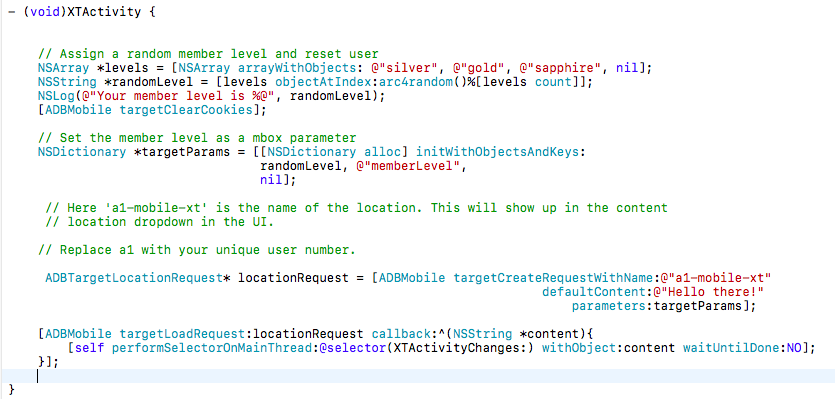
1c. Here a1-mobile-xt is the name of the target location. Replace a1 with your unique user number. Use the same user number you used for the AB activity.

Step 2 : Create your XT Activity in the UI.
2a. Go to the Target UI.
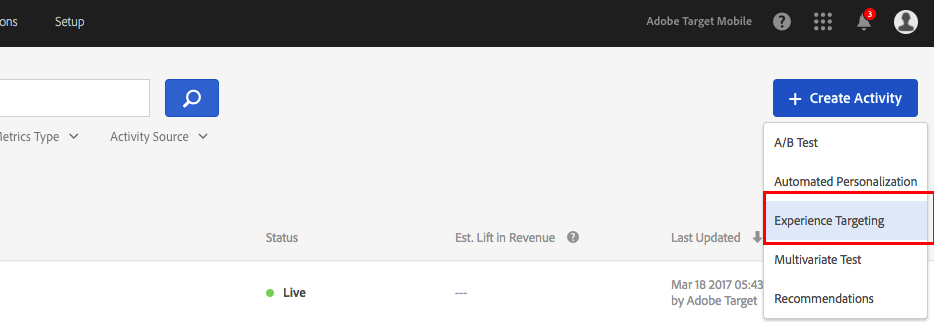
2b. Click the blue 'Create Activity' button and then select Experience Targeting.
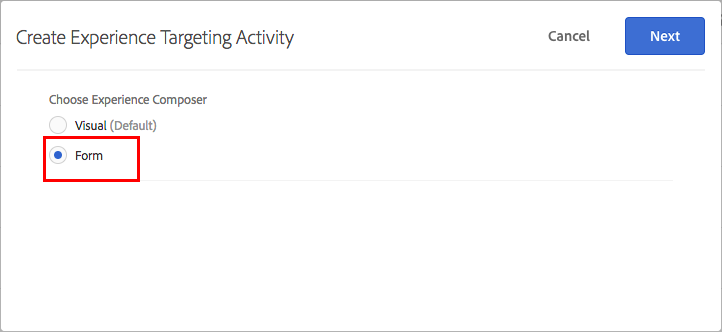
2c. Select the 'Form' option and click Next.
2d. Rename your activity. Prefix your activity with your user number followed by TL19. (Eg: K7-TL19 XT). Select or type your location (eg: k7-mobile-xt) in the box. If your location isn't showing up in the dropdown, that is alright.
![]() Since all the participants are sharing the same account, it is very important to add the prefix (Eg: K7-TL19) to all your activities
Since all the participants are sharing the same account, it is very important to add the prefix (Eg: K7-TL19) to all your activities
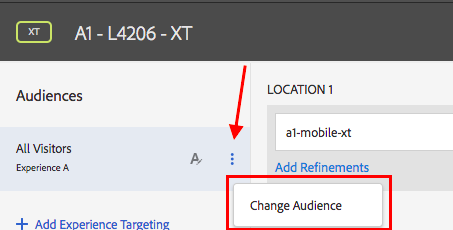
2e. Click on the three small dots and select 'Change Audience'. This will open the Audience library
2f. In the audience library, type 'silver' in the search box. Select the 'TL-19 - Silver Member' audience and click 'Save'.

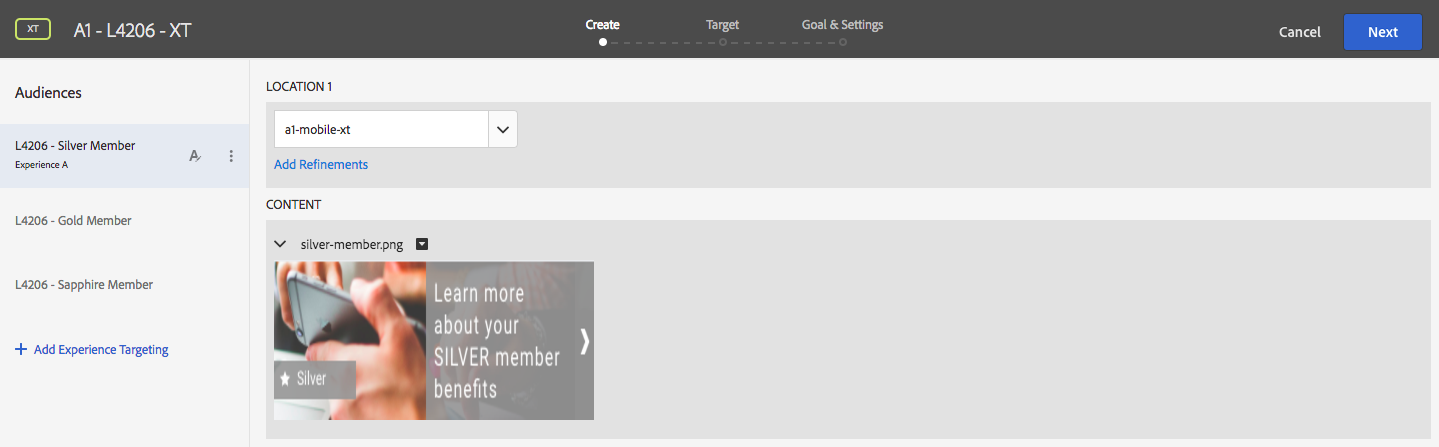
2g. Click the small arrow after 'Default Content' and select 'Change Image Offer'. This will open the Offer Library.
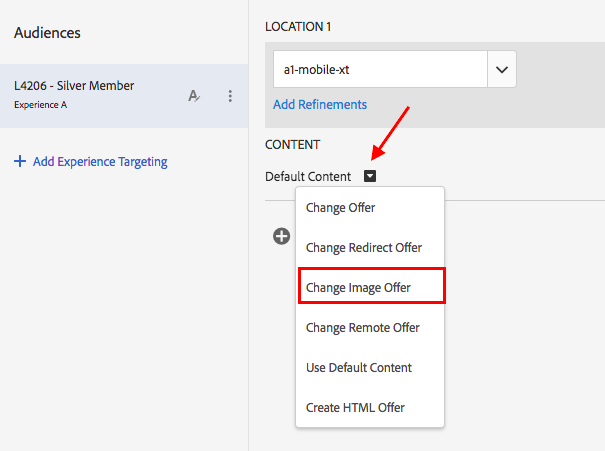
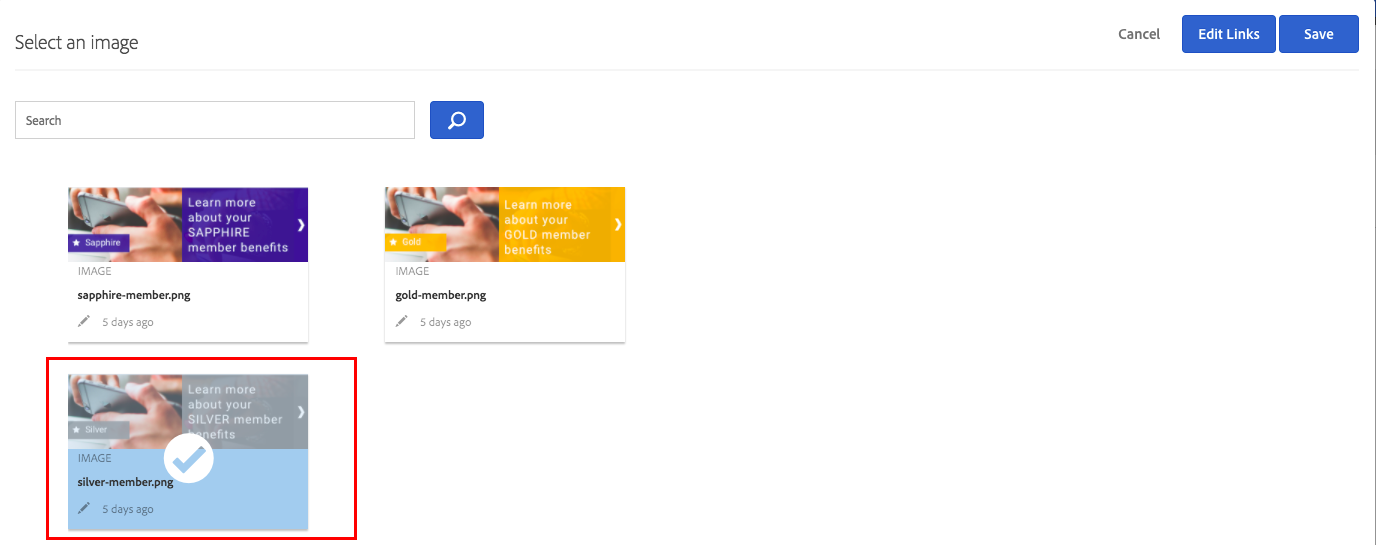
2g1. Select the silver member offer from the library
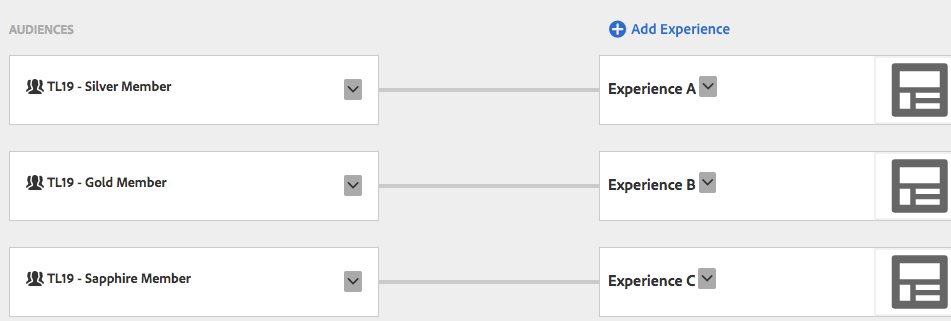
2h. Click on 'Add Experience Targeting', repeat the previous 2 steps and similarly add your Gold and Sapphire audiences and image offers. After you complete this step, your screen should look like this
2i. Click on 'Next' and you will be taken to the 'Target' step of the workflow. Your screen should look like this.
2j. Click 'Next' to go to the Goal & Settings screen. On this screen, select 'Adobe Target' as your reporting source.
Select Viewed an mbox > conversion > order-complete
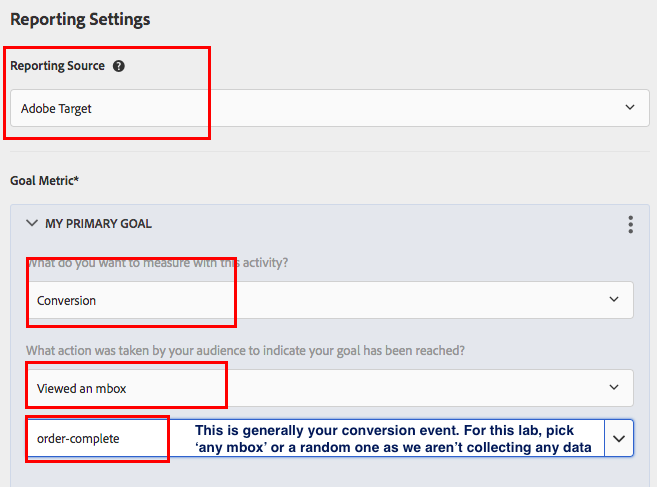
In this lab exercise, we are using Target as a reporting source. You also have the option to use Analytics as a reporting source and choose one of your analytics metrics as your goal. We won't be doing that in this lab.
2k. Click on 'Next', wait a few seconds for the activity to sync. Then click 'Activate'

Step 3: Verify your Experience Targeting Activity
3a. Go to Xcode and press the play button.
3b. Target will now randomly assign you into one of the three member experiences. Tada! You've successfully created your experience targeting activity. This demo app randomizes your member level. So you might see a different experience when you come back.
Also note that the image can be shown with a small delay. I it does not show right away, try switching between two screens. Of course, in a real app you would have mechanisms build in that prevent flickering from happening, but that is out of scope of this exercise.