L3 : Create your first AB test - adobe-target/mobile-lab-emea GitHub Wiki
| Level | Beginner |
|---|---|
| Time | 15 mins |
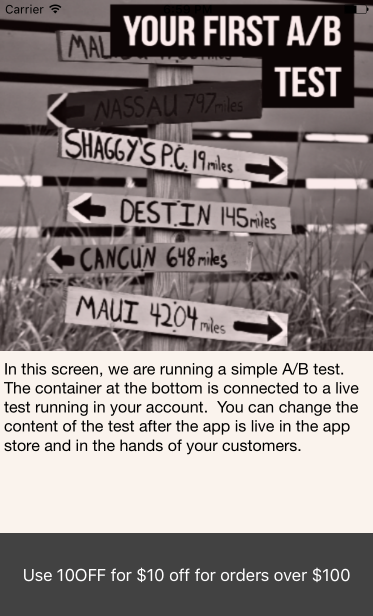
Now that you have a good understanding of how Target works, let's go ahead and create our first A/B test.
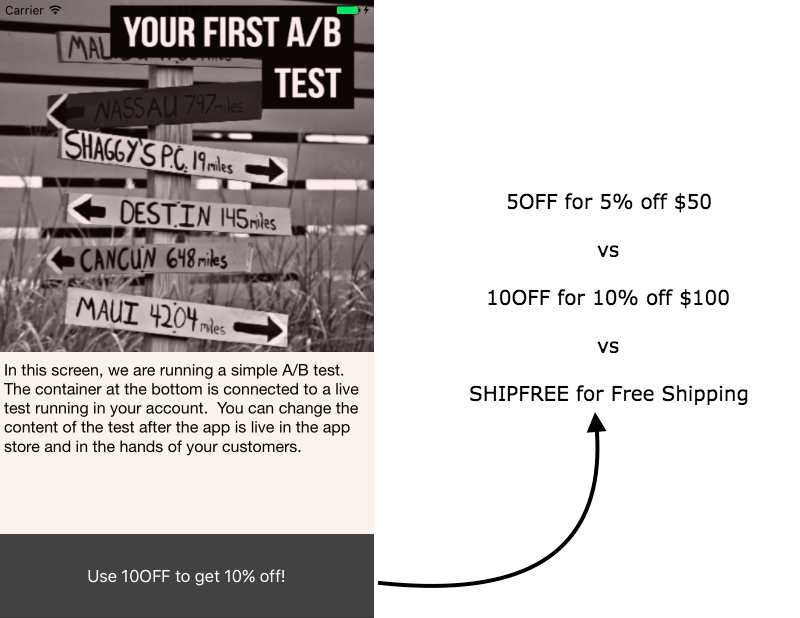
We are going to create a test where we will show 3 different coupon codes and see which one results in a higher conversion rate.
Step 1 : Your unique user number
Make sure you know your unique user number. Your unique user number is on the paper on your work station. If you don't have one, please inform the instructor or one of the teaching assistance.
Step 2 : Create your Target location
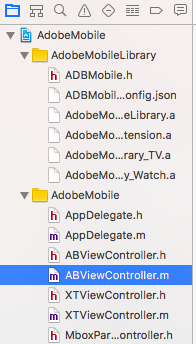
2a. Open Xcode and navigate to ABViewController.m
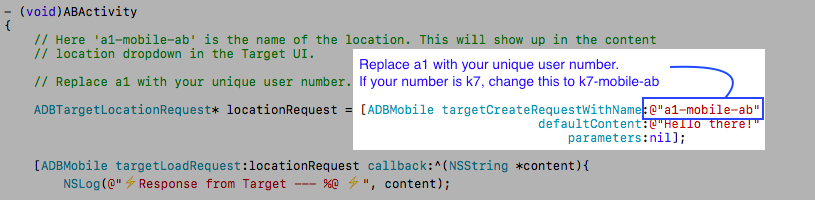
2b. Scroll down to the method with the name - (void)ABActivity. The code to create a Target Location is already in place. This snippet makes a call to the Target server and gets the content for that particular location. All you have to do is uncomment the code.
- Go to line #28 and delete "/*".
- Go to line #47 and delete "*/".
After you delete line #28 and #47, your method should look like this
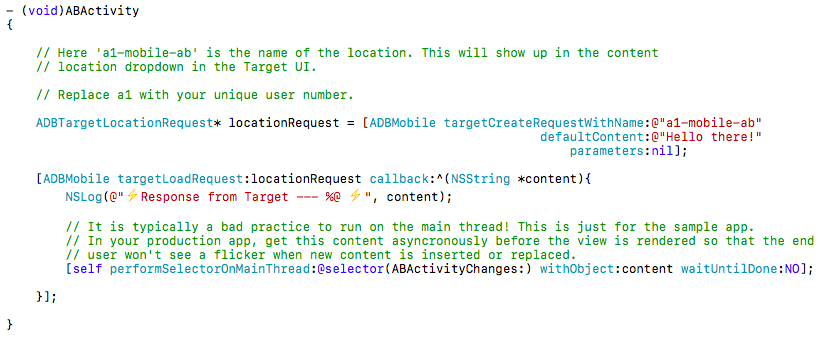
2c. Here a1-mobile-ab is the name of the target location. Replace a1 with your unique user number.
2d. Hit Cmd + S to save the file.
Step 3 : Create your A/B test in the Target UI
3a. Go to the Target UI.
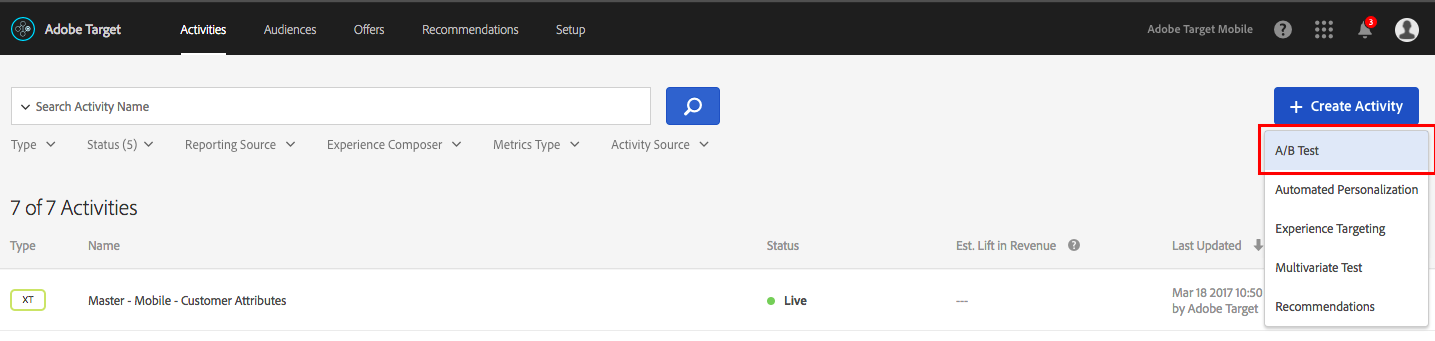
3b. Click the blue 'Create Activity' button and then select A/B Test
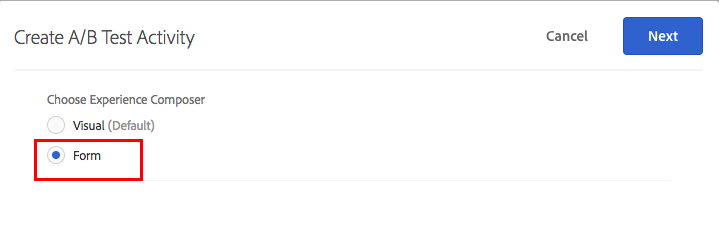
3c. Select the 'Form' option and click Next
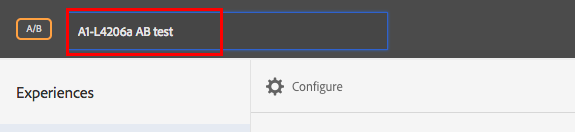
3d. Rename your activity. Prefix your activity with your user number followed by TL19. (Eg: K7-TL19 AB Test).
![]() Since all the participants are sharing the same account, it is very important to add the prefix (Eg: K7-TL19) to all your activities
Since all the participants are sharing the same account, it is very important to add the prefix (Eg: K7-TL19) to all your activities
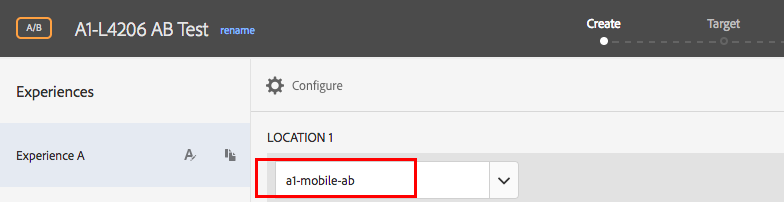
3e. Select or type your location in the box. If your location isn't showing up in the dropdown, that is alright.
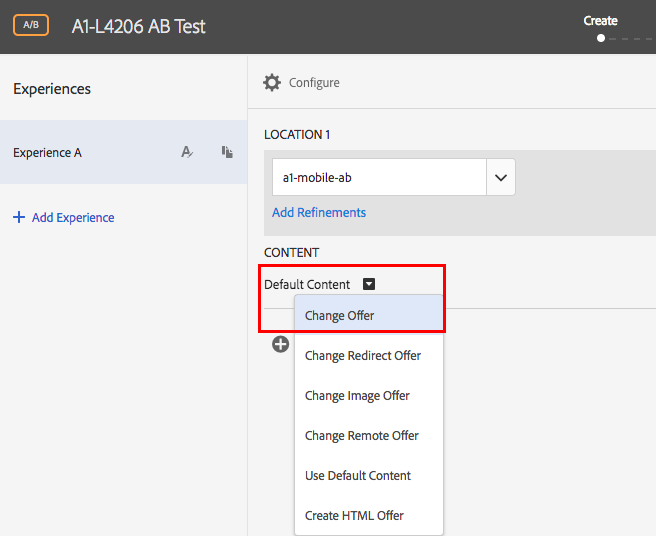
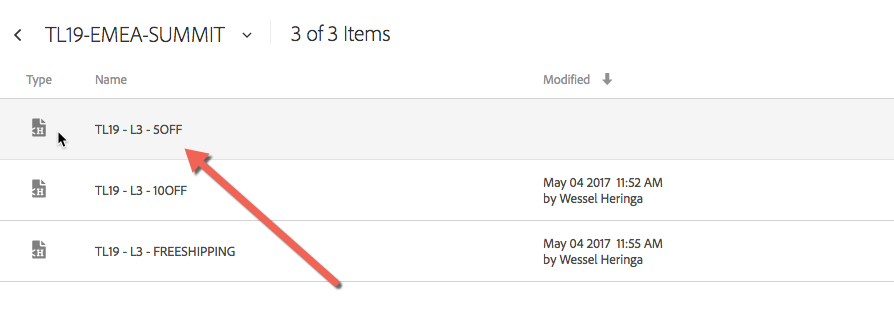
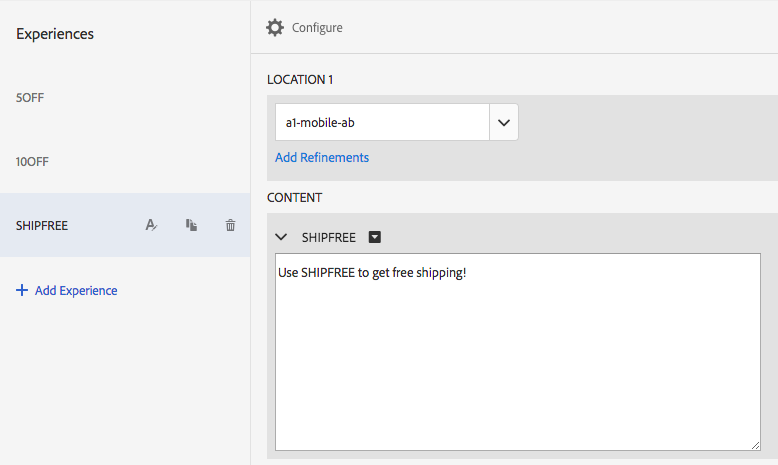
3f. Click on the small arrow after 'Default Content' and select 'Change Offer'. This will open a dialog. Select the folder "TL19-EMEA-SUMMIT" and select the "TL-19-L3-5OFF" offer.

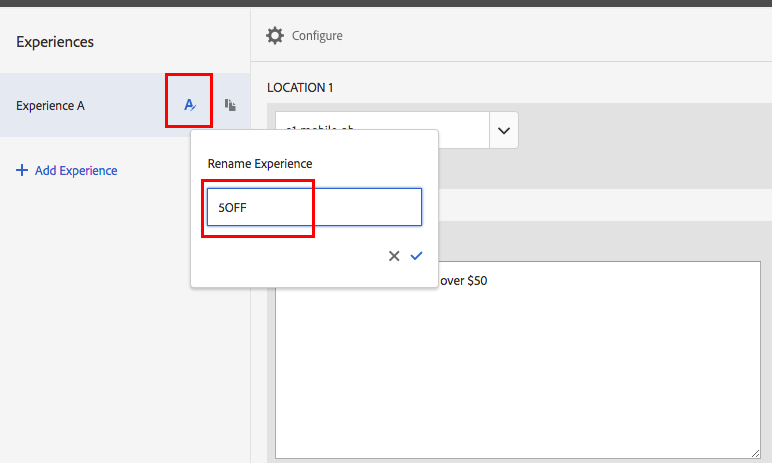
3g. Give a meaningful name for this experience (eg: 5OFF) so that it is easy to review.
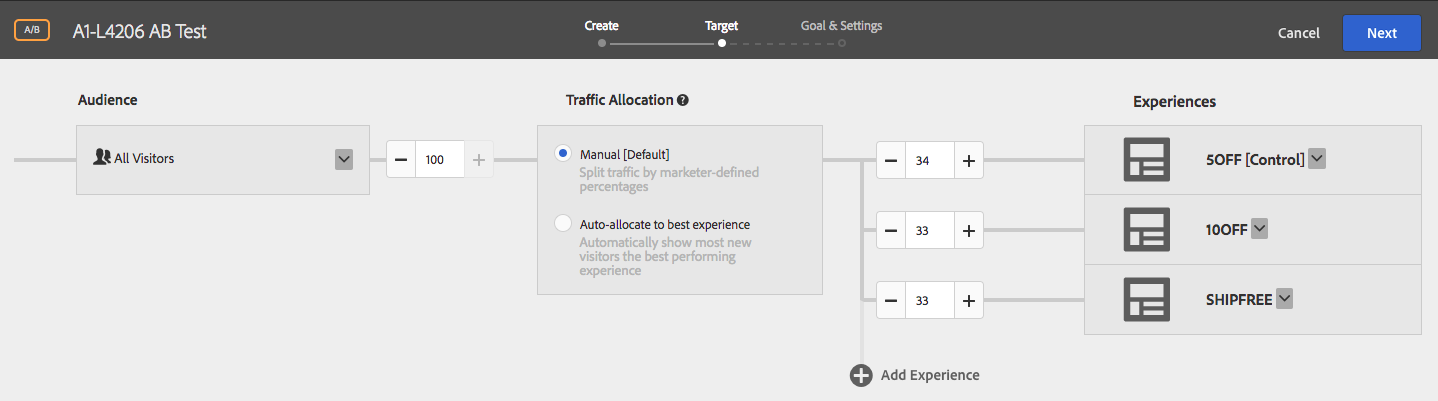
3h. Click on 'Add Experience' and repeat steps 3f and 3g to add your 10FF and SHIPFREE experiences. After you complete this step, your screen should look like this
3i. Click 'Next' and review your test setup.
3j. Click 'Next' to go to the Goal & Settings screen. On this screen, select 'Adobe Target' as your reporting source.
Select Viewed an mbox > conversion > order-complete
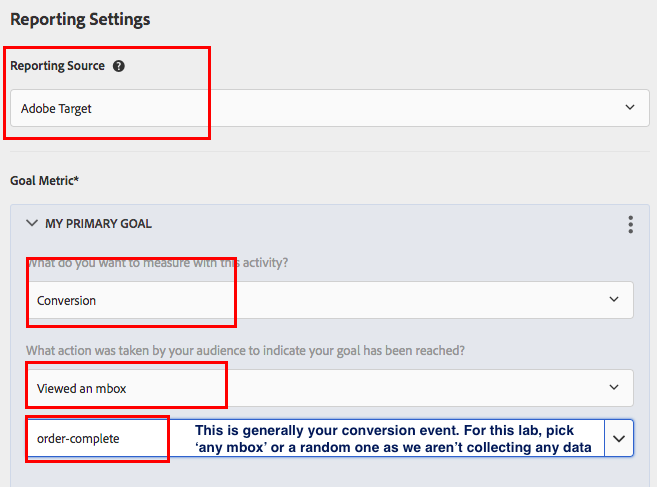
In this lab exercise, we are using Target as a reporting source. You also have the option to use Analytics as a reporting source and choose one of your analytics metrics as your goal. We won't be doing that in this lab.
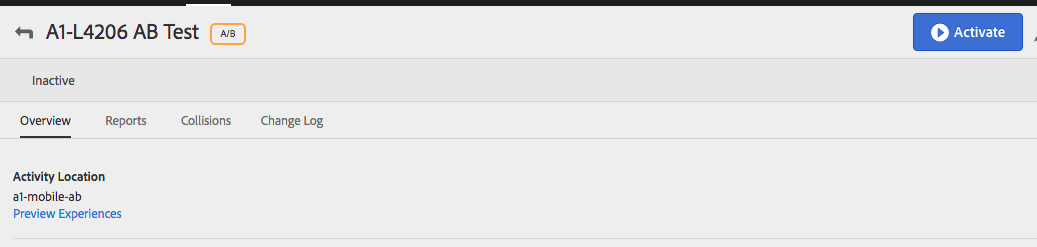
3l. Click 'Save' and wait a few seconds for the activity to sync. Once it syncs, click on Activate
Step 4 : Verify your AB Test
4a. Go to Xcode and press the play button.
4b. Target will now randomly assign you into one of the three test experiences. Tada! You've successfully created your first AB test. I got the 10OFF coupon. What did you get?