A2. Download and Run the React app - adobe-target/clientside GitHub Wiki
In this exercise, we will download a sample React.js application. We will then deploy AT.js, Target's client side library, on this sample React application using Adobe Launch and personalize content using Target Activities.
STEP 1: Download the App
- Open https://github.com/adobe-target/clientside/tree/summit-2018 in a new tab
- Download the archived application using the following steps (see screenshot for assistance)
- Click on
Clone or Download - Select
Download ZIP. This will download a fileclientside-summit-2018.zip. - Remember the location where you downloaded the file. If you have not changed the location, it should be available in Downloads
- Click on
- Double click on clientside-summit-2018.zip, the file that was downloaded. This will extract into a folder
clientside-summit-2018.
STEP 2: Open the App in Brackets
Open Brackets and import the app folder into Brackets by following these steps:
- Open Brackets using the dock icon
- Go to
Fileand thenOpen Folder - Select the folder
clientside-summit-2018that you extracted in Step 1. Click on Open.
After you import clientside-summit-2018 into Brackets, your editor should look like this.
STEP 3: Run the App
We will run the React application using Terminal.
-
Click on the search icon on the top right corner of your screen. This will open spotlight search.

-
Type 'terminal' in the search box and open the 'Terminal' application.
-
Type
cd ~/Downloads/clientside-summit-2018to go to the folder that you just downloaded. -
Type
lsto list the files and make sure you are inside the right folder.
Start the React Application
- In the terminal type
npm run startand press enter. - The React app will launch with
Compiled Successfullymessage as shown below.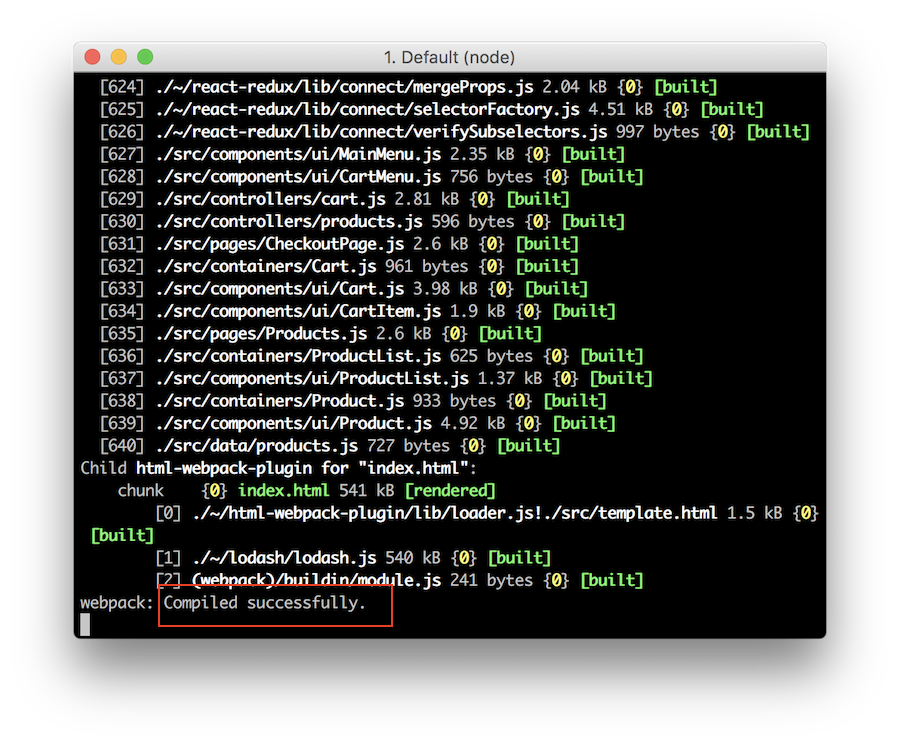
If you are seeing any errors, please notify the instructor or a teaching assistant.
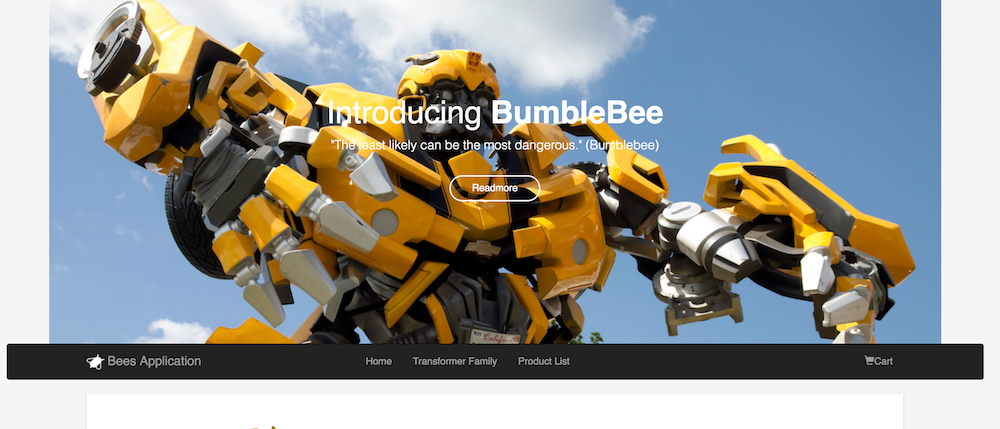
Open http://localhost:3000/ in a new tab and you should see the React App running in your browser
Step 4: Organize your windows and tabs
You will be switching between three different windows during this lab. Here is a recommended approach but feel free to organize your windows based on what you find convenient.
- Window 1: Your browser with following tabs.
- Tab 1: This wiki which contains your lab workbook.
- Tab 2: The Target Application window
- Tab 3: The React App that you just opened in your browser.
- Window 2: Brackets Editor
- Window 3: Terminal
Spend a minute or two on getting your windows organized and this will be very helpful for the rest of the lab.