DevOps Filling In Octane Analysis (Ex 3) - admpresales/oscillating GitHub Wiki
Goal
Fill out the analysis screen with multiple committers and Quality/Application Module coverage
Steps you will need to perform to accomplish this task
- Assign the rest of the automated tests to the Quality Module
- Set the committer's name, modify the dummyFile and commit the code. DO NOT PUSH IT
- Push the project and then run the pipeline
- Explore what you have built
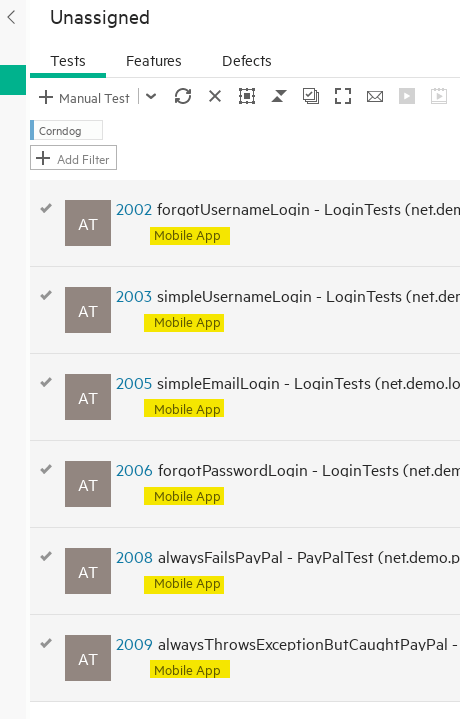
1. Assign the rest of the automated tests to the Quality Module
Go to the Unassigned tests and filter based on the pipeline "Corndog" and then assign all the tests to "Application Mobile Store->Mobile App". You do not need to create a rule if you do not wish to. It is your choice.
2. Set the committer's name, modify the dummyFile and commit the code. 🛑DO NOT PUSH IT
- In this section, it will be repetitive but very easy if you follow the directions. In your project, you will see a file under net.demo called "dummyFile".
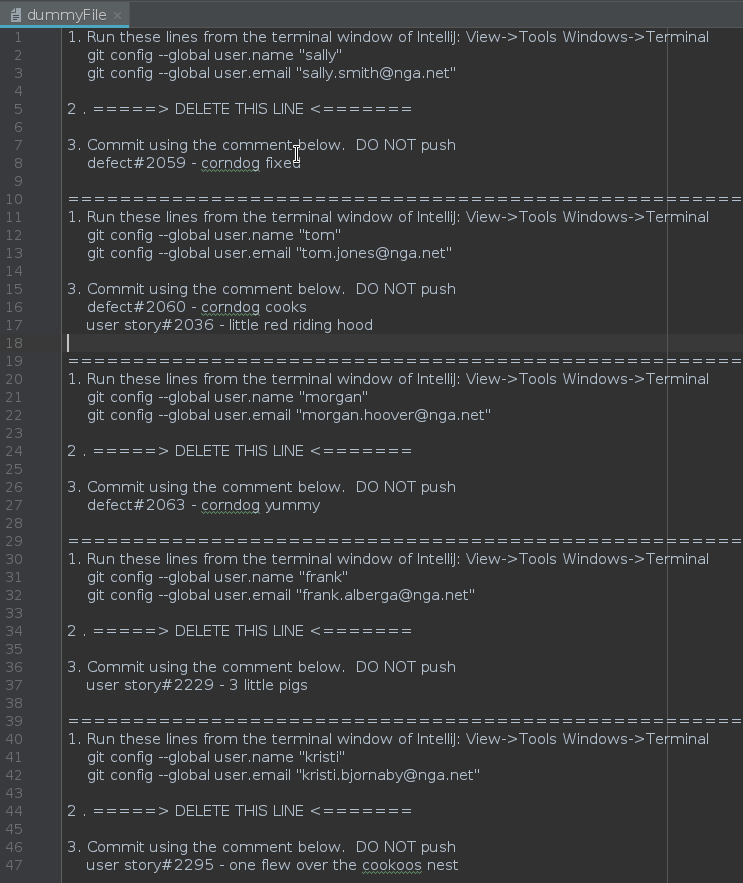
The instructions are in the file. Just be sure to open the IntelliJ terminal window to execute the "git config" commands similar to those below.
git config --global user.name "sally"
git config --global user.email "[email protected]"
You can copy then paste between the dummyFile and the terminal window. Delete the line that is noted in the dummyFile Copy the defect and user story, Commit (🛑DO NOT PUSH)the code and paste the defect/user story in the Commit Message
- Open the "UnstableTest" class and add the following comment anywhere you wish.
Prontopuffs are found at the Minnesota State Fair
Commit these changes and now Push the changes to the GitRepo in the devops container.
-
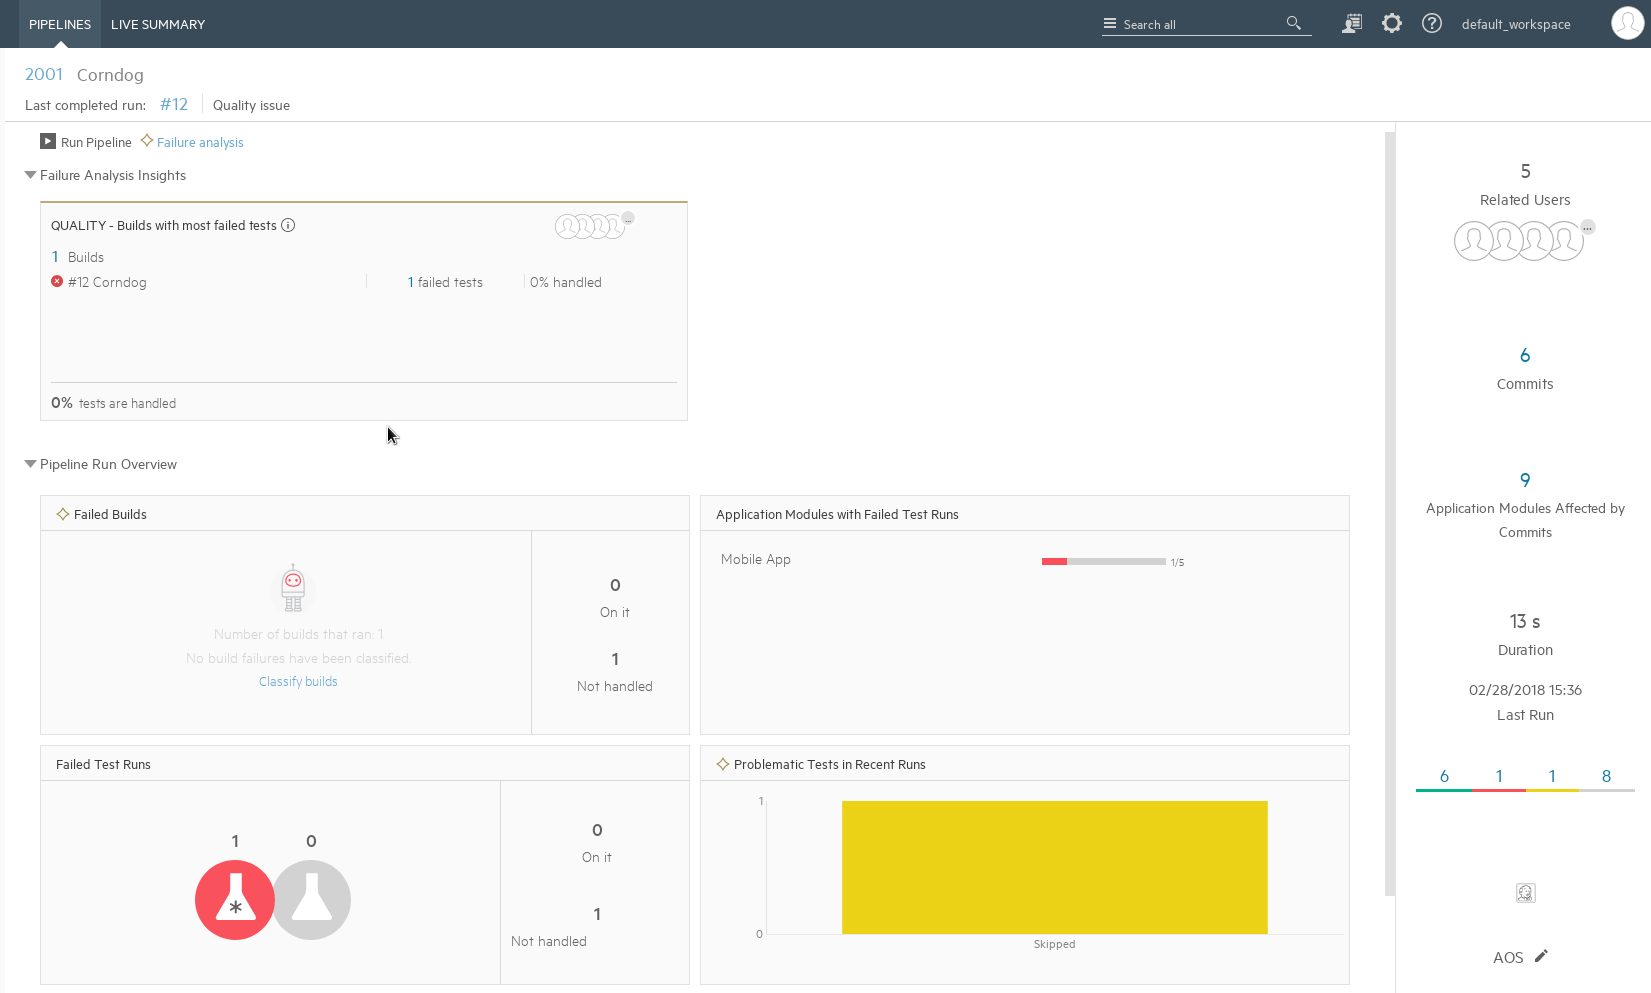
Run the Corndog pipleline. You should now have a screen similar to this
-
Explore what you have built
-
Click on the number above the Commits to see all the commits, who made them, what are they related (stories/defects/source code/tests)
-
From the above page, look at the Application modules
-
From the page above, select "Failure analysis" and classify the failed build.

-
Take a look at how this changes the view by going back to the pipeline view

-
Go take a look at the stack trace of the alwaysThrowsExceptionPayPal and alwaysFailsPayPal tests. Take a look a the LeanFT report when you are looking at the stack trace of the alwaysFailsPayPal test.
-
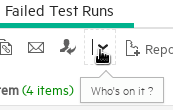
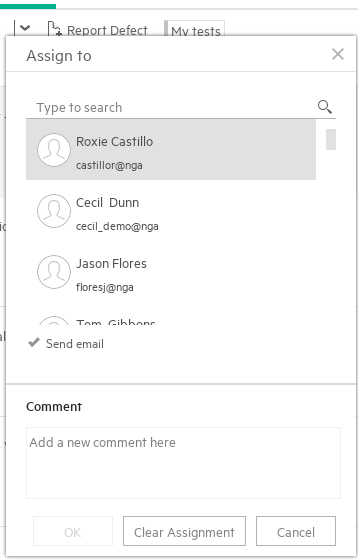
Go ahead say "I am on it"

- Or say "Who's on it"