Home - adam-gaynor/RPiFaceRecognition GitHub Wiki
Raspberry Pi Facial Recognition Software
What does this Accomplish?
This program is capable of detecting faces in live video through the utilization of a haar cascade XML face profile and several advanced OpenCV 3.0 functions. It works at any distance and can even detect multiple faces, hard-coded to 5 faces, at the same time.
Modules Used
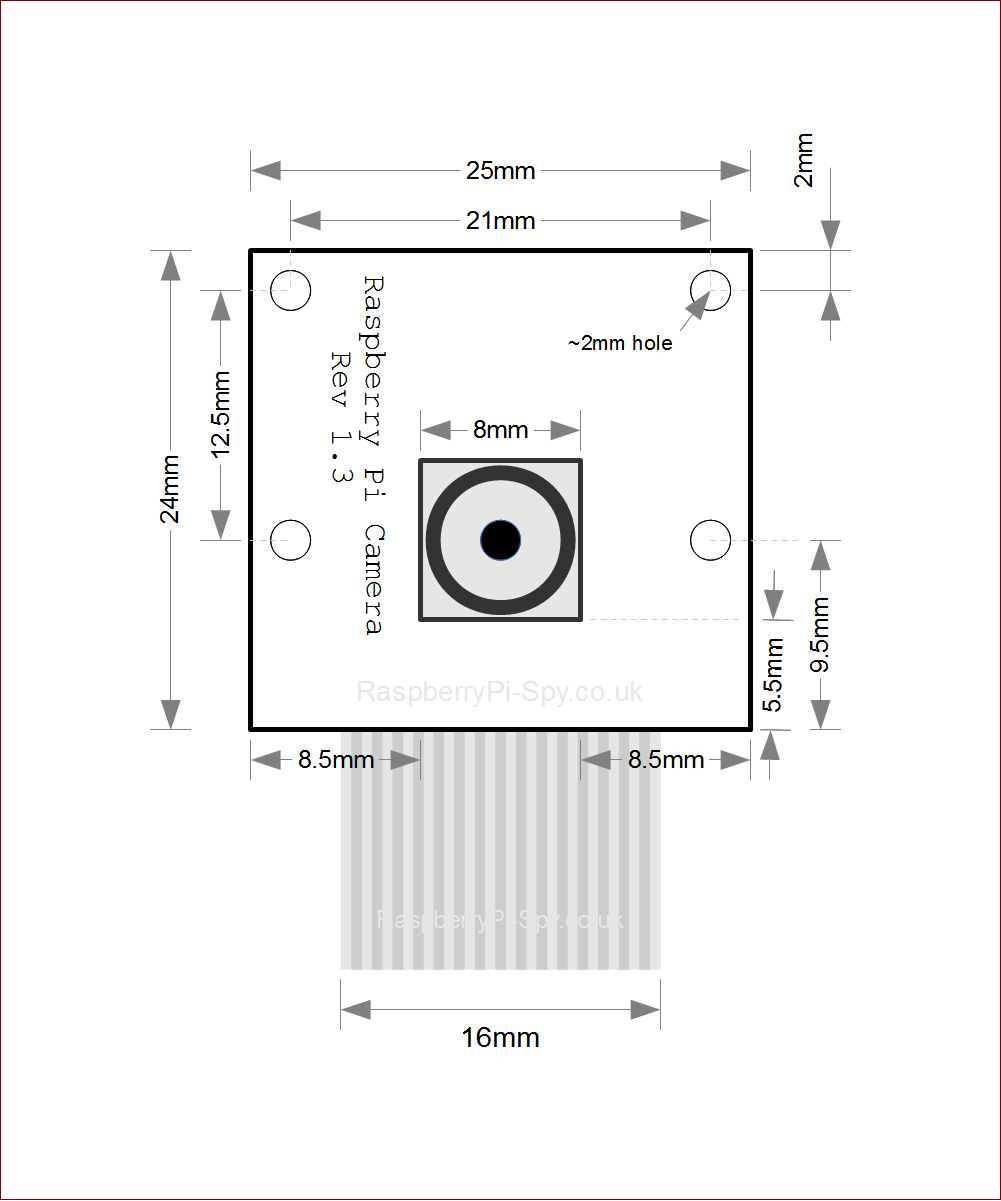
Technical Specifications for the Raspberry Pi 2 and NoIR camera. Obtained from (3) and (4)
The Raspberry Pi 2
.jpg)
- Broadcom BCM2836 Arm7 Quad Core Processor powered Single Board Computer running at 900MHz
- 1GB RAM
- 40pin extended GPIO
- 4 x USB 2 ports
- 4 pole Stereo output and Composite video port
- Full-size HDMI
- CSI camera port for connecting the Raspberry Pi camera
- DSI display port for connecting the Raspberry Pi touch screen display
- Micro-SD port for loading your operating system and storing data
- Micro-USB power source
Pi Noir Camera
- Omnivision 5647 sensor in a fixed-focus module without IR filter
- 5 megapixel
- 2592×1944 stills
- 1080p at 30 frames per second
- 720p at 60 frames per second
- 640x480p at 60/90 frames per second
- CSi interface with 150mm ribbon cable
- Weighs 2.4g (3.4g with ribbon cable)
Cost Breakdown
- Raspberry Pi 2 $39.95
- Raspberry Pi Noir Camera board $29.95
- Total $69.90
How it All Works
Cascade Classifier XML File
This file came with the OpenCV library. It is supplied to the CascadeClassifier() method to "tell" it what to search for. In this case it searches for faces with a frontal view. Faces with a left/right/back side view could be searched for on a more powerful computer as well but this would require more looping and if statements and is beyond the processing power of the Raspberry Pi.
Face Detector Class
The facedetector.py class handles the detection of faces in a still image. It accepts a faceCascadePath which is a string indicating the file path to where the Cascade Classifier XML file resides. The detect() method accepts an image in Blue, Green, Red color array format, a scale factor variable, as well as a variable for the number of faces to detect in the image and a minimum size for all of the faces. When this data is input, the detect class returns a rectangle bounding box that OpenCV creates by drawing boundaries around the face in the image.
[1]class FaceDetector:
[2]    def _init_(self, faceCascadePath):
[3]       self.faceCascade = cv2.CascadeClassifier(faceCascadePath)
[4]    def detect(self, image, scaleFactor = 1.1, minNeighbors = 5, minSize(30,30)):
[5]        rects = self.faceCascade.detectMultiScale(image, scaleFactor = scaleFactor,
[6]                                                  minNeighbors = minNeighbors, minSize = minSize,
[7]                                                  flags = cv2.CASCADE_SCALE_IMAGE)
[8]        return rects
The FaceDetector class makes use of OpenCv's built in haar cascade classifiers which are pre-trained algorithms supplied by the library to recognize faces. The classifier algorithm is created by supplying a large amount of images both containing faces and not containing faces. From this set of data, features are extracted and used to characterize faces in an image. The classifier works by scanning an image from top to bottom, left to right, one pixel at a time, utilizing a sliding window. As the window moves, the classifier returns whether there is a face or no face within the image. Calling line [3], a face cascade classifier XML file is loaded into memory and utilized using the CascadeClassifier() OpenCv method. This is later used in the detect method in line [5] to draw the bounding box around any faces that exist in a given image using the detectMultiScale() OpenCV method. In line [8] this bounding box is returned.
LiveDetection Class
The LiveDetection class makes use of the FaceDetector, OpenCV, and several other libraries in order to detect human faces in a live video stream. First, the camera module is created and given time to be loaded into memory. The facedetector object is then created and loaded into memory. The camera then opens a video stream with a for loop, and processes the video frame by frame. Each frame is processed individually as a BGR (blue, green, red) array for processing by OpenCV (which accepts frames in this format). The image is then resized for easier processing and converted to grayscale (black and white) format. The bounding box is applied through the fd (face detector) object and the video frame is copied into memory for more processing. A visible rectangle is drawn around the bounding box applied by the face detector object. Finally, the visible bounding box is shown on the frame and the memory of the pi is cleared for the next frame.
[1]from facedetector import FaceDetector
[2]from picamera.array import PiRGBArray
[3]from picamera import PiCamera
[4]import imutils
[5]import cv2
[6]import time

[7]#  DEFINE CONSTANTS FOR CAMERA ON RASPBERRY PI
[8]framerate = 16
[9]camera_warmup_time = 2.5


[10]#  Set up Raspberry Pi 2 serial camera and let it warm up
[11]camera = PiCamera()
[12]camera.resolution = (640, 480)
[13]camera.framerate = framerate
[14]rawCapture = PiRGBArray(camera, size = (640, 480))
[15]time.sleep(camera_warmup_time)

[16]#  Instantiate FaceDetector object and pass it HarrCascade XML face classifier
[17]fd = FaceDetector("haarcascade_frontalface_default.xml")

[18]#  Begin Capturing frames from camera
[19]for frame in camera.capture_continuous(rawCapture, format="bgr", use_video_port=True):
    [20]image = frame.array
    [21]image = imutils.resize(image, width = 300)
    [22]gray = cv2.cvtColor(image, cv2.COLOR_BGR2GRAY)
    [23]faceRects = fd.detect(gray, scaleFactor = 1.1, minNeighbors = 5,
    [24]                      minSize = (30, 30))
    [25]frameClone = image.copy()
    [26]for(fX, fY, fW, fH) in faceRects:
    [27]    cv2.rectangle(frameClone, (fX, fY), (fX + fW, fY + fH),
    [28]                 (0, 255, 0), 2)

    [29]cv2.imshow("Face", frameClone)
    [30]if cv2.waitKey(1) & 0xFF == ord("q"):
    [31]       break

    [32]rawCapture.truncate(0)
Lines 1-6 handle importing required Python and C libraries including: the facedetector program from earlier, time, PiCamera, PiRGBArray, and imutils. Lines 8-15 handle setting up the Pi's camera, setting a frame rate[8,13], warm up time[9,15], loading the camera into memory and creating a handle[11], setting resolution[12], and creating a handle to the raw capture data[14]. The FaceDetector is loaded into memory [17] and the camera begins looping through each frame continuously capturing images via for loop[19-31]. Each frame from this for loop is stored as an individual image variable in numerical array format[20] and is resized using imutils [21] for less memory consumption. The image is then converted to black and white through openCV's cvtColor method, passed the parameter cv2.COLOR_2BGR2Gray[22]. [23] handles creating bounding boxes around up to 5 faces. The image and bounding box are then copied into memory[25] and the bounding box is made visible[26] by looping through the bounding box and drawing a rectangle around it with the OpenCV rectangle() method and for loop. The image, with rectangle bounding box, is then shown on the frame from the live stream[29]. An if statement is used to break out of the for loop if the "q" key is pressed on the keyboard[31], and finally, the frame is cleared from the pi's memory so that the next one can be loaded in[32].