Usage - acquia/drupal-spec-tool GitHub Wiki
A tool is a dead artifact without a corresponding process. With compliments to Eric Clapton, it’s in the way that you use it. ;)
This page documents common workflows for using the spec tool in specific project stages, as well as general tips for usage at the end.
Initial Discovery
The first use of the tool is in the early elicitation of requirements. The first client conversations intended to yield a list of content types, even for the purpose of estimation, should be guided by the tool to avoid surprise discoveries later on.
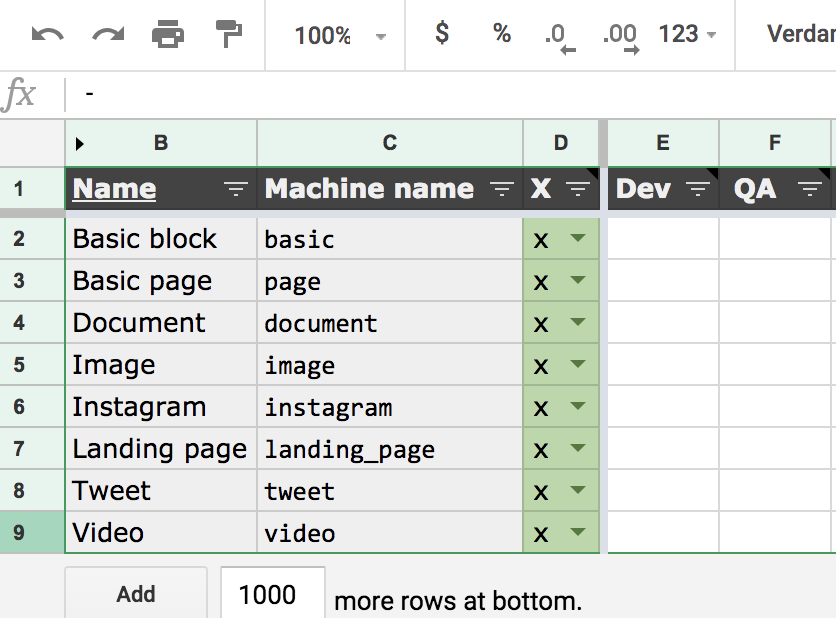
Start with “Bundles” and ask the customer to list all the “things” that live on their site. Don’t fall into the trap of asking about content types or other “Drupalese”. Speak in business terms: blog posts, press releases, events, staff bios, recipes, as well as videos, stock tickers, image galleries, and other page components. The beauty of the “Bundles” designation is that it ignores technical distinctions and encourages business-level thinking.
List the “things” in the “Name” column. Skip the “Machine name” and “X” columns for now. (We’ll come back to them.) And for each row, begin by asking the customer to provide a one sentence description. This forces clarity up-front (after all, if you can’t explain something simply you don’t understand it well) and becomes automatic UI documentation that we all know nobody provides after the fact.
Next, ask for a current, live example, if available, and link to it. This will serve you later when you can’t remember what a certain bundle is for or your front end developer asks what it should look like. (If there is no current, live example to point to, this is a great place to document the need for a mockup!)
Armed with a good description and example, follow the remaining columns in order. Hide any that are irrelevant to your project or context. By the time you get to the “Type” column, you’ve gathered enough detailed requirements that the decision between content type, vocabulary, and the like practically makes itself most of the time. Document any details that don’t have their own column under “Settings/notes”.
When you’ve finished this exercise, ask the customer to look over the details and confirm them. If they have no changes, mark the “X” (or status) column of the new rows “a” for “Approved and ready to implement”. Next, ask if any “things” are missing. If not, move on to the “Fields” tab and complete it in like manner. The other tabs follow all the same conventions and are used the same way.
Implementation
Once the specification is complete it can be handed off to the delivery team for implementation. It is safest at this point to “freeze” it in order to provide an unchangeable artifact to work with, much as you would cut a release tag for a given state of your codebase. Duplicate the spreadsheet and add a version number to the resultant document’s name. A helpful convention is to use the sprint number with a point release, e.g. “v1.0” or “v2.3”.
The duplicate is now the “frozen” specification. lt must not be modified because changes cannot be automatically merged into the original, upstream document and may be lost, and you don’t want to change the requirements while developers are implementing them. Create a ticket to track the work and include a link to the document. Keep the ticket free from all other details to avoid conflicting details and misdirection. This is key to the efficiency and cost savings of the process. Something like “Implement specification v1.0” is a good summary.
If you have a working Behat setup (pro tip: BLT), you can include the generated tests from the “Behat” sheet for automatic assertion of many aspects of the specification. (Yay, BDD!) You’ll just need our Behat contexts installed.
Next comes the implementation work itself. Two hidden columns, “Dev” and “QA”, are provided on each sheet to track progress. Un-hide these by clicking on the arrows in the column header on the right border of the “X” (status) column. The implementer can put their initials in the “Dev” column of each row as they complete the corresponding work. Later the reviewer can put their initials in the “QA” column as they verify each row.
Once the ticket has been accepted, return to the canonical version of the specification and mark the completed rows as such by changing their “X” (status) cells to “x” for “Implemented and done”. This is a good time to refresh any diagrams you’ve generated from the “Diagrams” sheet.
Change Management
Rare is the content model that suffers no change over time. More likely, requirements will evolve, the customer will change their mind on points, feature development will necessitate additions, or you’ll find you just plain made mistakes the first time. When the inevitable happens, you need to update the specification.
To begin with, never implement changes without first updating the specification. As they say, the only thing worse than no documentation is incorrect documentation. Let slip the first indication that the process isn’t respected or the specification doesn’t matter and it’s only a matter of time before you find it on the street, looted and burned.
Specify additions to the content model just as in initial discovery, by adding new rows. Remember, always make change to the "current" version of the spreadsheet first, then cut a new version. Never modify a "frozen" version of the sheet.
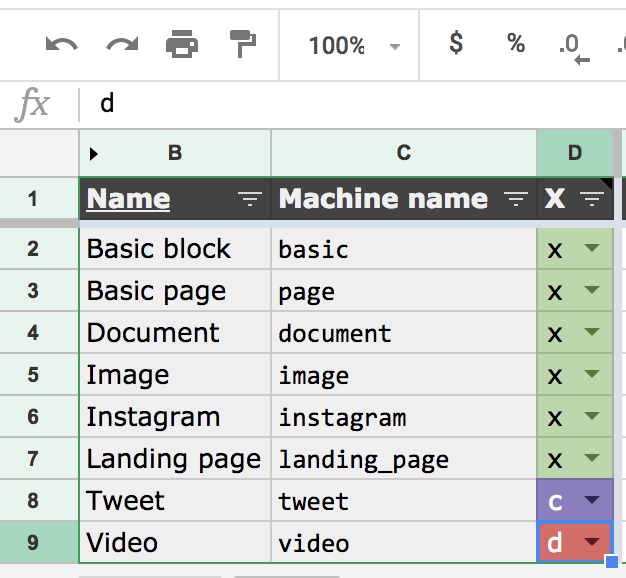
For each modification, change the “X” (status) cell to “c” for “Changed since implemented” and update the other cells as appropriate. Make it easier for the implementer to identify the change by calling it out in a note on the “X” cell, e.g., “Changed to required” or “Changed form widget”. You can also highlight the changed column using a text background color.
To specify a removal, change the “X” (status) cell to “d” for “To be deleted”. (If you just delete the row from the sheet, there will be nothing to tell the implementer to make the change!)
When done specifying a round of changes, freeze the specification again. In case your content model is large, there’s a “To-do” filter view that will temporarily restrict the display to only rows that still need to be implemented without affecting others’ view of the sheet. Other than that, the implementation process is identical. Rinse and repeat.
General usage tips
Editing the Sheets
You will build out your content model by editing the provided Google Sheets, especially the Bundles and Fields sheets. For the best experience, always follow this process when editing sheets:
- When adding new bundles or fields, it's best to use the blank rows at the end of the spreadsheet rather than inserting new rows higher up. This prevents conditional formatting from breaking.
- After adding or editing bundles or fields, sort the sheet by a consistent column such as "Bundle". This ensures that Behat tests are generated in a consistent order, making Pull Requests cleaner.
- Do not reorder rows by dragging and dropping them. This can break the conditional formatting and some column values. (https://github.com/acquia/drupal-spec-tool/issues/19)
- When using the generated Behat tests, ensure your text editor does not modify whitespace. Using consistent whitespace makes Pull Requests cleaner and easier to review.
Collaboration and sharing
In general, we've found that it's best to designate a single person who is responsible for the content specification and authorized to edit the content spec spreadsheets. Of course, everyone on the team should be able to view the spreadsheets.
For certain team structures, it might make sense to allow more than one individual to edit the current version of the spreadsheet, but grant this access carefully, and consider the overhead in managing a more complex permissions model as well as the potential for chaos. We really recommend that you stick to just one content model manager :)
Advanced
Drupal Spec Tool Commands provides a composer command to create/update the feature files that are generated from the spec tool.