User Guide - accessibilitysoftwarehub/OpenSourceWindowsGazeControl GitHub Wiki
GazeToolBar
The aim of this software is to make IT accessible to those who cannot use computers in conventional ways due to severe motor impairment. Traditionally, commercial accessibility technologies come with a hefty price tag. We are looking to change that with our open-source software. The GazeToolbar allows complete control of a Desktop computer using only gaze and a low-cost eye tracker.
 .
.
Notes
-
Mac and Linux are not supported.
-
The eye tracker is designed to work with glasses and contact lenses but you may find varying gaze tracking accuracy dependent on the type of glasses you use. Please see the Eye tracker support page if you have any issues.
Getting Started
-
Attach the eye tracker to your monitor.
-
Download and install the eye tracker software to your computer.
-
Configure your eye tracker with its software.
-
Create a profile and calibrate the eye tracker so it knows exactly where you are looking.

-
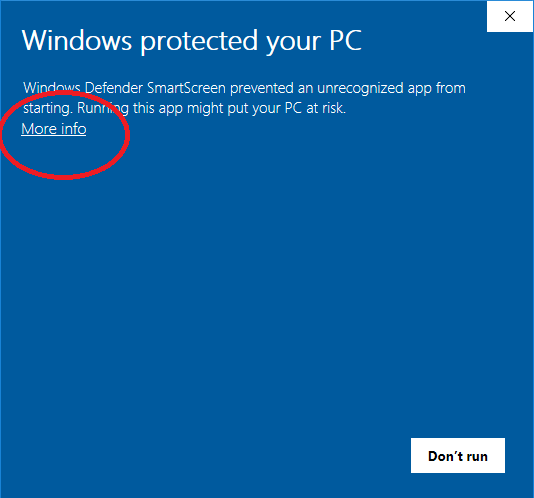
Download the GazeToolBar and install it. You will probably have the following warnings come up during installation. This is normal and expected.
-
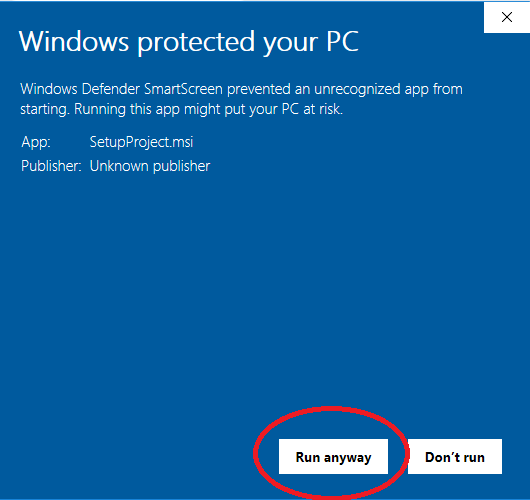
If the windows warning comes up, click 'more info'. This will reveal a new button near the bottom labeled 'run anyway' click this and the installation will continue.
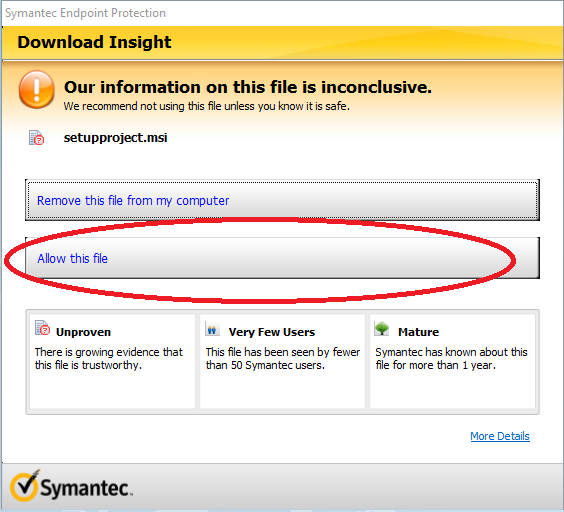
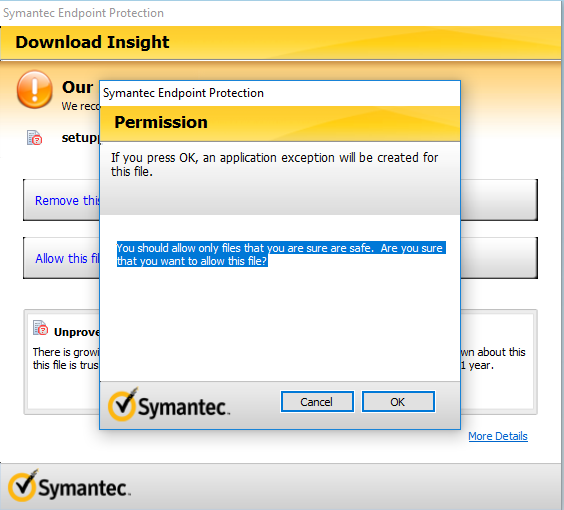
- Your antivirus may also raise a warning during installation. This is because we are not a formally registered software company. Once again, we expect this. Click 'allow this file' and confirm. Installation should finish without problems.
- Run the GazeToolBar.
User Interface
The GazeToolBar is what allows you to access and use your computer with gaze control.

You can control your computer using gaze control by following a two step procedure. First, you gaze select a control task (Left Click, Double Left Click, Right Click) on the GazeToolBar. Second, you focus on your target on the user interface until a magnified window appears on top of the user interface where you can complete the fine grained acquisition of your target.
-
Right Click
Focusing your gaze on the Right Click action of the GazeToolBar will allow you to next focus on a target, this will then trigger a magnified window on top of the user interface where you can more accurately right click by looking at your target.
-
Left Click
Focusing your gaze on the Left Click action of the GazeToolBar will allow you to next focus on a target, this will then trigger a magnified window on top of the user interface where you can more accurately left click by looking at your target.
-
Double Left Click
Focusing your gaze on the Double Left Click action of the GazeToolBar will allow you to next focus on a target, this will then trigger a magnified window on top of the user interface where you can more accurately double left click by looking at your target.
-
Scroll
Focusing your gaze on the Scroll action of the GazeToolBar will allow you to next focus on a target, this will then allow you to scroll up and down the page by looking near the edges of the screen.
-
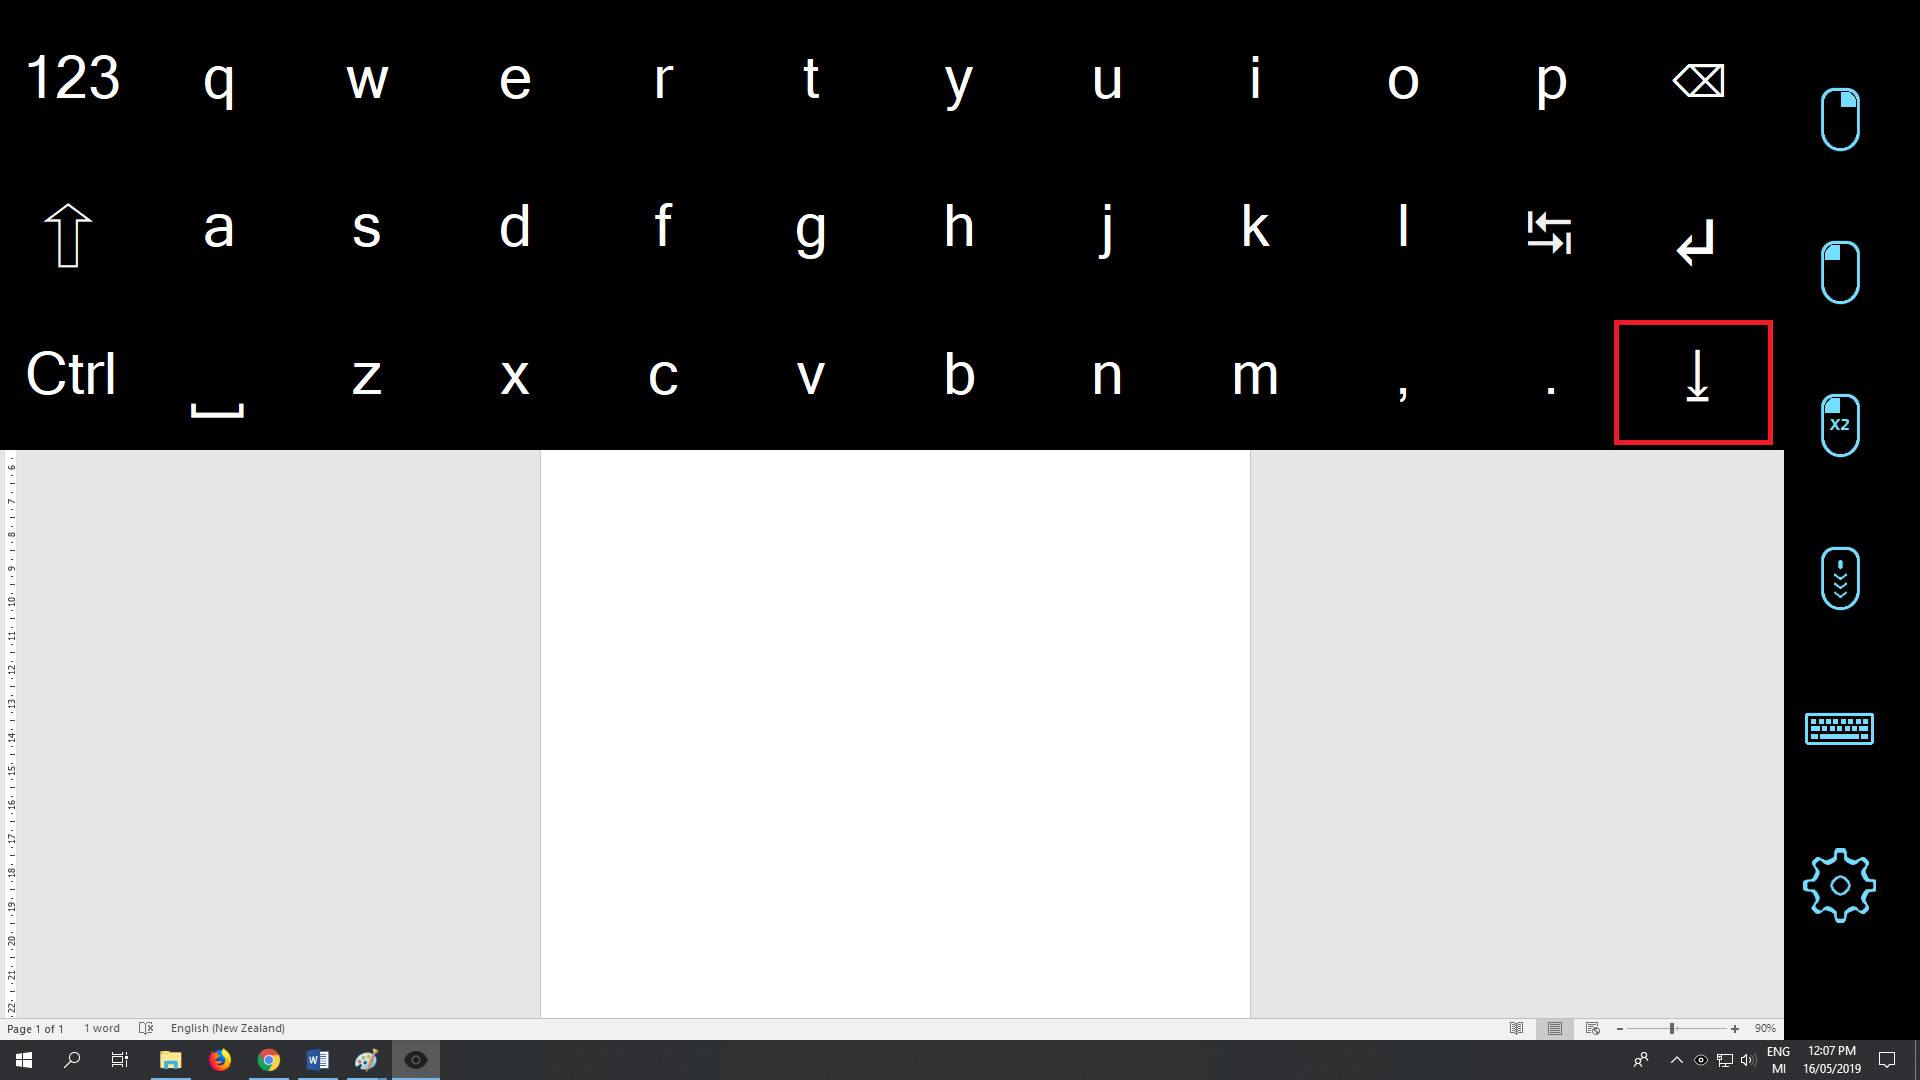
KeyBoard
Focusing your gaze on the KeyBoard action will cause a Keyboard to appear on the screen, This Keyboard is controlled by focusing your gaze on the different keys. There are four different keyboards to use. Click on the shift, abc, and 123 buttons to toggle between them.
You can also change the position of the keyboard by clicking on the arrow button below the enter key.
- Settings
Focusing your gaze on Settings will open up the settings window.
Settings
General Settings

The GazeToolBar Settings allow you to change the time it takes to fixate on a target.
- Fixation Time Length
The time it takes for you to select by fixating on something. - Fixation Time Out
The time it takes to cancel an action when not looking at the screen. - Default Settings
Returns all the settings to default. - AutoStart
When selected Auto-start is enabled and the GazeToolBar will start when your computer turns on.
Zoom Settings

The zoom settings of the GazeToolBar, allow you to change the settings for the zoom window.
- Zoom Window Size
The Size of the Window that appears when one of the click tasks is activated. - Zoom in Amount
The amount the window zooms in when a task is activated.
Shortcut Settings

Allows you to specify a key / switch that will activate an action.
The microphone is slightly different and intended to work with speech recognition software such as dragon naturally speaking. A keyboard shortcut can be used with the speech recognition engine to turn the speech detection on and off via gaze.
Rearrange Settings

Allows you to Rearrange the layout of the Gaze-Toolbar functions as you wish.
All of the Functions are able to be moved or removed. Settings however cannot be removed.
The Microphone by default is not added to the the Toolbar.
Cross-Hair Settings

Allows you to select from a range of Cross-Hairs. The Cross-Hair appears when one of the tasks is selected. Move the track bar along to view the different options
Exiting
You can exit the gazetoolbar by entering the hidden icons menu on the taskbar. RightClick on the gazetoolbar icon and select close. This can be done with either your mouse or using the toolbar itself.
Troubleshooting
Warnings came up during installation.
This is a student created program, we do not have the resources to get certificates on our programs. Because of this, Windows and/or your anti-virus may ask you to confirm you want this software installed. This is perfectly normal, just select yes and the software will install normally.
Settings page displaying incorrectly.
We have become aware that there is a minor issue with the settings page displaying wrong on certain resolutions and laptops. We are currently working on finding a solution. If you encounter the problem, you can change the resolution of your computer to 1280x1024 and it should display correctly.