Install using Hestia CP - XMPlusDev/XMPv3 GitHub Wiki
OS (Debian 11 OS)
::: warning The installer needs to be run as root, either directly from the terminal or remotely, using SSH. If you do not do this, the installer will not proceed. :::
Requirements
| Minimum | Recommended | |
|---|---|---|
| CPU | 1 core, 64-bit | 4 cores |
| Memory | 1 GB (no SpamAssassin and ClamAV) | 4 GB |
| Disk | 10 GB HDD | 40 GB SSD |
| Operating System | Debian 10, 11 or 12 | Latest Debian |
::: warning Hestia only runs on AMD64 / x86_64 and ARM64 / aarch64 processors. It also requires a 64bit operating system! We currently do not support i386 or ARM7-based processors. :::
Download Hestia CP
Download the installation script for the latest release:
wget https://raw.githubusercontent.com/hestiacp/hestiacp/release/install/hst-install.sh
If the download fails due to an SSL validation error, please be sure you've installed the ca-certificate package on your system - you can do this with the following command:
apt-get update && apt-get install ca-certificates
Install hestia CP
To begin the installation process, simply edit hostname, email password and port. Run the script and follow the on-screen prompts. Reboot server when complete.
bash hst-install.sh \
  --interactive no \
  --hostname host.domain.tld \
  --email [email protected] \
  --password youradminpass \
  --port 8083 \
  --api no \
  --force
Change PHP Version
php -v
XMPlus v3 Panel support php 8.1 to 8.4.
To remove current version(PHP 8.2). Reboot after installing new php.
v-delete-web-php 8.2
Or Install PHP 8.4
v-add-web-php 8.4
To access your control panel, navigate to
https://tld.com:8083orhttp://your.public.ip.address:8083
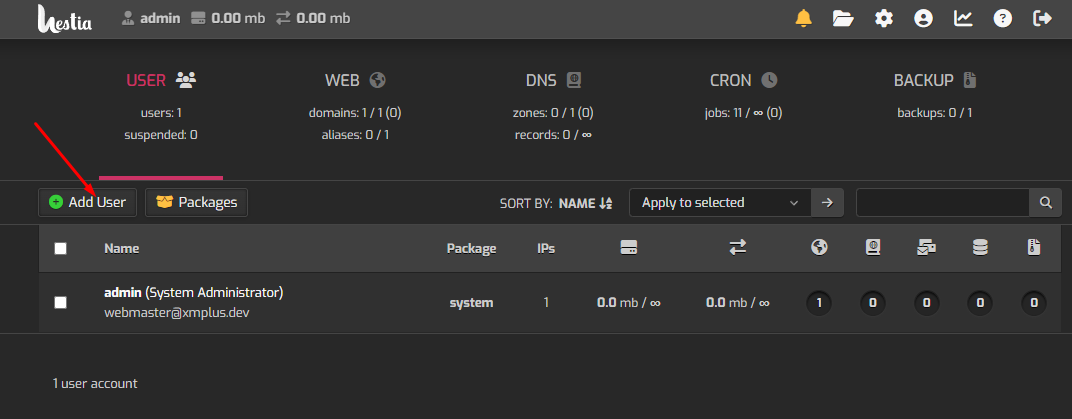
Under User, Add a new user (xmplus). Fill in the required fields and save.
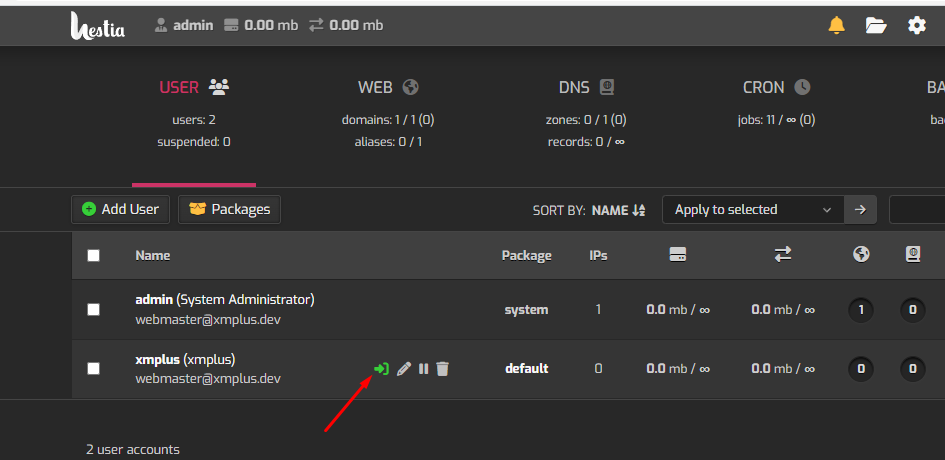
Navigate to user list and login to the new users and click on login for the user you created
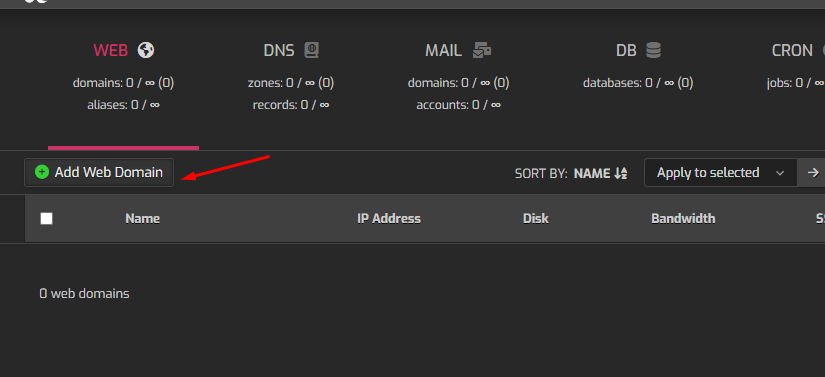
Add a new domain to the panel for your website
Edit the domain and check options to enable ssl or manually input your certificate and privatte key.

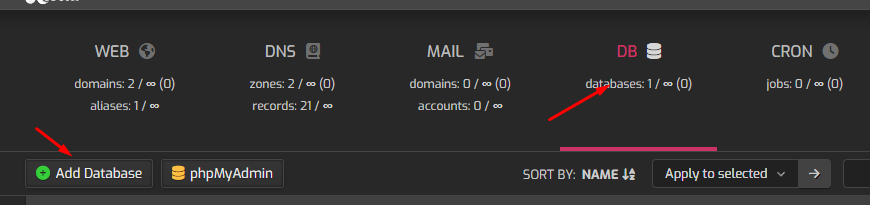
Navigate to Database for same user and create two(2) databases for XMPlus panel and telegram bot.
Install ioncube
wget https://raw.githubusercontent.com/jaapmarcus/ioncube-hestia-installer/main/install_ioncube.sh
chmod +x install_ioncube.sh
./install_ioncube.sh
Login hestia CP
To access your control panel, navigate to https://host.domain.tld:port or https://your.public.ip.address:8083
- Create a new user (eg. xmplus) and fill in the required fields
- Navigate to user list and login to the new user created
- Under Domain, add a new domain to the panel for your website
- Edit the domain and check options to enable ssl or manually input your certificate and privatte key.
- Navigate to Database for same user and create two(2) databases for XMPlus panel and telegram bot.
Installation
Replace
xmpluswith the user you created in hestia cp andtld.comwith your website domain
cd /home/xmplus/web/tld.com/public_html
Download XMPlusv3
https://github.com/XMPlusDev/XMPv3/releases
Unzip XMPlus
unzip XMPlus.zip && rm -rf XMPlus.zip
Install dependencies
php composer.phar update -n
Set user (xmplus) permissions
chown -R xmplus:xmplus /home/xmplus/web/tld.com/public_html
chmod -R 0744 storage
chmod -R 0744 vendor
Create databases for panel and bot. Import sql to your database
xmplus_bot.sqlandxmplus_panel.sql
In config/default.php set database values
Create Admin user
cd /home/xmplus/web/tld.com/public_html
php bin/console create:admin