Exporting Assets - X-Hax/sa_tools GitHub Wiki
Note: Some changes have occurred to the tools listed below. Most changes are just visual.
This guide will serve as a little lesson on how to dump your assets into external files for use with external programs like Blender, 3DS Max, Maya, Photoshop, etc.
Before we get started, please follow any of the below guides to obtain the assets from a game you may wish to dump from:
Startup Guide for SADX & SA2PC Projects
Data dumping guide for other games (SA1, SA2 (DC), etc)
Assets to External Files
Textures
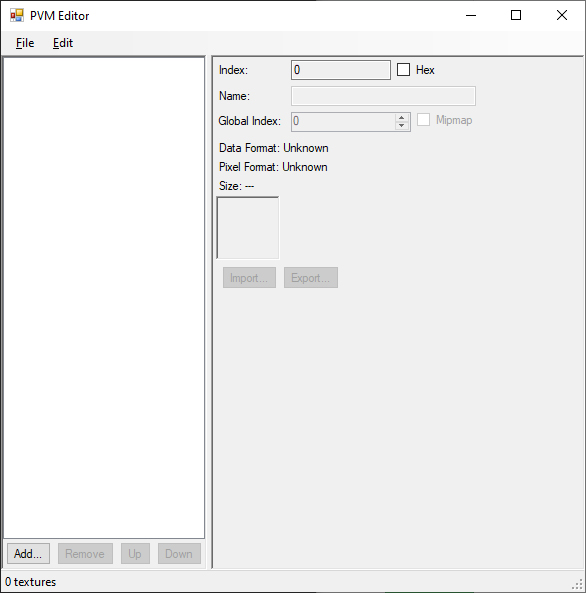
Within the SA Tools is a fun tool titled "TextureEditor." This program can open all texture archive types seen within SA1, SA2, etc. Simply navigate in your SA Tools "installation," to the TextureEditor folder. Open up the program and you will be greeted with this screen.

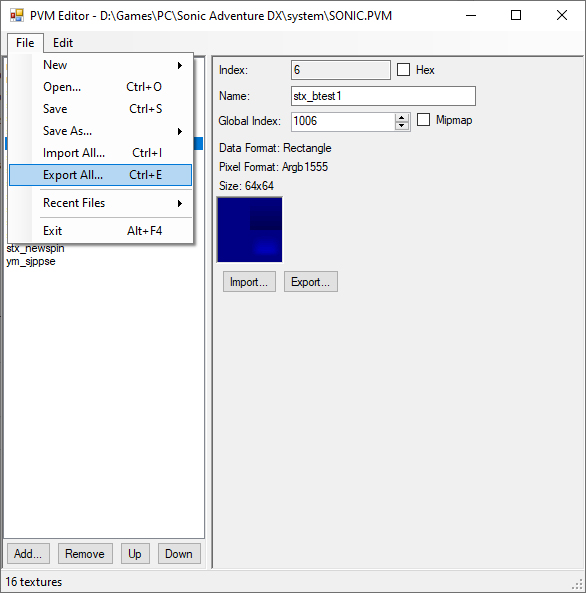
Simply click on File>Open (Ctrl+O), and navigate to your game folder. Generally speaking, textures files will either be found in the **system **folder (SADX) or the resource/gd_PC folder (SA2PC). Upon opening a texture archive, it will be loaded into the program. To dump (or export) the textures, simply click on File>Export All (Ctrl+E).

A prompt will open asking you where you would like to save "index.txt." Select the folder of your choosing and save the file. Inside of this folder will be all of the textures from the archive in PNG format. The index.txt file will retain the original order of the textures and their gbix values.
Congratulations! You've just created a Texture Pack. A fancy way of saying you dumped textures out and still know the order they had in their archives. In actuality, a Texture Pack can be used natively within mods in both SADX and SA2PC. This is also only for those wanting textures specifically. If you are exporting models, they will automatically export with their textures.
Additionally, the below links will take you to other wiki entries that contain full lists for the textures archives and what they are for.
SADX/SA1 Texture List
SA2PC Texture List
Models
Probably the most sought after assets to be ripped are models. This process is relatively straight forward, but it does vary slightly between character models and level models.
Characters & Objects
Please note: This guide is dedicated more towards opening sa1mdl/sa2mdl/sa2bmdl files rather than from raw binaries.
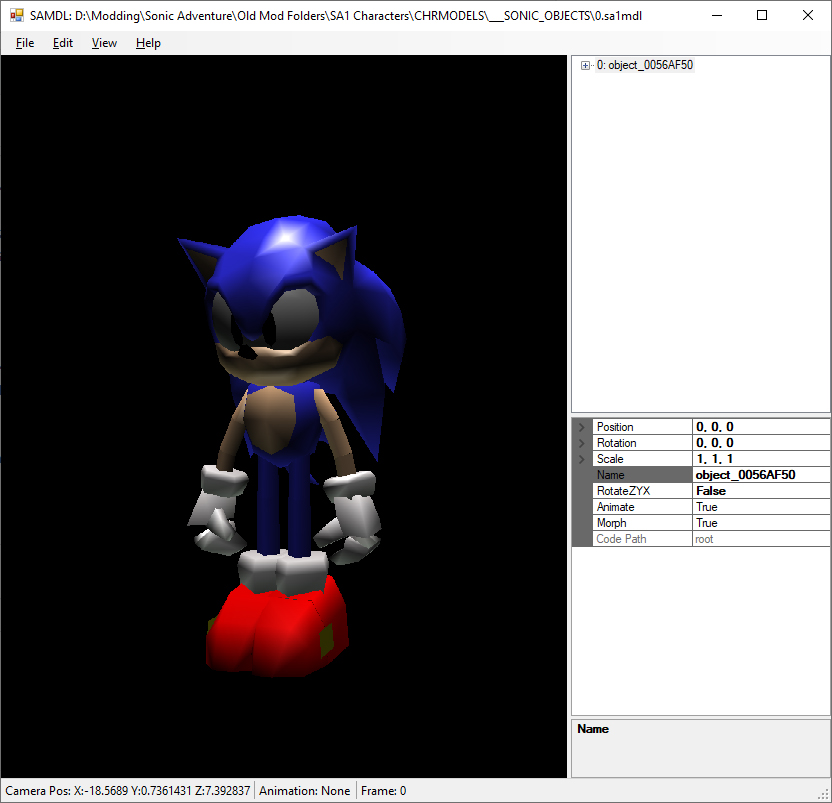
For ripping characters, we will be using the tool known as SAMDL. You can find this tool inside of your SA Tools "installation." Once the program is open, simply click File>Open and navigate to where the model/file you are looking for is located. Once the file is opened, press the X key (or whatever you have bound the "Main" key to). This should situate the camera to where you can see your model.

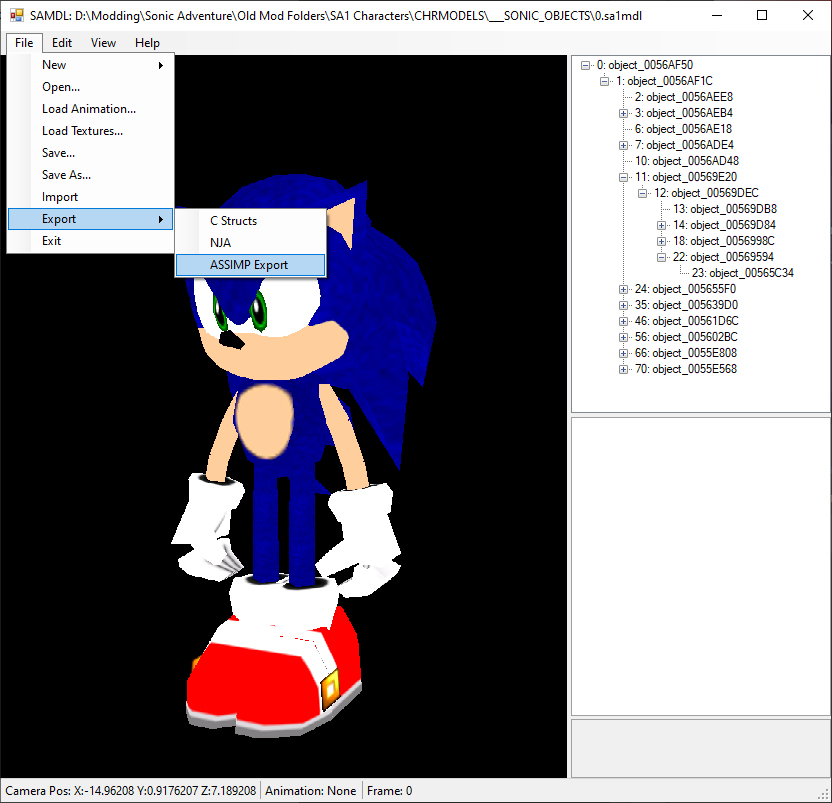
Once you have opened the model you wish to export, press File>Load Textures, navigate to and select the correct texture archive for your model. To export your model, press File>Export>Assimp. This will export your model to one of three formats (DAE or FBX).

Once the prompt to save is open, navigate to where you wish to export your model. Be sure, when you are saving, to specify the file extension when naming your file. The Assimp support defaults to DAE export, so you have to specify the file extension to change the exported file type.
**Example: sonic.dae / sonic.fbx **
Once your file has been exported, the output folder will contain the model file and the textures (in PNG format). Both DAE and FBX exports support object parenting and rigs (when applicable).
Below you can find links to guides that contain locations to the character models.
SADX
Most Character models are found in the CHRMODELS/___[CHARACTER]_OBJECTS folders.
Character Models
The above list is unfortunately very incomplete.
SA2PC
Character Models
Levels
COMING SOON