District, Ward and Region Matching - WorldBank-Transport/tz-data-cleaning GitHub Wiki
When new boundaries are released, it is necessary to update point based data (like Waterpoints or Schools) with the new information. This could be ward, district or region. This will show you how to update the point data fields, using QGIS, a free and open source GIS software. This example explicitly shows how Waterpoints were processed, however, this is a generic process which can be applied to any point based data file. The boundary file shows the breakdown of individual wards. This information includes the wards, district and region. All of this information will joined with the waterpoint file.
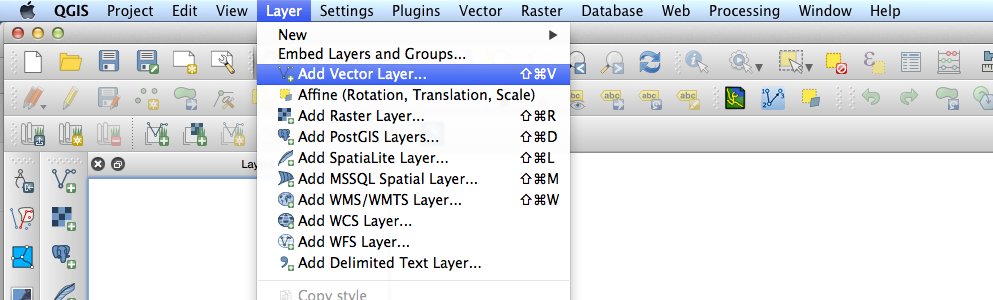
Start by adding your data, either as a shapefile or CSV through the Vector toolbar or menu. For a CSV file, select the 'Add Delimited Text Layer' button. This data will usually be a point based dataset and a polygon boundary file.
Once your layers are added, check that they are in the same projection. This is done by right clicking on the layer information and checking the Coordinate Reference System. For Tanzania this is generally either EPSG 4326 or ARC 1960.
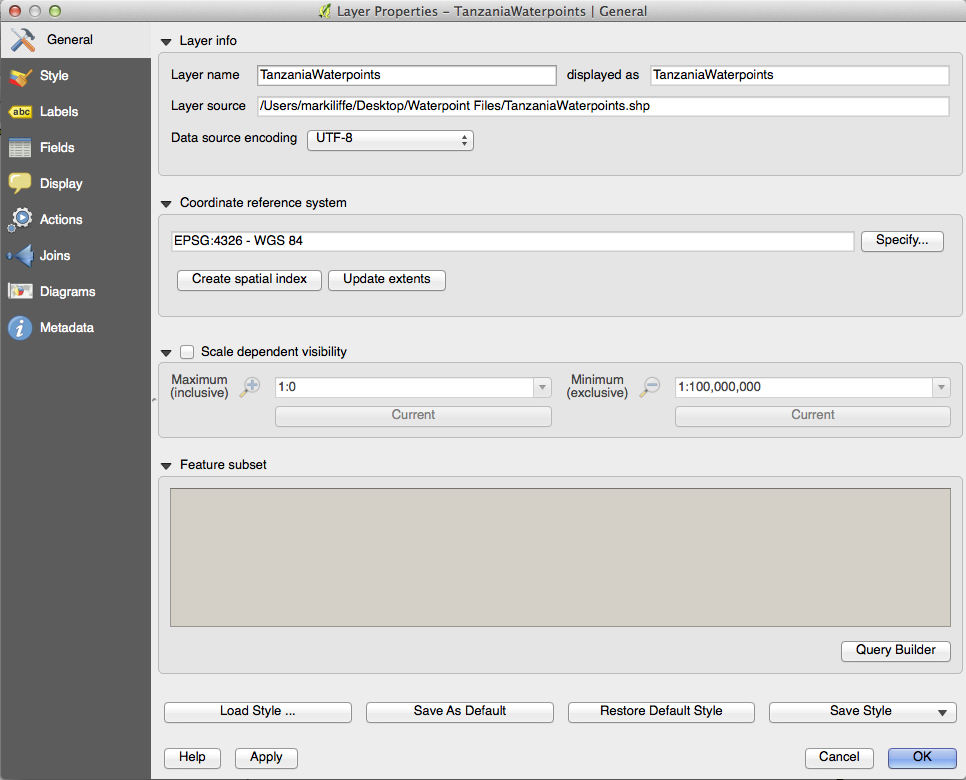
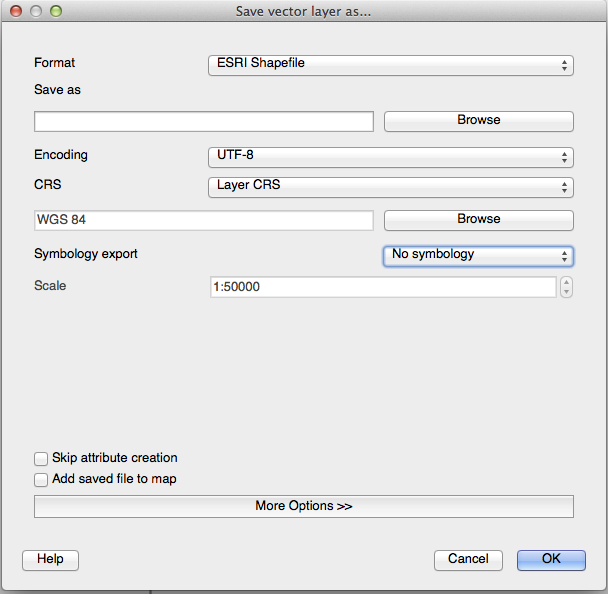
If your Coordinate Reference System is different, right click the layer again and then Save As... Then select the coordinate reference system, making both files in the same system. If you have to repeat this for both files, go ahead.
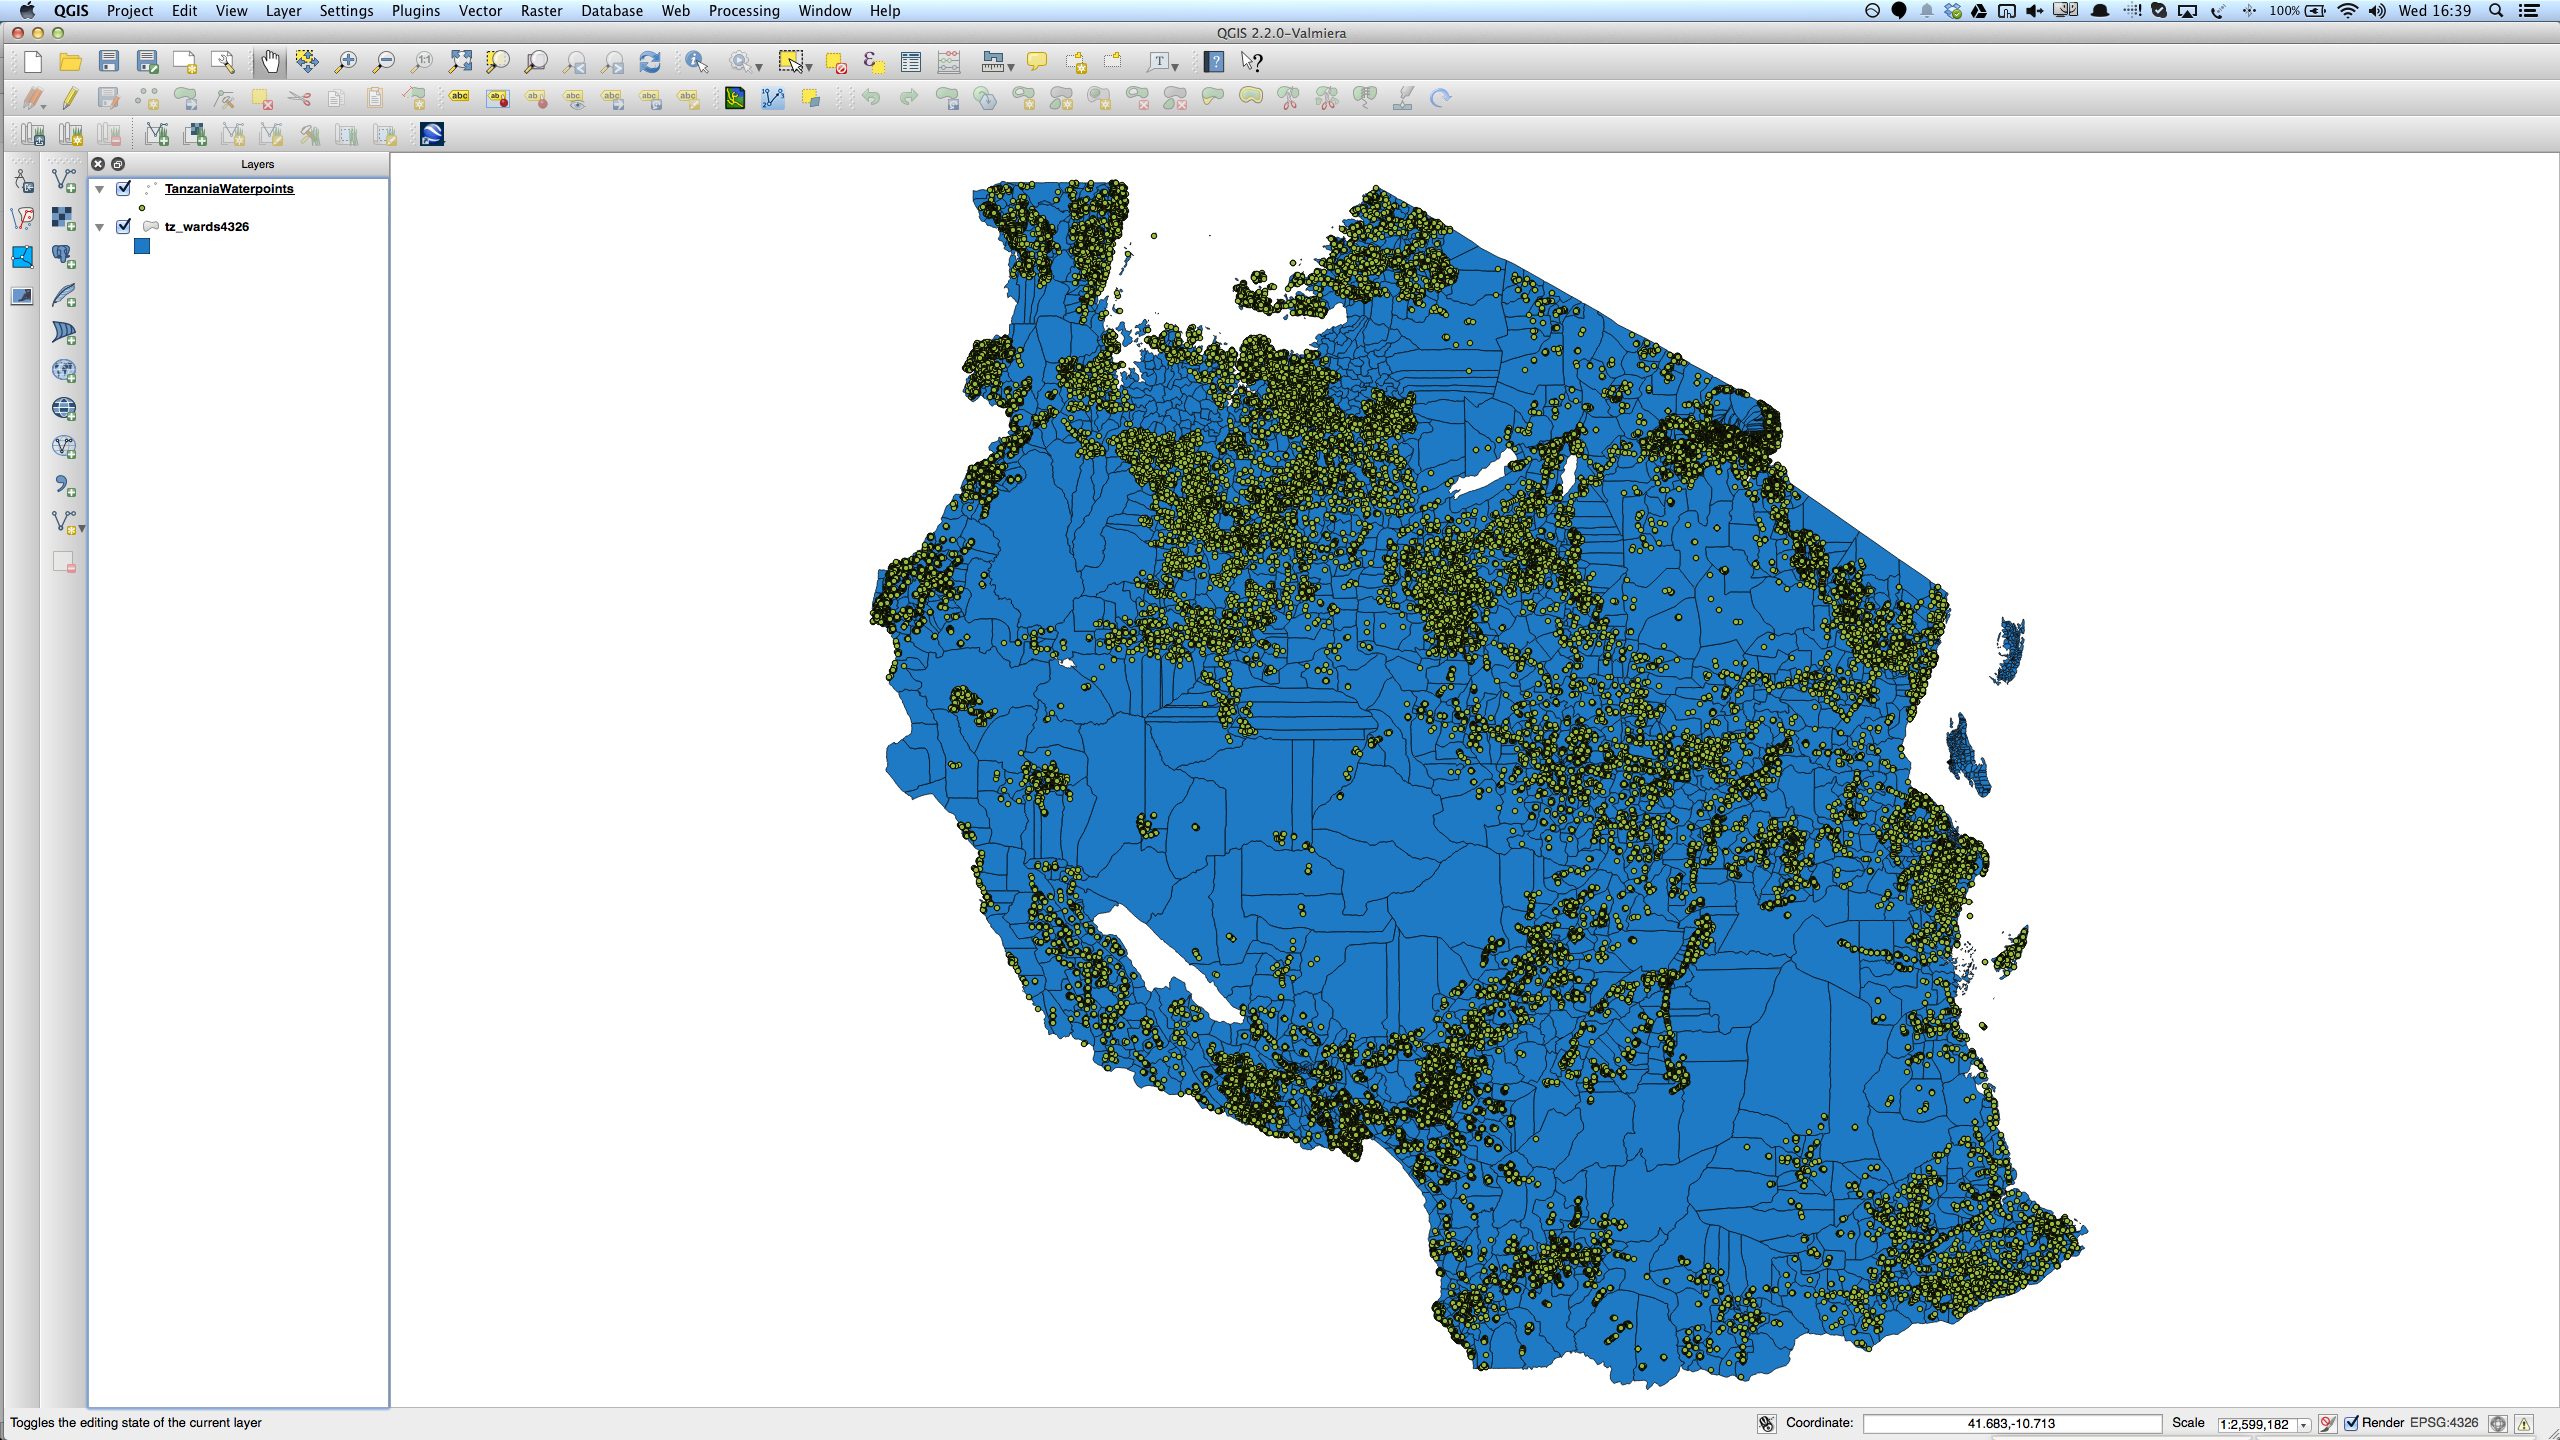
Once your datasets are in the right coordinate reference system, it should look something like the image below.
Now we are ready to conduct a 'Join By Location'. This will iterate through each point, compute where the point lies within the right boundary and append the information from the polygon file (i.e. the boundary) to the point file (i.e. the waterpoint.).
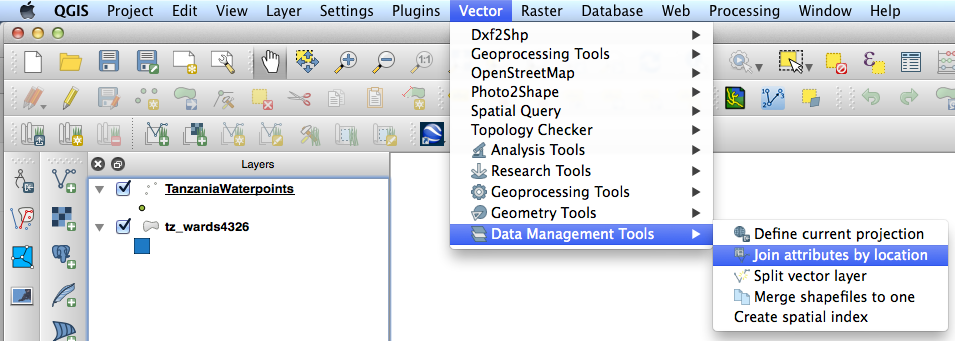
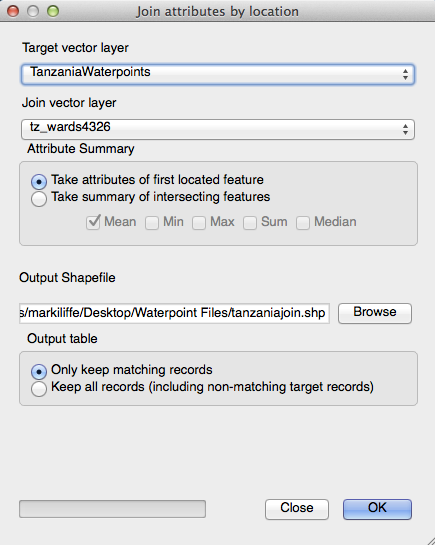
To conduct this action, go to the menu Vector -> Data Management -> Join Attributes By Location. Once you have clicked here, you will be presented with the menu below. It is important that the Target Vector Layer are your points (Waterpoints) and the Join Vector Layer is the polygon (Boundaries). Also, select where to save your newly joined shapefile and then press OK. Be prepared that this is a computationally intensive action and can take a long time.
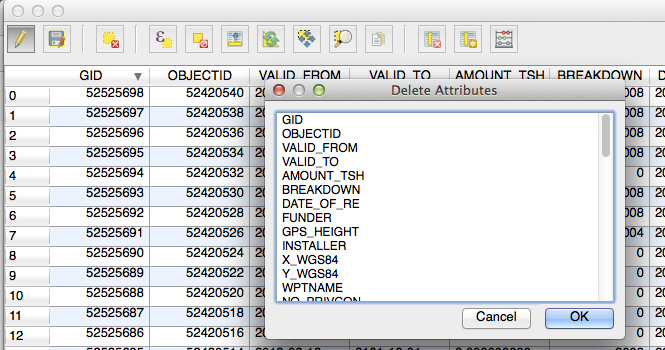
Once this process has completed and you have added your newly created file to QGIS (using the Add a Vector File method at the beginning of this guide), right click on the file, clicking on Open Attribute Table. Here you should see the columns of the boundary data, joined with your points. At this point, click the pencil in the top left hand corner of the window to enable editing, then click the column delete button and remove the columns that you have replaced with this method, leaving your newly joined columns.
Now you have dataset with the right boundary information.