Lesson 3 Wireless Light Controller - Water-Monitor/IoT-Portfolio-FJS GitHub Wiki
Wireless light controller via 2 different buttons
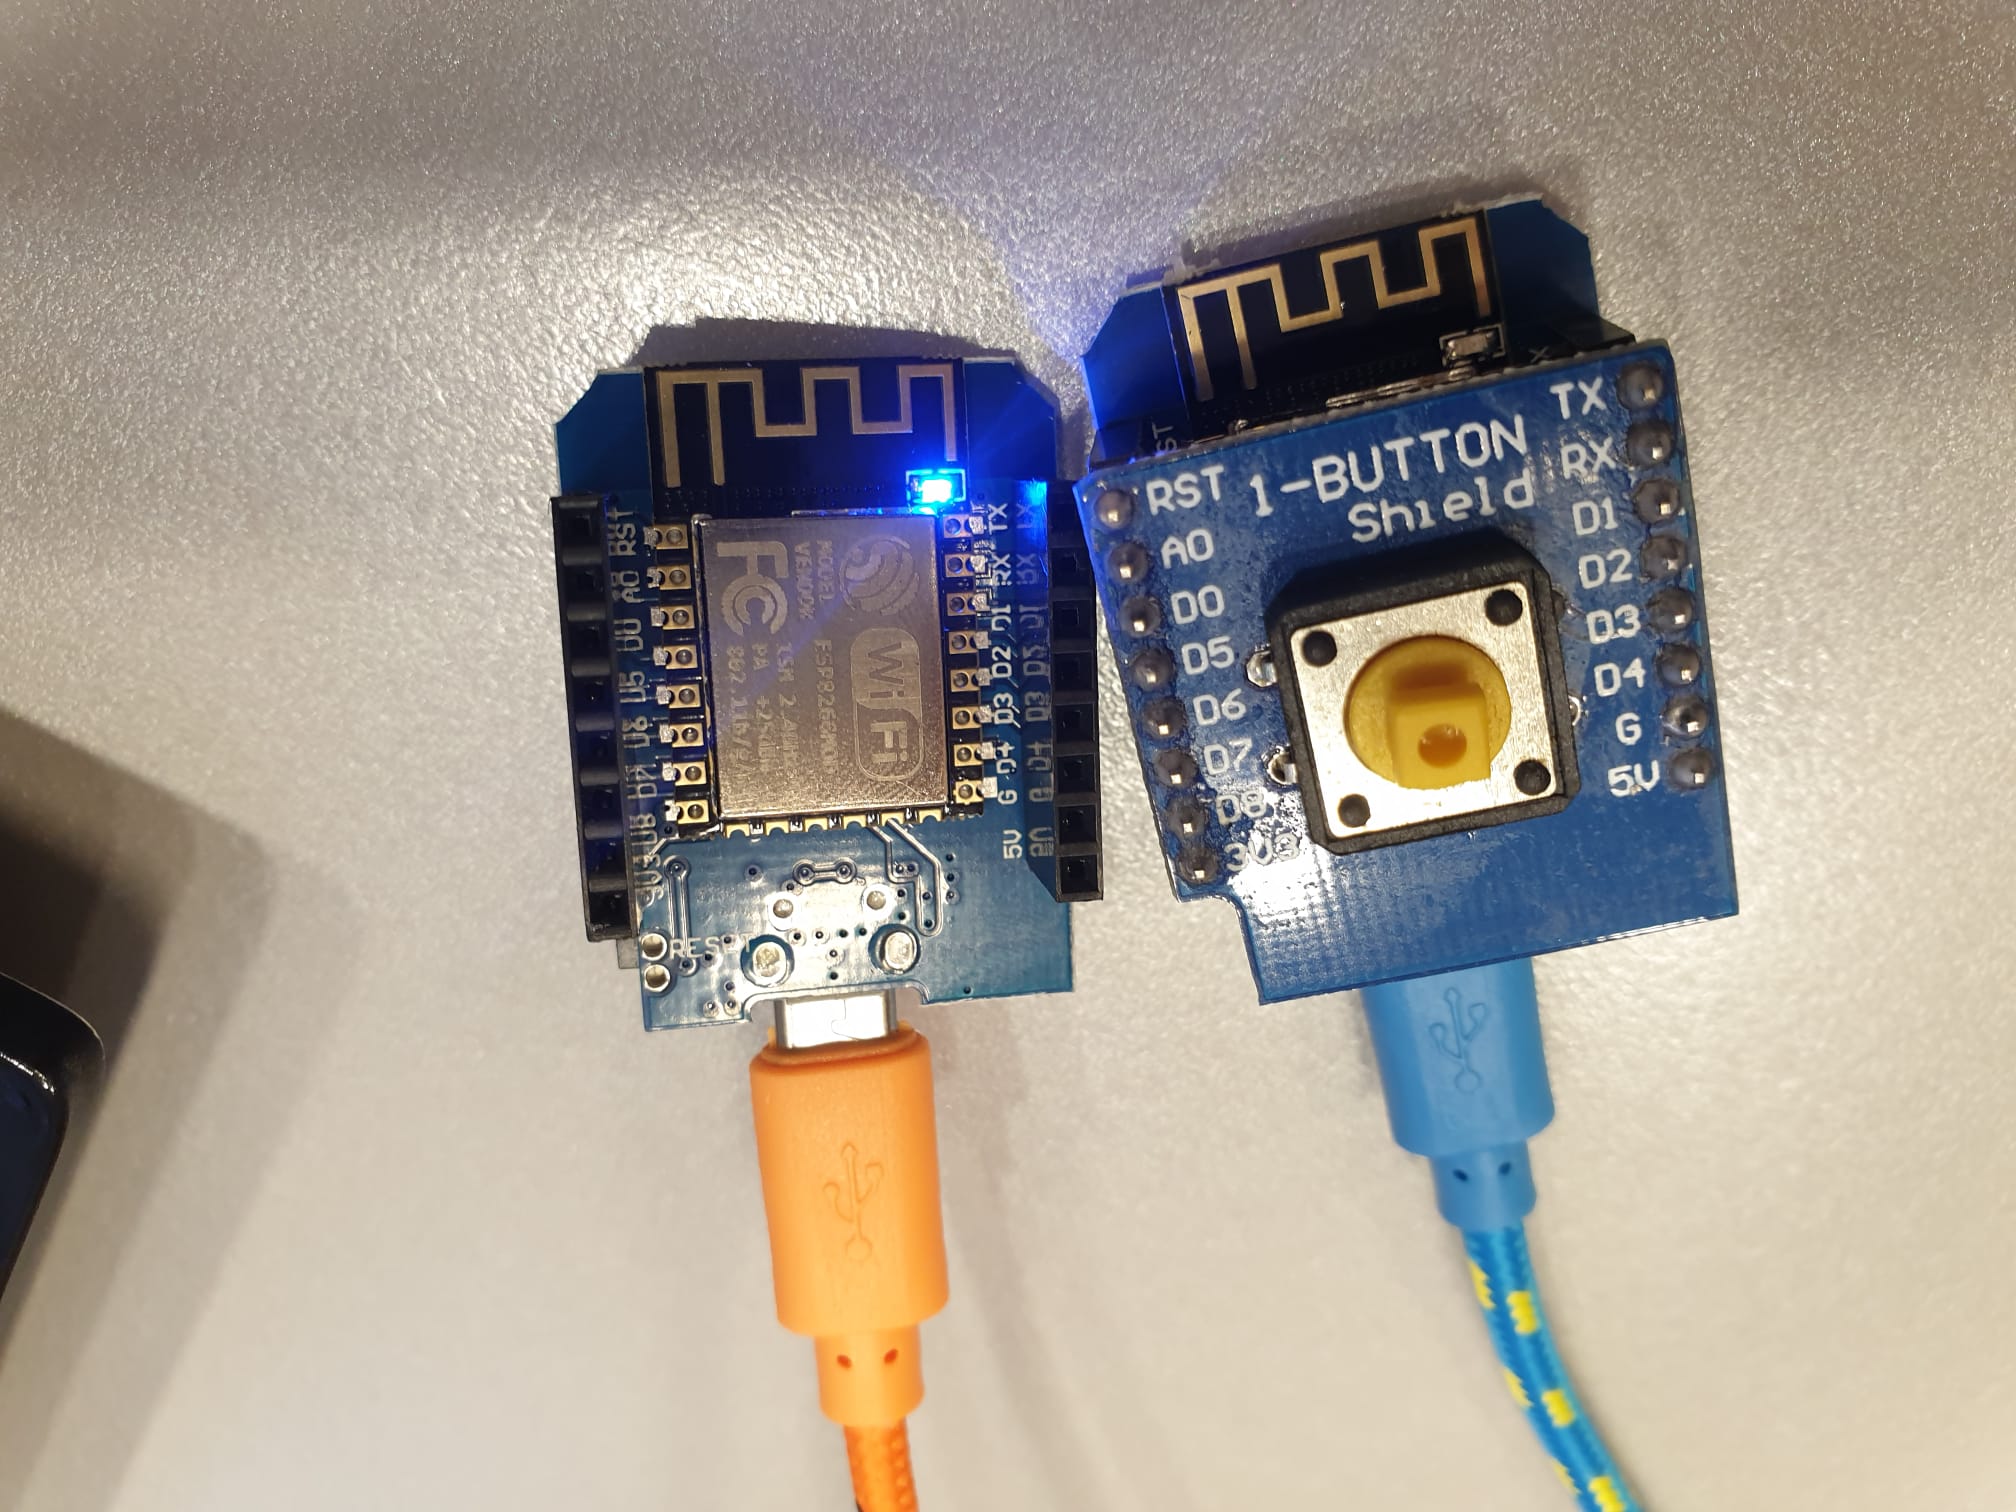
Button
There was an example code for the button that we could use. At first we did not know on which pin the button was wired. The teacher explained that you can see the wire when you look carefully. There was also a code to make a HTTPClient to do the HTTP GET request. We combined both examples to make the button fully operational.
Light
We had to wire the light with a resister of 220 ohm (320 ohm is also possible), this reduces the voltage so the light does not burnout.
Wireless light controller
When the button (httpclient) and the light (httpserver) both worked, we could integrate them with eachother.
 Afterwards we extended it with two buttons and a light and had to manually wire it instead of using the buildin-components.
Stable WiFi solution (either computer as gateway integration or stand-alone gateway/accesspoint) - repeat session 1 hw task with this setup
The first step was to set up an access point through the dell computer (computer as a gateway integration) to be able to connect all components to a wifi to be able to control them. There were no strange things except that I forgot my password, but Ulno helped me. By going to the konsole, writing "iot" and then writing "accesspoint" we got the wifi.
Button (shield or breadboard), read-up (and report) on pullup resistor & Integration (switch led via button on another MCU)
The second step was to configure an MCU component, via the arduino IDE. Select the correct port for USB output, the correct board (LOLIN D1 R2 & mini), use the pre-installed flash code. In the code itself, it is important to change the correct internet that the computer uses with the same name and password for it to work. After that "Verify" and then "Upload". Everything is okay, so I open "Serial Monitor", where I get the IP address that I copy and paste on the browser, where I could turn on the LED light and turn it off. I used the default code that comes with the arduino IDE.
After completing the configuration with the first MCU component, I connected it to my personal computer and connected the MCU button to the dell computer, Here I had to do the same thing as the first with all configurations using Ulno which show me the steps. When I got to the coding I had difficulties as I did not understand the logic of the coding, Ulno helped me with the coding where we created two functions a "sendon" and a "sendoff", in these codes I had to paste the IP address one with / on and with / off. Here it is also important to set up the right internet connection. I got it started, where if I press the button, the MCU component connected to my Macbook flashes and if I release it, it goes out.
Second Led (on breadboard) connected to first MCU, why do we need a resistor? & Second Button (eventually on breadboard or directly connected), connected to third MCU & Full integration (2 buttons control 2 different leds)
The task here was to enable another button on the breadboard to switch the the led light that also was in the breadboard. I asked for help to get thi task done. Ulno help me with the new setup and coding. The first thing we did was to connect the new MCU trough the USB in to the laptop. I was on my own at the beggining trying to solve it, I copied the two functions "sendon" and "sendoff" and dublicated it, the problem was that I was working on the wrong code, that was Ulno who noticed it. He told me we sould work on the "HelloServerled" that I created instead of "New.button.2". There we did the same thing copied the yellow marked code that is illustraited on the image and dublicated it. Because we were using "D5" on the MCU we had to define it on the code, instead of "LED_BUILTIN" we wrote "D5" on both. I ran the code afterwords and the LED was lightning up when pressing the button on the breadboard as you can see on the image.
Resistor is importatant to resist the high voltage from letting the LED lamp not work anymore. Red cable is as a "design pattern" for the "+" Black cable is for the "-".
Johanna
I set up Arduino on my laptop, selected the right preferences and choose ESP8266. I tested the blinking example, was succesful and started trying out the wifi-example. The HelloServer exercise looked very confusing, but Ulrich showed us, what is needed to be done and after that it didn't felt so challenging anymore. The first button example was nice and easy as well, but afterwards we were supposed to combine the HelloServer with the button, and thats where I lost track. I was also glad that I did not had to do the following exercise with the breadboard on my own, because I was still stuck in the previous example. I tried to write down as much as possible, so that future-me can re-do the exercises. I also stayed longer in class (the students who were present did not had to stay for the afternoon lesson), so that I could revise the exercises with the South African students.
Stijn
I had to set up Arduino preferences and the ESP8266 settings again. I still do not know why. Johanna at first struggled and did not understand how the pinModes worked, so I explained that to her, that she has to be aware of that.
I searched first to set up a HTTPClient, but I did it not entirely right. After the teacher told me there was an example I had it working in no time. Combining the button and the httpclient was very easy.
When I was programming I found out that copying does not work so nice in ArduinoC, it does not easily copy the word, but it looks for copying at character level. I already hated the error tool and the fact you cannot debug so you have to write the logging yourself. The other thing I found out is that you cannot easily program two EPS8266 at the same time. Everytime you change the port of ArduinoC it changes it for all programming files that you have opened, so before uploading you constantly have to check to which one you are uploading. It slows you really down.
Fadi
I had to re-configure the Arduino preferences as well as the ESP8266 settings so I built an HTTPClient with the help of the example. It was quite simple to combine the button with the HTTP client.