2. Design and Build - Vijay-P/pill-dispenser GitHub Wiki
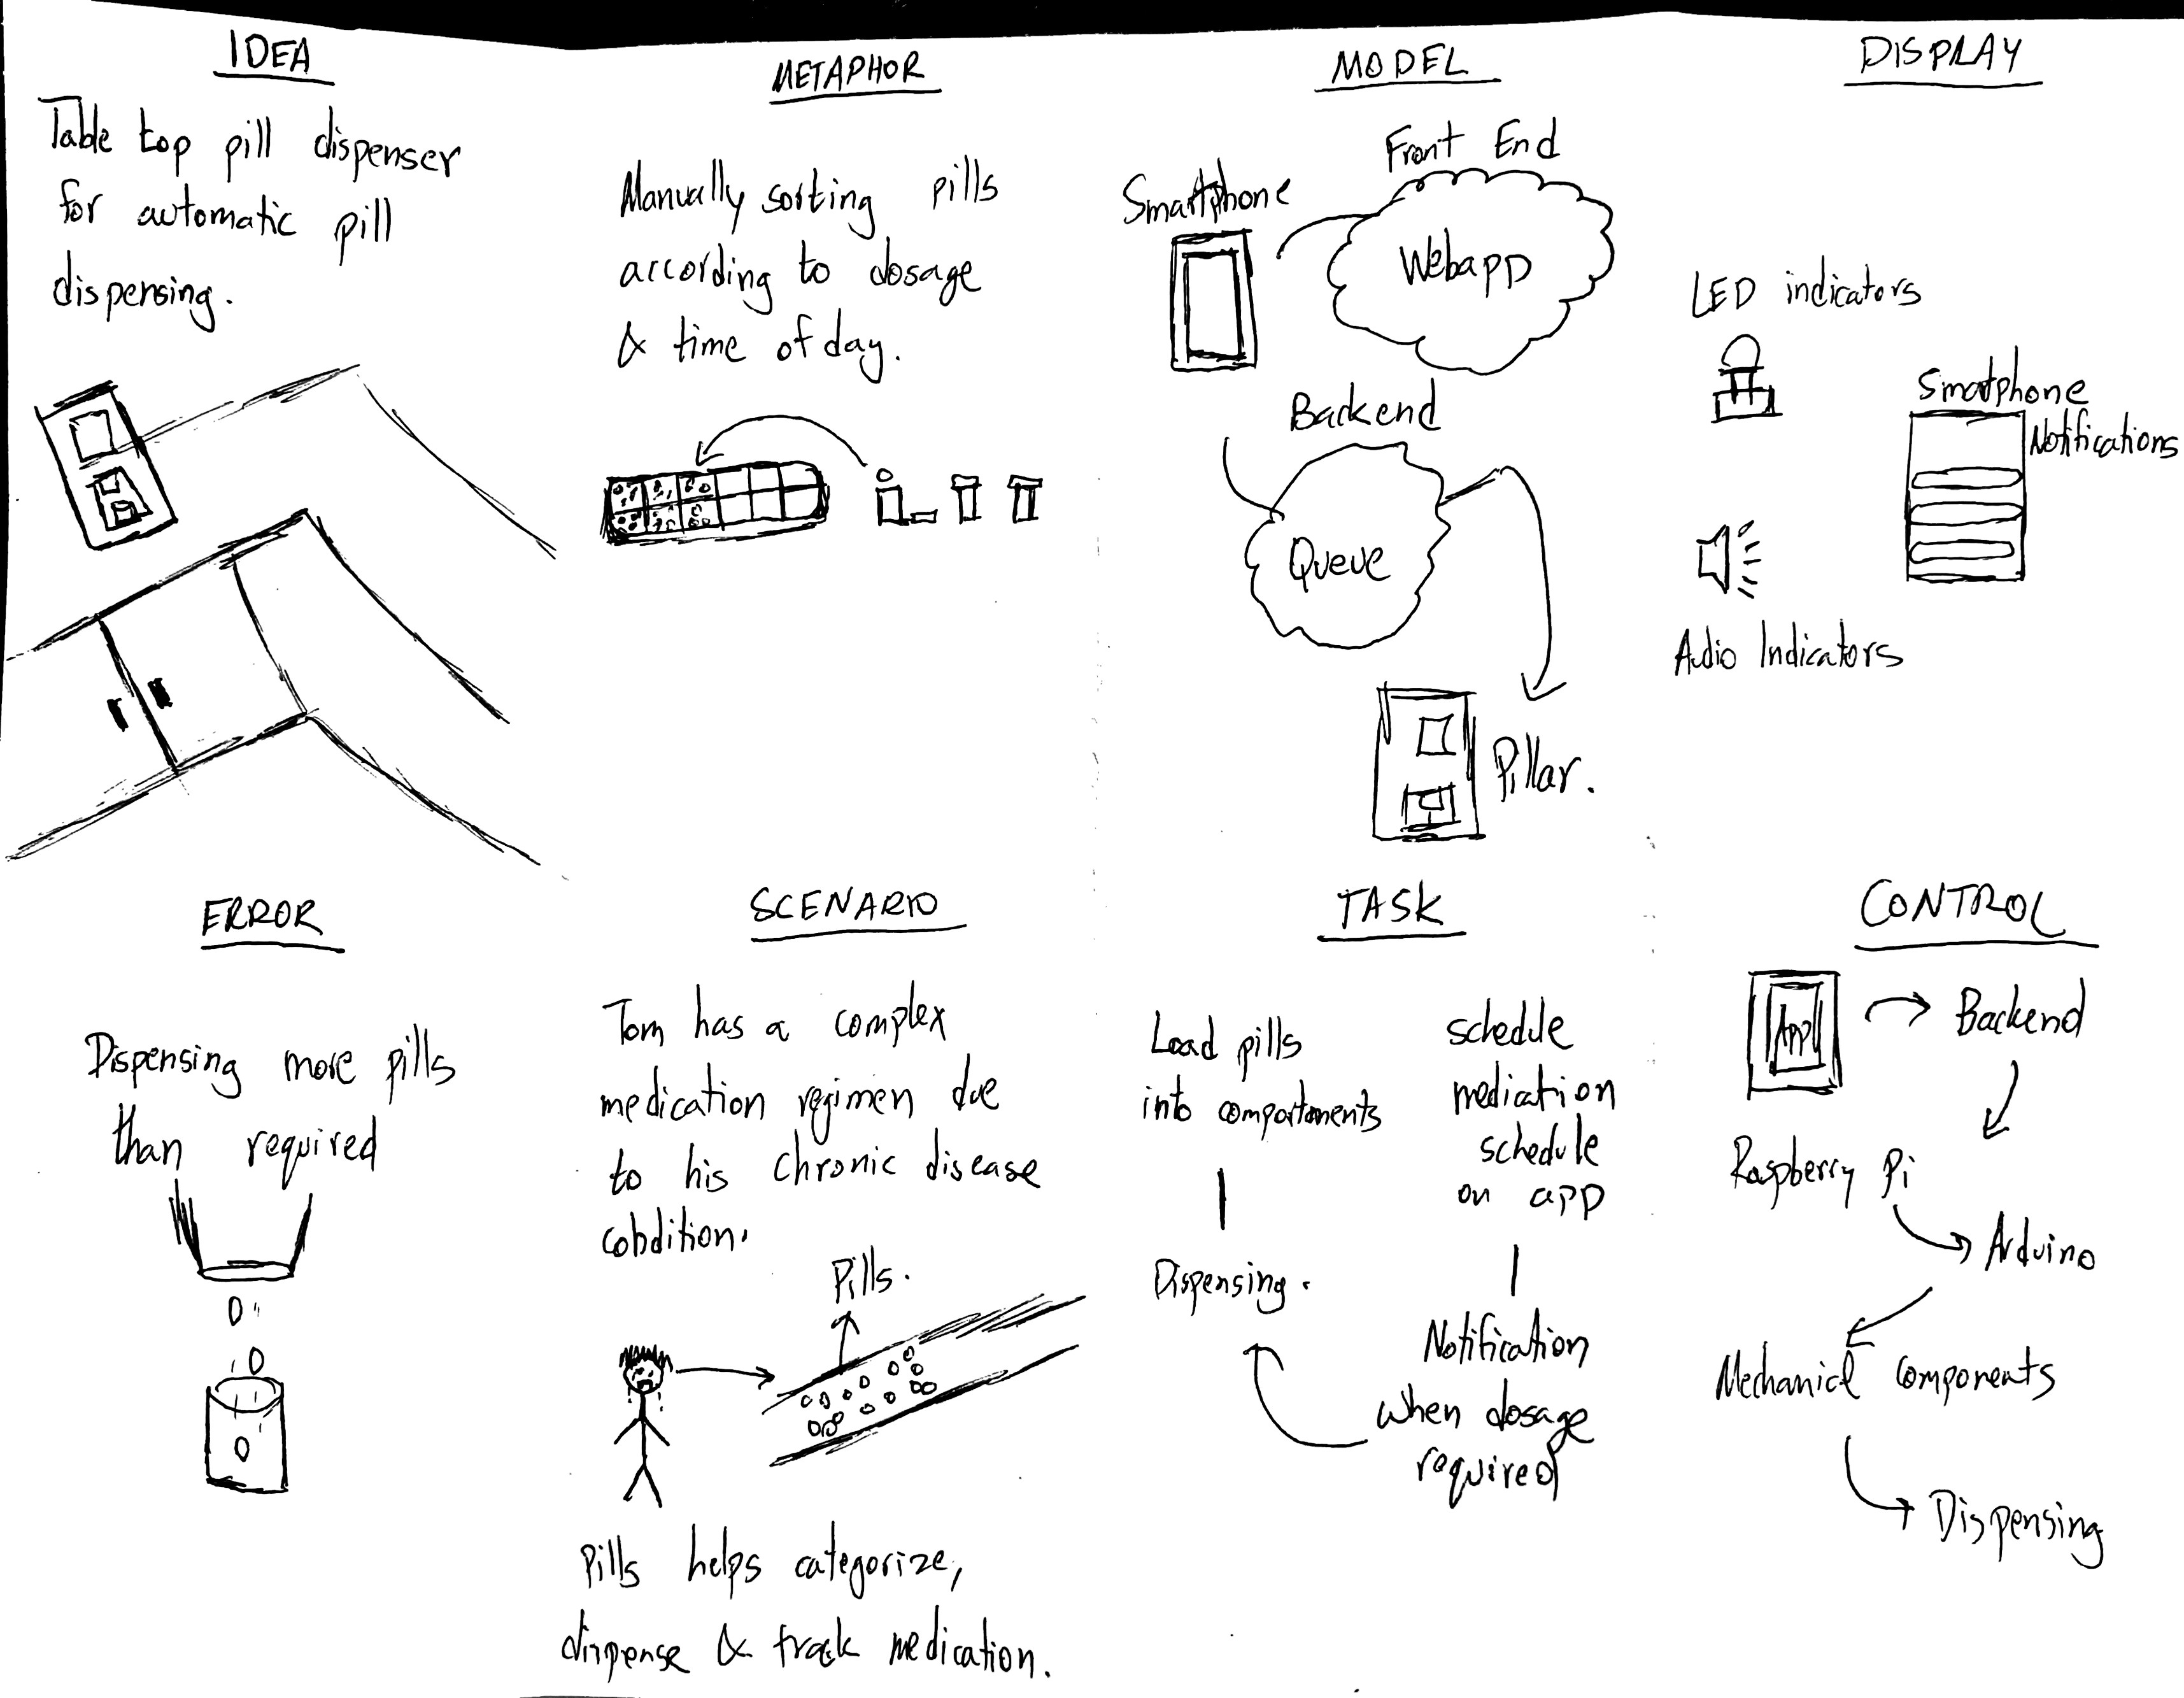
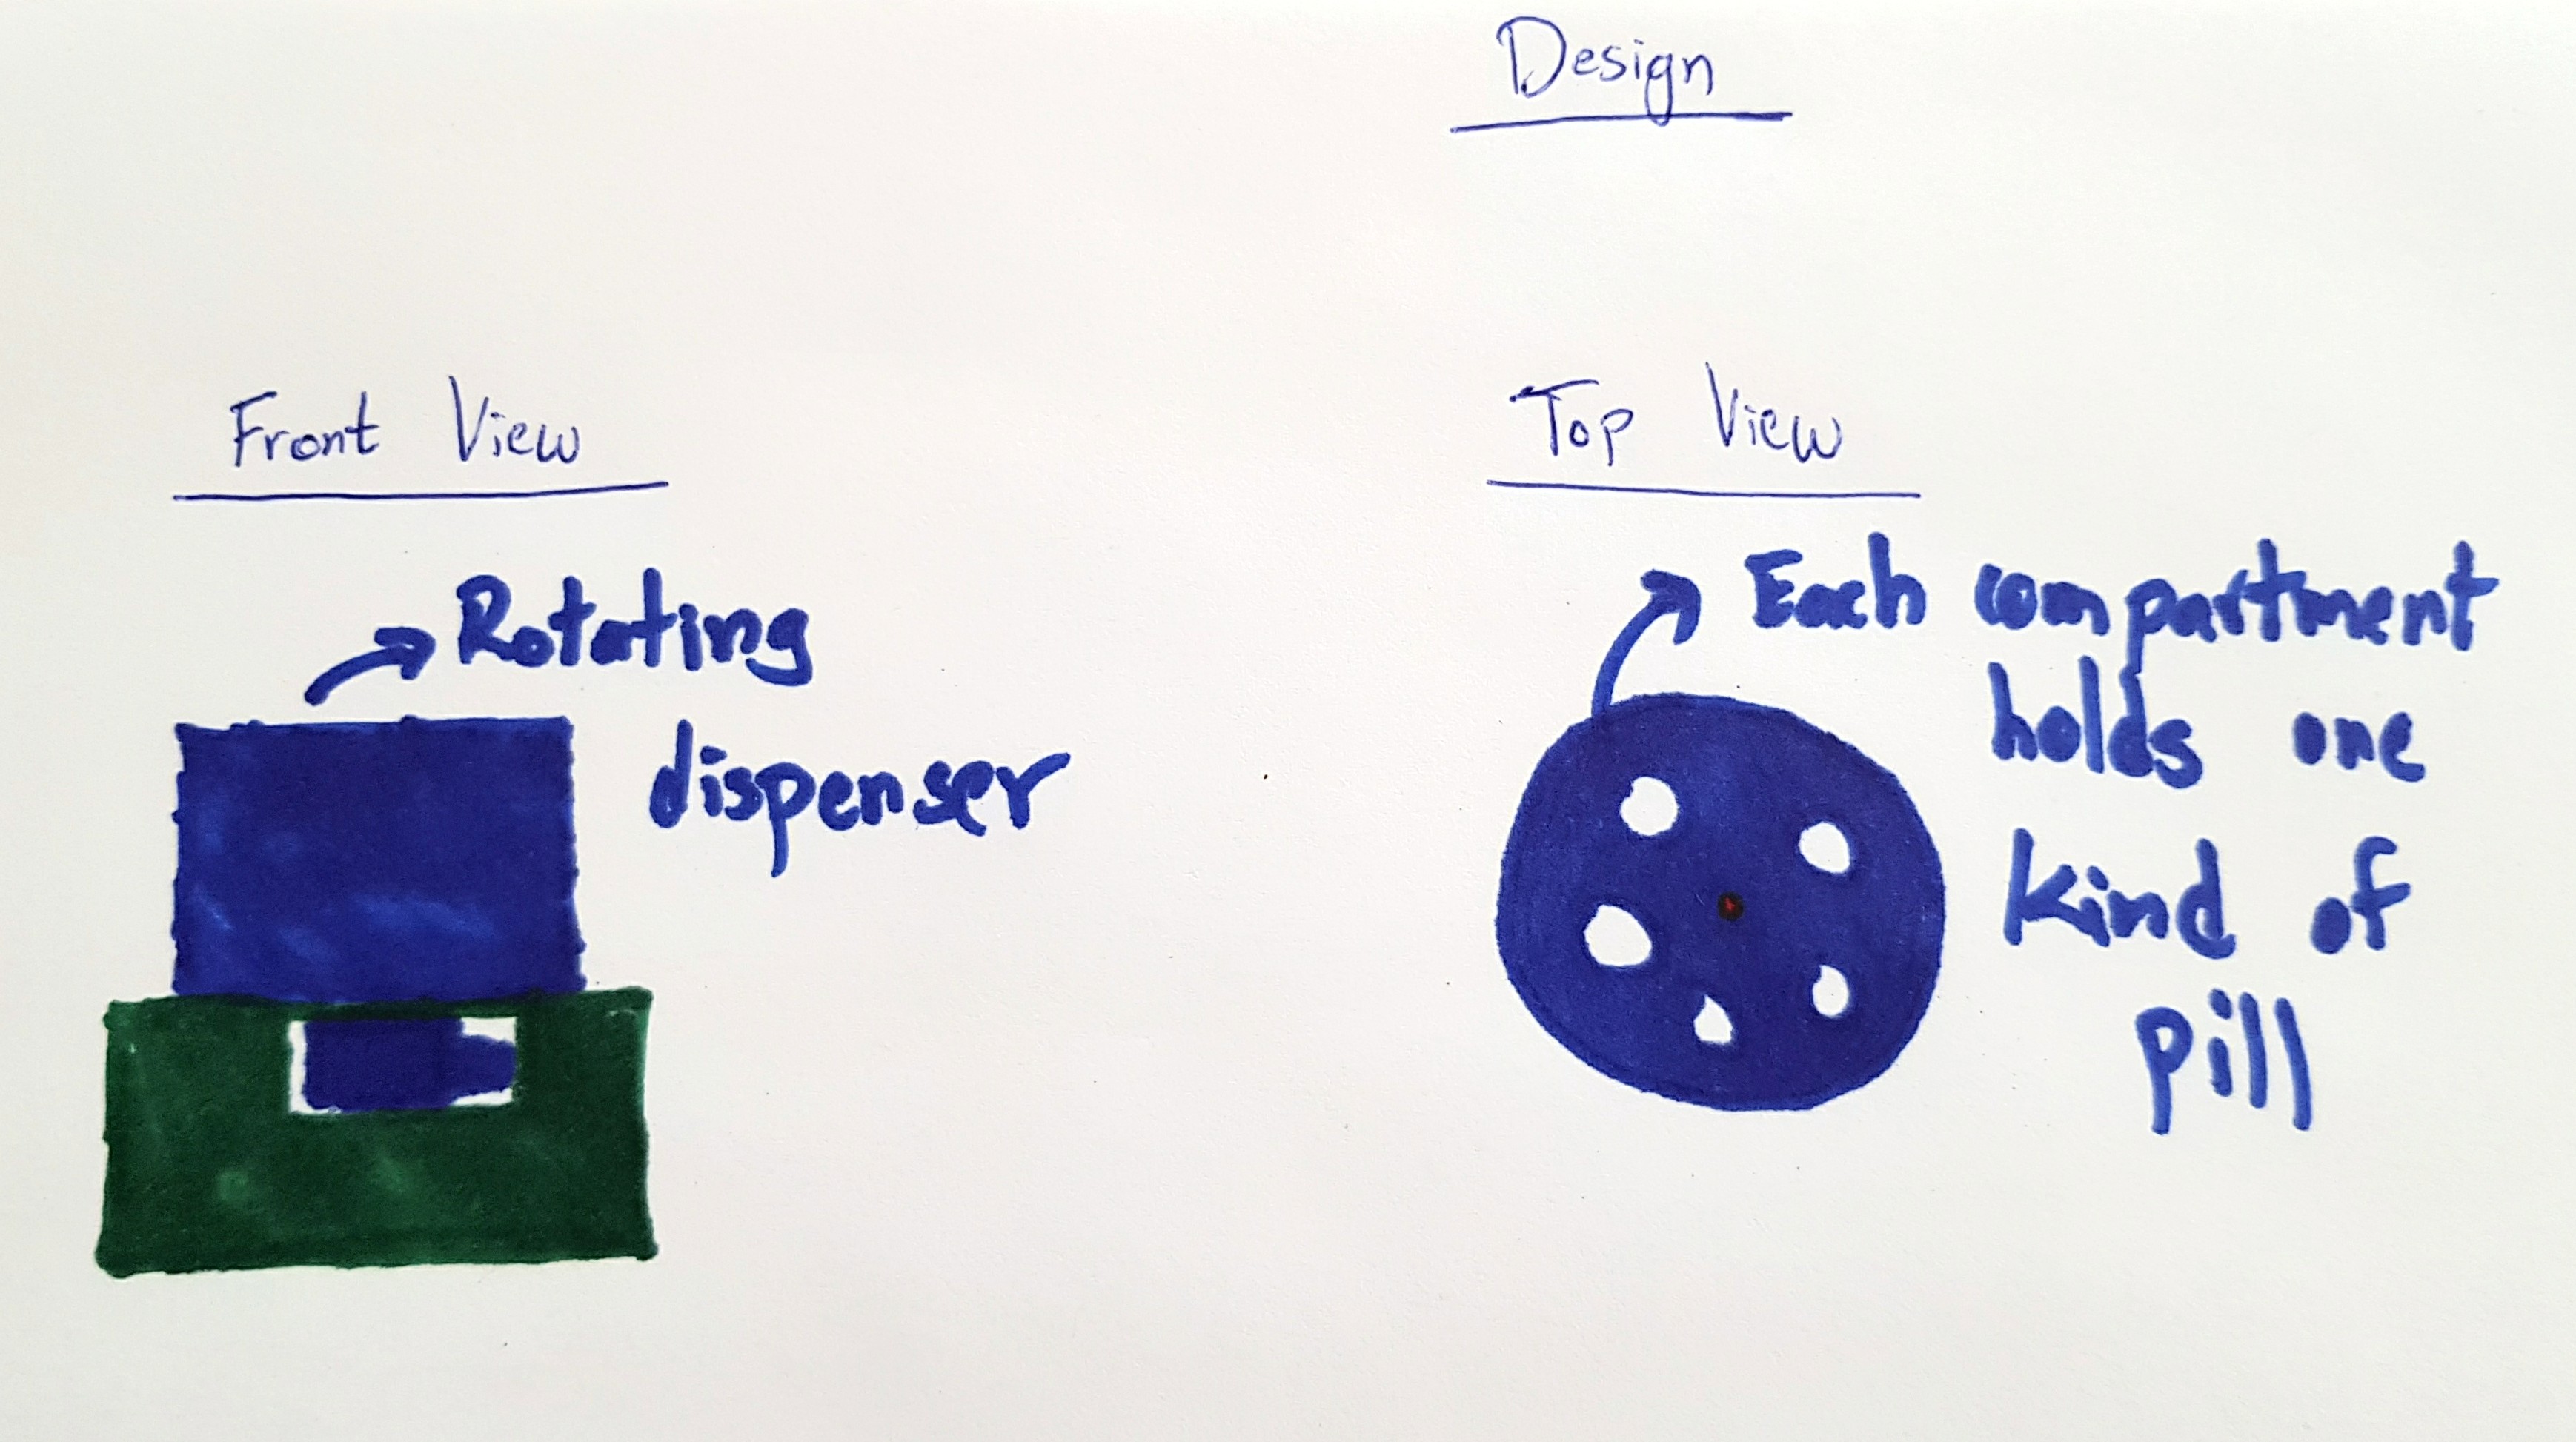
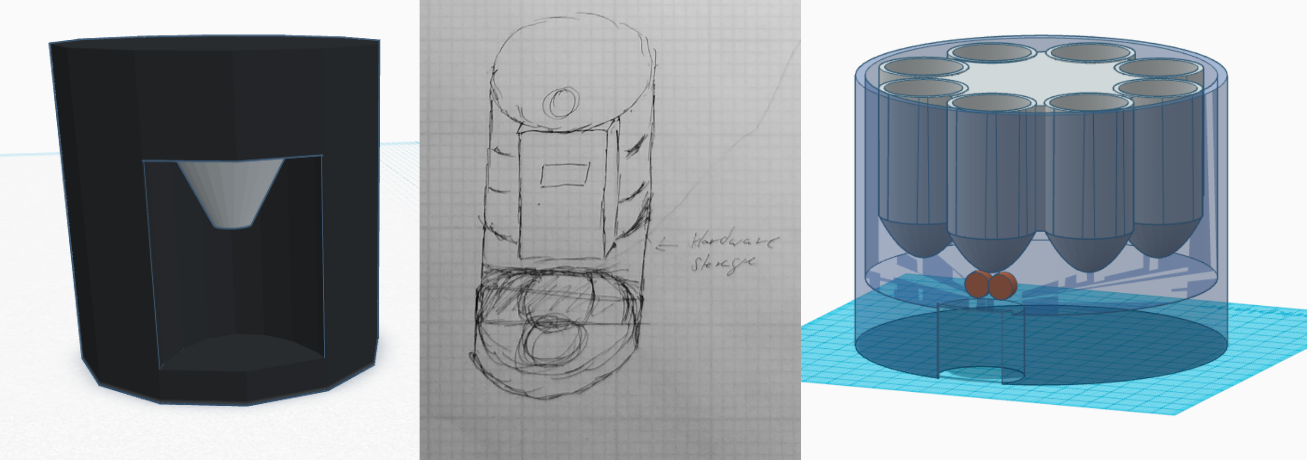
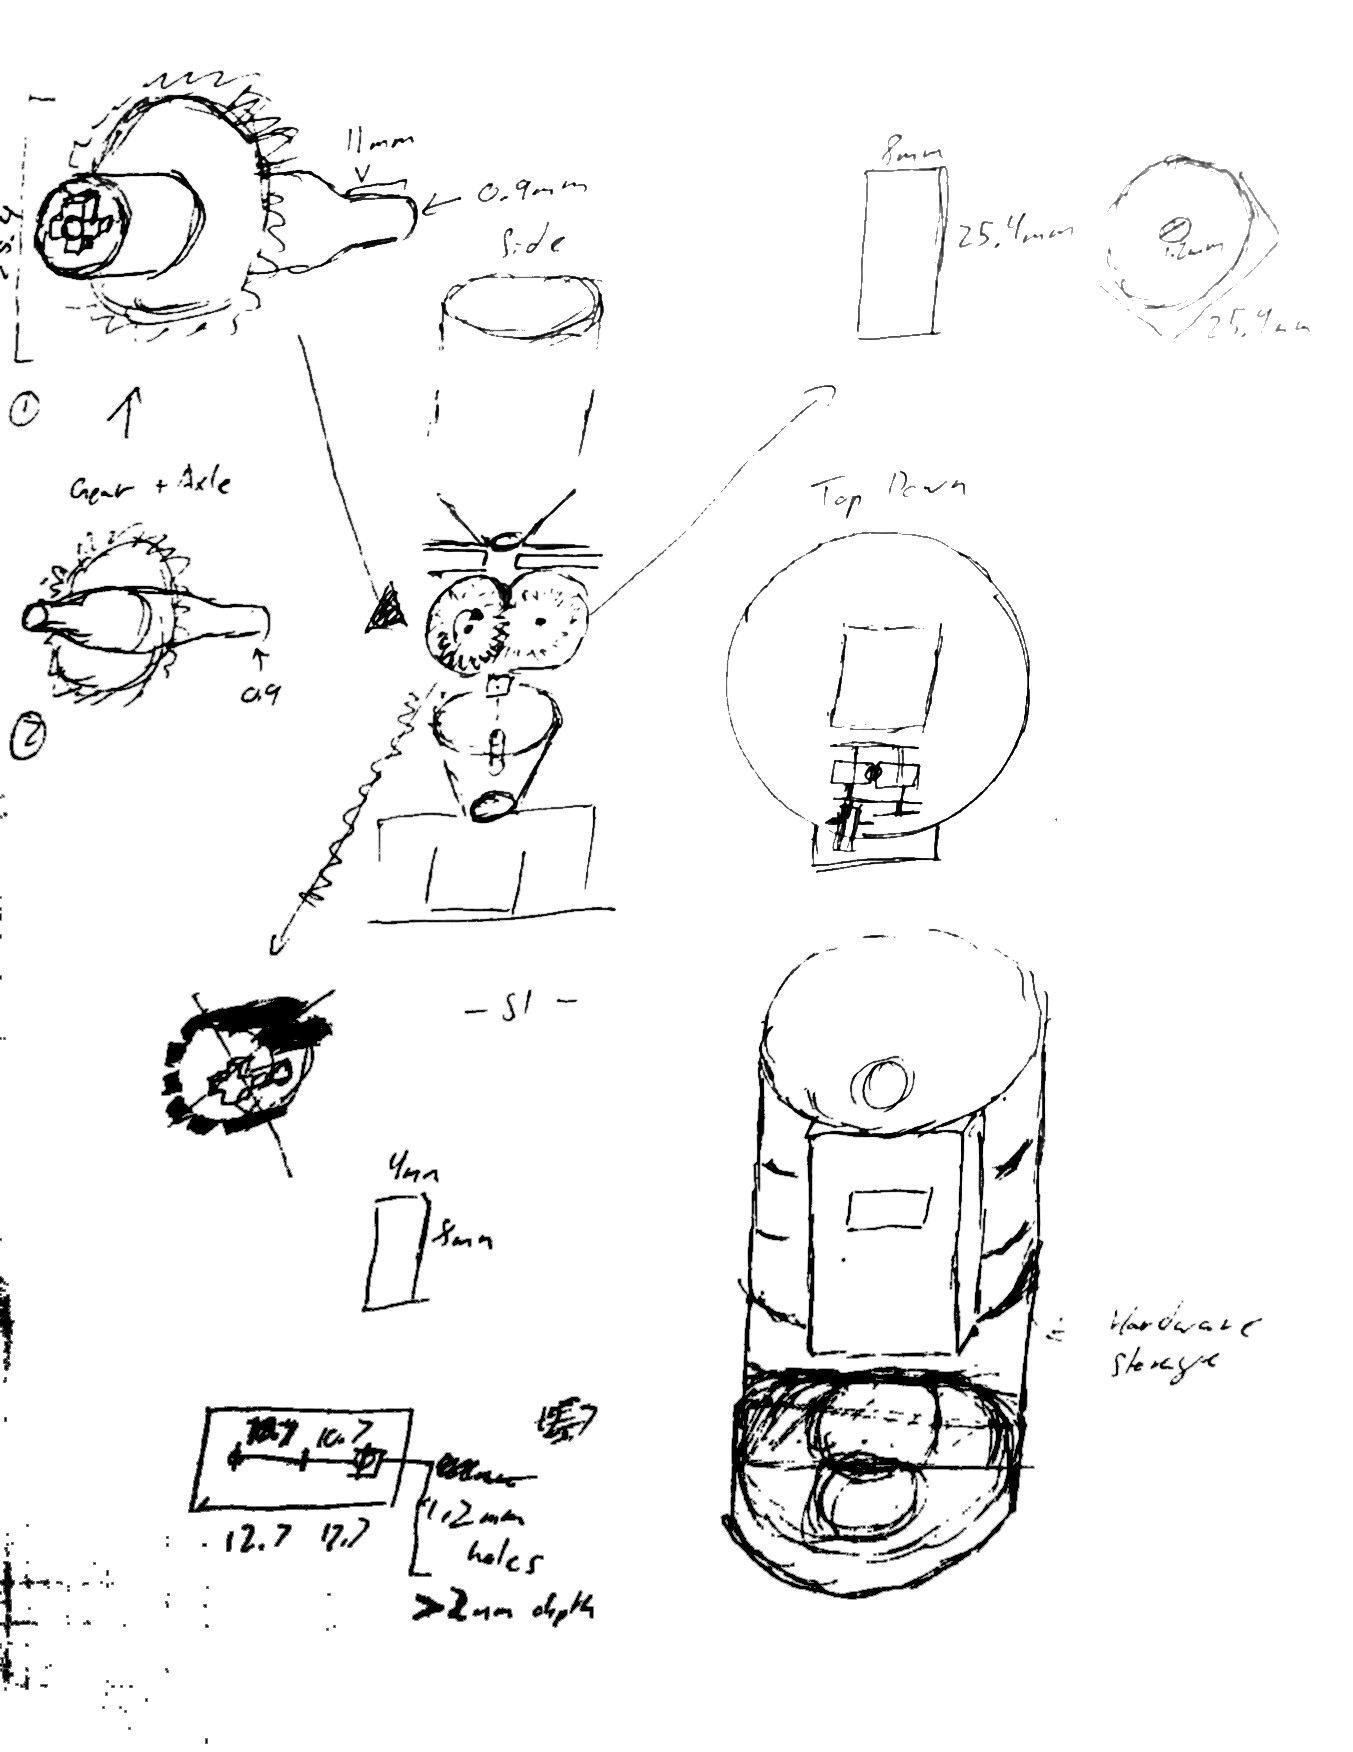
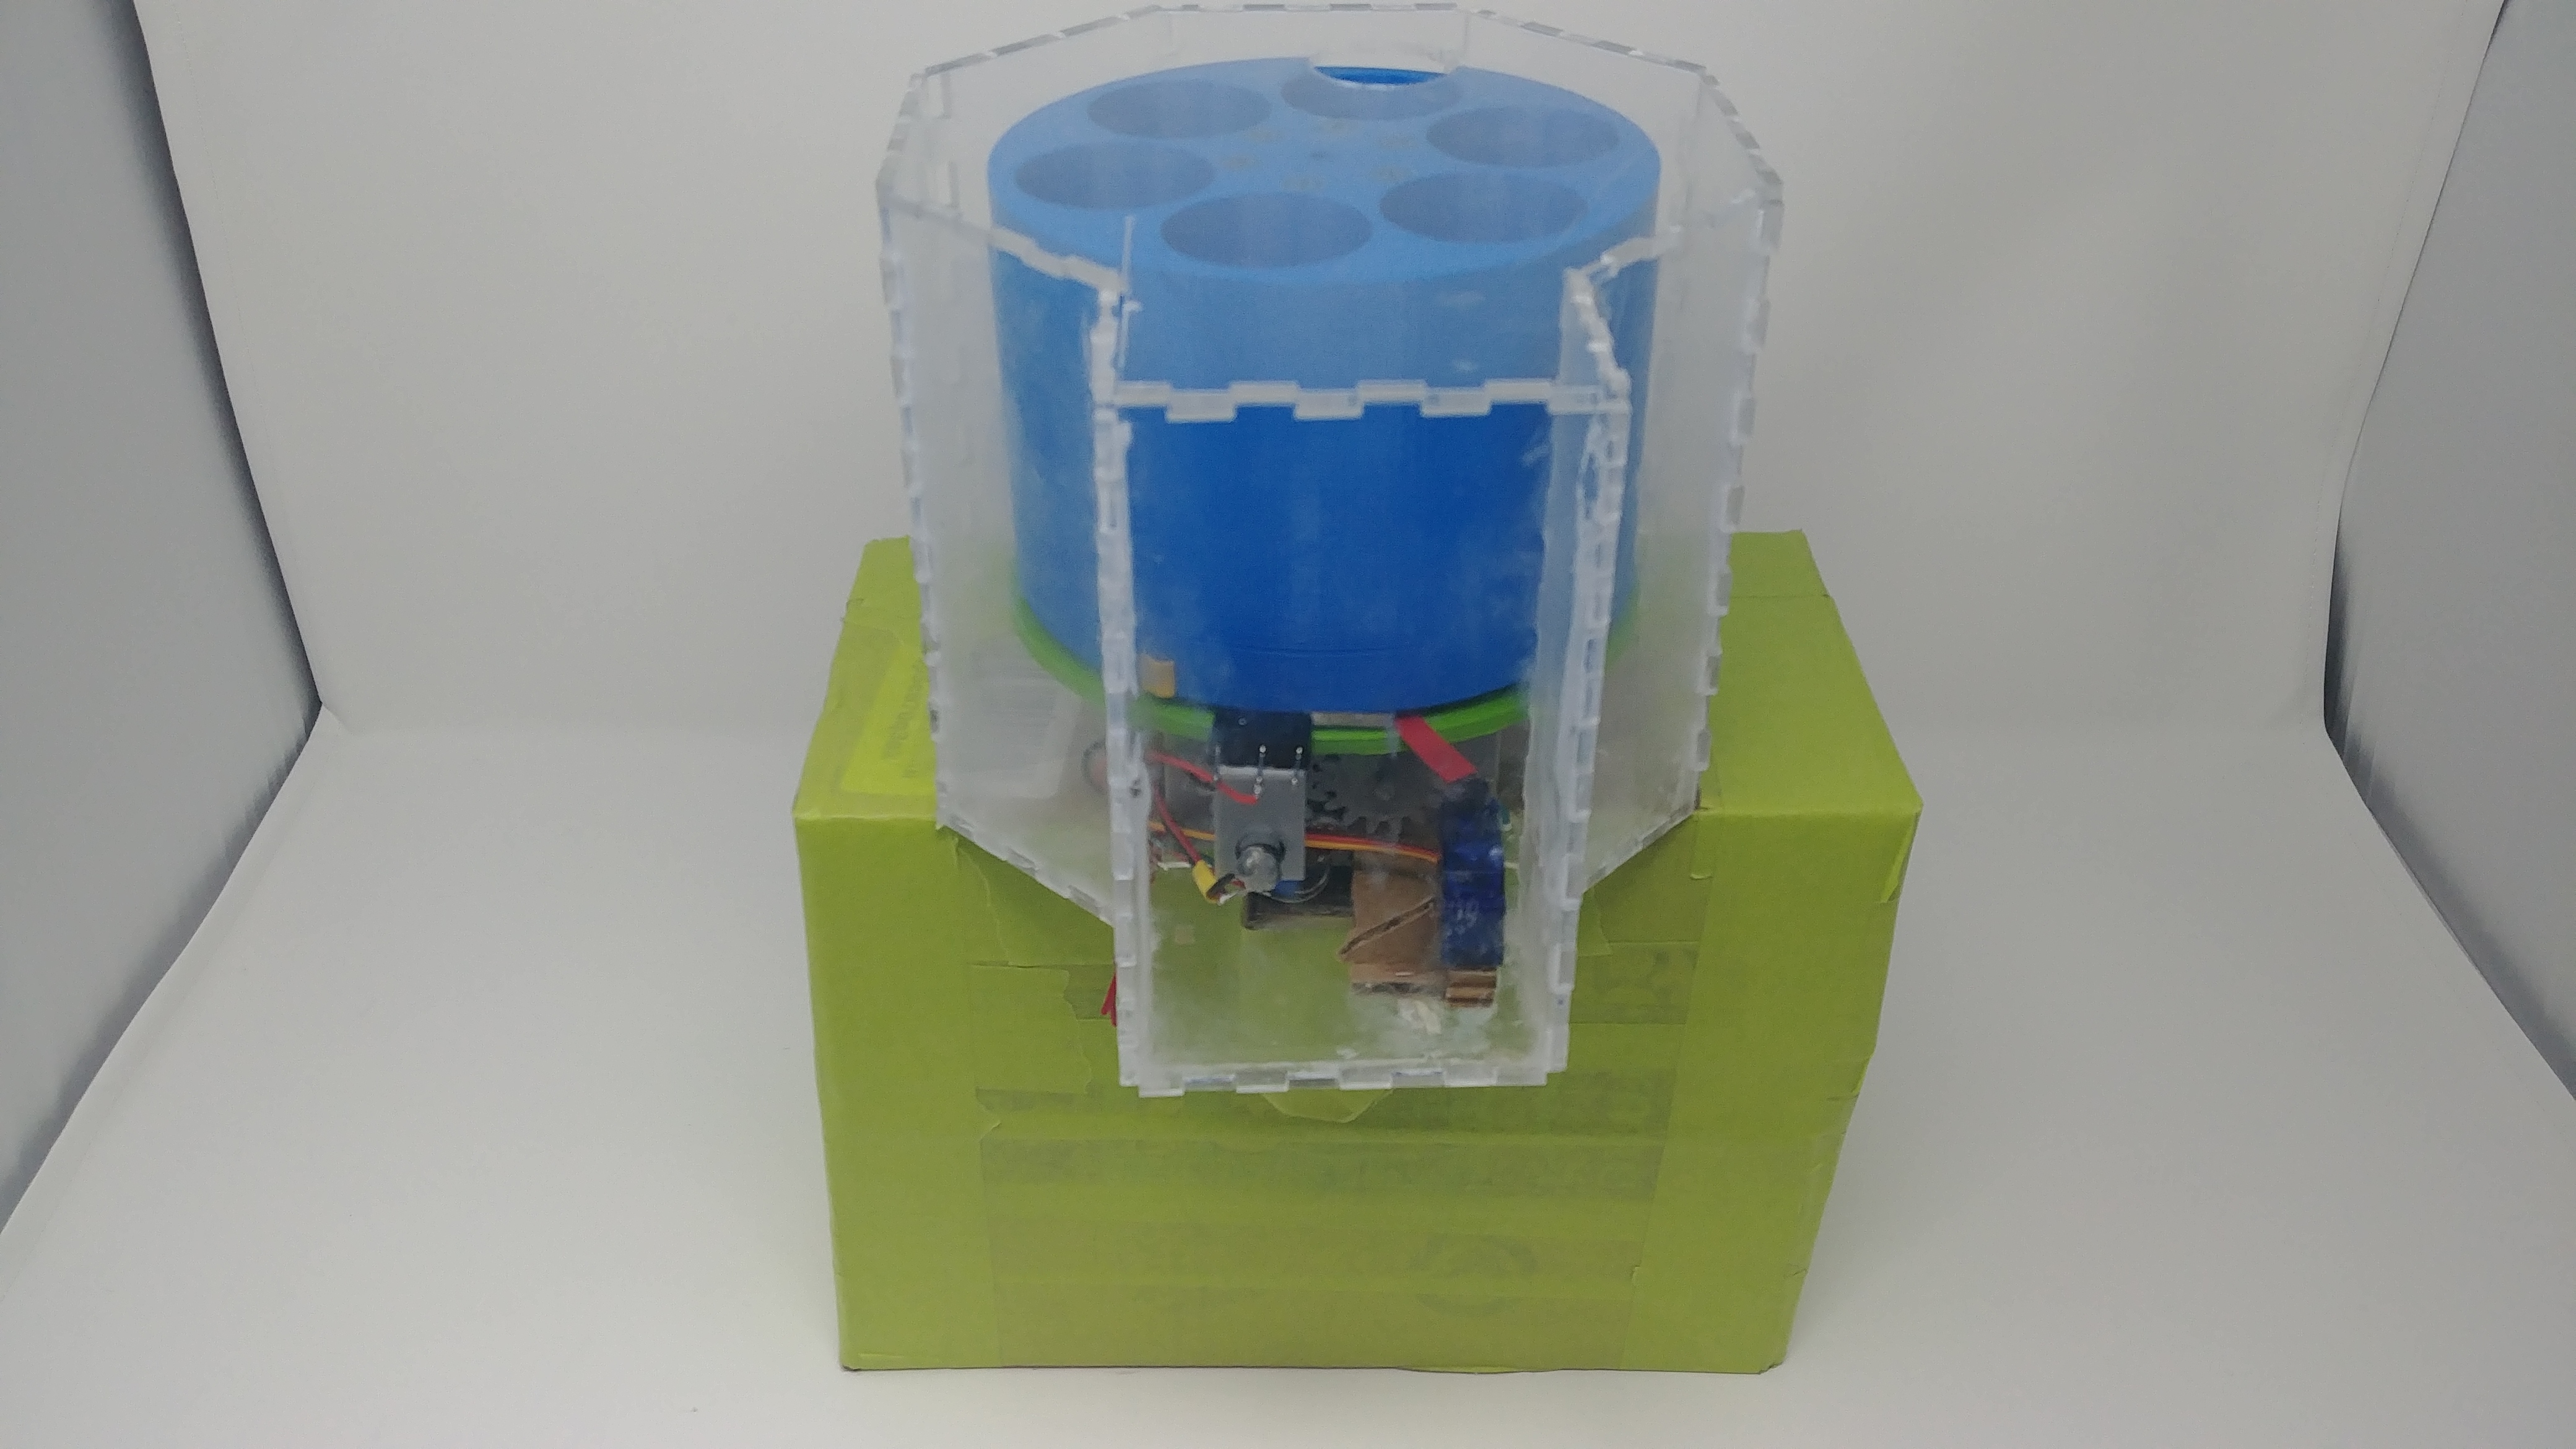
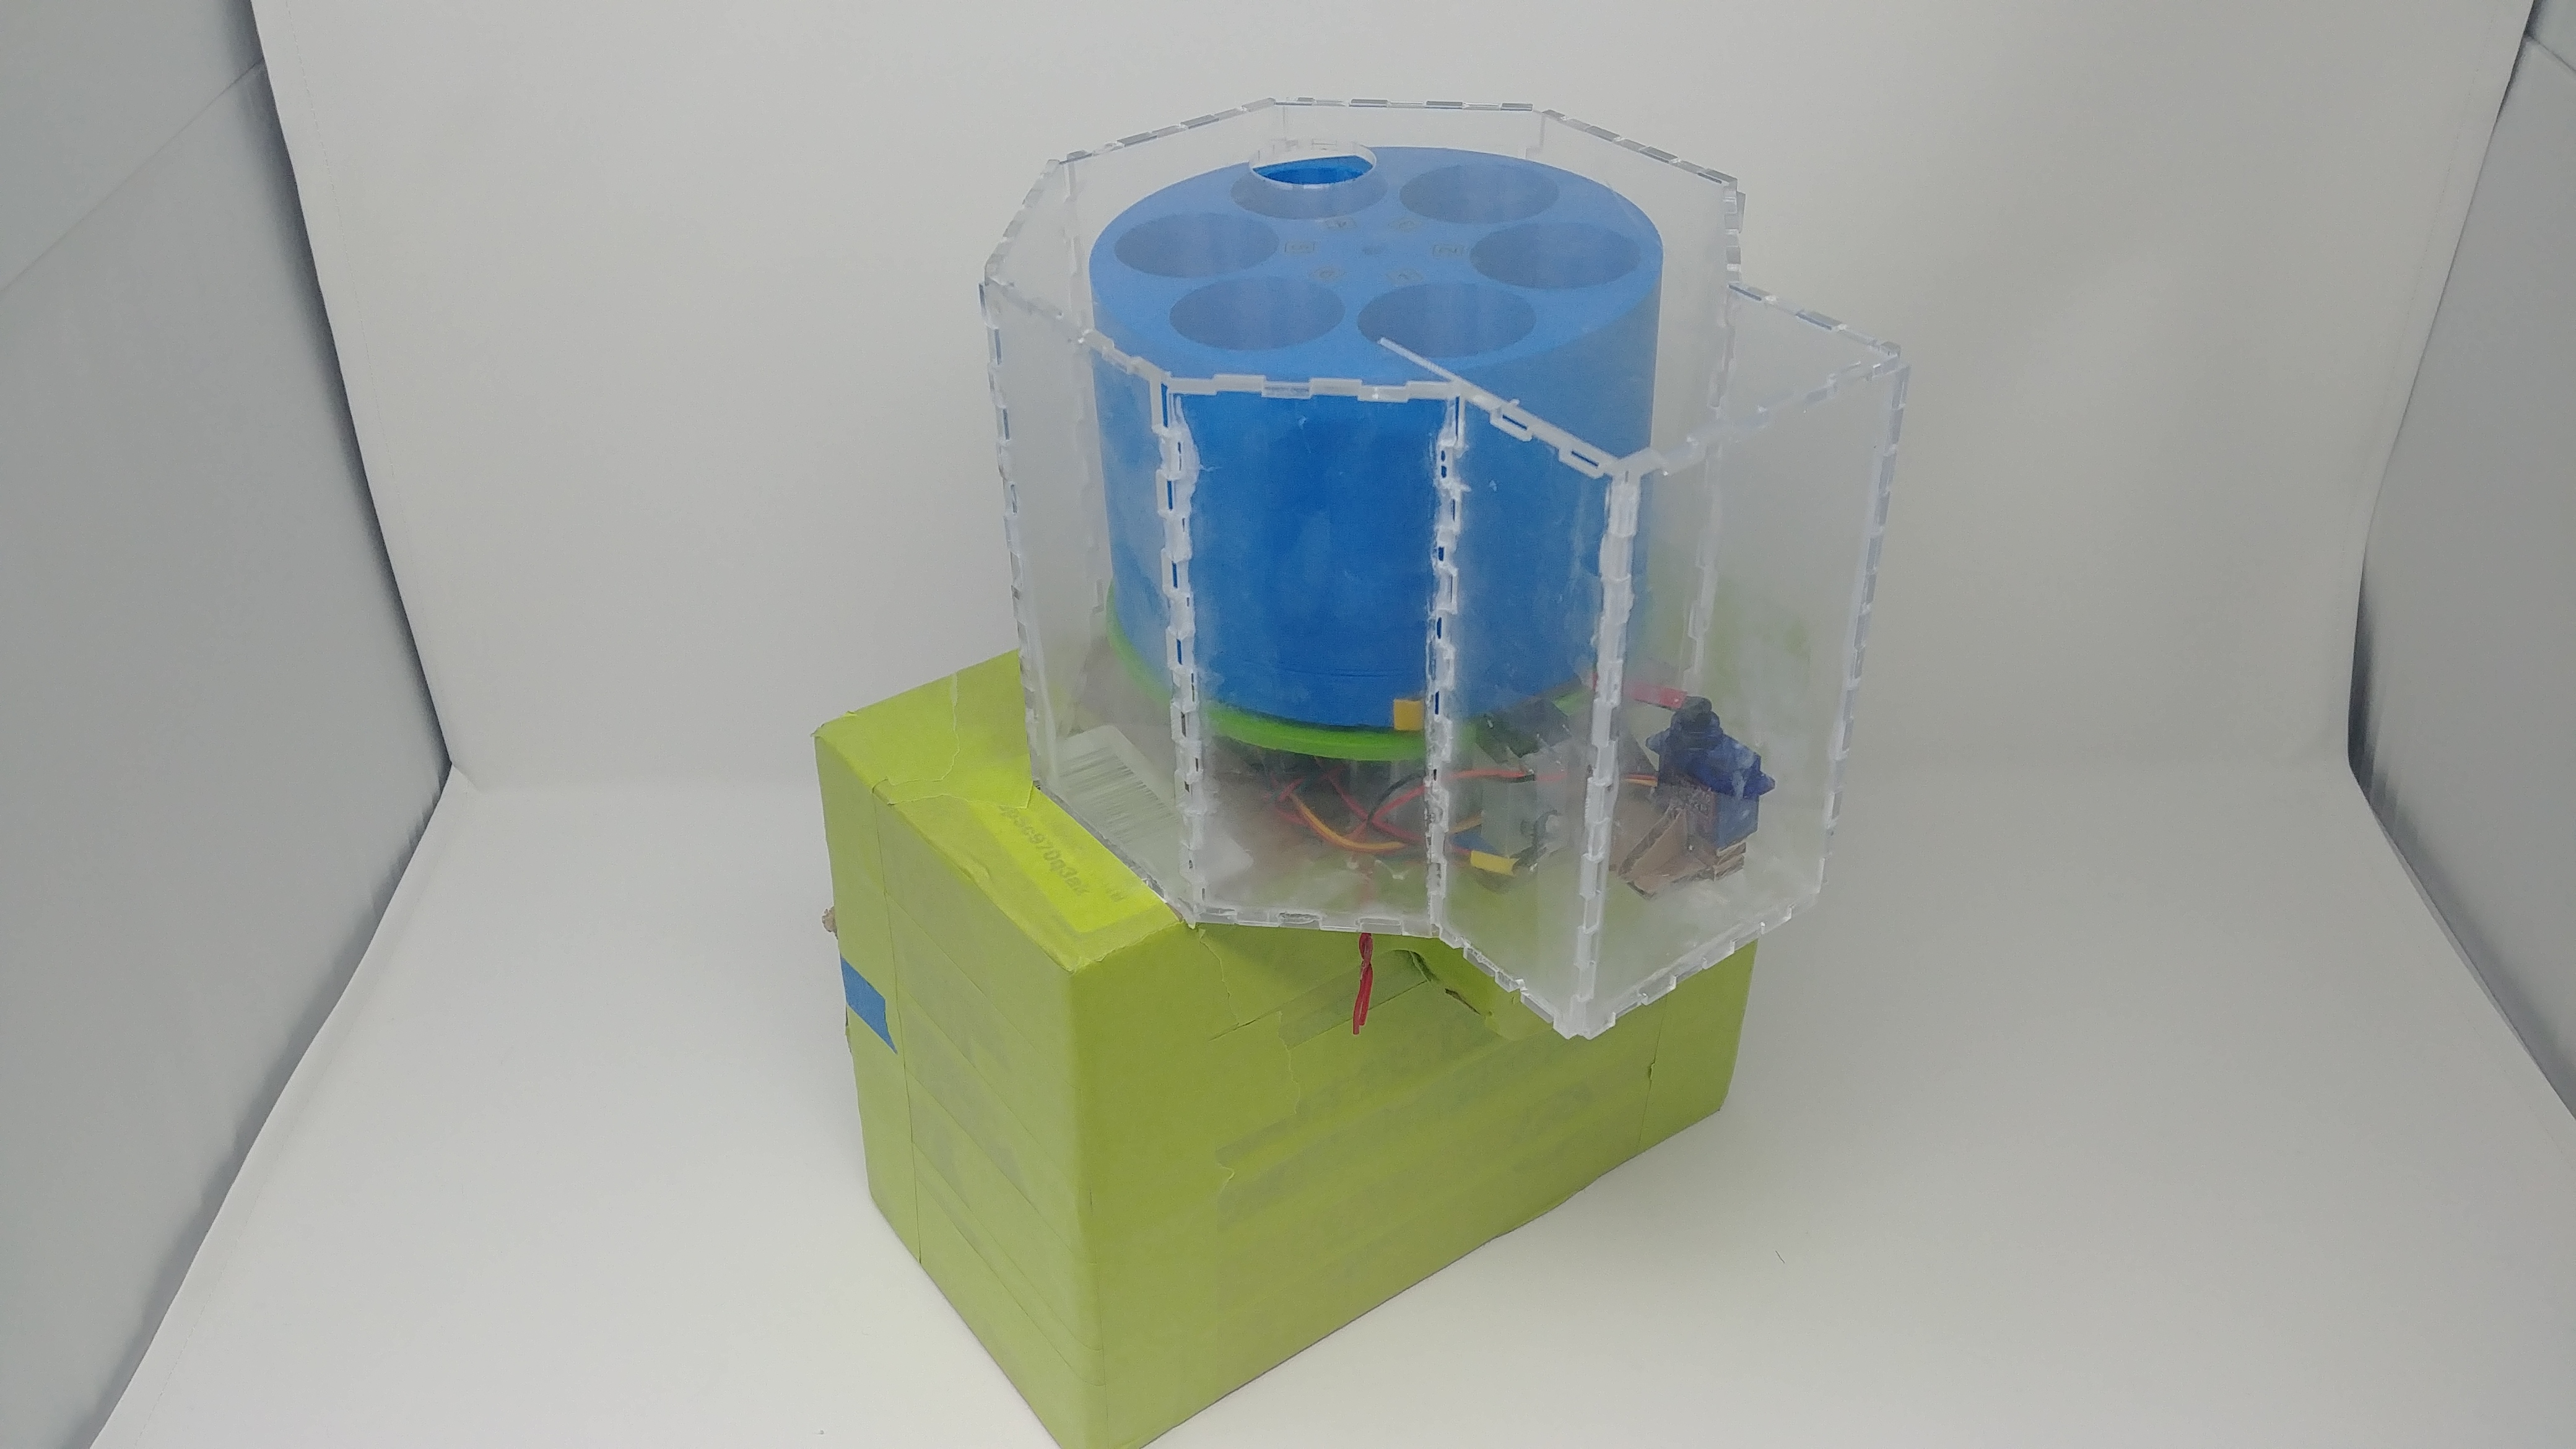
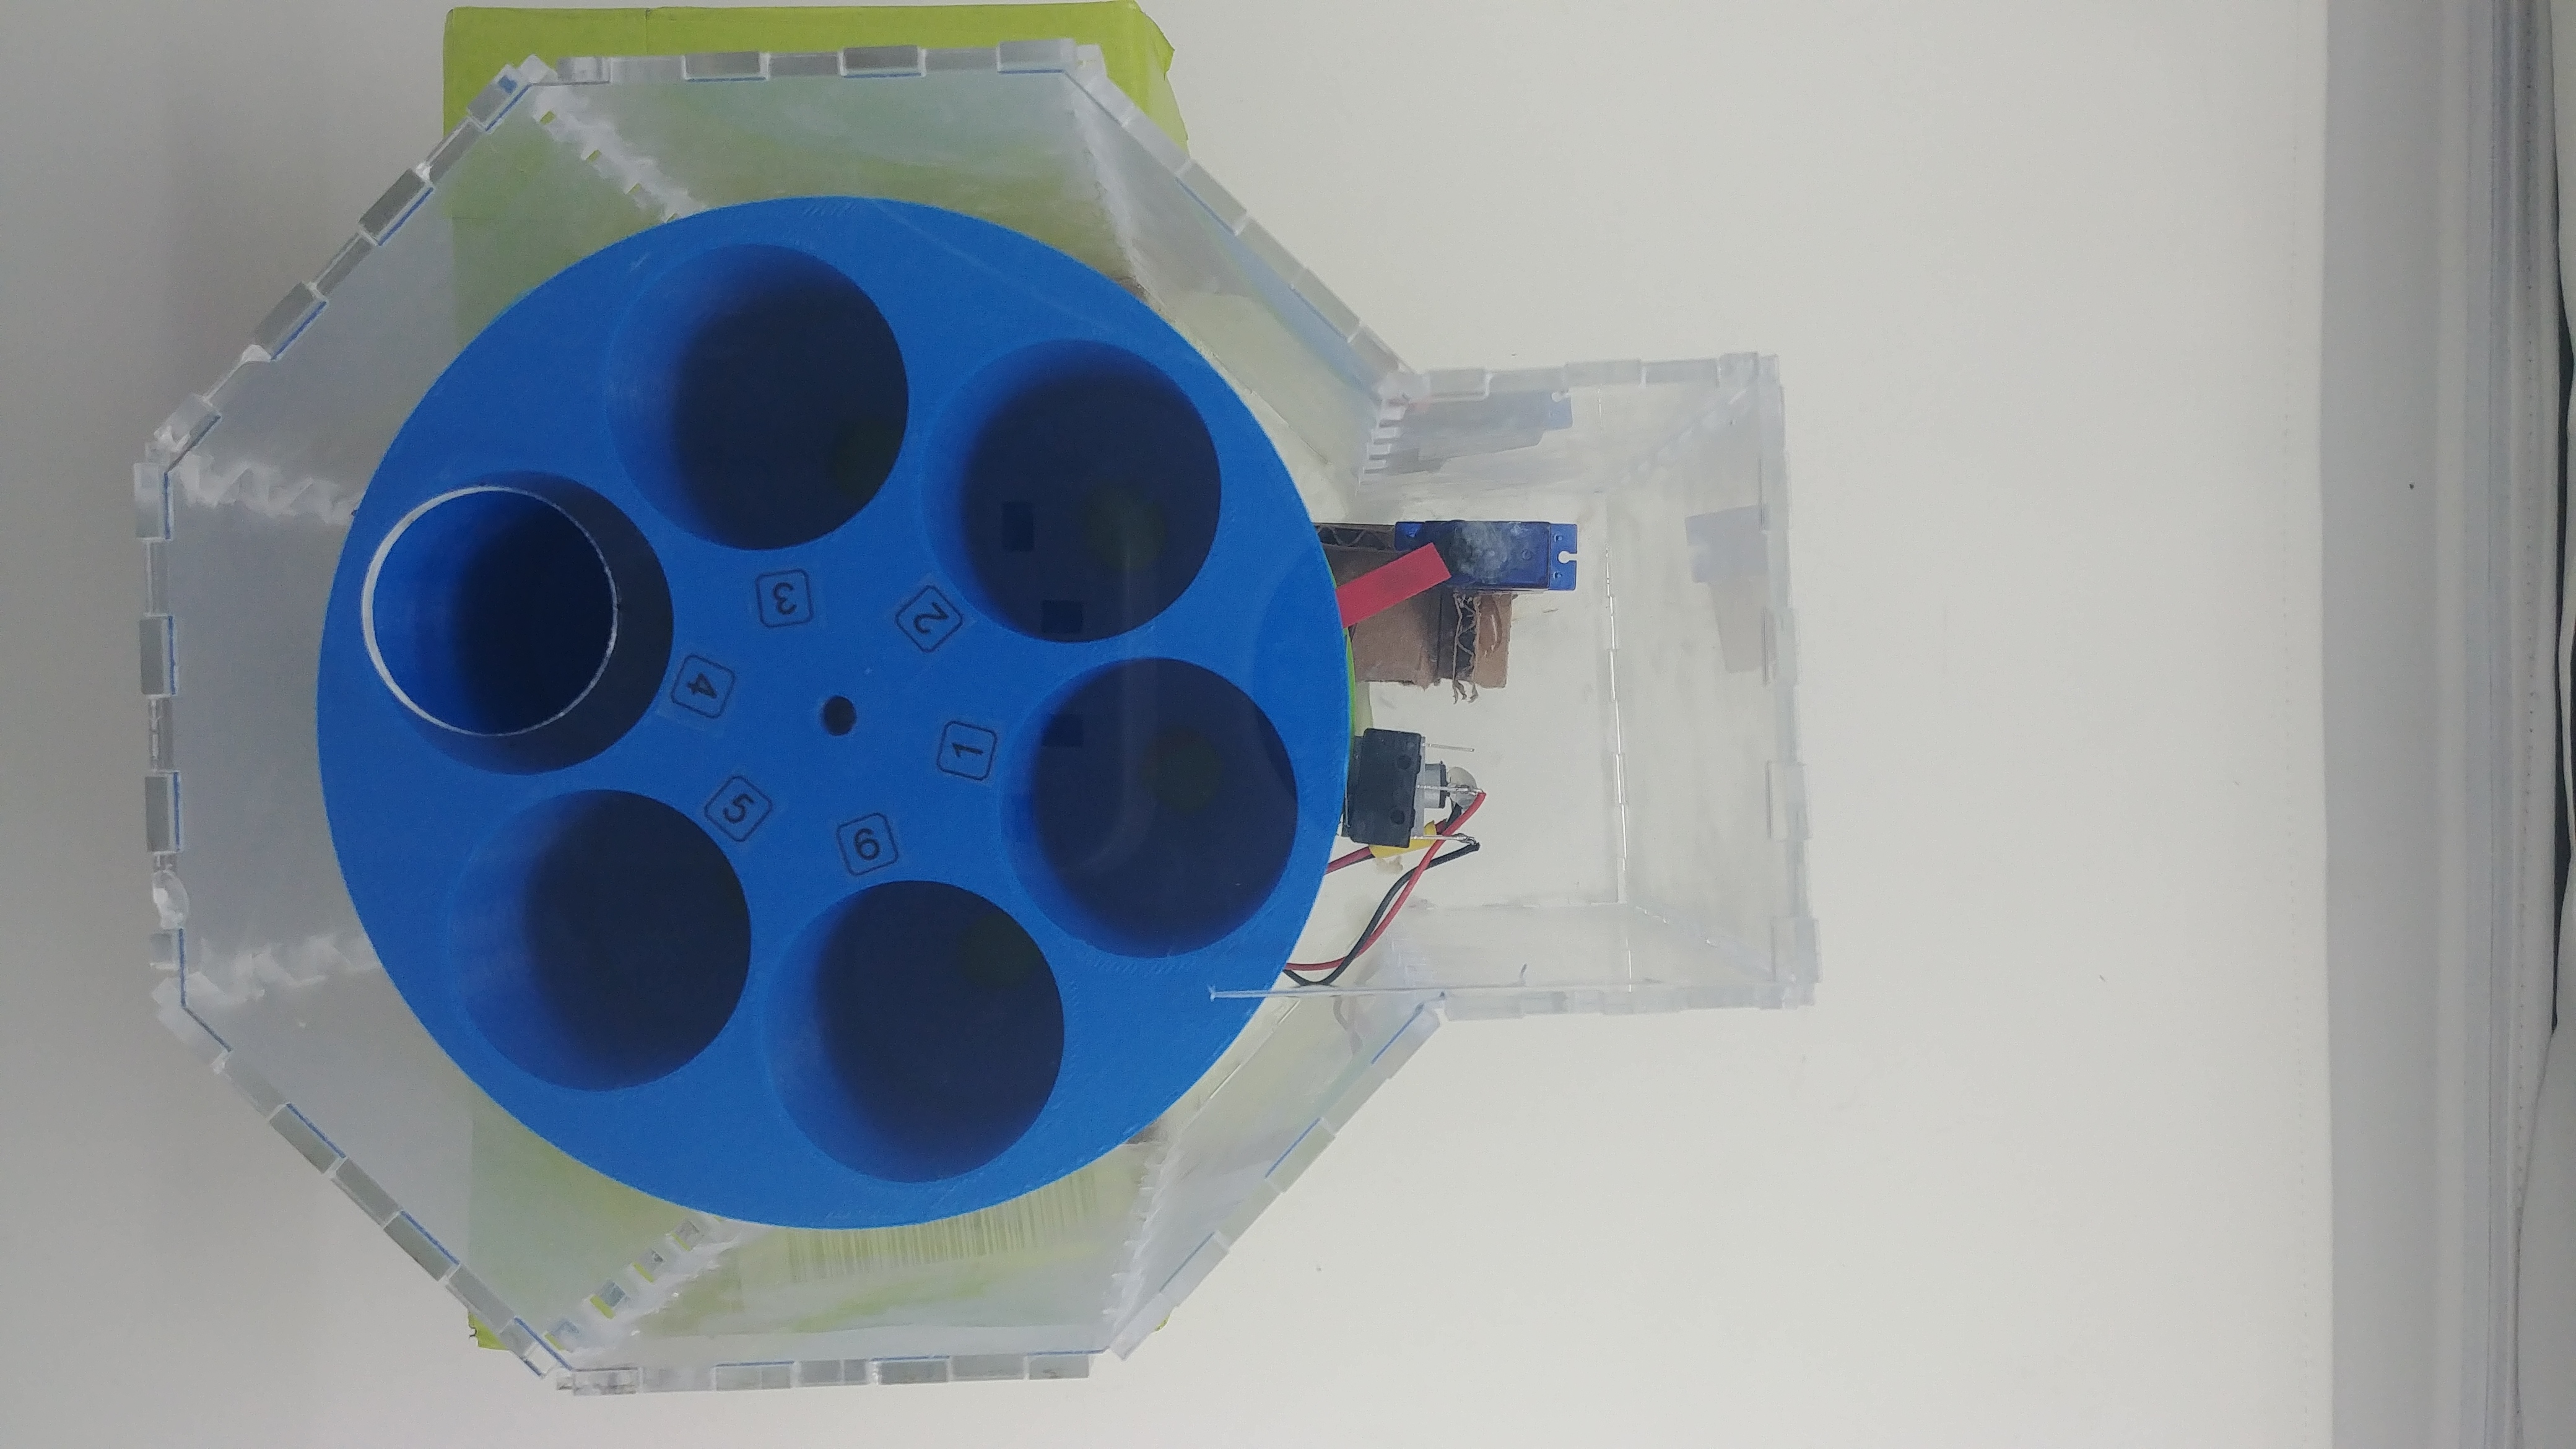
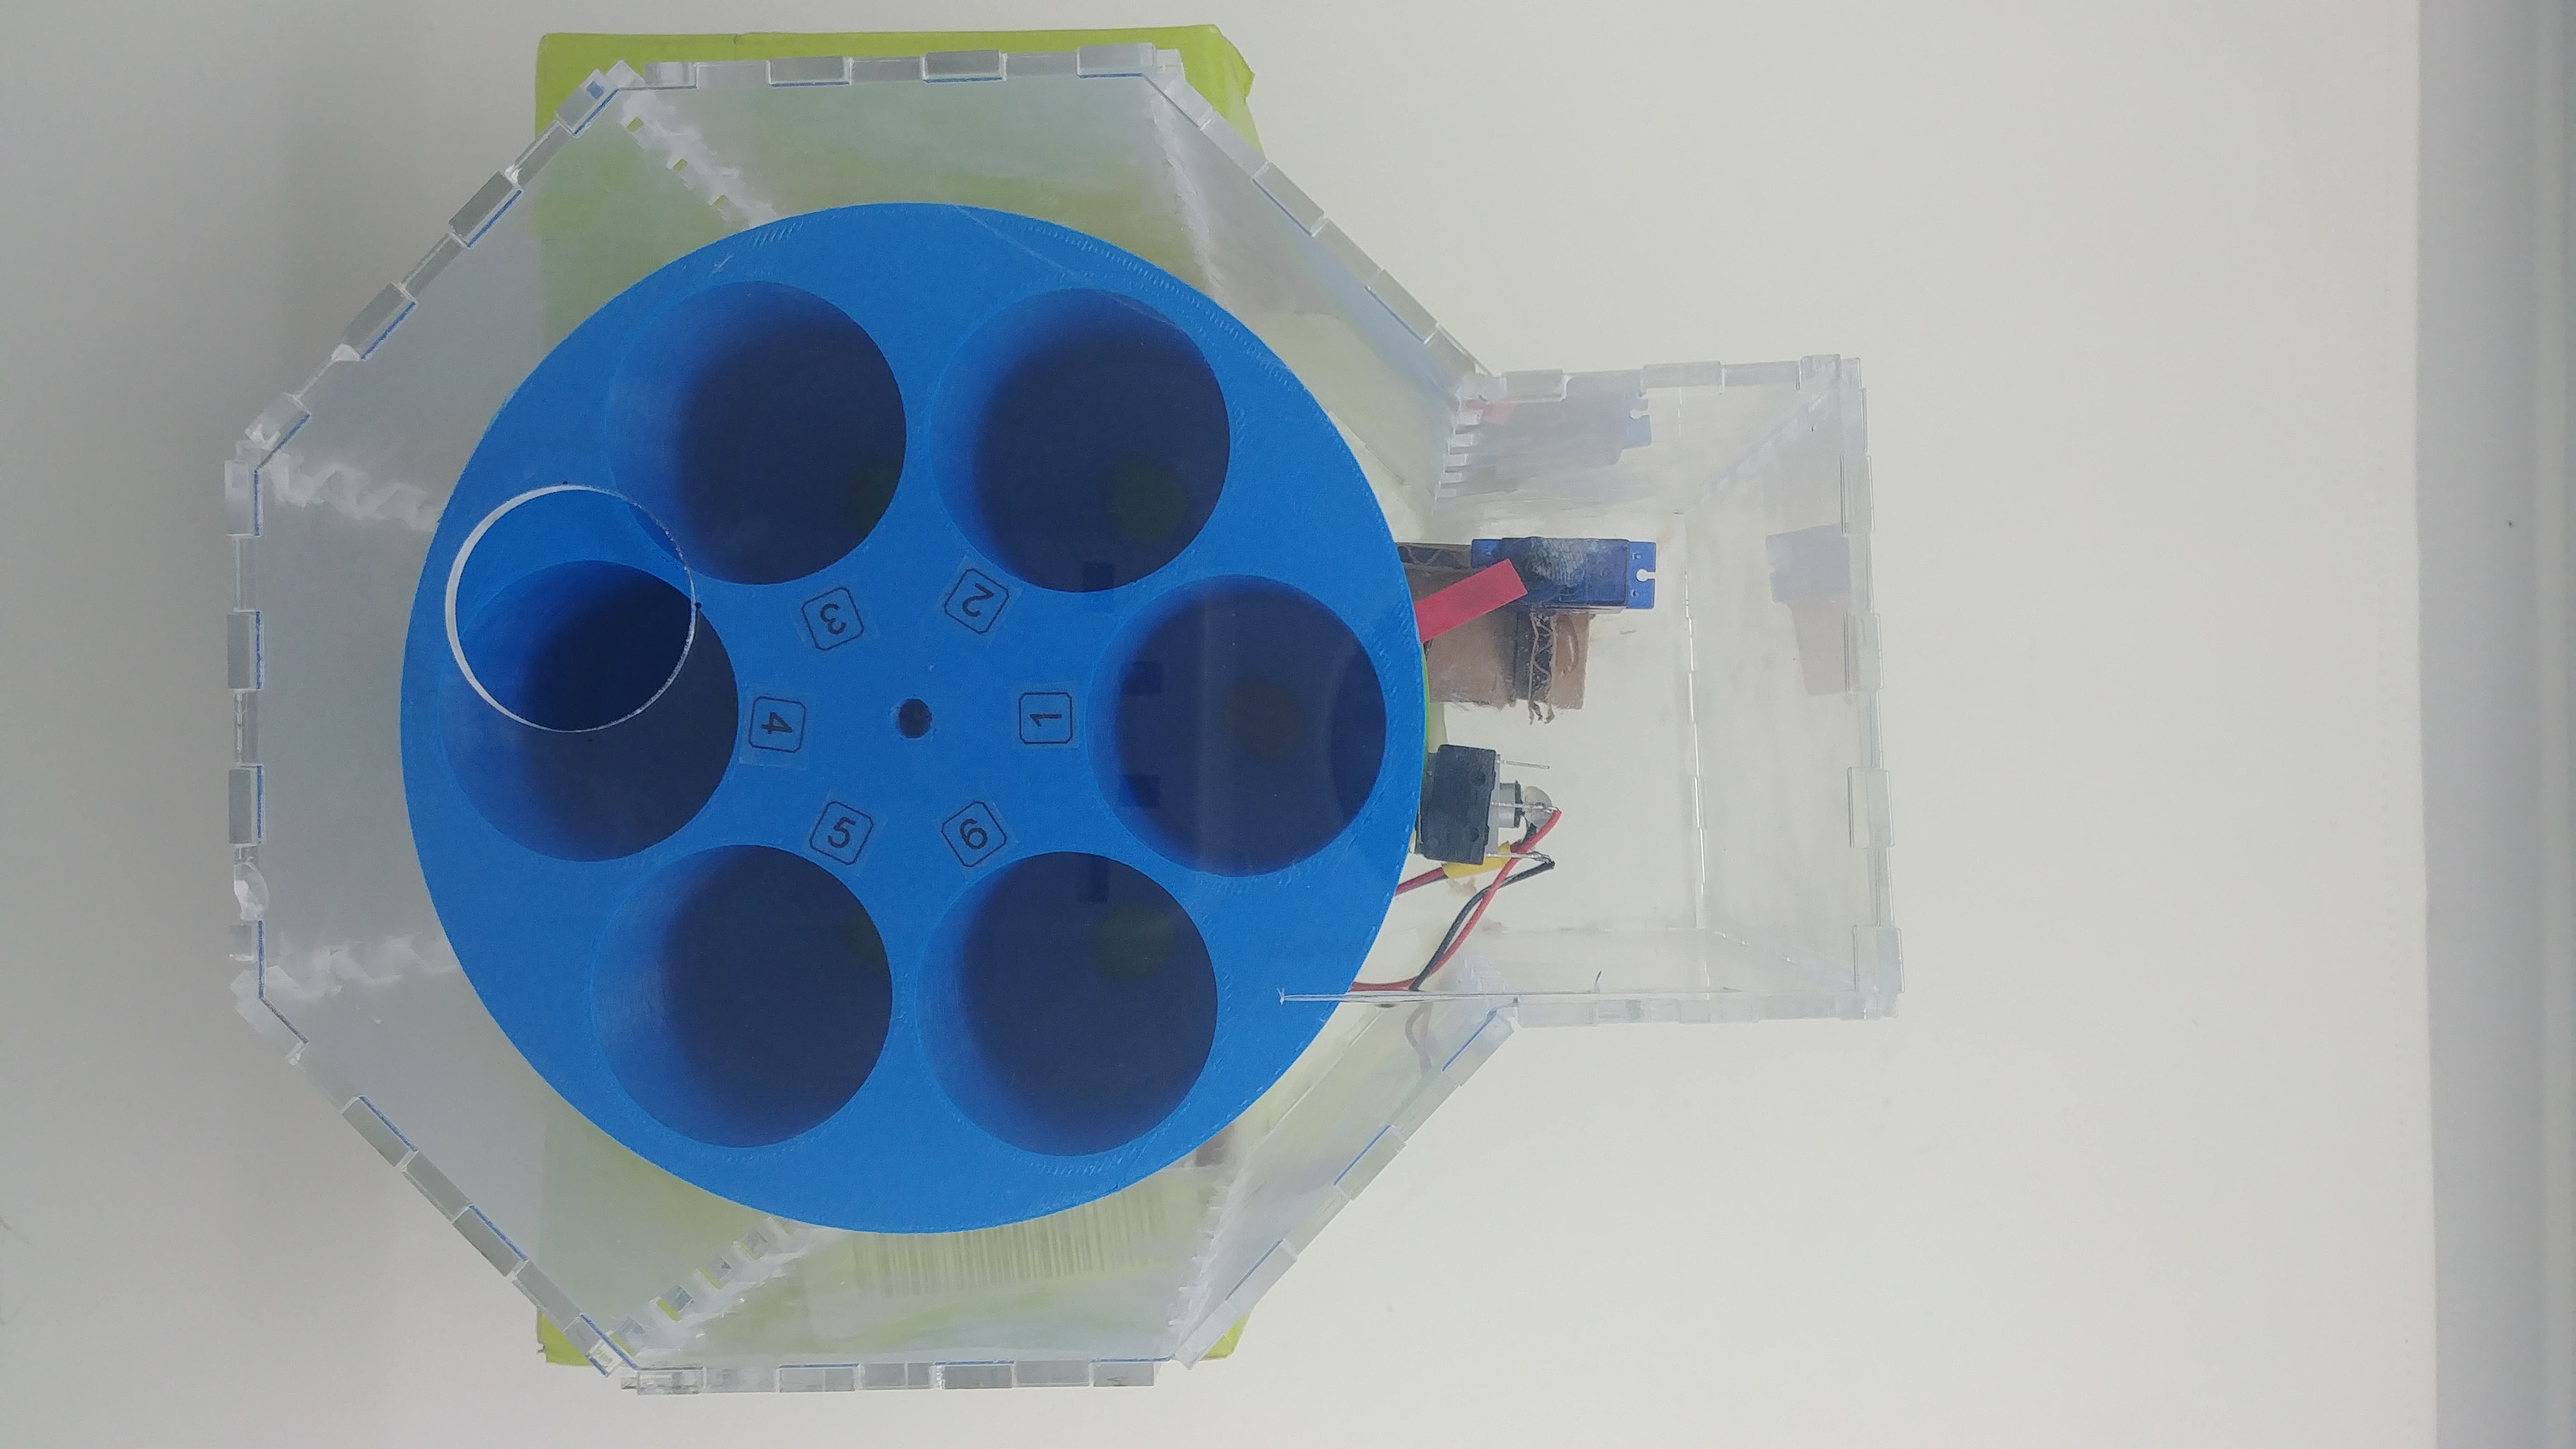
Pills are stored in cylinders mounted in a carousel. The cylinders have funnels in the bottom. When it is time to dispense a pill, the carousel rotates to align with a hole in the base mounting plate. A gate opens, allowing pills to enter the hole. Directly below the hole, small wheels made of low-density foam rotate in opposing directions. The gap between the foam wheels and the plate is small enough so that not many pills may pass through the hole at once. (Ideally, tolerance will be 0 and no pills will realistically slip through the gap other than those pulled in by the foam wheels. This is not the case with our prototype, so the gate opens for a very short period of time to limit pill flow.) The foam wheels grab pills and feed them through to the area below. A laser mounted below the wheels is interrupted upon pill drop and a photoresistor is triggered, letting the system know that a pill has been dispensed and that the wheels may stop turning. If no pills are detected within three seconds, this process is repeated.
| Components | Purpose |
|---|---|
| Raspberry Pi Model 3 B+ | Web Controller Host, Master |
| Adafruit Metro Mini | Hardware Input, Slave |
| NEMA 17 Stepper Motor 4.8V | Drive Medication Carousel |
| Limit Switch | Home Medication Carousel |
| Mini Low Speed Motor 3V/50 RPM | Drive Foam Dispensing Mechanism |
| Red LED or Laser Diode | Medication Drop Detection |
| Photoresistor | Medication Drop Detection |
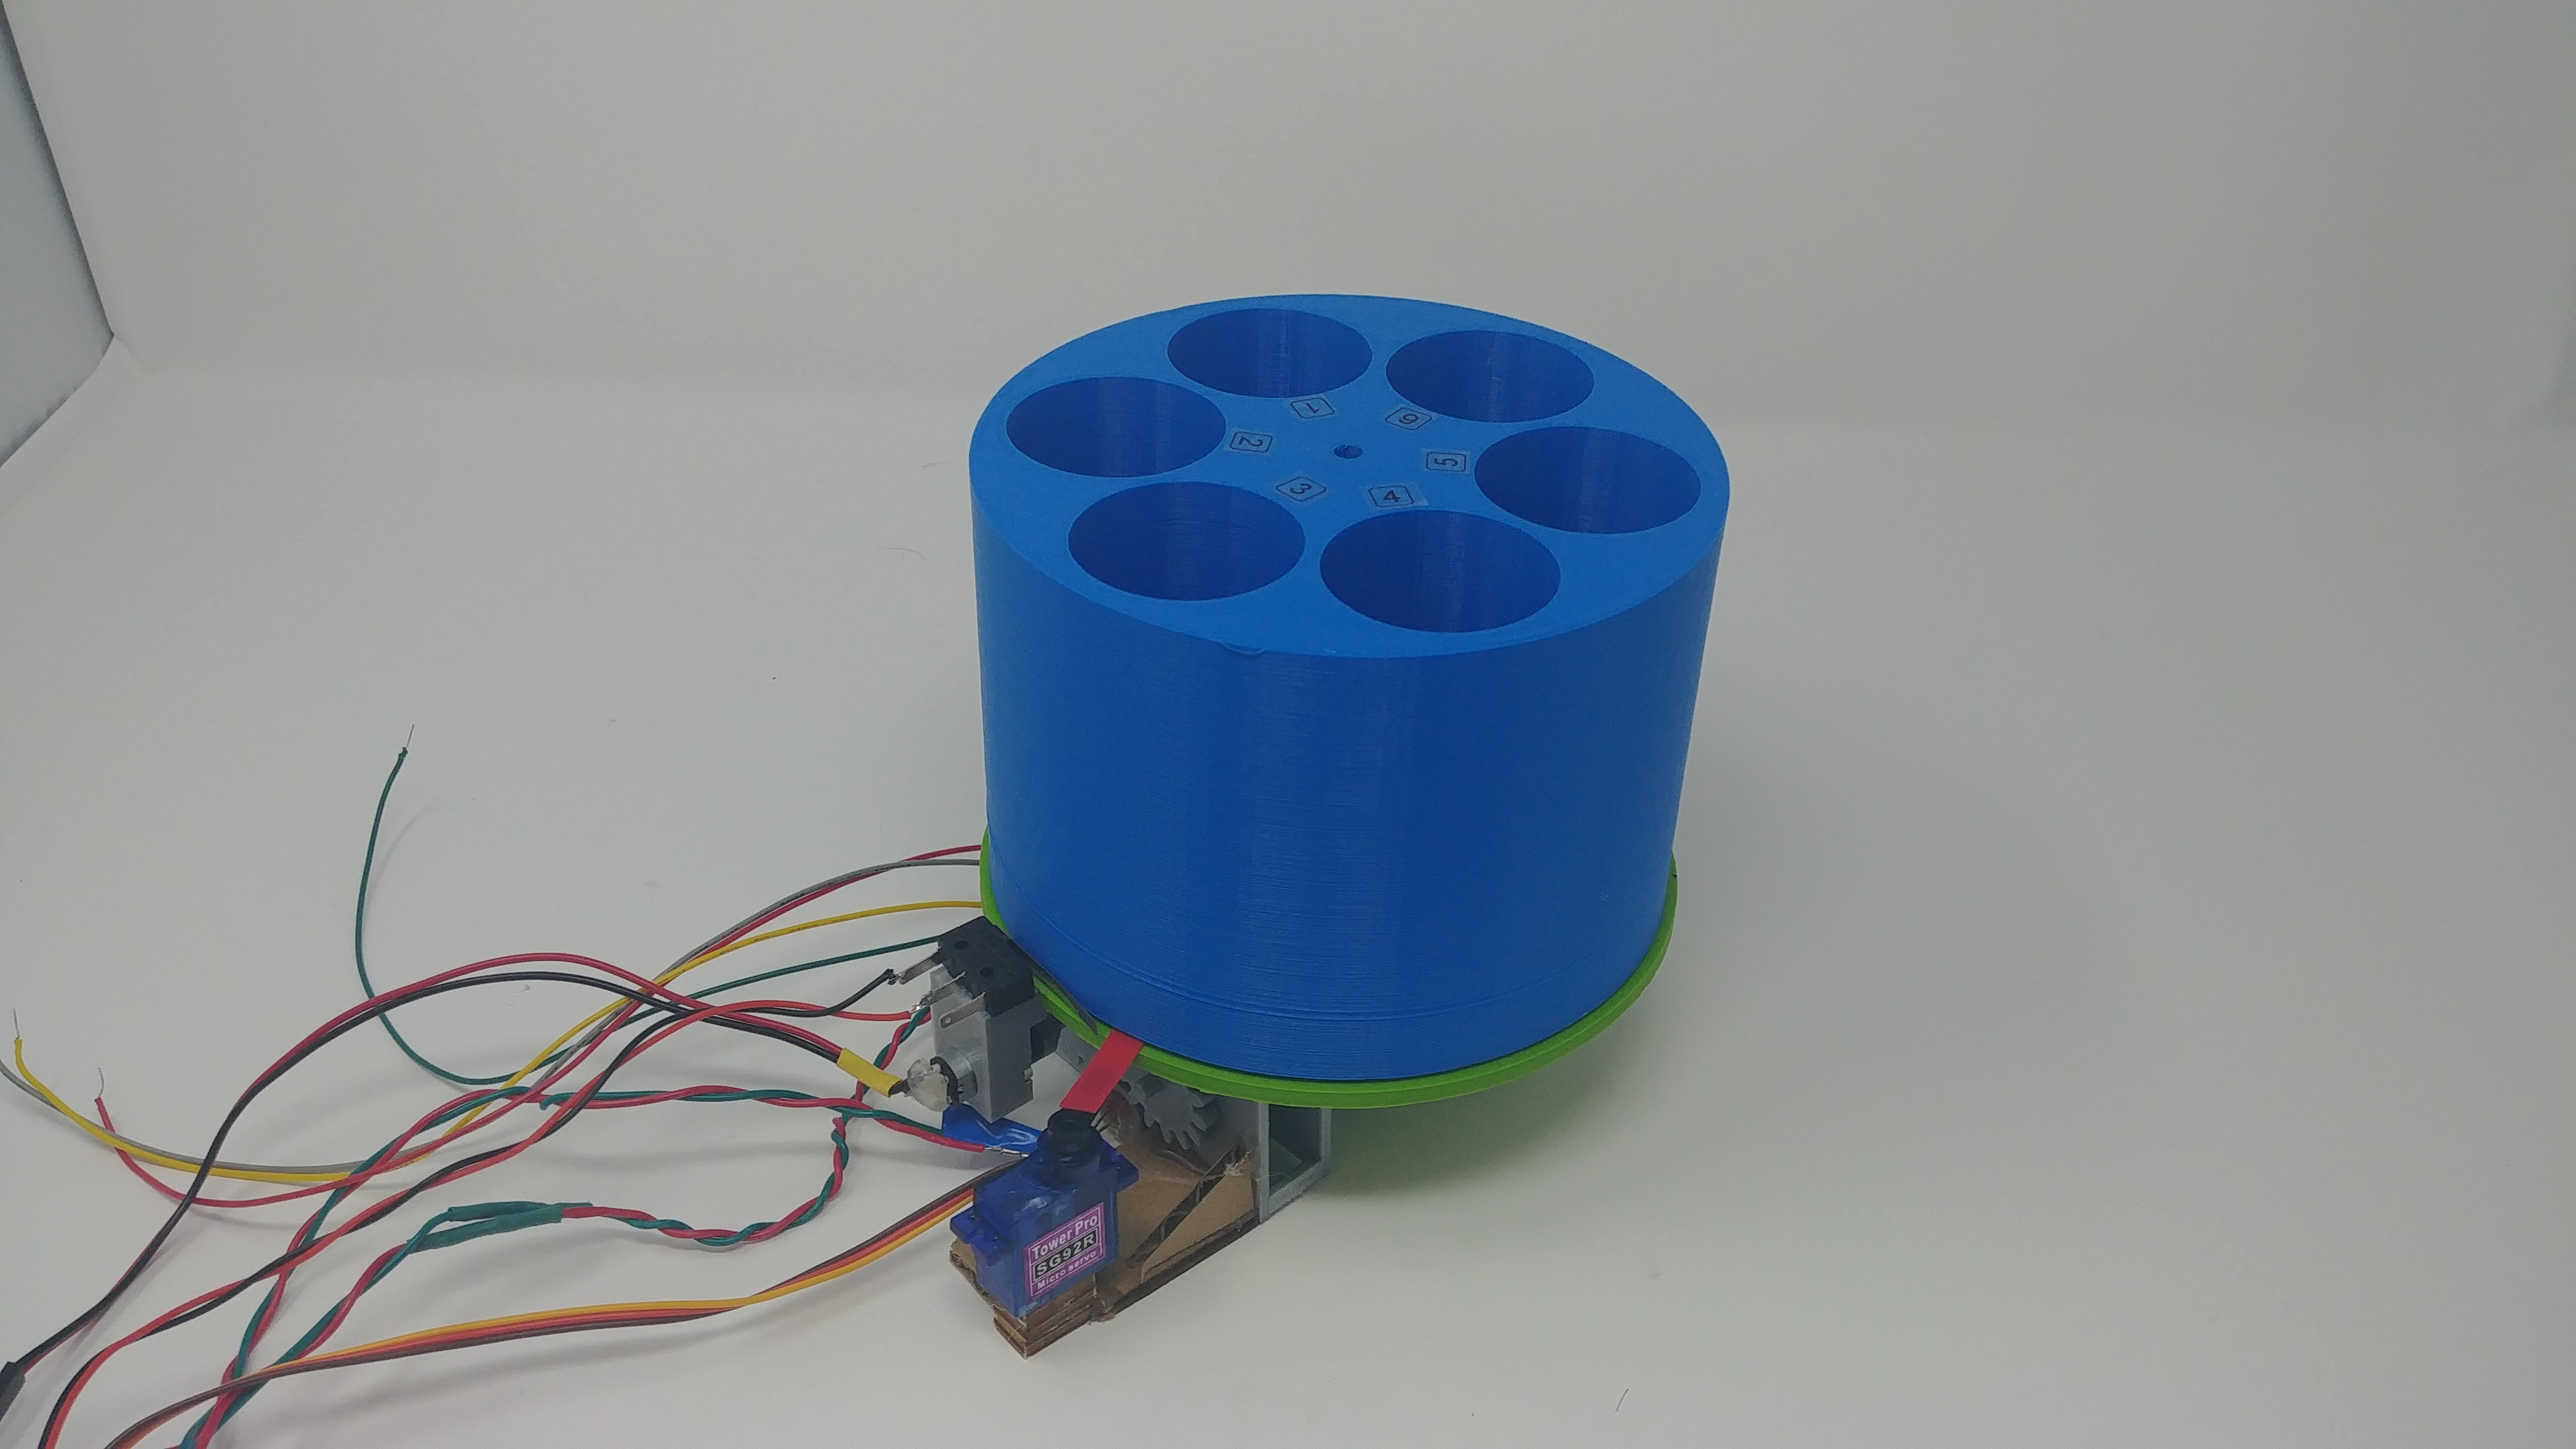
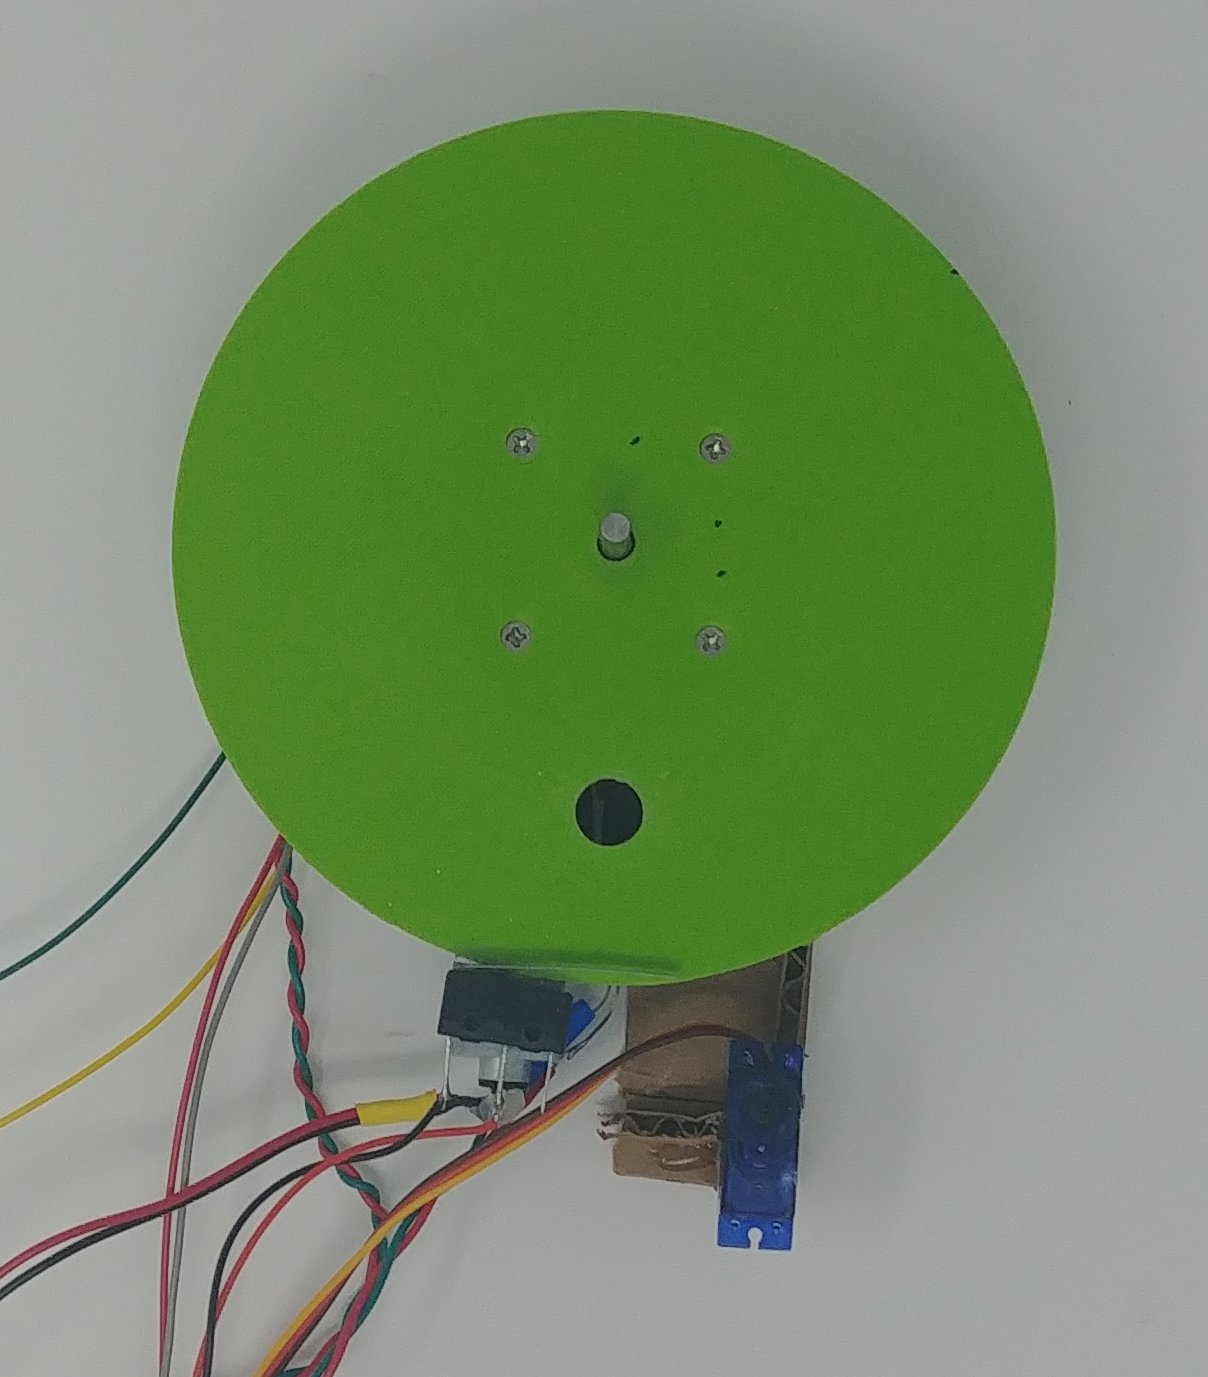
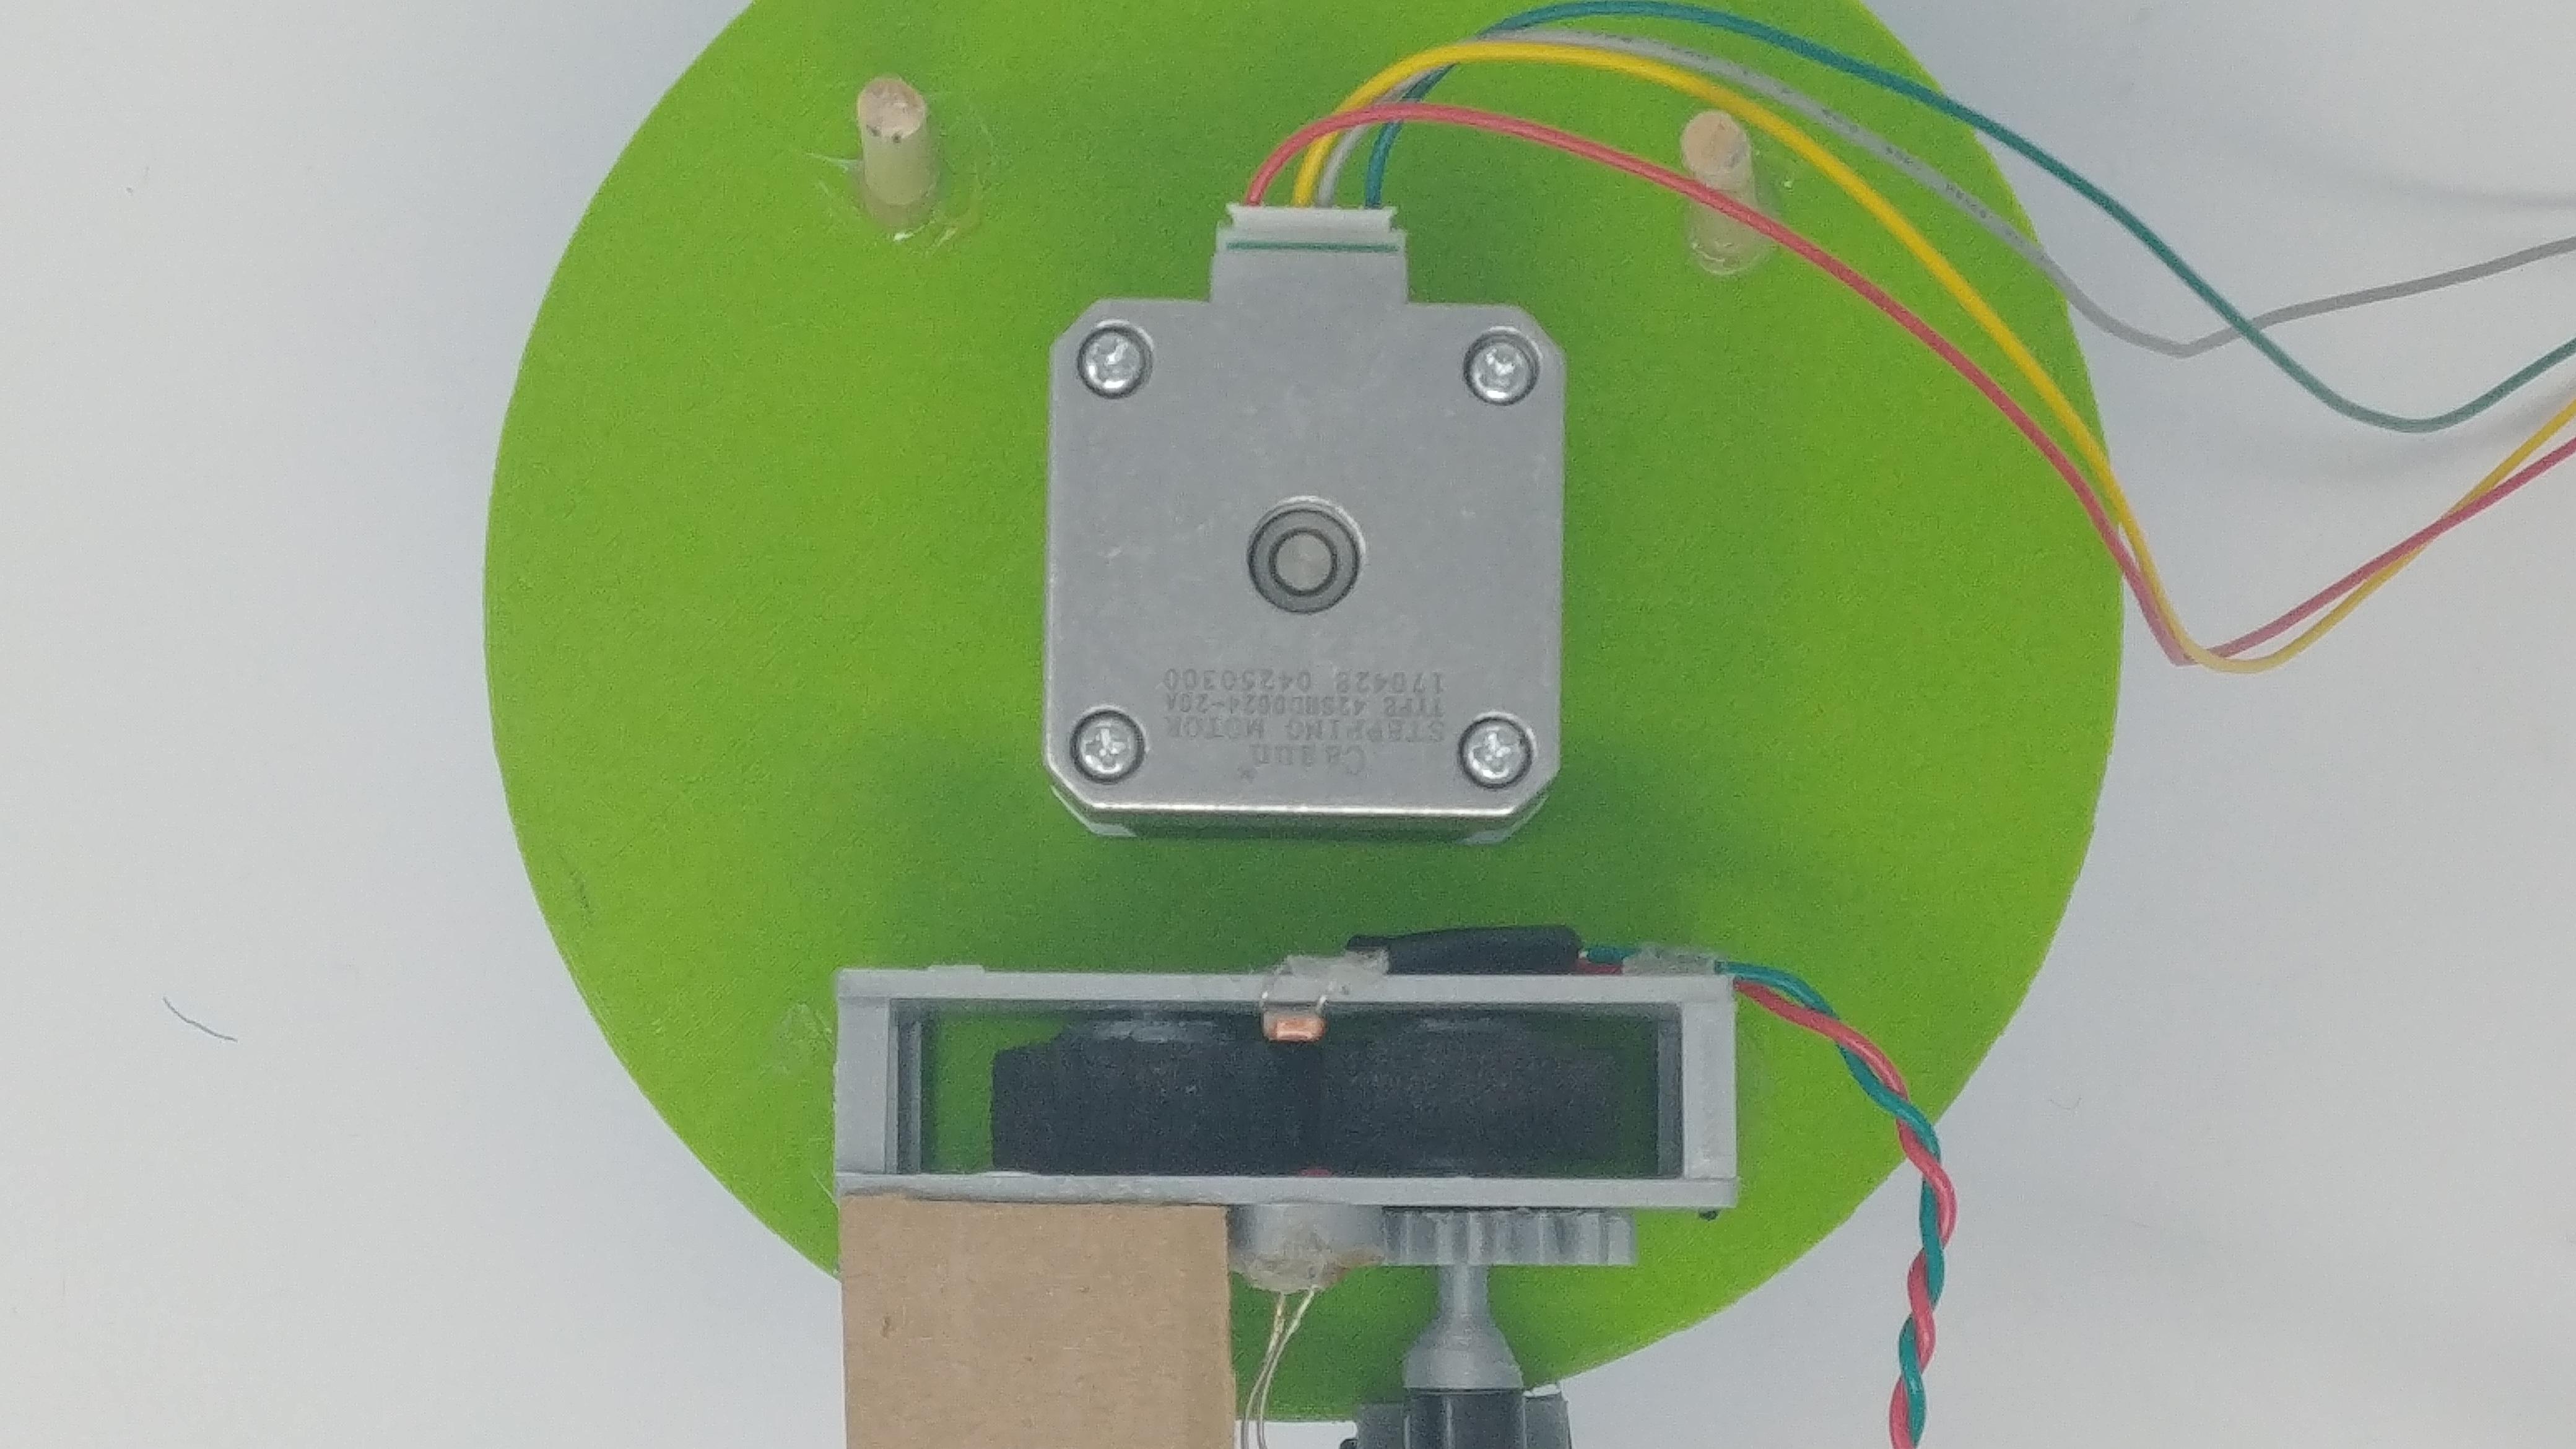
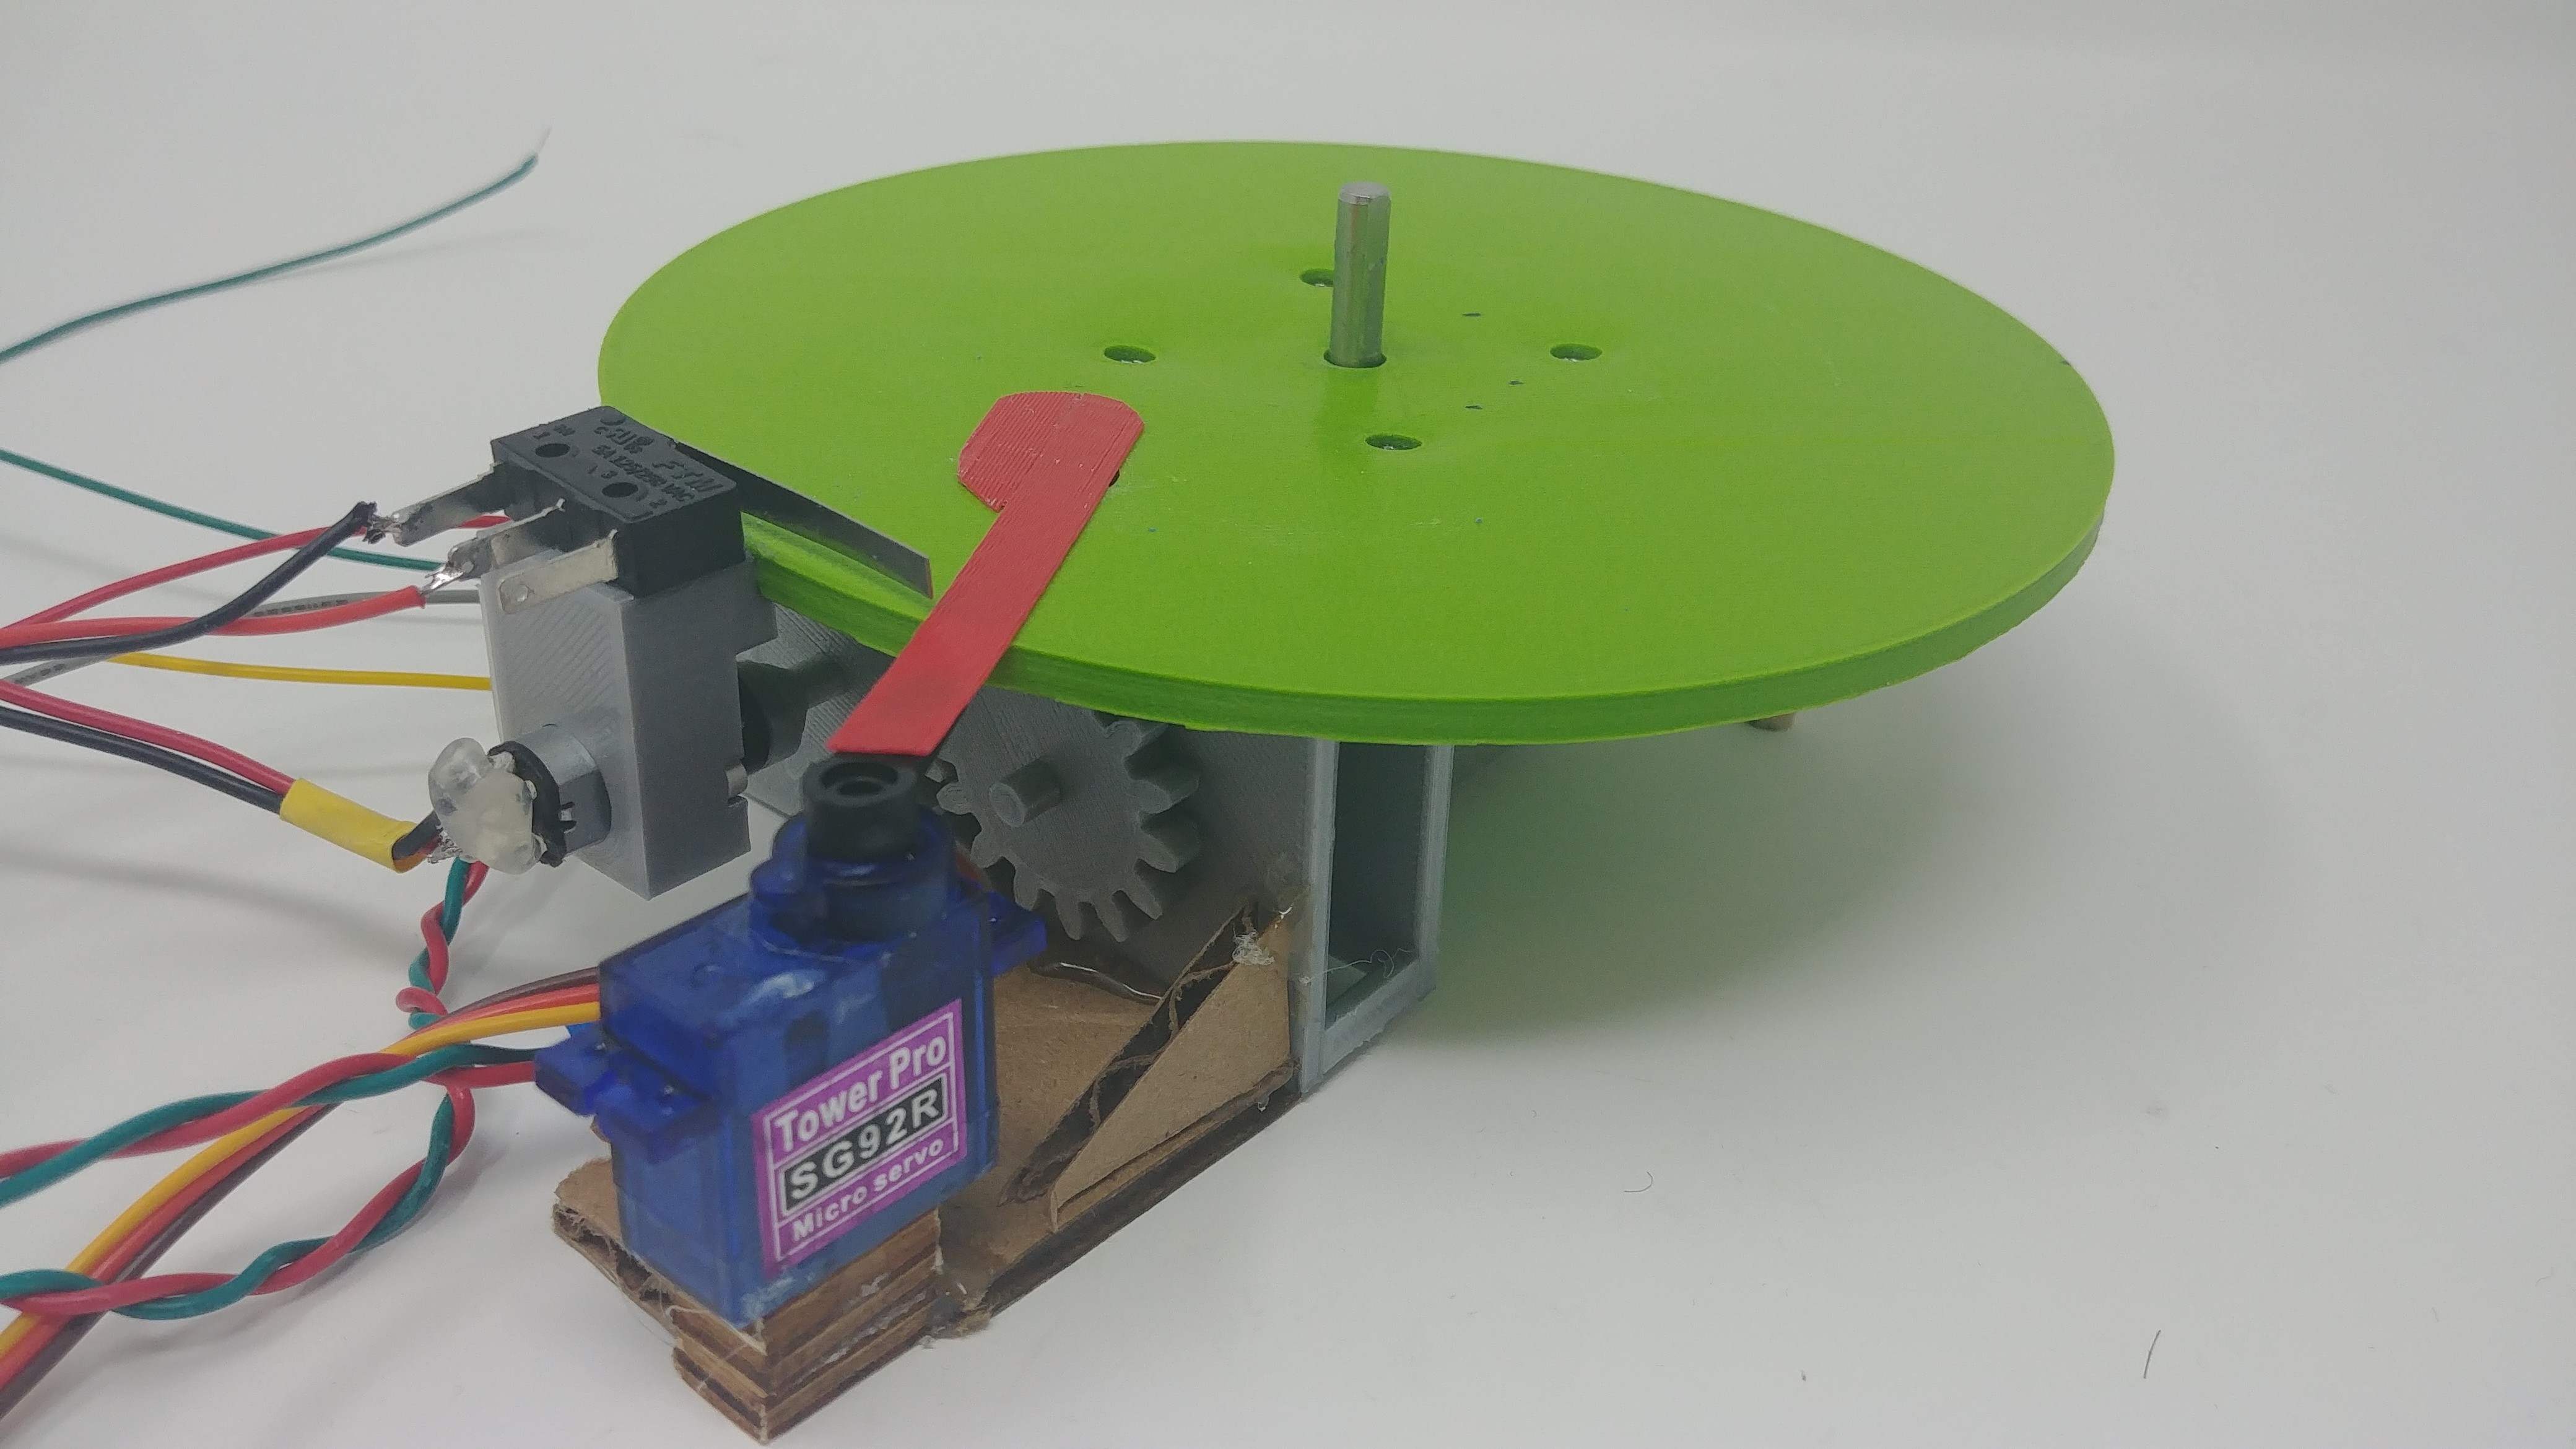
-
The mechanism did not have a means of staying flat, so we cut legs out of wood and glued them to the base plate.
-
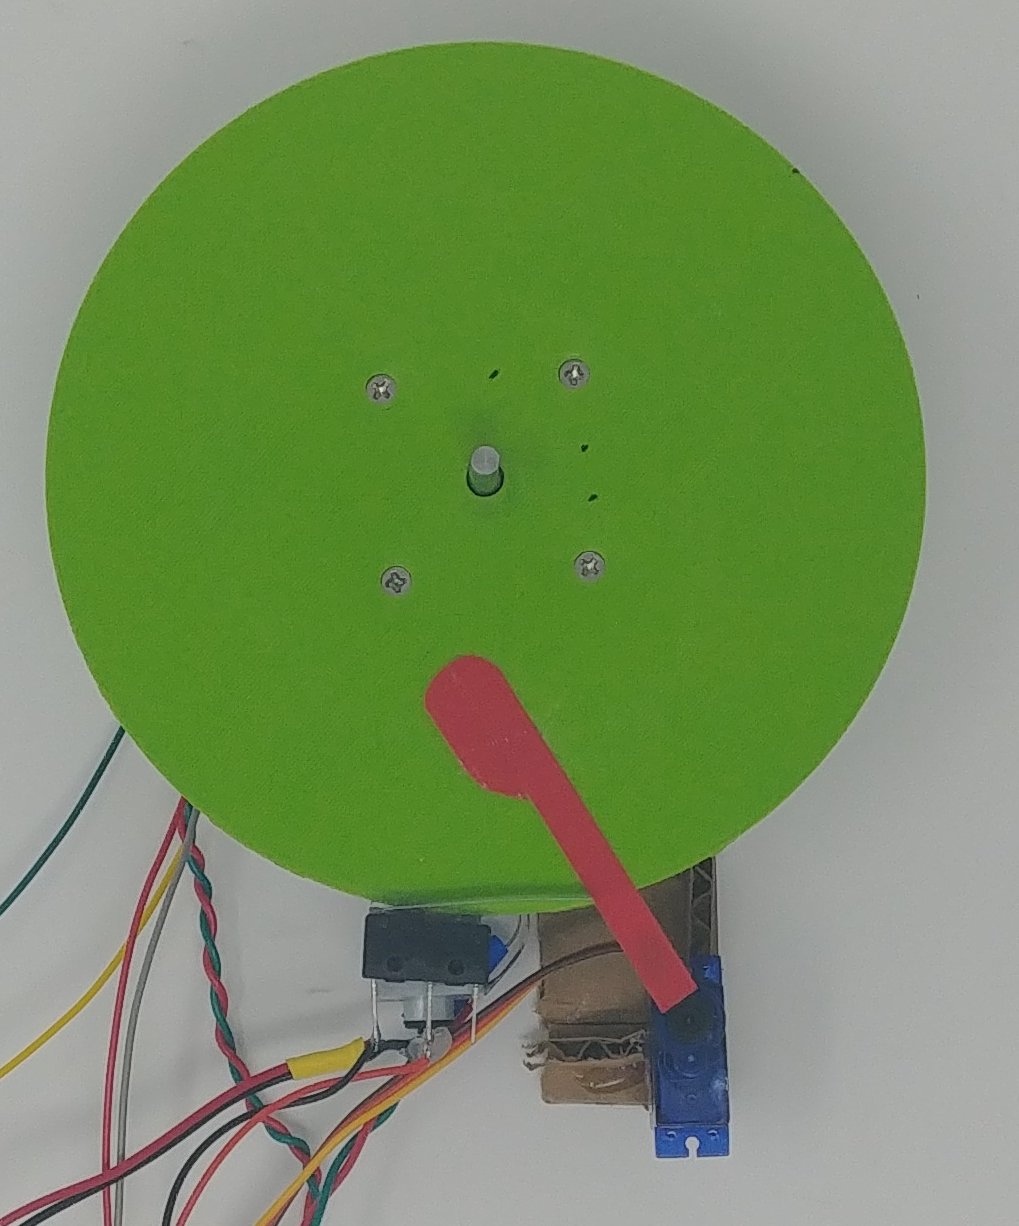
At the time of creation, we had not realized that the design did not allow for the cylinder to rotate without leaking pills. To solve the issue, we added a servo-controlled gate over the pill chute that opens when the machine is dispensing.


- We originally planned on using a small PIR (passive infrared sensor) with the diffuser removed for the pill drop detection mechanism. However, we soon realized that this hardware was not the correct part for the job, as it still had a wide detection area (even without the diffuser). We then switched to using a laser and Photoresistor, which was incredibly accurate, until the laser broke due to mechanical failure. We resolved the issue by using a LED, which also performed as expected.
Top Wall SVG File:
-
We've decided to use acrylic plastic to create the top housing unit. We cut the walls using the laser cutter in the maker lab. The settings used were speed:15%, power:100%, frequency:2000Hz.
-
For gluing, we first tried to use super glue. Even though we had joinery built into the walls, the super glue alone wasn't able to hold our walls in place vertically due to the weight distribution of the walls and the imperfections in the joints. We had to use masking tape to secure the walls in place after applying super glue to maintain the structure of the case. Parts of the tape ended up being superglued to the case and were very difficult to remove. We had to file down some areas to remove the residual tape. In the future, we would recommend using epoxy.
Assembled Product:
