Swap 3D models - VenoMKO/RealEditor GitHub Wiki
This guide shows how to swap one costume(e.g.,
PC_Event_16) with another(e.g.,PC_Event_27A)
If you want to replace costume with a completely new 3D model from a different game, you should use this instead: Create a 3D model mod
Important! Real Editor can't swap animations yet! Thus, if you replace a costume without a skirt with a costume that has one, Tera won't animate the skirt. Animation swapping will be implemented in one of the future releases.
1. Find a source 3D model
Close the export options window and open a GPK with a suitable 3D model(e.g., PC_Event_27A.gpk).
You can find a list of costume GPK contents here: Costumes, Accessories
Select a 3D model object(e.g., PC_Event_27A_Popori_F_Dye_A_Skel). If the selected object has a file icon with a green arrow press the Source button.
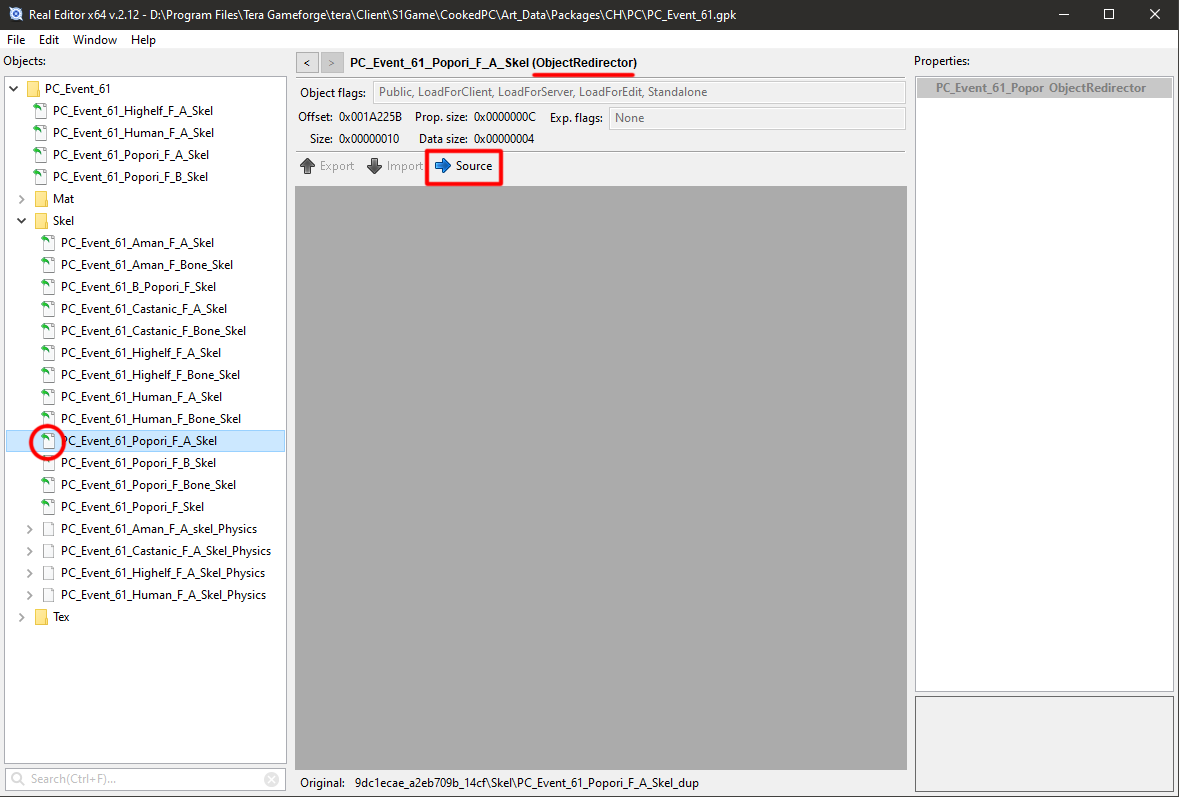
- A valid mesh has a blue box icon in the object navigator and the
SkeletalMeshclass. If your 3D model is displayed as a single quad or triangle, check a model without aBonein its name(e.g.,Popori_F_Bone_skel->Popori_F_skel).
2. Export a 3D model you want to swap
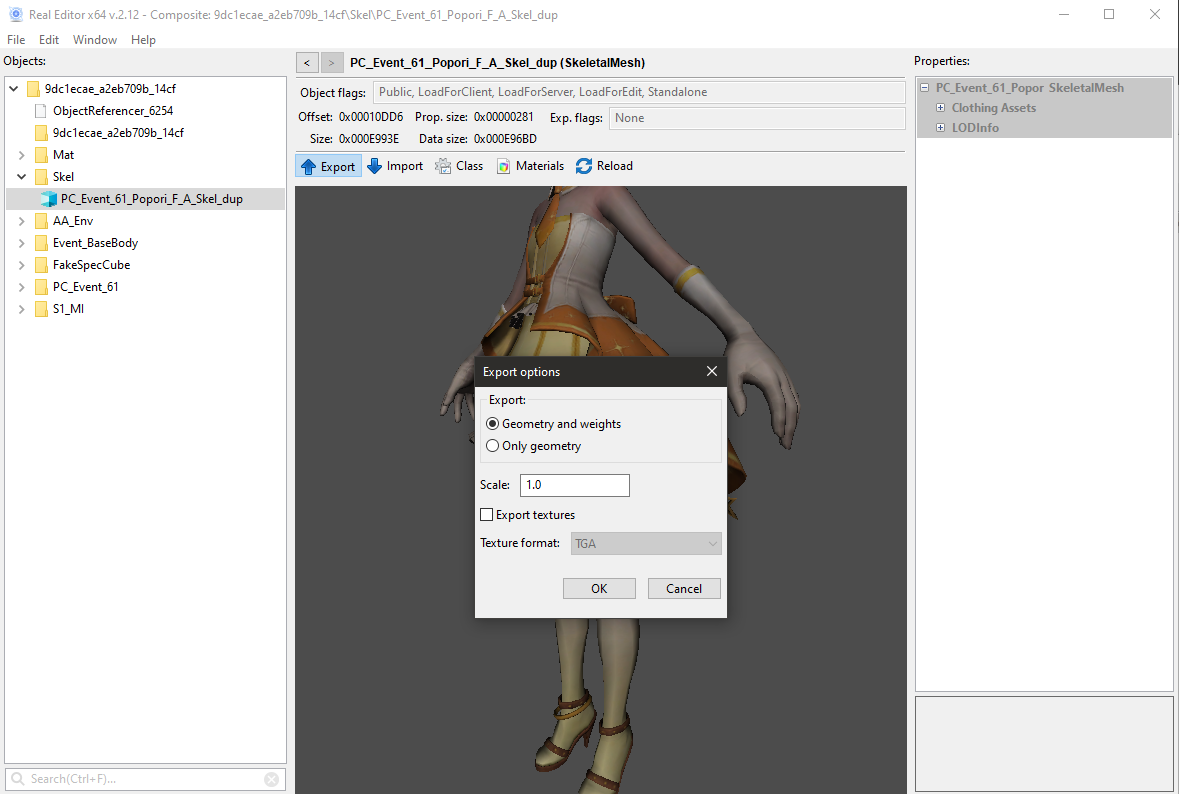
Press Export in the toolbar and make sure the Scale is set to 1.0 and Mode is set to Geometry and weights.
3. Find a destination 3D model
Don't close the window from the previous step!
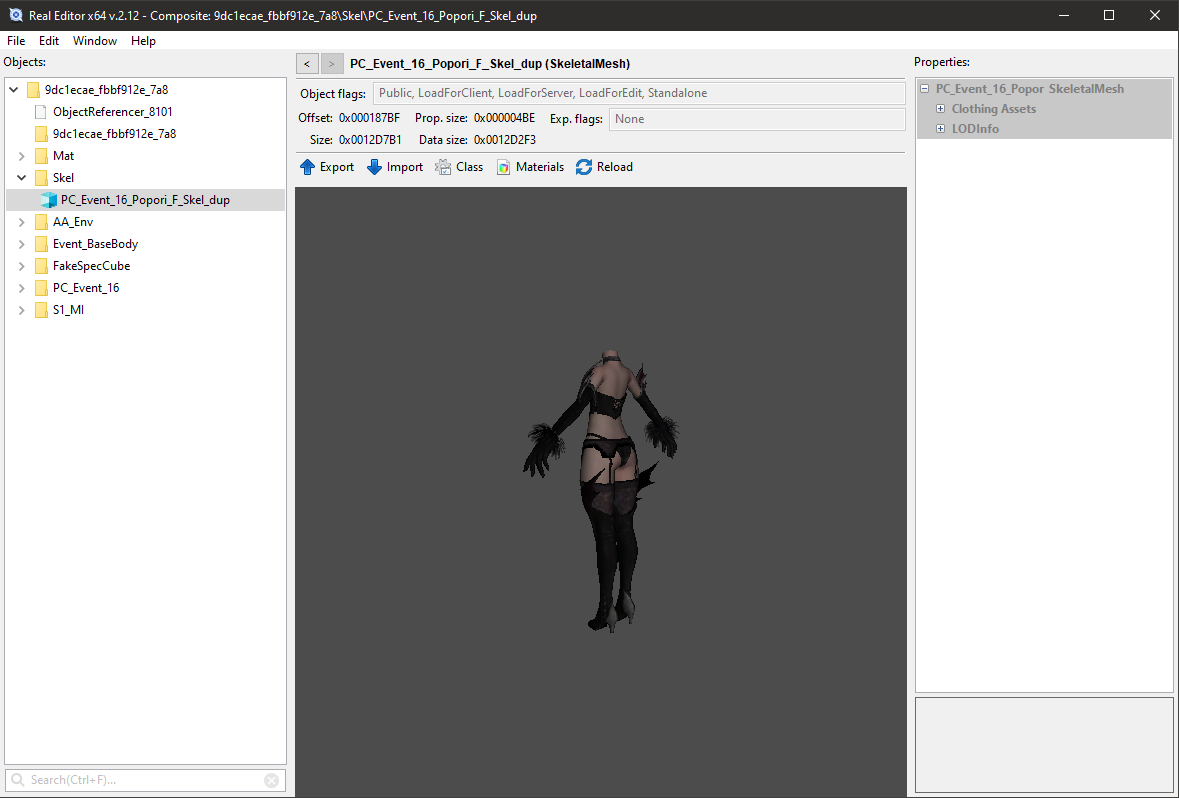
Open a GPK with a 3D model you want to change. You can do it the same way you did it in the first step.
4. Copy source model materials(textures) to the destination GPK
Go back to the source GPK window and press Materials -> Show material in the 3D model's toolbar. Each entry is a material that needs to be copied to the destination GPK. To open a material click its entry in the menu.
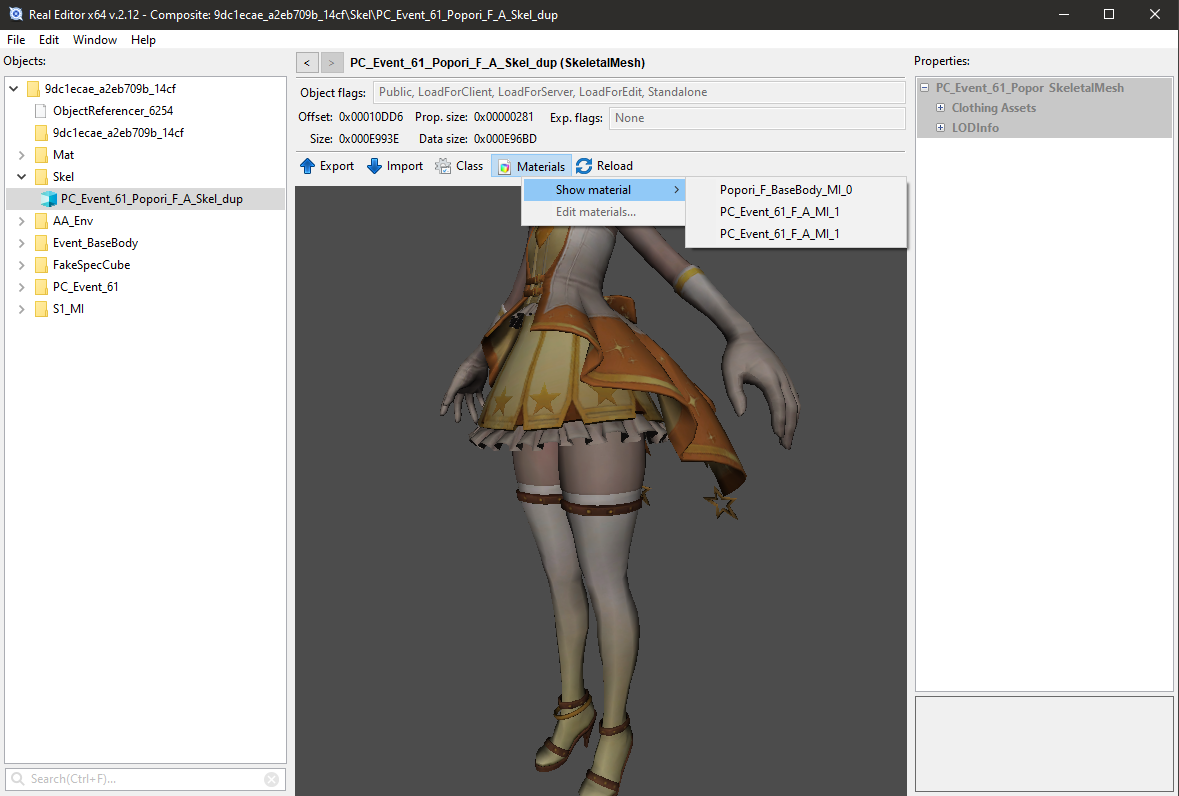
The list in the screenshot has three entries: Popori_F_BaseBody_MI and two PC_Event_61_F_A. The first material already exists in the destination GPK, thus only PC_Event_61_F_A needs to be copied. Click its entry in the menu and you are going to see the material object.
Right-click it in the object tree and click Copy.
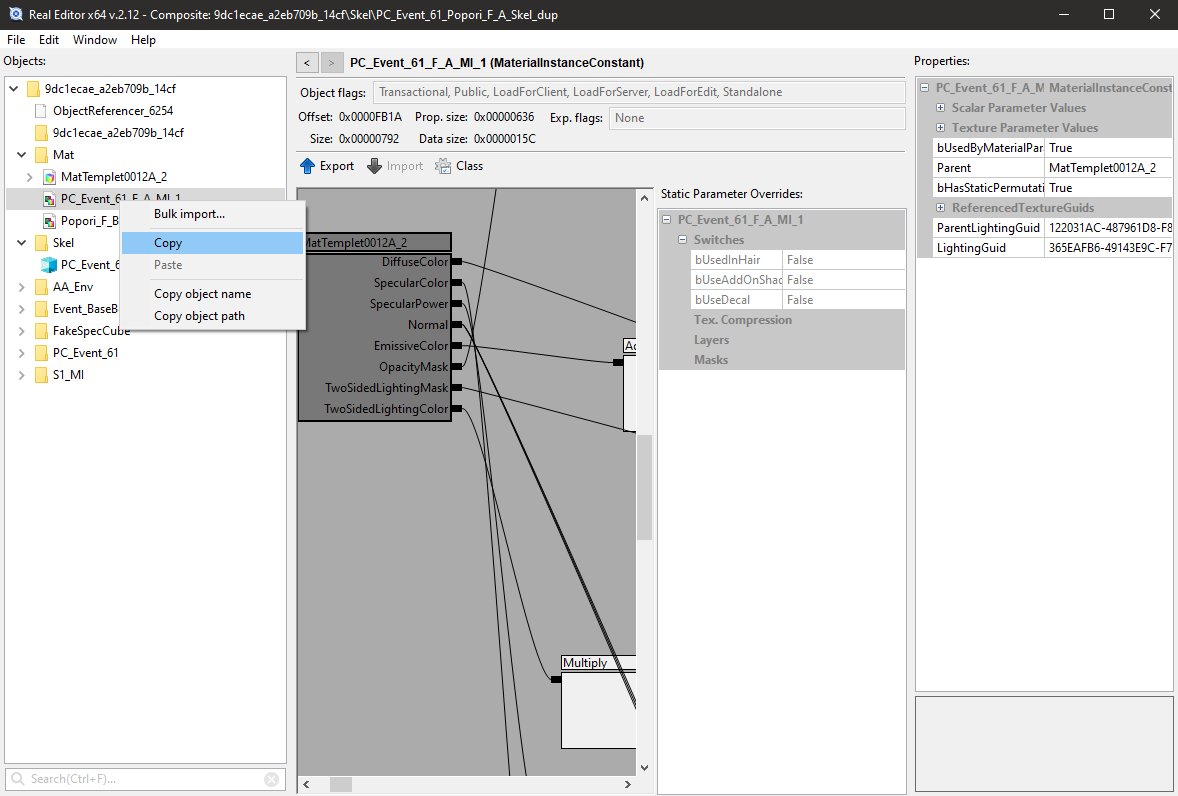
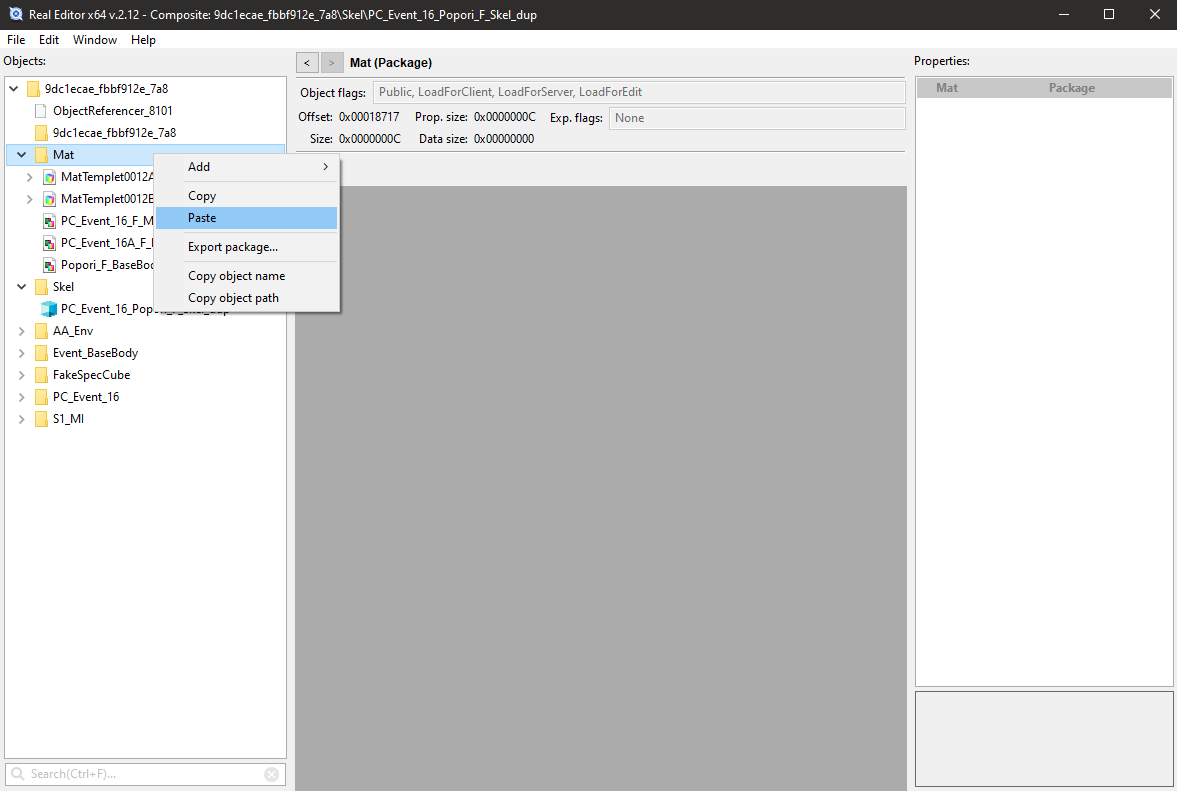
Go to the destination GPK window, right-click any folder in the object tree, and press Paste.
You will see a dialog asking you what RE should do with the depending objects like textures and parent material. In the screenshot below there are five items: MatTemplet0012A, and 4 textures.
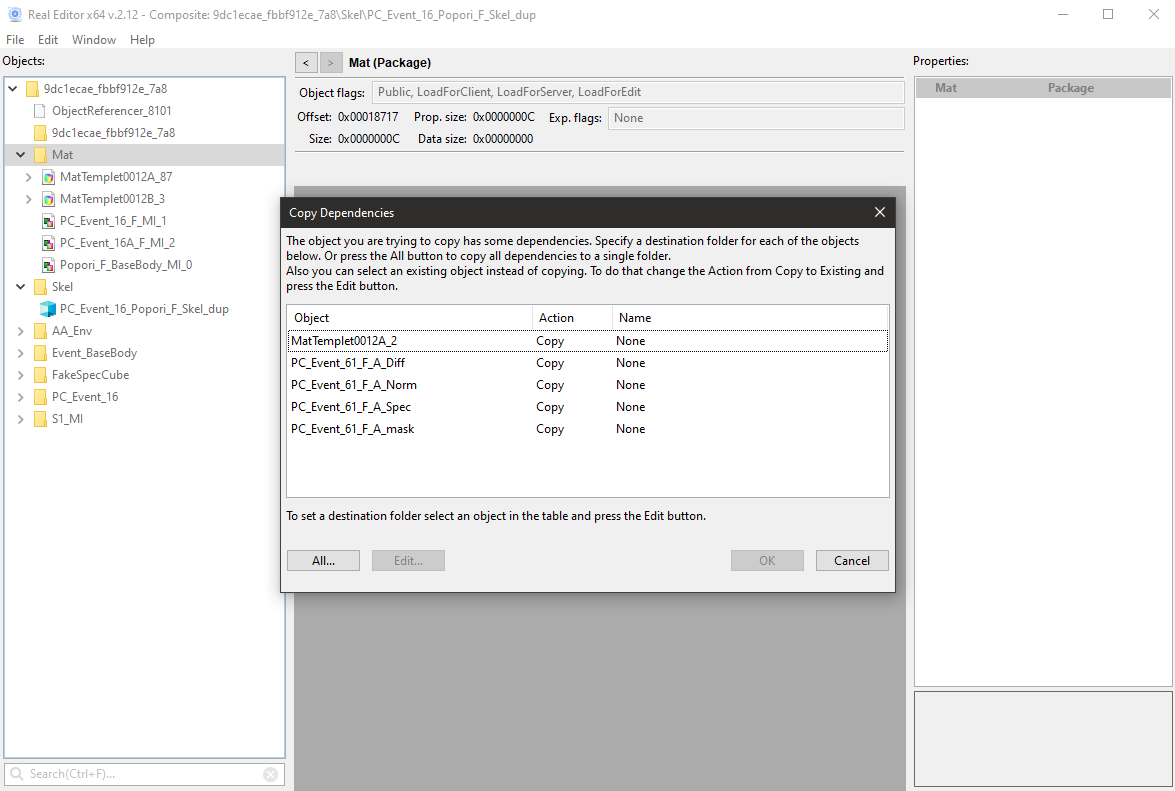
Press All and select a folder where to put textures. If you want you can create a new folder to hold copied textures(e.g., NewTextures), right-click a folder, and press Create a package. The destination package already has a MatTemplet0012A object, so there is no need to copy it. Select its entry, triple-click the middle column, and change its action from Copy to Assign. Click Edit and select the existing MatTemplet0012A object. The window should look like this:
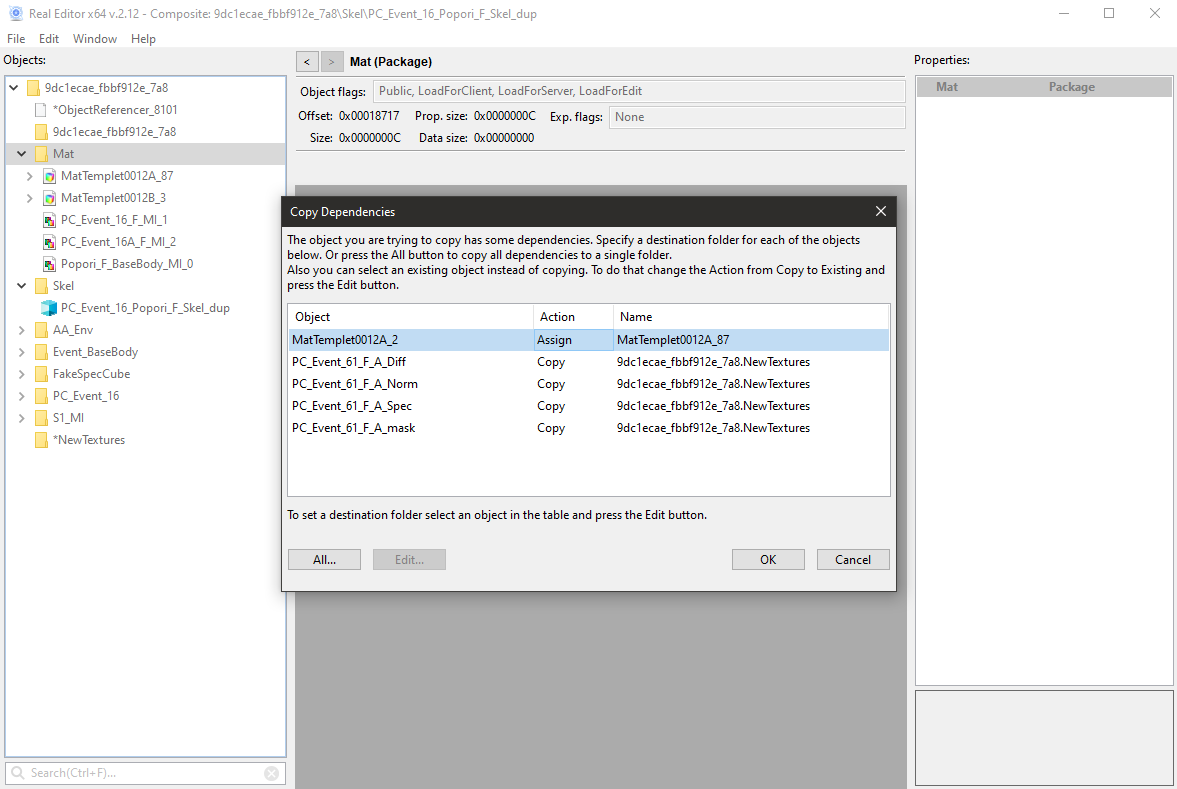
Press OK. Repeat this if you need to copy more than one material.
5. Swap 3D model
Select the destination 3D model and press Import. Select the FBX file from the second step. Make sure the Import skeleton checkbox is on and press Import.
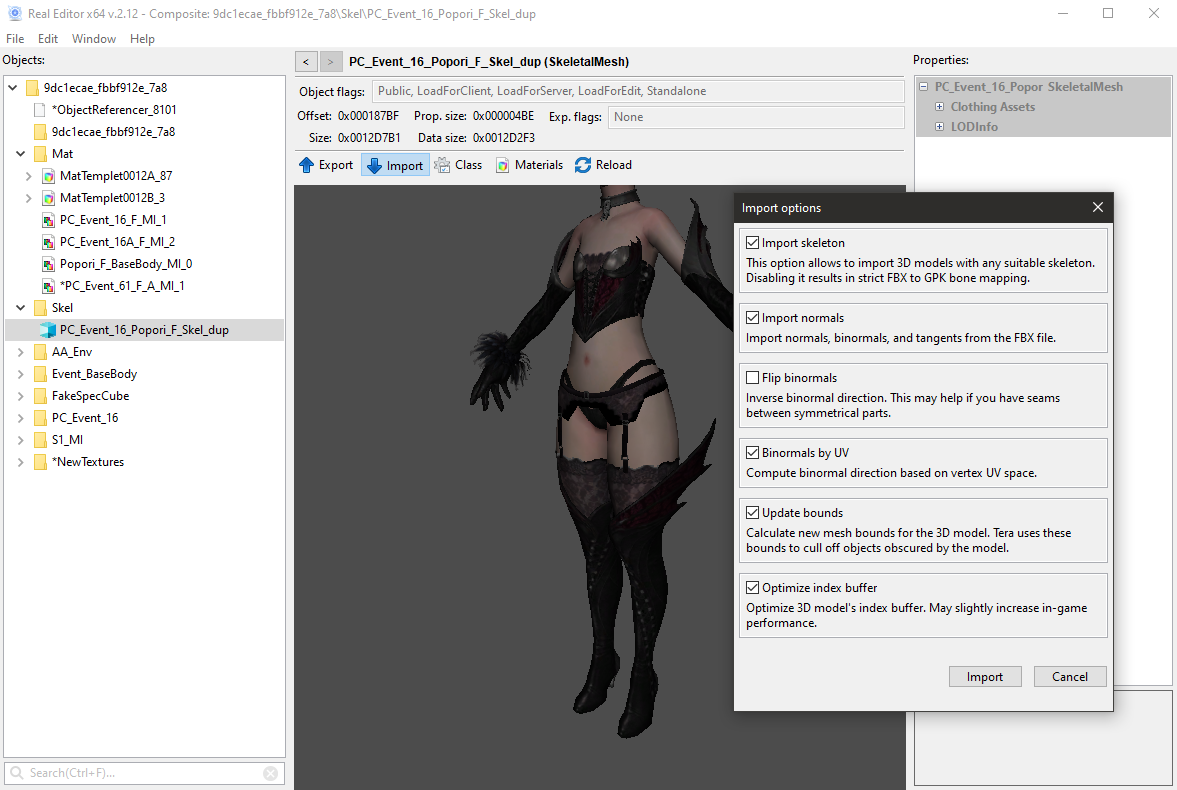
You will see a material map dialog. Press Add... and add all copied materials one by one. Then map each FBX material to corresponding GPK material:
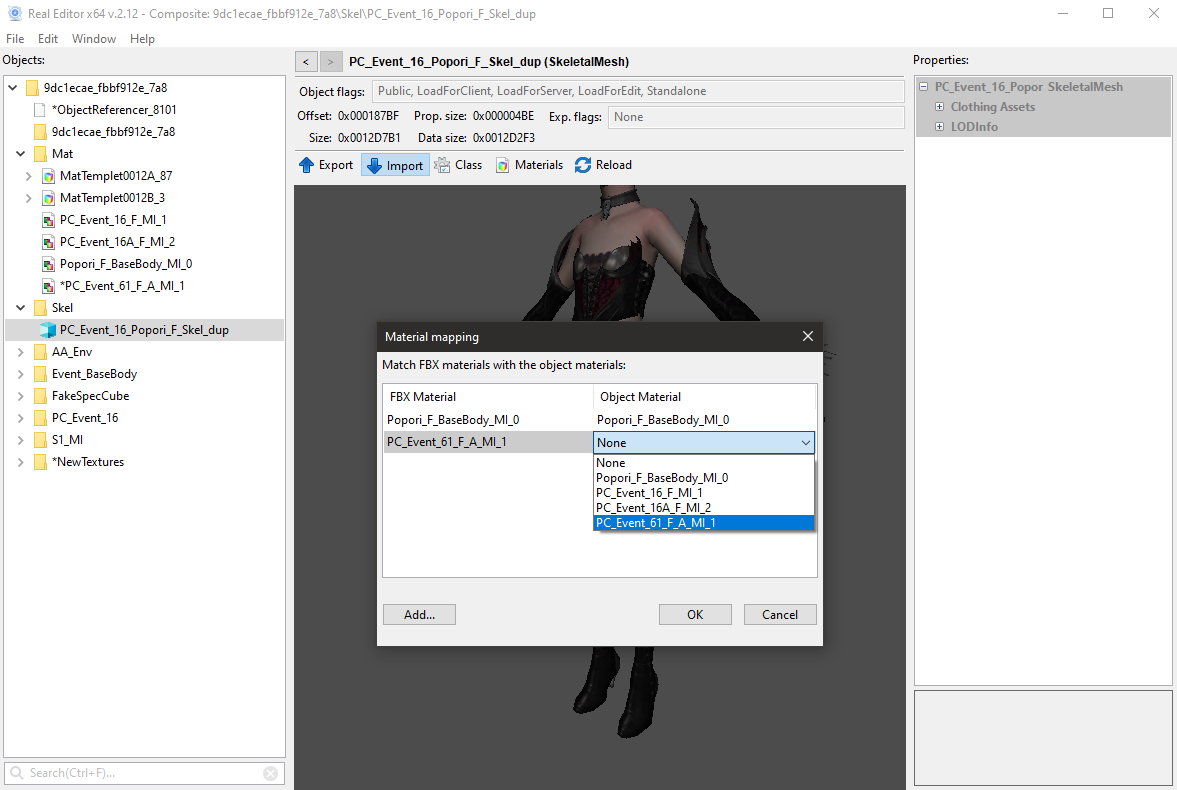
6. Check if it works
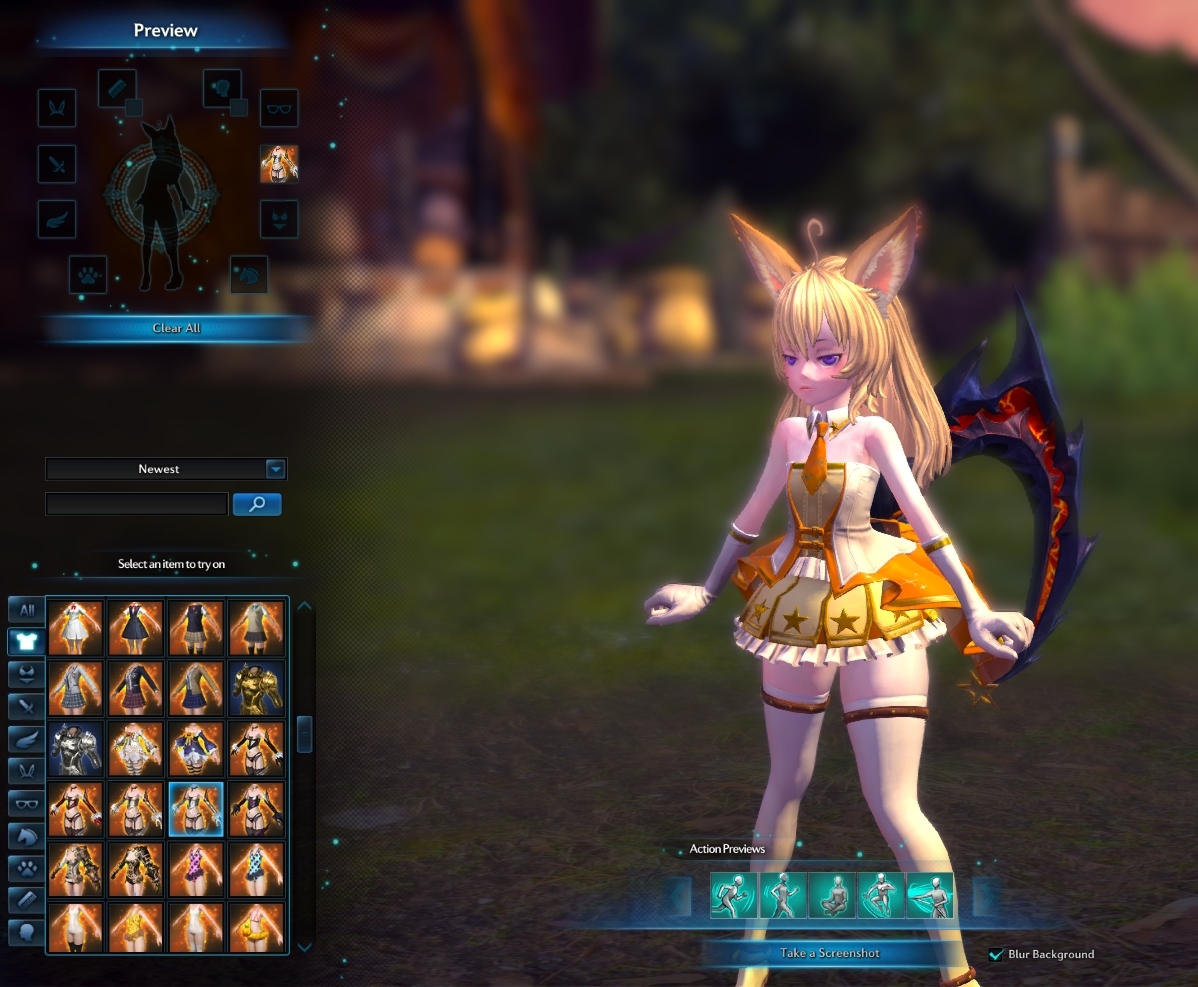
Press File -> Save as and save the GPK file. Then start TMM, press Add, and select the GPK you've just saved. Start the game and check your costume.
-
If you can't see any changes follow these steps: Guide
-
If some parts of the 3D model(e.g., skirt) - the animation of the destination costume does not have animation tracks for these parts. Unfortunately, RE does not support swapping animations yet. Follow the releases page of Real Editor.
7. Create a mod file
In any Real Editor window press File -> Create a mod. Select the GPK file you've saved in the previous step. Enter mod name, author, press OK, and select where to save your modded GPK file. After this, you can delete the test GPK from TMM, and install the proper mod file you've just saved.
If your changes don't appear in the game you need to find copies of the 3D model and change them too. Here is one way to do it:
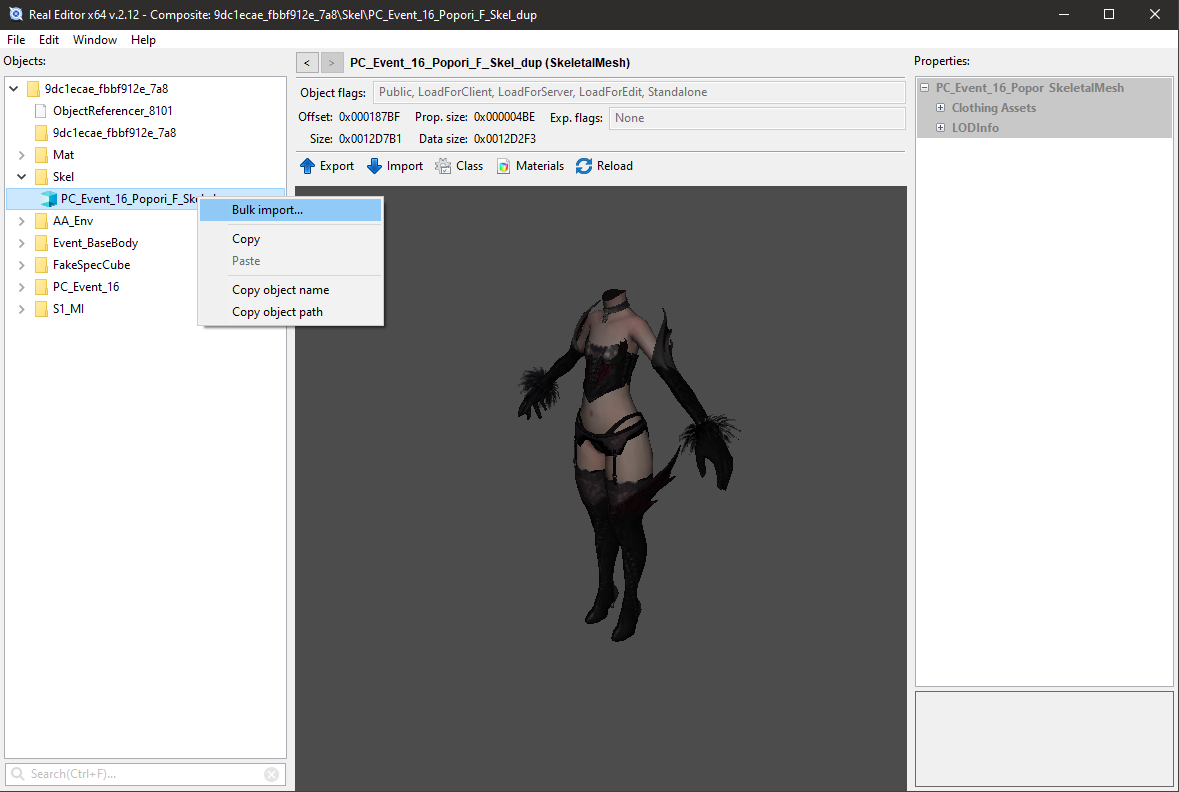
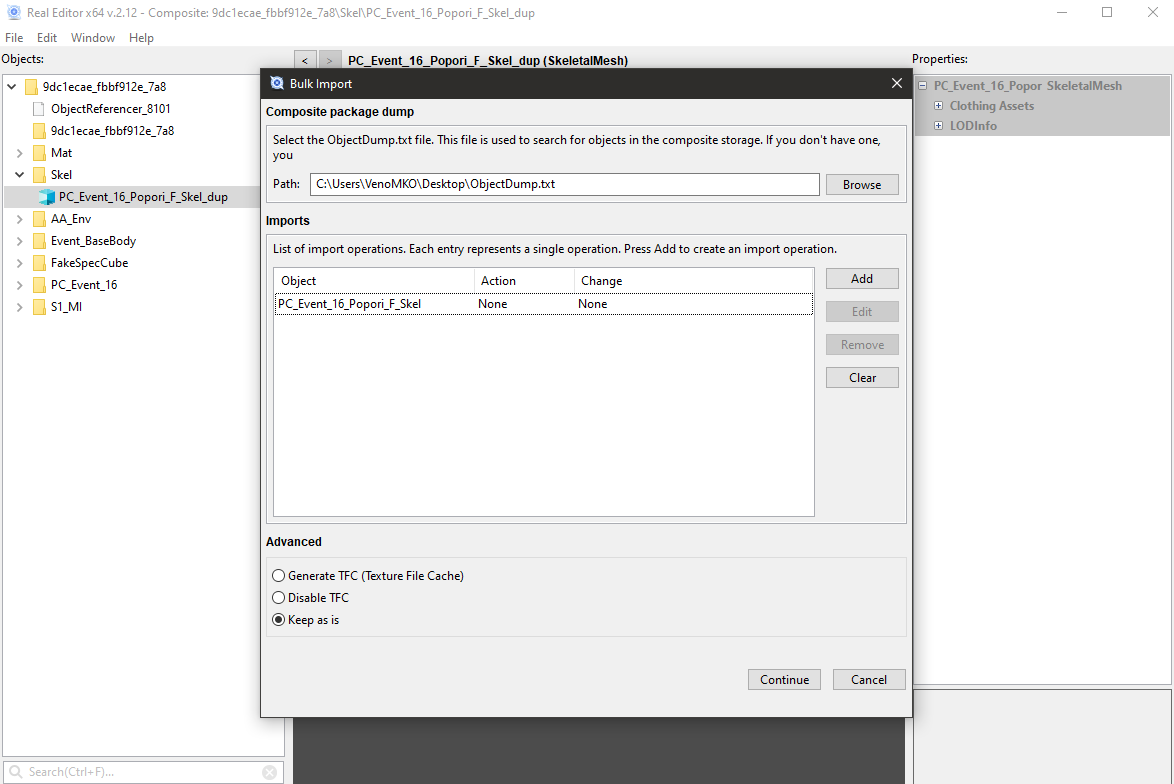
- Right-click your destination 3D model and press Bulk import...
If you are doing this for the first time you gonna need to create a composite object dump file by clicking Edit -> Dump all composite objects. Then right-click your 3D model again and press Bulk import again. In the pop-up press OK and select the
ObjectDump.txtfile.
- In the Name field delete the
_dupsuffix and press Search
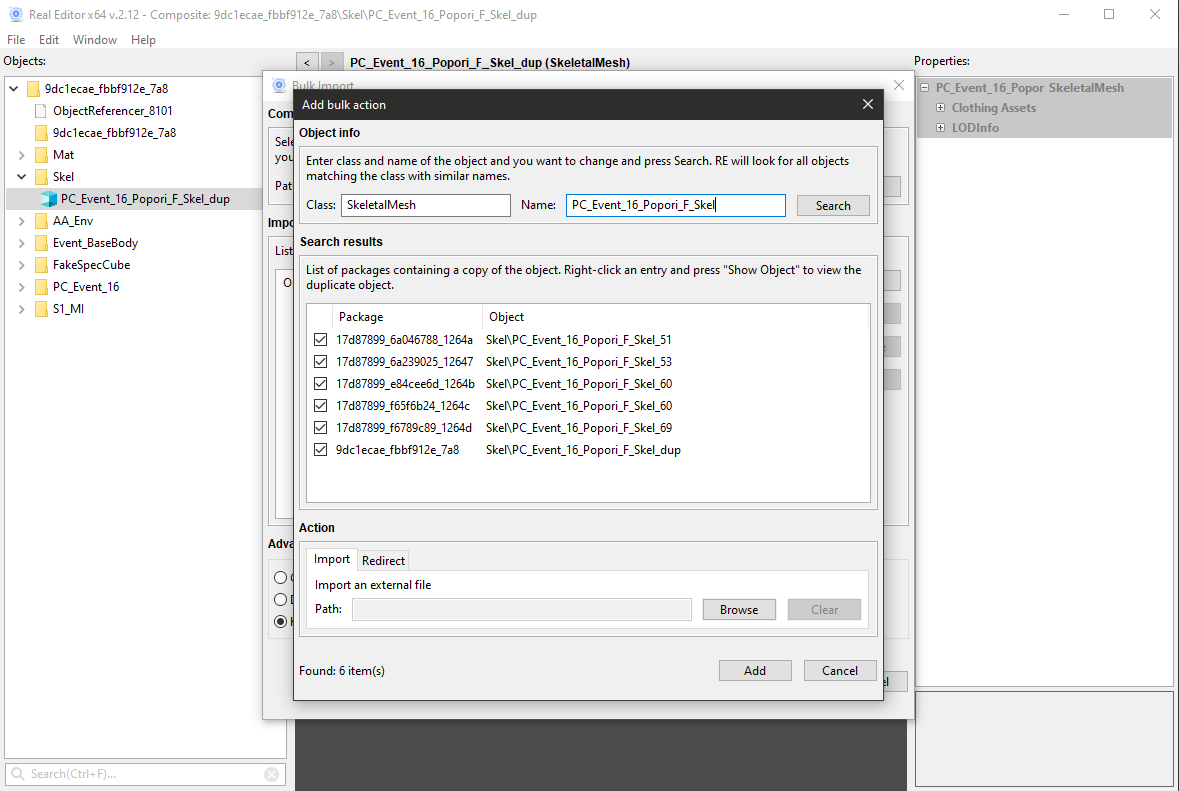
- Press Add and Continue. Create a new folder to contain all GPKs with a copy of your 3D model.
- Open the folder from the previous step. It will contain a bunch of GPK files. One of these GPKs will affect the game. Try to import the 3D model to each of these GPKs until you find the one affecting the game. To save your time you can import 3D models without materials.