Add textures to a custom 3D model - VenoMKO/RealEditor GitHub Wiki
This guide shows how to add textures if your 3D model has more materials than the original one.
1. Create new texture objects
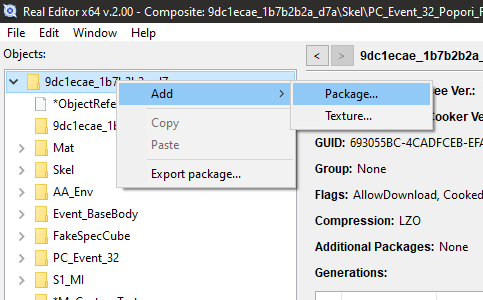
First, create a folder(package) in the GPK to store your textures. Right-click on a folder and press Create -> Package....
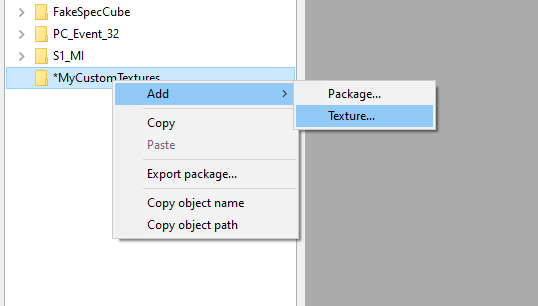
Then, right-click your folder and press Create -> Texture...
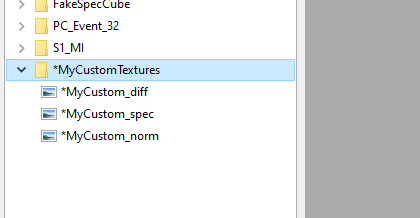
Important! When importing a normal map, uncheck the SRGB option and turn on Normal map checkbox!
2. Copy a material instance that will be used to render your textures
Before you copy a material instance, you should know that different materials have different visual properties like translucency or emissive color. These properties are inherited from a parent material.
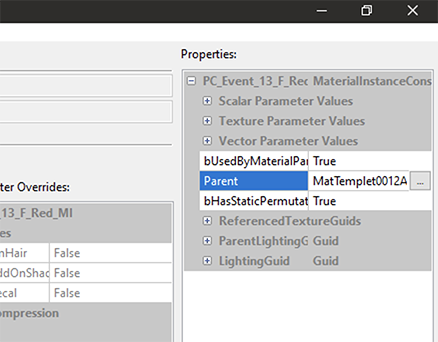
For example, MatTemplet0012A is a common material with masked transparency controlled by the alpha channel of a diffuse texture. If you want a different material(e.g., translucent), you should find an object(costume, accessory...) with the visual properties you need and copy its material instance instead.
IMPORTANT!!! Make sure you copy a material instance from a composite GPK!
To copy, right-click an object and press Copy.
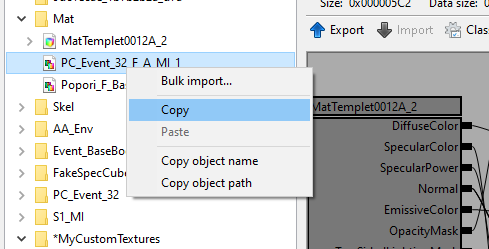
Then, right-click a folder you want to paste and press Paste.
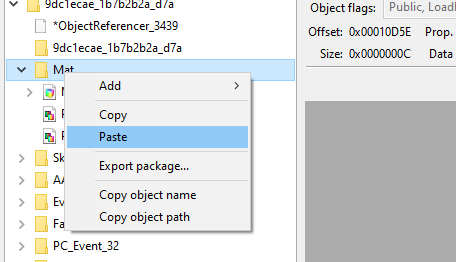
3. Resolve dependencies (optional)
Skip this step if you don't see the dialog on a screenshot below after clicking Paste!
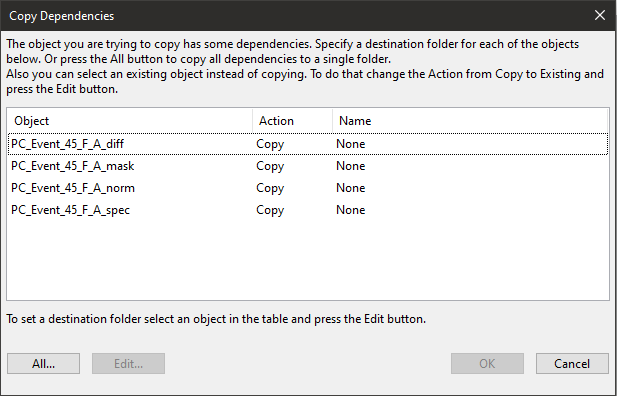
You can see this window when copying an object from a different GPK. The material you are copying depends on textures, and RE does not know what to do with these textures.
In this example, I have custom MyCustom_diff, MyCustom_norm, and MyCustom_spec textures. So I don't want to copy original TERA textures(PC_Event45_F_A_diff, PC_Event45_F_A_norm, PC_Event45_F_A_spec). Instead, I want RE to use my custom textures.
To do that, I need to change Action from Copy to Assign(triple-click).
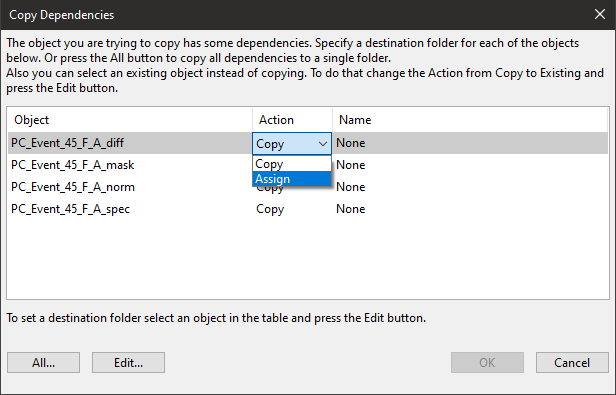
Next, press Edit and select the texture.
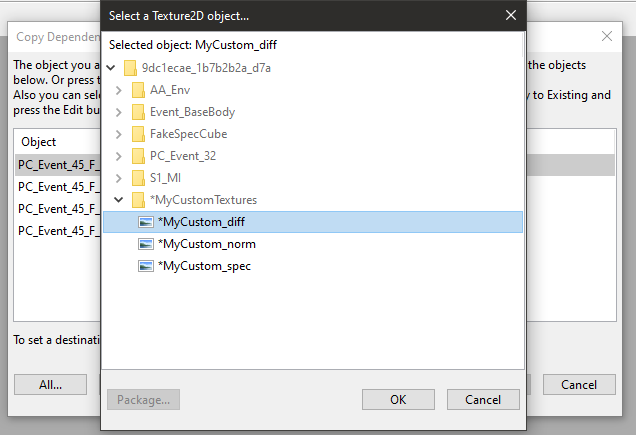
Repeat this for all custom textures you have. If you don't have some textures(e.g., _mask), keep the Action as Copy and select a folder to put a copy of the texture into. To do that, press Edit and select the destination folder.
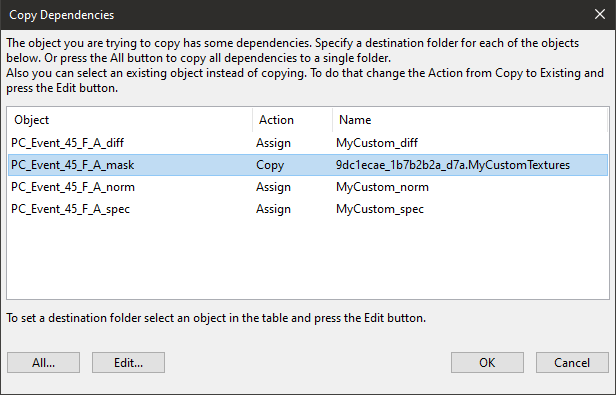
Press OK when all done.
Important!
If you see an error regarding unresolved imports, you tried to copy material from a non-composite GPK. You must re-open the destination GPK after this error and start again!!! Make sure you copy a material instance from a composite GPK. To find one, press the Source button.
4. Assign your custom textures to the copied material
This step is unnecessary if you assigned textures in the previous step.
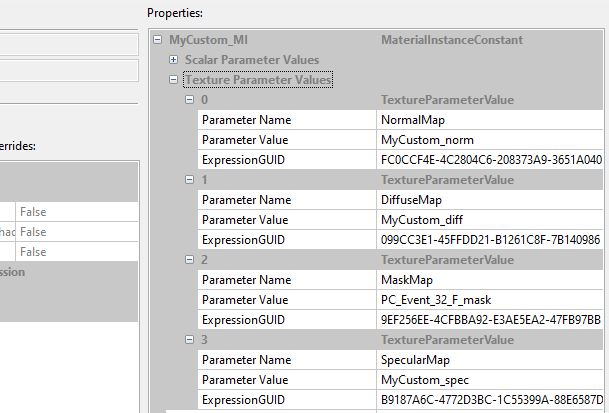
Select your new material and expand its texture parameters. Change each texture parameter to your custom textures by clicking a text field and press the ... button. In the dialog below, select your custom texture.
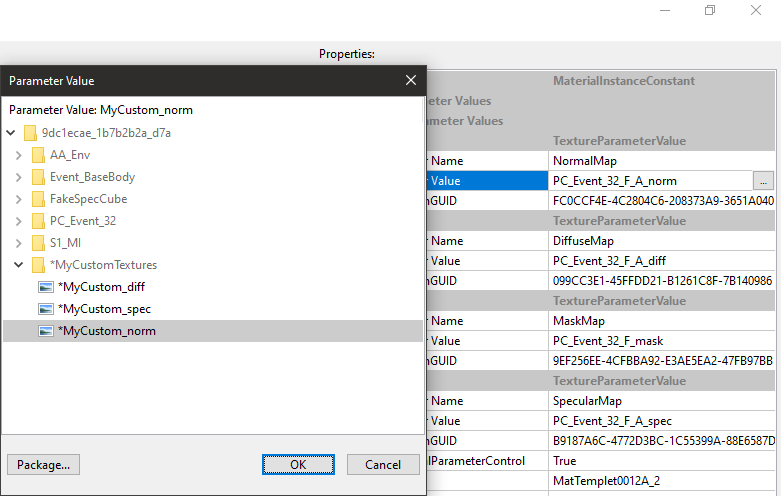
Repeat this for every custom texture you have. If you don't have textures for some of the parameters, leave them as is.
5. Assign your custom material instance to your 3D model
At this point, your material is ready, but you need to assign it to your 3D model. You can do this when importing your FBX file.
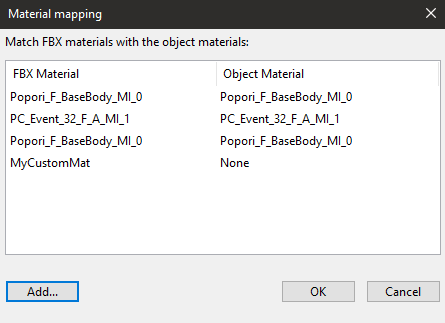
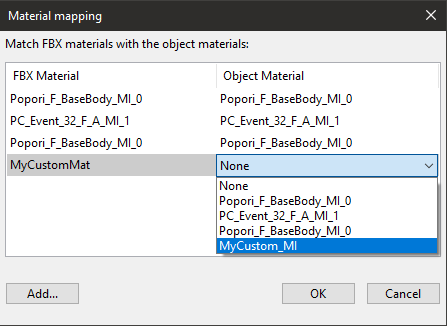
Press Add and select your custom material instance. Then, select the row with your custom, double-click the right column, and select your material instance.
