Configure Desktop Automation Service - TungstenRPA/RPA-Best-Practices GitHub Wiki
Step-by-Step Guide to configure Desktop Automation Service
Configure Desktop Automation Service
- Install Desktop Automation Service on a Windows Machine
You can build and test Desktop Robots on the same machine as the Designer, but you will need to use Bundle steps to handle volatile actions. A Bundle Step video tutorial. - Start Desktop Automation Service.
- Drag the DAS icon from the hidden icons on the TaskBar to next to the clock so that you can always see it.
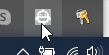

- The icon is gray when not running nor connected to Management Console.
- It is blue when connected to the Management Console
- It is blue and has a black lock when a robot is using the Desktop.
- Right-click on DAS to configure it.
- The hostname is the IP address that DAS gives to MC so that a Robot can find DAS.
Make sure you can successfully ping hostname from the Robot machine. - Make sure that the Firewall on DAS allows the Robot to access the Command port of 49998 and the Stream port of 49999. You can type Test-NetConnection hostname -Port 49998 in Windows Powershell. This will take a few seconds and then return true if it can find the DAS Command Port.
- The hostname is the IP address that DAS gives to MC so that a Robot can find DAS.
- Make sure that the path to Management Console is correct. It will be http://localhost:50080/ if DAS is on the same machine as MC and you have not installed Tomcat. If you have installed Kofax RPA on Tomcat the address will be http://$RPAServer$:8080/ManagementConsole/
- Add username and password to connect to Management Console if you have enabled user management there. This user should have the project role of DAS Client User
- The Cluster is normally set to Non Production, or Production
the Cluster name is case sensitive! - Add one or more labels. Labels are how DAS tells MC what things it can do. Either list application names, task names, department names. Some examples of labels are
- Windows10, Excel, SAP This desktop can handle Excel, SAP or both.
- Windows10, Adobe This desktop can handle PDFs and default Windows applications like Internet Explorer and Wordpad.
- Finance, Excel This desktop can handle Excel and Finance applications.
If the robot asks MC for labels SAP, Excel then the first DAS listed above will be assigned to the robot.
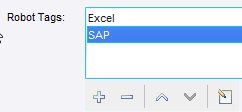
It would also be a good idea to add the SAP and Excel as Tags in the main robot's properties (CTRL-R). This is how a MC admin can find all the robots that require SAP and Excel. Using labels and tags consistently enable your team to know what robots are using what applications and where those applications are available.
WARNING
If you are connecting to the Desktop Machine via Remote Desktop , make sure that you DO NOT MINIMIZE the window, as this will prevent the Robot Designer seeing the Desktop. You must either leave the Desktop open in Remote Desktop, or close it.
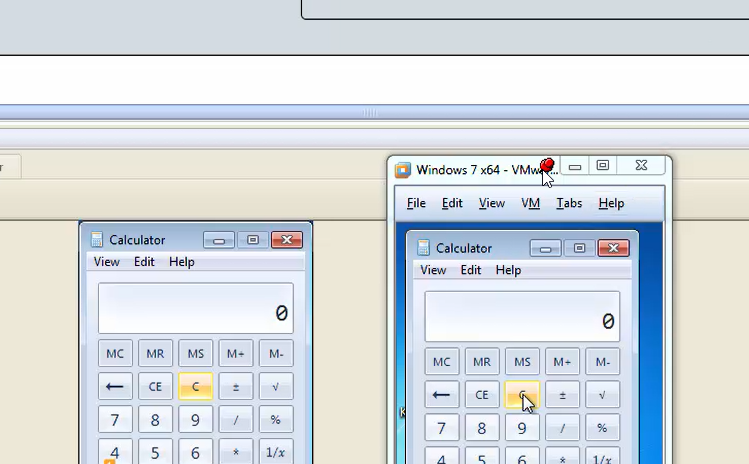
TIP. Install the free, open-source Deskpins which can force the Remote Desktop Window to hover in front of other applications. Here is a screenshot of the Remote Desktop hovering in front of the Designer using Deskpins.
- Start DAS by clicking Save and Restart After a few seconds its icon will become blue, showing that it has found the MC. If it fails check that the MC is running, the MC path is correct and that the Cluster Name is correct.
Configure Management Console for Desktop Automation.
- In MC/Admin/Devices you will see all available DAS under each Cluster.
*his is proof that DAS can see MC, just like the blue icon in DAS, but it doesn't mean that MC can see DAS. - In MC/Repository/Device Mappings add a Mapping that has your labels in both rows.
For most cases this is enough. In some rare cases you might map the labels to something else, if you changed mapping names, or import robots from elsewhere that use labels different to your labels
Configure your Robot to use a Desktop
- Right-Click on the Robot Folder in My Projects and add a new Automation Device Mapping
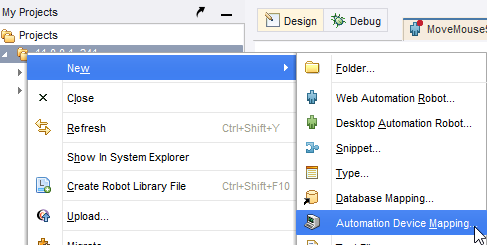
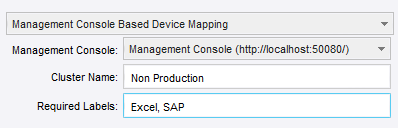
- Select Management Console Based Device Mapping
- Enter the Cluster Name and Required Labels. Be careful of upper and lower case.
- Add a Call Desktop Automation Workflow Step to your robot and add the device to the Required Devices.
Troubleshooting
If you have problems with the Robot connecting to DAS, do the following:
- Make sure that if you have connected to the Desktop using Remote Desktop that the window is NOT minimized.
- Restart DAS by right-clicking its icon and selecting Restart.
- Reload your robot, by clicking on the first step so that the green triangle becomes blue and then press Refresh: this will reset all variables, and reload all device connections.

