How to export character mod - TheLeonX/NSUNS4-ModManager GitHub Wiki
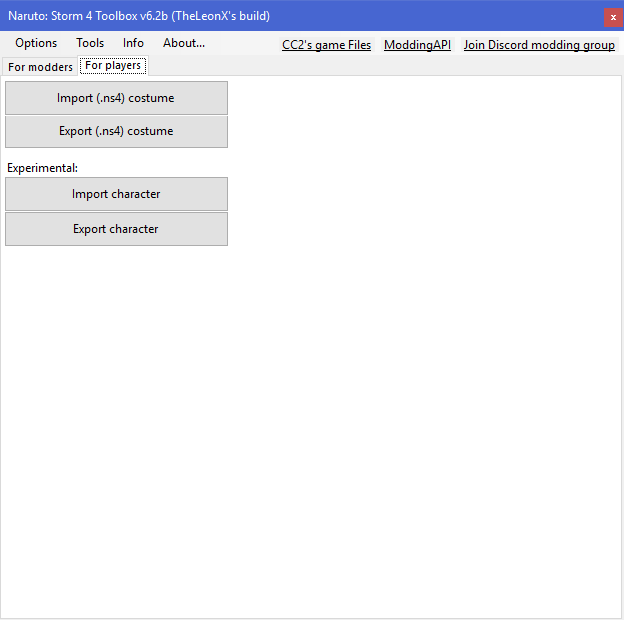
For exporting character mod, you need to download latest version of Toolbox for Naruto Storm 4. After that, you need to press on "Export character" button in "For Players" tab:
When you will press on button, toolbox will ask you to select folder. You need to select data_win32 folder of your mod. (If you trying to get character mod from modpacks, you need to extract files from .cpk, in case, if there no data_win32 or system files inside)
After selecting folder, there will be window with characodes of characters:

You need to select characode of your character mod and then, press "Export" button. Tool will ask you to select folder where should be saved your character.
Video Tutorial: https://www.youtube.com/watch?v=6MV6XkE6WS4
In case if you using .cpk files, files have to be stored ONLY in moddingapi folder and they have to contain characode inside of name of all cpks which were used for character, for example: characode is "8kwk", then cpk can be named like "8kwk_assets.cpk"
After v0.3 Update
Sounds should be packed in cpk archive and putted in data_win32 folder at same time.
IMPORTANT
And you need to pack icon files in cpk archives. I recommend to use this template for icon. Open any image editor (Paint.net or Adobe Photoshop with DDS addon) and use template for your future icon which will be stored in character select menu. Add character portrait on it and save it in .dds extension. IMAGE HAVE TO BE SAVED IN 128x128 RESOLUTION. When you will get .dds file, you need to get sample for it. Download this file. Download also Xfbin Parser for editing this file.
When you got all required stuff, drag and drop charicon_s_I1.xfbin file into xfbin_parser.exe. It will extract content from file.
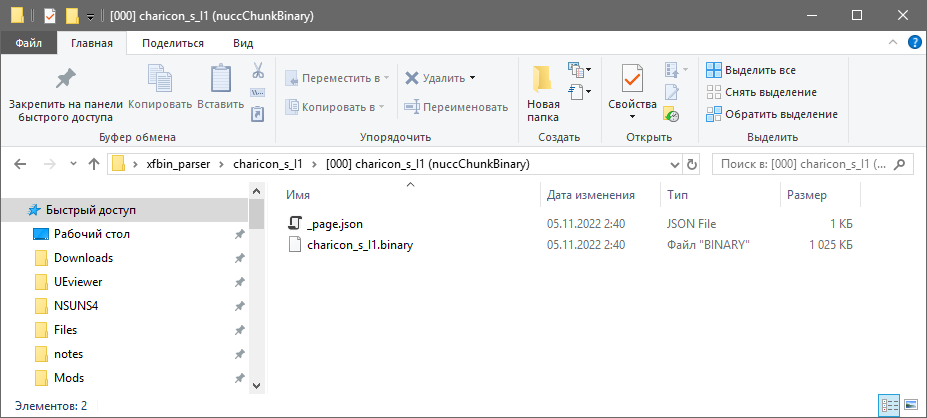
Open folder with charicon_s_I1 content and then open [000] charicon_s_I1 (nuccChunkBinary) folder:
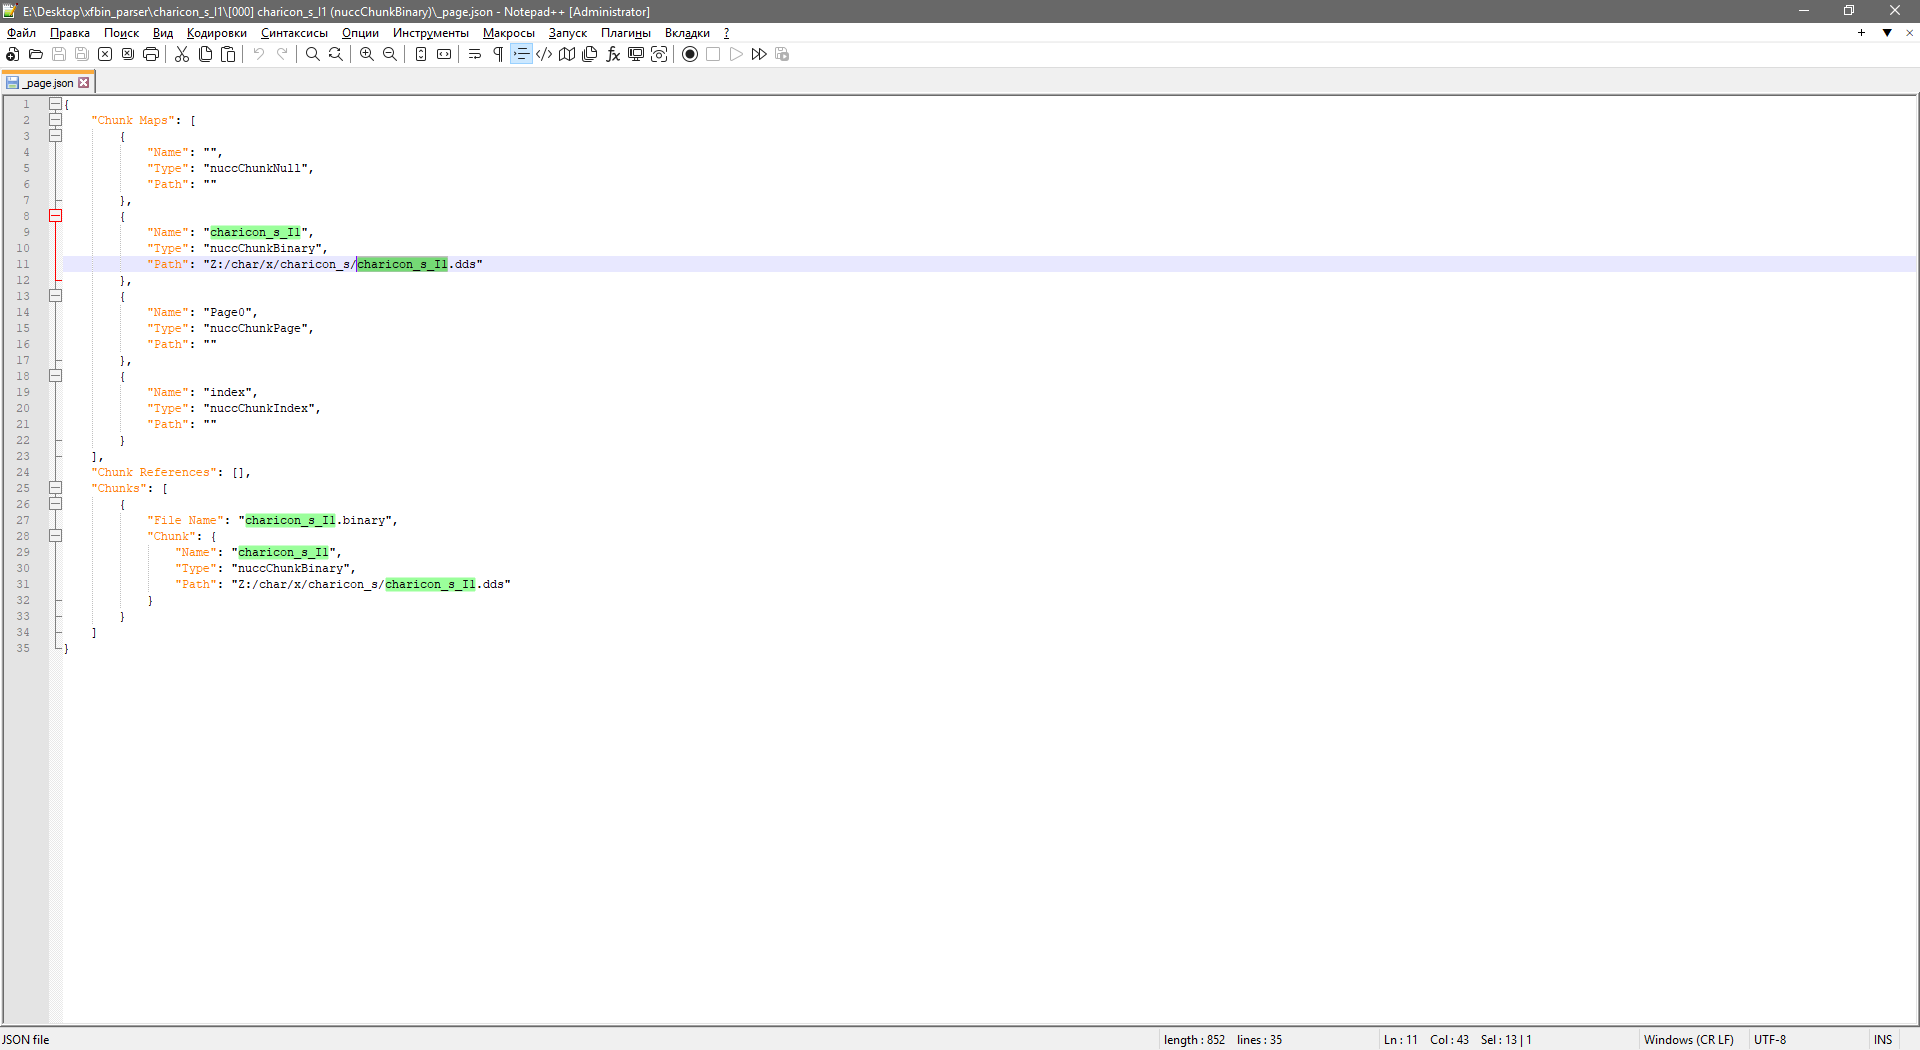
There will be 2 files, _page.json and charicon_s_I1.binary. Open _page.json in Notepad++ and change all mentions of file on "name of icon" + "_charicon_s" like that:

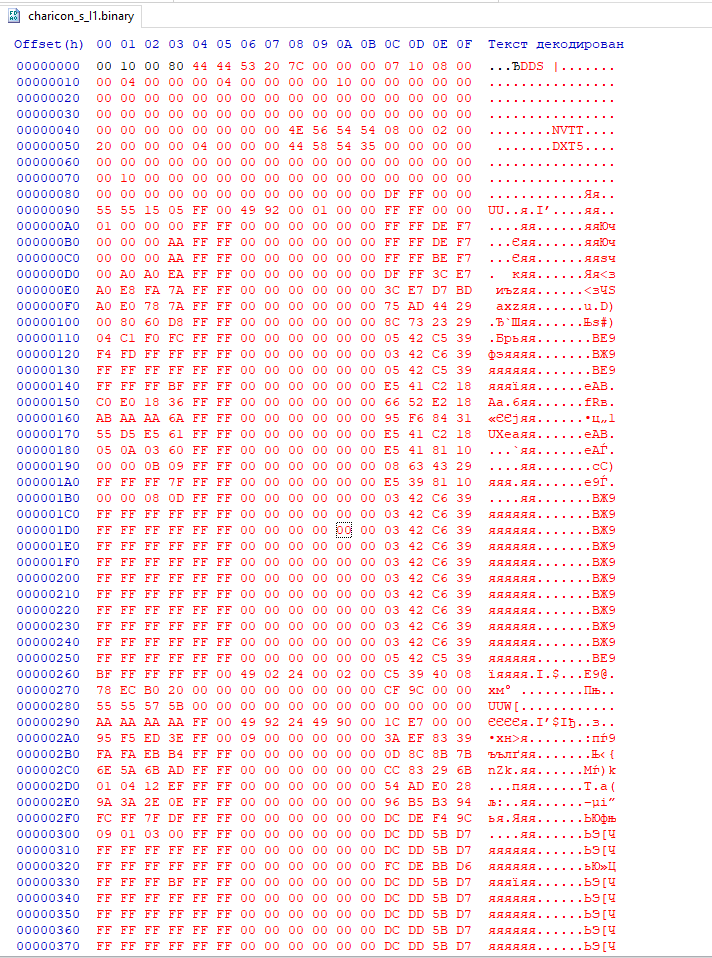
After that, save file and open charicon_s_I1.binary in hex Editor:
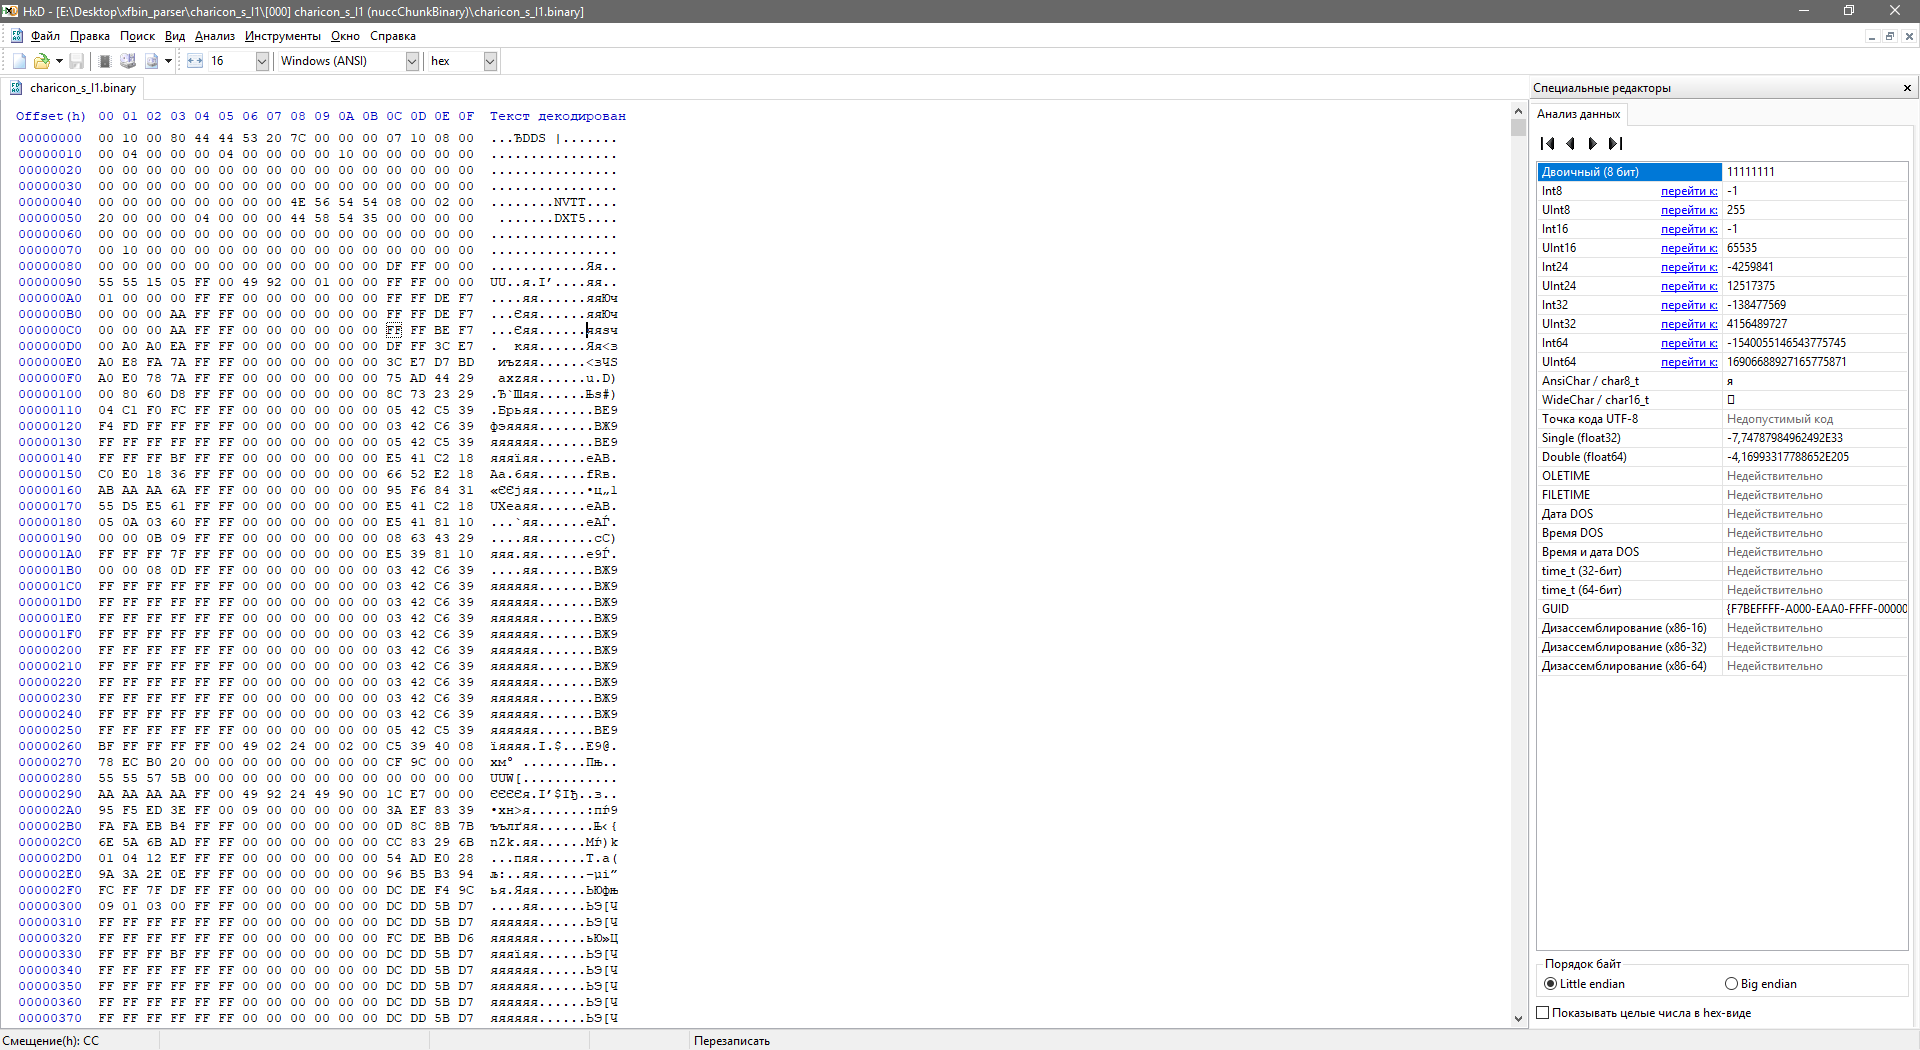
Open also your new icon in hex Editor and copy it fully in buffer and check what length it has. Starting from DDS string in charicon_s_I1.binary file, select it till the end of file and replace it with your new DDS file like that:
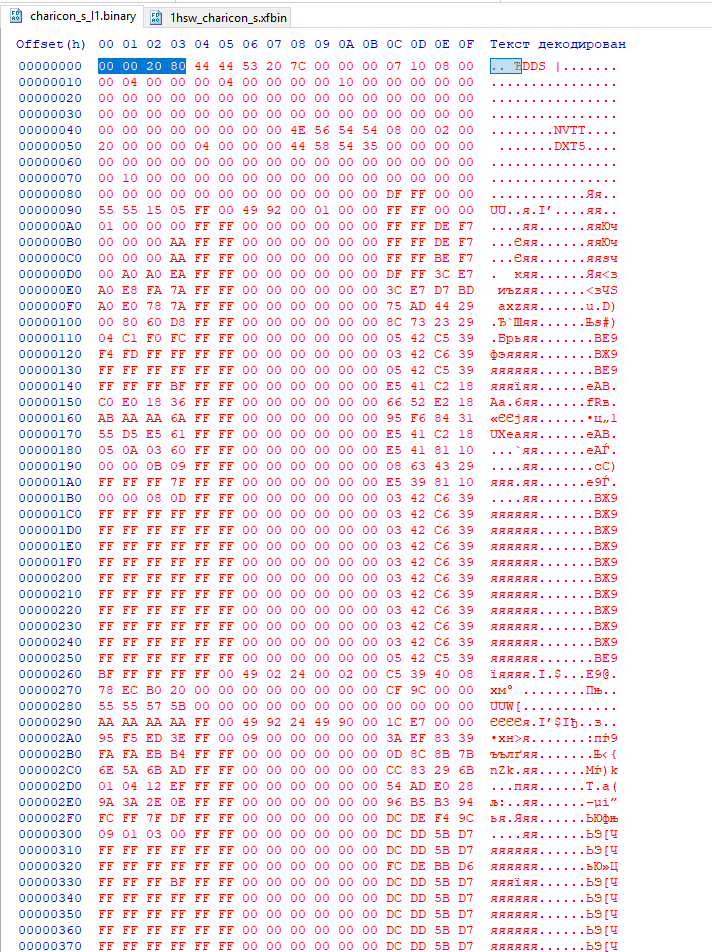
When you replaced DDS texture, you need to change length of file. First 4 bytes in .binary file is length of DDS file. Paste there new length of it. In our case it will be 0x2080:
Rename all files/folders on new name which you used in notepad++ (in my case "9n2b_charicon_s")
Save file and drag and drop folder with content to xfbin_parser.exe (remove old .xfbin file)
When xfbin_parser finished compiling file, you will get working icon file for character select menu:

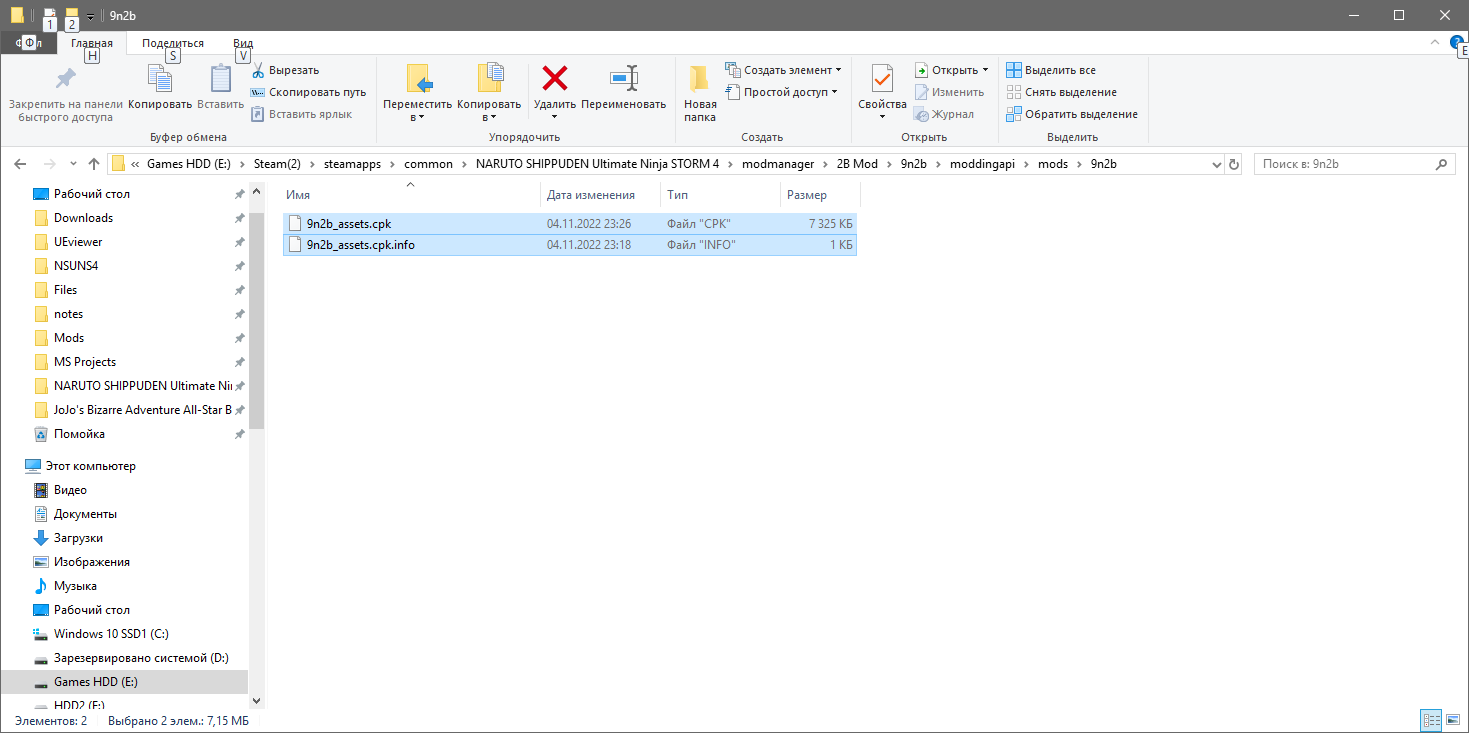
Drag and drop this file into data/ui/flash/OTHER/charicon_s folder in your CPK directory and pack it in CPK archive. Call it like 9n2b_assets.cpk (where 9n2b is characode of character mod) and save in moddingapi/mods/9n2b directory like that:
For normal working of CPK file, you also should add .cpk.info file. Open hex editor, create new file and write 4 bytes like that:
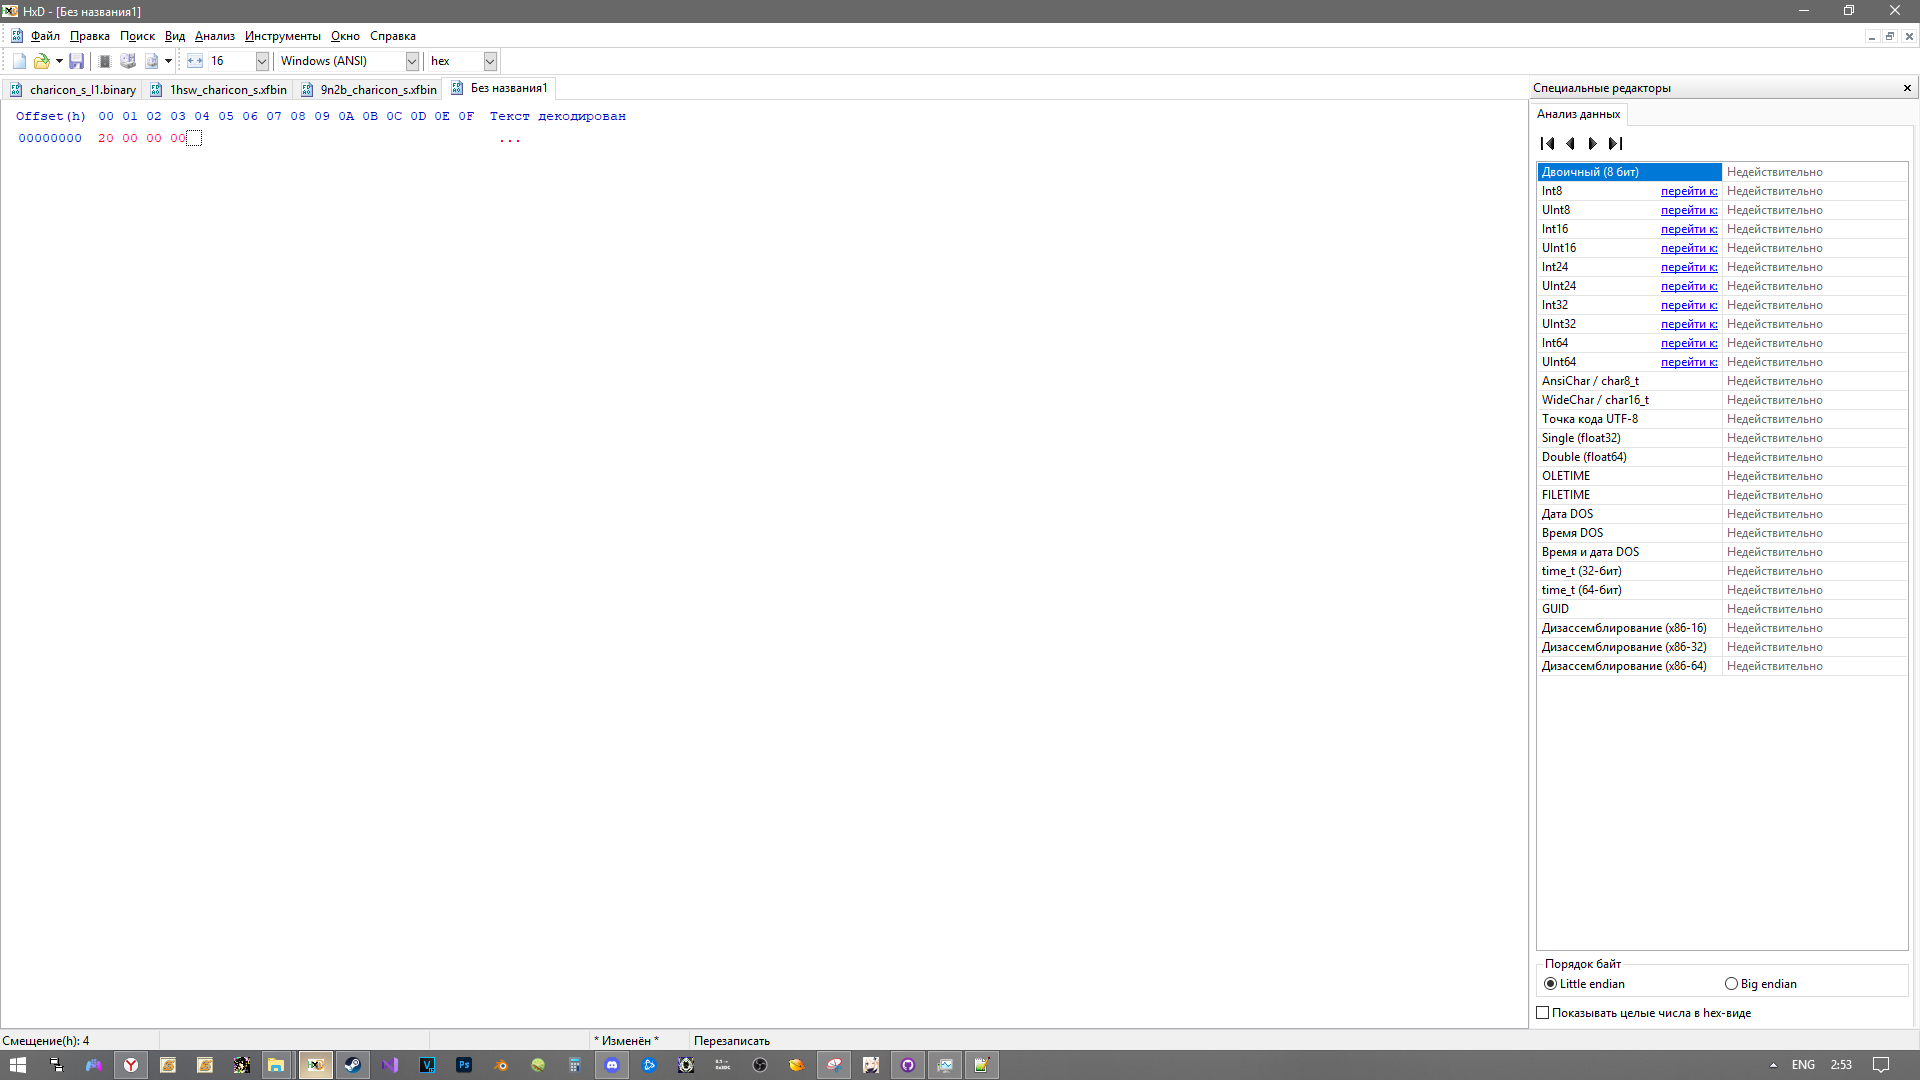
where 0x20 is priority of loading for CPK Archive (since we don't use system files, it doesnt matter what number it will have, use any).
Save it with same name as .cpk file and add ".info" at the end of it.