VM Setup Instructions - TheAppgineer/roon-extension-manager GitHub Wiki
-
Go to the VirtualBox Download Page and download the VirtualBox package for your platform and the VirtualBox Extension Pack.
-
Install the VirtualBox package first followed by the VirtualBox Extension Pack.
-
Next download the DietPi VirtualBox image and extract the
DietPi_VirtualBox-x86_64-Bullseye.ovafile from the 7zip file.
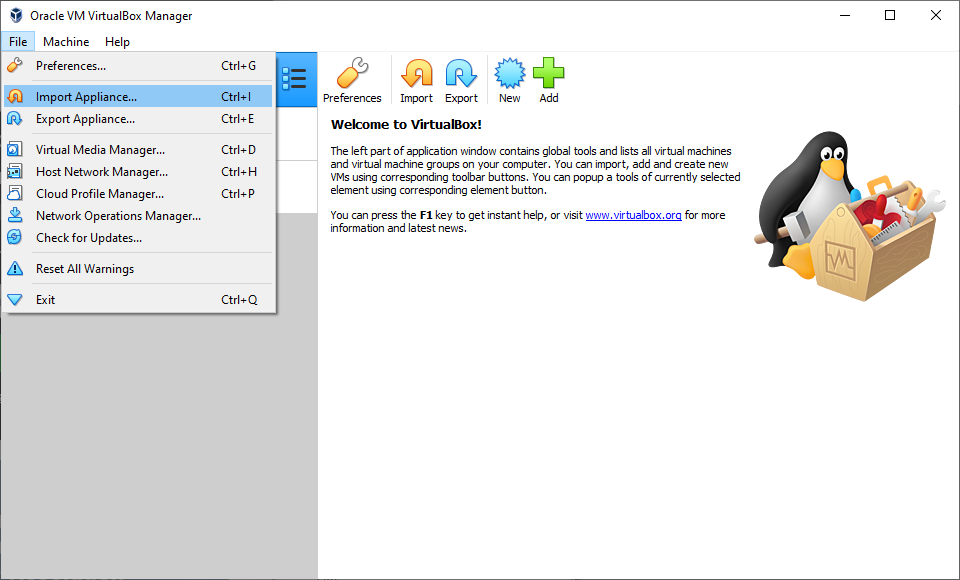
- Start VirtualBox and select Import Appliance... from the File menu:
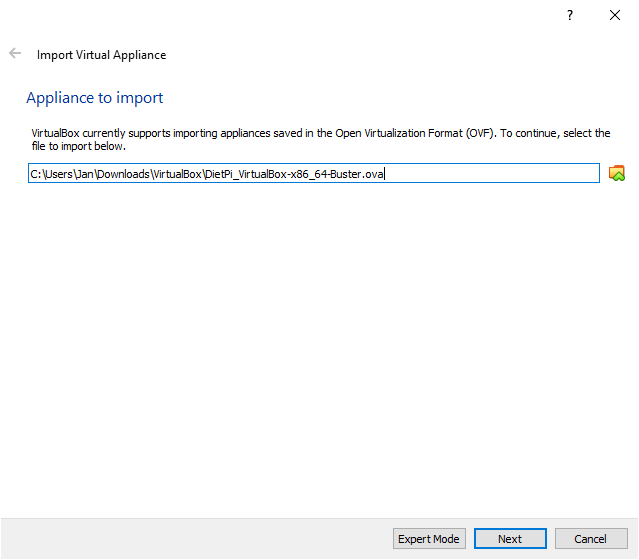
- Select the Browse button, right from the file input field, and select the
DietPi_VirtualBox-x86_64-Bullseye.ovafile:
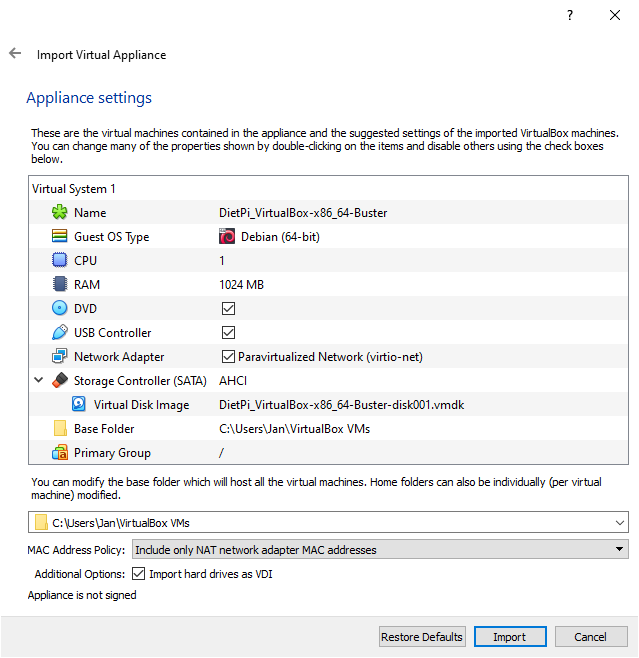
- Select the Next button to get to the Appliance settings. The default settings are fine, select the Import button to create the virtual machine:
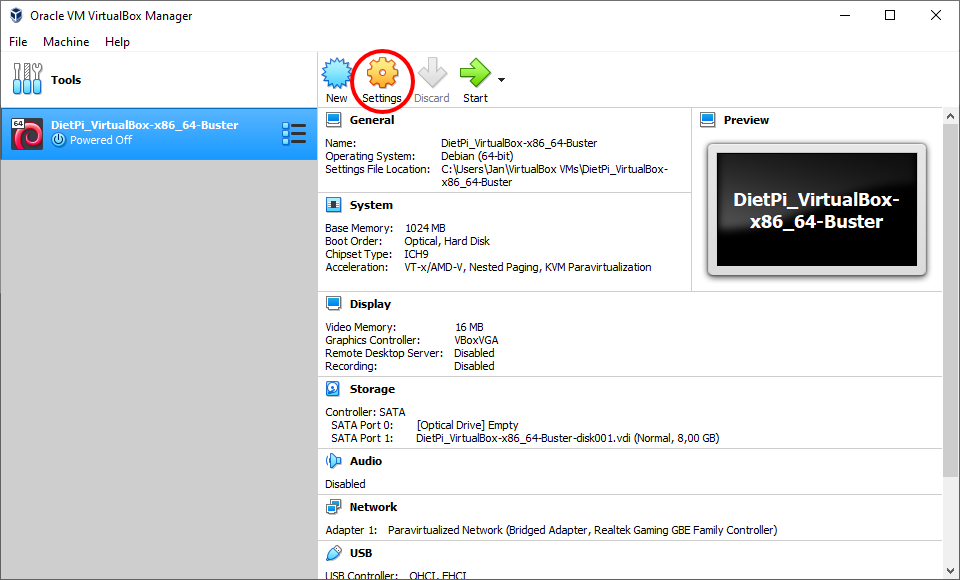
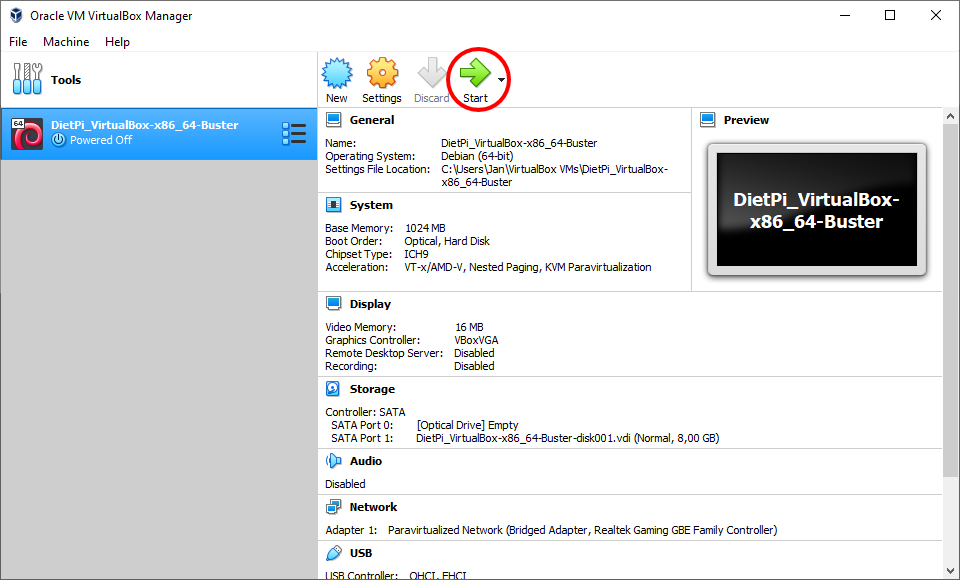
- In the left pane of the VirtualBox Manager you should now see a VM named DietPi_VirtualBox-x86_64-Bullseye. Select it and then select the Settings button in the toolbar:
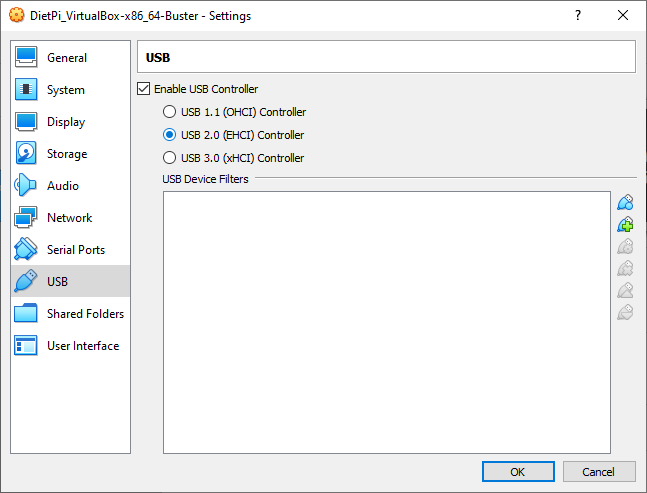
- Select USB in the pane at the left and select USB 2.0 from the list:
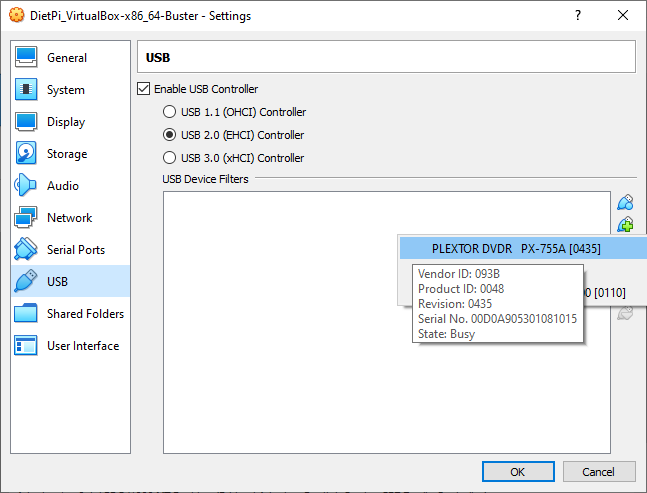
- Select the Add device button from the list at the right and select the USB devices you want to have available within the VM (e.g. an optical drive):
- Select OK to close the Settings window.
ℹ️ If you don't want the mouse pointer captured when you click the DietPi window then you can disable it by running the following in a Command window:
"\Program Files\Oracle\VirtualBox\VBoxManage.exe" setextradata DietPi_VirtualBox-x86_64-Bullseye GUI/MouseCapturePolicy Disabled
- Select the Start button in the toolbar to start the DietPi VM:
-
Wait till the scrolling messages stop and you are asked to log in
-
Now follow the DietPi Setup Instructions