1 Installation - TESTARtool/TESTAR_dev GitHub Wiki
There are several options for TESTAR installation:
- Using Docker containers with TESTAR (currently only for web apps)
- Installing Java binaries of the latest TESTAR release: https://testar.org/images/development/testar_master_latest.zip
- Installing a virtual machine with TESTAR and other required software https://testar.org/images/testar-windows10-20181106.ova
- Building TESTAR from the Java source code
- Hosted server with a virtual machine with TESTAR and other required software (limited availability)
We need to install Docker on Windows + Windows Subsystem for Linux (WSL)
- https://docs.docker.com/docker-for-windows/install/
- https://docs.microsoft.com/es-es/windows/wsl/install-win10#step-4
If Docker is installed correctly, you will be able to execute docker --version and wsl -l -v commands to verify the version of these tools.
Furthermore, if we open the Docker Desktop application we can verify in the lower left corner that Docker is running correctly.
Use a Windows (CR + LF) end of line, it can affect the correct TESTAR_dev\runImage script execution.
To avoid issues you can execute next git command before clone the docker proyect:
git config --global core.autocrlf input
Now we can clone current docker repository:
git clone https://github.com/TESTARtool/TESTAR_dev.git -b master --single-branch
Docker container needs a directory reference to our Windows host. We can do this using the --mount options.
This will allow us to modify and customize settings protocols and to store output results from outside the Docker container.

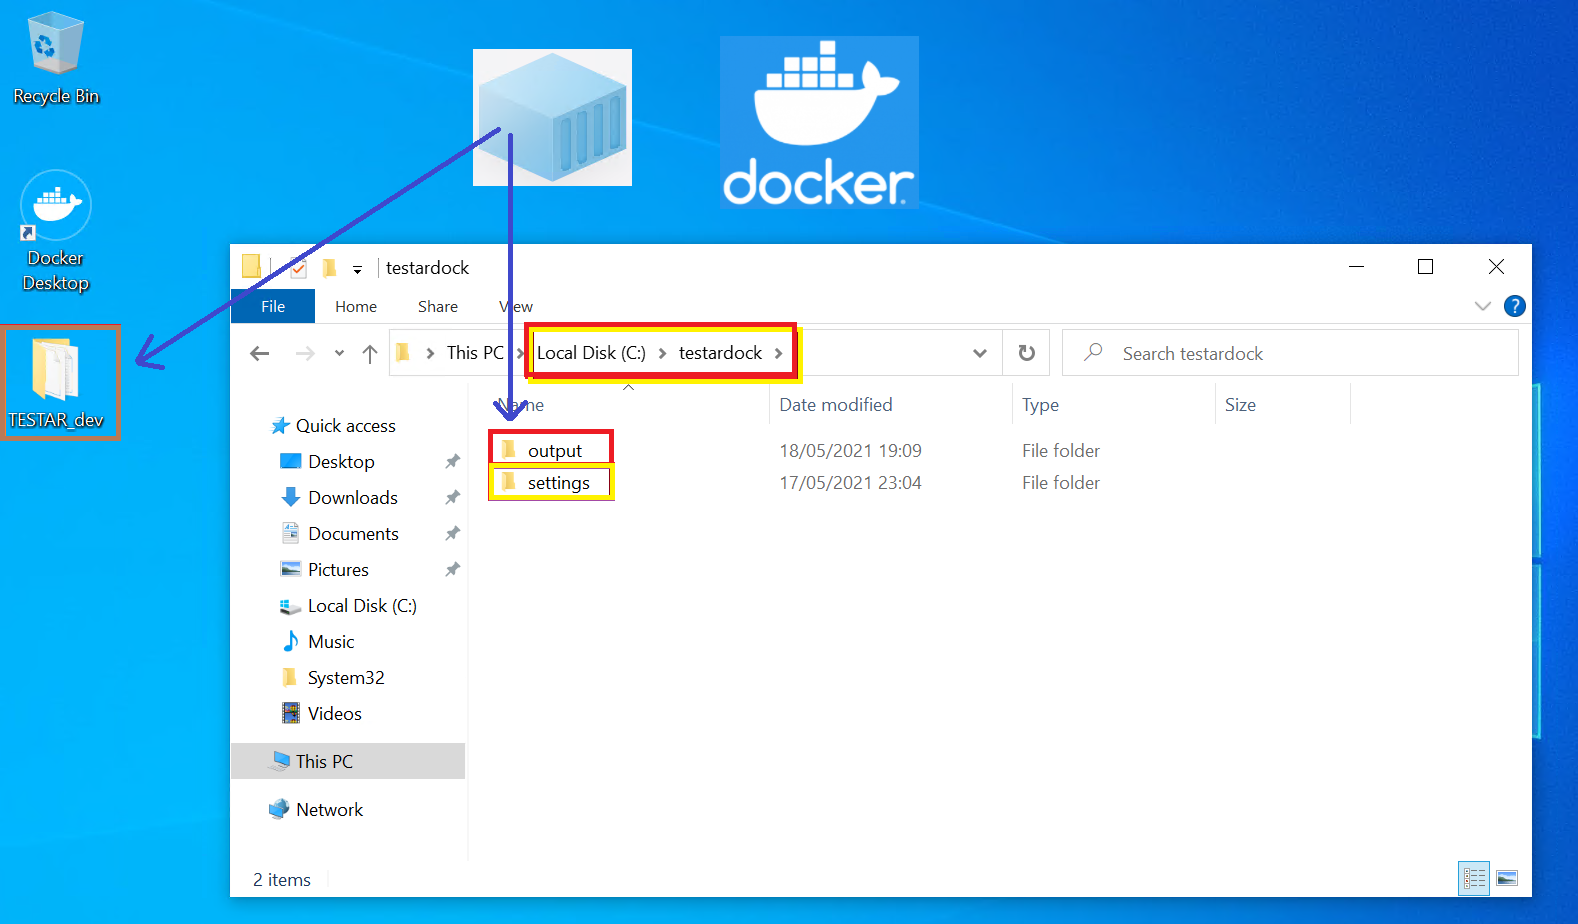
To do this, we need to adapt our Windows host directories or edit in the TESTAR_dev\makeAndRunDocker.bat file the docker run --mount references:
-
Create the directories
C:\testardock\settingsandC:\testardock\outputin our Windows enviroment. -
Modify the default reference
C:\Users\TESTAR_devto ourTESTAR_devdirectory: ExampleC:\Users\testar\Desktop\TESTAR_dev -
Rename docker tag name
testar-local/testar:latestif desired (also references)
Inside the settings mounted directory we need to include the desired webdriver java protocol with their settings. Also is important to mention that we need to create a webdriver_xxxxxx.sse file to indicate to TESTAR that we want to use that specific protocol when it runs.
In the test.settings file there are some important settings that we need to customize:
-
Mode = Generate
Inside Docker we only want to execute TESTAR in generate mode -
SUTConnectorValue = "/usr/bin/chromedriver"
This is the internal Docker image directory where we can find the chromedriver tool -
ShowVisualSettingsDialogOnStartup = false
Disable the TESTAR GUI, because will be displayed inside the container and no one will be able to interact with -
VisualizeActions = false+FlashFeedback = false
Disable more GUI options -
ProtocolCompileDirectory = /tmp
Should be set to an internal directory of the Docker image e.g. /tmp (this is where the compiled java files are written to)
To build the Docker container we use the TESTAR_dev\makeAndRunDocker.bat file, we can open command line or powershell console and execute it.
This gradle task will compile TESTAR and create a testar.tar distribution
call gradlew distTar
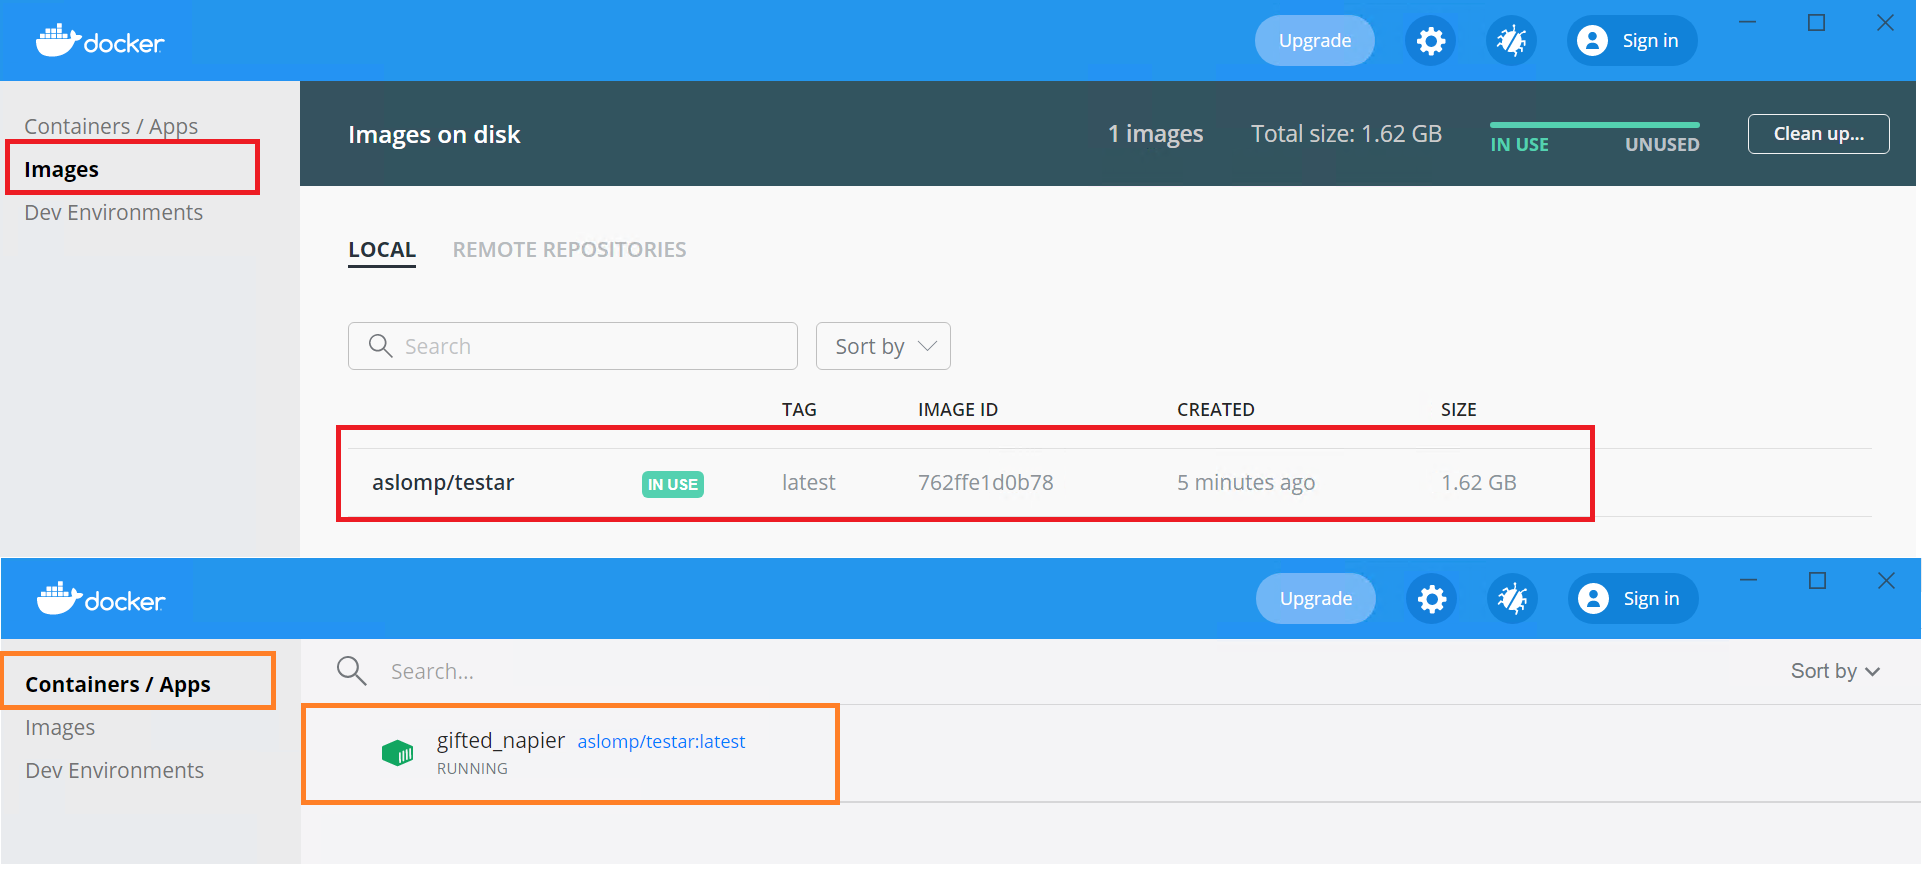
This is the Docker build instruction that will invoke the TESTAR_dev\Dockerfile file to build an image with the specific tag name aslomp/testar:latest
docker build -t testar-local/testar:latest .
Finally, after the Dockerfile execution, we will run a Docker container using the mounted directories
docker run -d --shm-size=512M --mount type=bind,source="c:\testardock\output",target=/testar/bin/output --mount type=bind,source="C:\testardock\settings",target=/testar/bin/settings --mount type=bind,source="C:\Users\testar\Desktop\TESTAR_dev",target=/mnt testar-local/testar:latest

https://github.com/TESTARtool/TESTAR_dev/wiki/TESTAR-Docker-issues