PT Visual Studio Code - SkycoinWikis/CX GitHub Wiki
 HOME » CX » PROGRAMMING TOOLS » VS CODE
The most important thing in writing code is to easy identify the keywords of the language. In the next steps you get to know how to setup VS Code for writing CX code.
-
Download the latest version of VS Code from https://code.visualstudio.com/Download
-
After the installation open your CX-Directory: File -> Open Folder..
-
Activate your hello-world.cx file or another and then press Ctrl + K, release and press M
-
Click on Configure File Association for '.cx'...
-
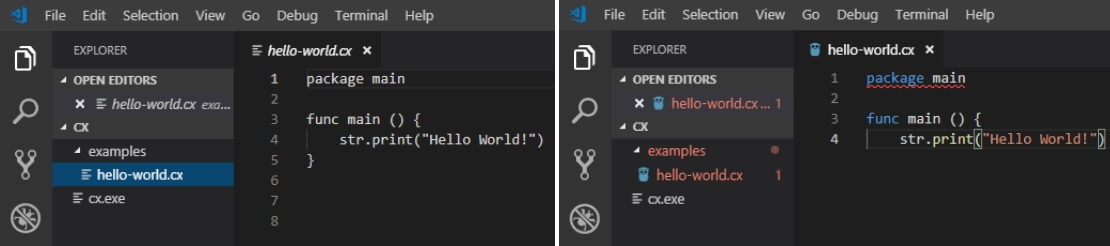
Select Go
-
Now the keywords known from Go will be highlighted in every .cx file
To run your code directly from VS Code you have to setup the Terminal depending on your operating system
-
If you haven't got open the terminal in VS Code, go to Terminal -> New Terminal
-
To change your default Shell press Ctrl + Shift + P and search for command Terminal: Select Default Shell
-
Select Command Prompt
-
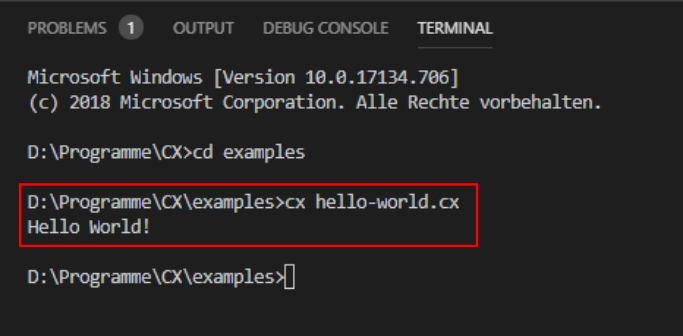
Now you can use the Windows Command Prompt inside VS Code:
Move to the direction where your hello-world.cx is and type in cx hello-world.cx or just drag and drop your file into the terminal after typing in cx followed by a Space
TODO
TODO