Setting Up The Authentication Integration with Facebook - Sitefinity/Sitefinity-External-STS-Integration GitHub Wiki
Home / Setting Up The Authentication Integration with Facebook
The OAuthAuthenticationModule registers now a config section (OAEConfig) in its initialization process. This makes it easy to configure the provider's parameters for Google, Facebook and Amazon external login.
This example tutorial explains how to create a Facebook application in order to integrate the authentication process with Facebook:
- Part 1: Setting Up a Facebook Application
- Part 2: Setting Up The Sitefinity Facebook Login
- Part 3: Testing the setup
Part 1: Setting Up a Facebook Application
-
Navigate to Facebook developer's page.
-
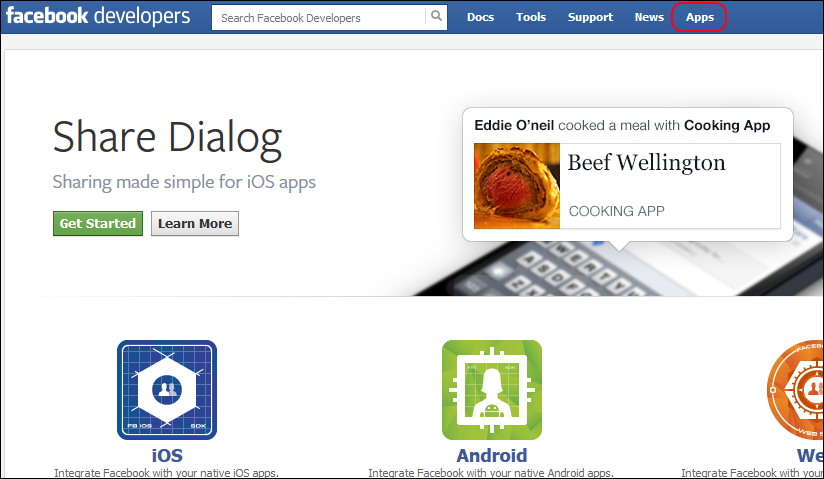
Click on Apps
-
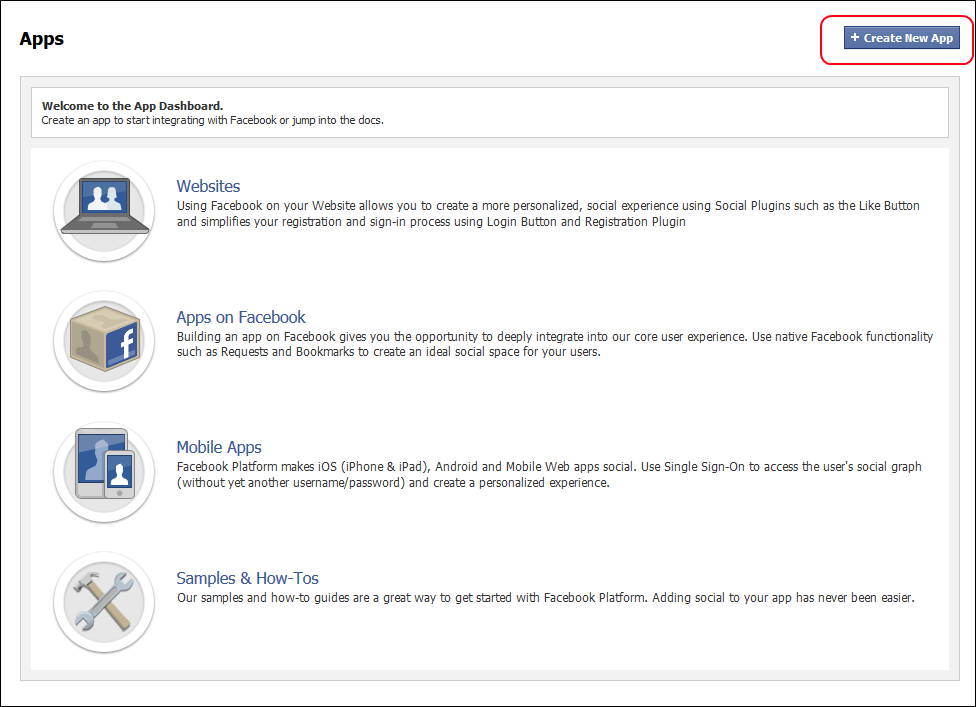
Create on Create New App
-
Fill the basic settings for the new application and click Continue

-
Fill in additional settings for your application
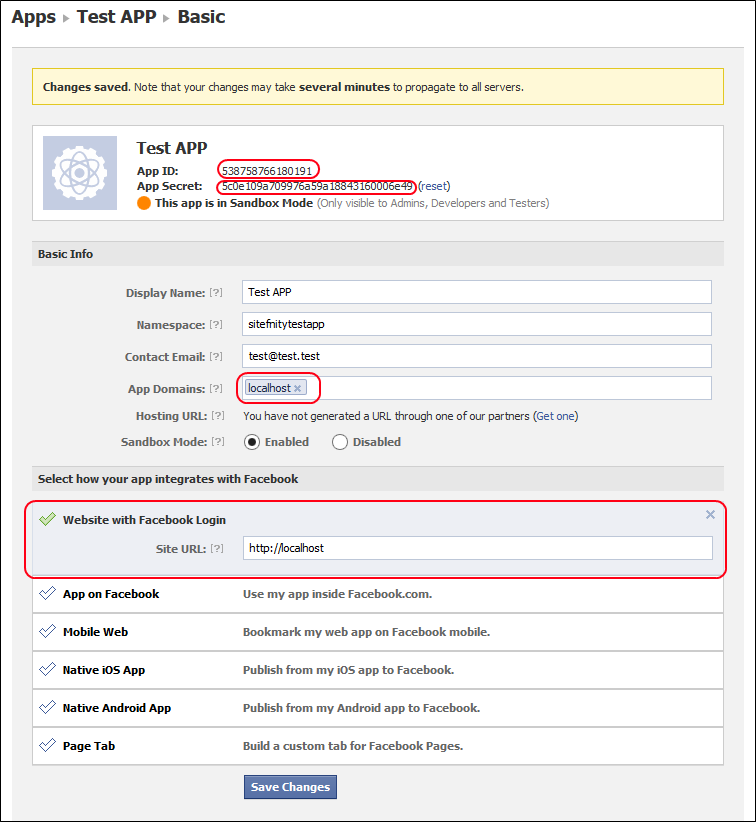
Write down the App ID and the App Secret. Fill the App Domains with URLS of your corresponding domains.
You need to specify that you are going to use the Facebook API from a website and also define the URL from which the API will be referenced. When the test is done, you need to disable this Sandbox. Then your application will be available to other users as well. Otherwise your app will be available only for the sandbox test users and other users will not be able to login.
Note: After the user is redirected from your Sitefinity instance to Facebook for authentication, they will be redirected back to Sitefinity. This is done with JavaScript in the web browser, so your application is not required to be accessible/visible outside of your network.
Part 2: Setting Up The Sitefinity Facebook Login
-
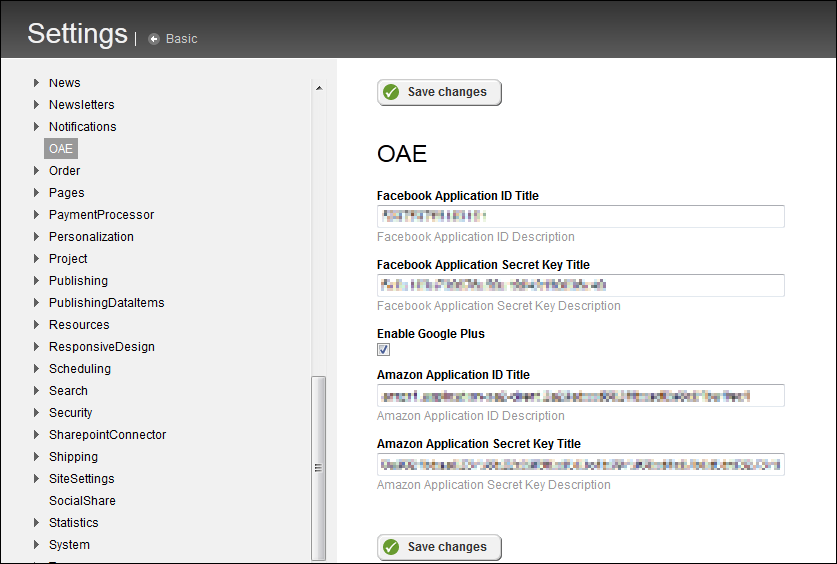
Follow the instructions on the How to integrate the OauthExternalAuthentication project with your Sitefinity instacne page.
Use the values that you saved on Step #5 of "Setting Up a Facebook Application" above.
-
Restart your Sitefinity application.
-
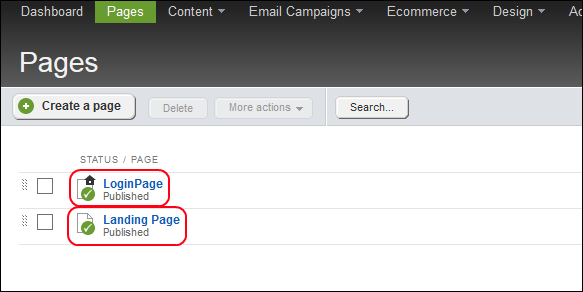
Create 2 pages : Login Page and Landing Page
-
Open the Login page for editing.
-
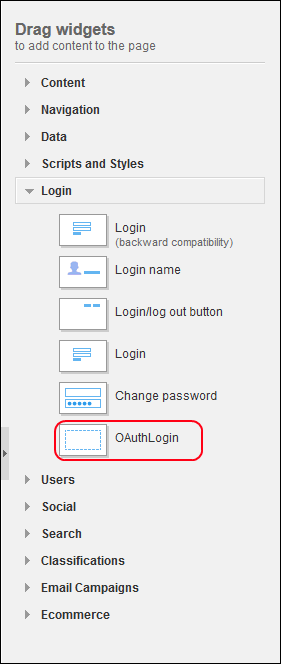
Drag and drop the OAuthLogin widget:
-
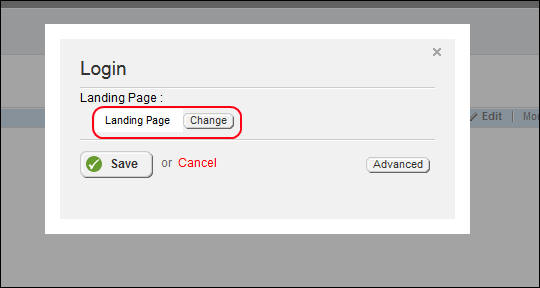
Edit the properties of the widget and select the landing page to point the previously created Landing page.
-
Click Save and then Publish, to publish the page.
-
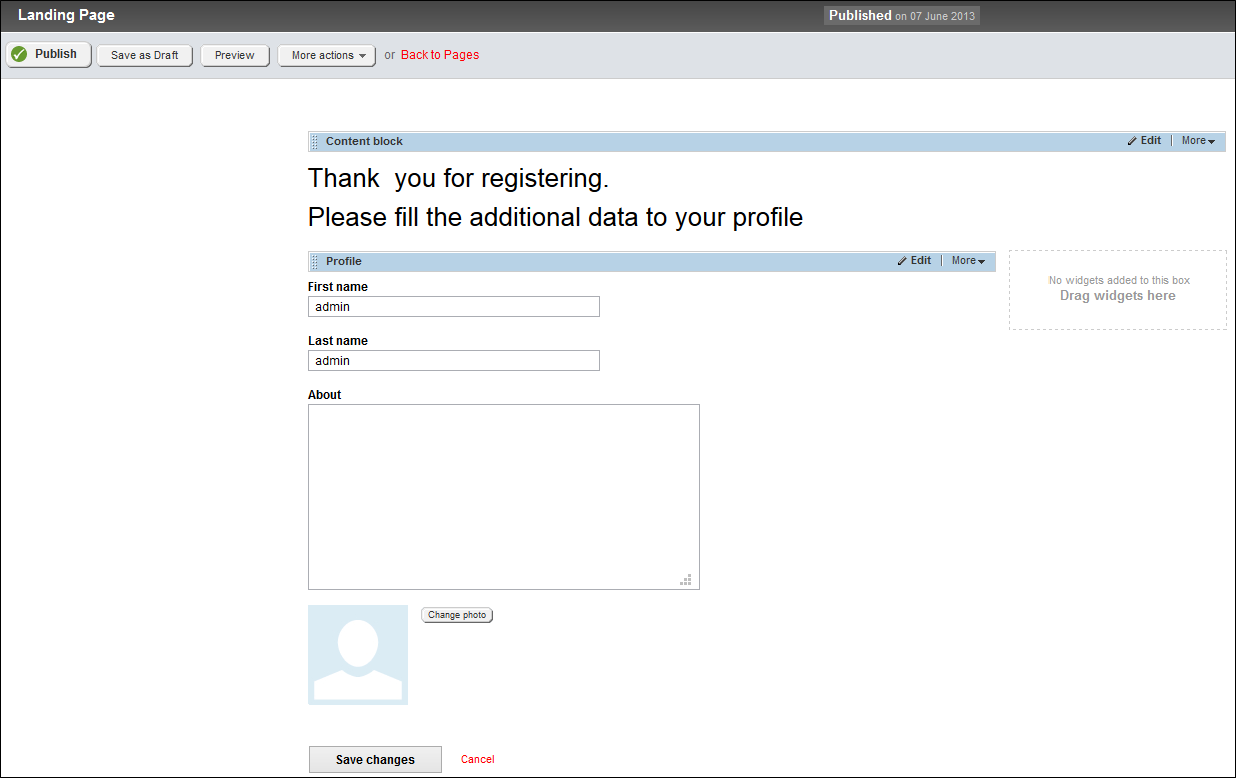
Open Landing page and place the Profile widget on it
-
Publish the page.
Part 3: Testing the setup
-
Open the Login Page.

-
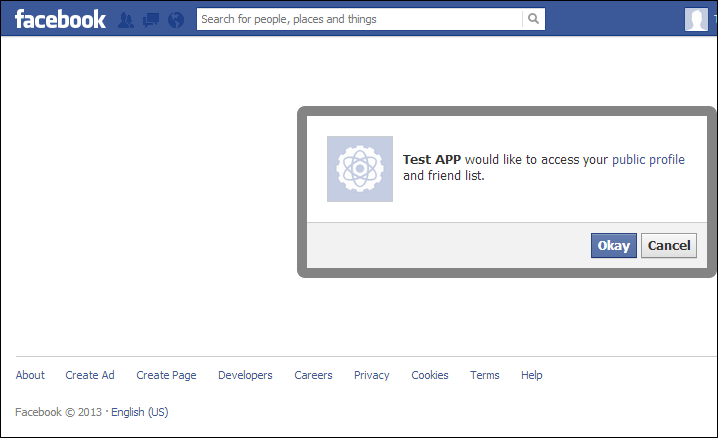
Click on the Facebook link. You will be redirected to Facebook.
-
Click Okay.
-
If you haven't logged in to this web application before, you will be redirected to the landing page.
