Getting started with pyboard - SamsungResearchUK-IoT-Meetup/multimode_sensor_platform GitHub Wiki
Running your first script
Let's jump right in and get a Python script running on the pyboard. After all, that's what it's all about!
Connecting your pyboard
Connect your pyboard to your PC (Windows, Mac or Linux) with a micro USB cable. There is only one way that the cable will connect, so you can't get it wrong.
When the pyboard is connected to your PC it will power on and enter the start up process (the boot process). The green LED should light up for half a second or less, and when it turns off it means the boot process has completed.
Opening the pyboard USB drive
Your PC should now recognise the pyboard. It depends on the type of PC you have as to what happens next:
-
Windows: Your pyboard will appear as a removable USB flash drive. Windows may automatically pop-up a window, or you may need to go there using Explorer.
Windows will also see that the pyboard has a serial device, and it will try to automatically configure this device. If it does, cancel the process. We will get the serial device working in the next tutorial.
-
Mac: Your pyboard will appear on the desktop as a removable disc. It will probably be called "NONAME". Click on it to open the pyboard folder.
-
Linux: Your pyboard will appear as a removable medium. On Ubuntu it will mount automatically and pop-up a window with the pyboard folder. On other Linux distributions, the pyboard may be mounted automatically, or you may need to do it manually. At a terminal command line, type
lsblkto see a list of connected drives, and thenmount /dev/sdb1(replacesdb1with the appropriate device). You may need to be root to do this.
Okay, so you should now have the pyboard connected as a USB flash drive, and a window (or command line) should be showing the files on the pyboard drive.
The drive you are looking at is known as /flash by the pyboard, and should contain
the following 4 files:
-
boot.py -- this script is executed when the pyboard boots up. It sets up various configuration options for the pyboard.
-
main.py -- this is the main script that will contain your Python program. It is executed after
boot.py. -
README.txt -- this contains some very basic information about getting started with the pyboard.
-
pybcdc.inf -- this is a Windows driver file to configure the serial USB device. More about this in the next tutorial.
Editing main.py
Now we are going to write our Python program, so open the main.py
file in a text editor. On Windows you can use notepad, or any other editor.
On Mac and Linux, use your favourite text editor. With the file open you will
see it contains 1 line
# main.py -- put your code here!
This line starts with a # character, which means that it is a comment. Such lines will not do anything, and are there for you to write notes about your program.
Let's add 2 lines to this main.py file, to make it look like this
# main.py -- put your code here!
    import pyb
    pyb.LED(4).on()
The first line we wrote says that we want to use the pyb module.
This module contains all the functions and classes to control the features
of the pyboard.
The second line that we wrote turns the blue LED on: it first gets the LED
class from the pyb module, creates LED number 4 (the blue LED), and then
turns it on.
Resetting the pyboard
To run this little script, you need to first save and close the main.py file,
and then eject (or unmount) the pyboard USB drive. Do this like you would a
normal USB flash drive.
When the drive is safely ejected/unmounted you can get to the fun part: press the RST switch on the pyboard to reset and run your script. The RST switch is the small black button just below the USB connector on the board, on the right edge.
When you press RST the green LED will flash quickly, and then the blue LED should turn on and stay on.
Congratulations! You have written and run your very first MicroPython program!
Introduction to the pyboard
To get the most out of your pyboard, there are a few basic things to understand about how it works.
Caring for your pyboard
Because the pyboard does not have a housing it needs a bit of care:
-
Be gentle when plugging/unplugging the USB cable. Whilst the USB connector is soldered through the board and is relatively strong, if it breaks off it can be very difficult to fix.
-
Static electricity can shock the components on the pyboard and destroy them. If you experience a lot of static electricity in your area (eg dry and cold climates), take extra care not to shock the pyboard. If your pyboard came in a black plastic box, then this box is the best way to store and carry the pyboard as it is an anti-static box (it is made of a conductive plastic, with conductive foam inside).
As long as you take care of the hardware, you should be okay. It's almost impossible to break the software on the pyboard, so feel free to play around with writing code as much as you like. If the filesystem gets corrupt, see below on how to reset it. In the worst case you might need to reflash the MicroPython software, but that can be done over USB.
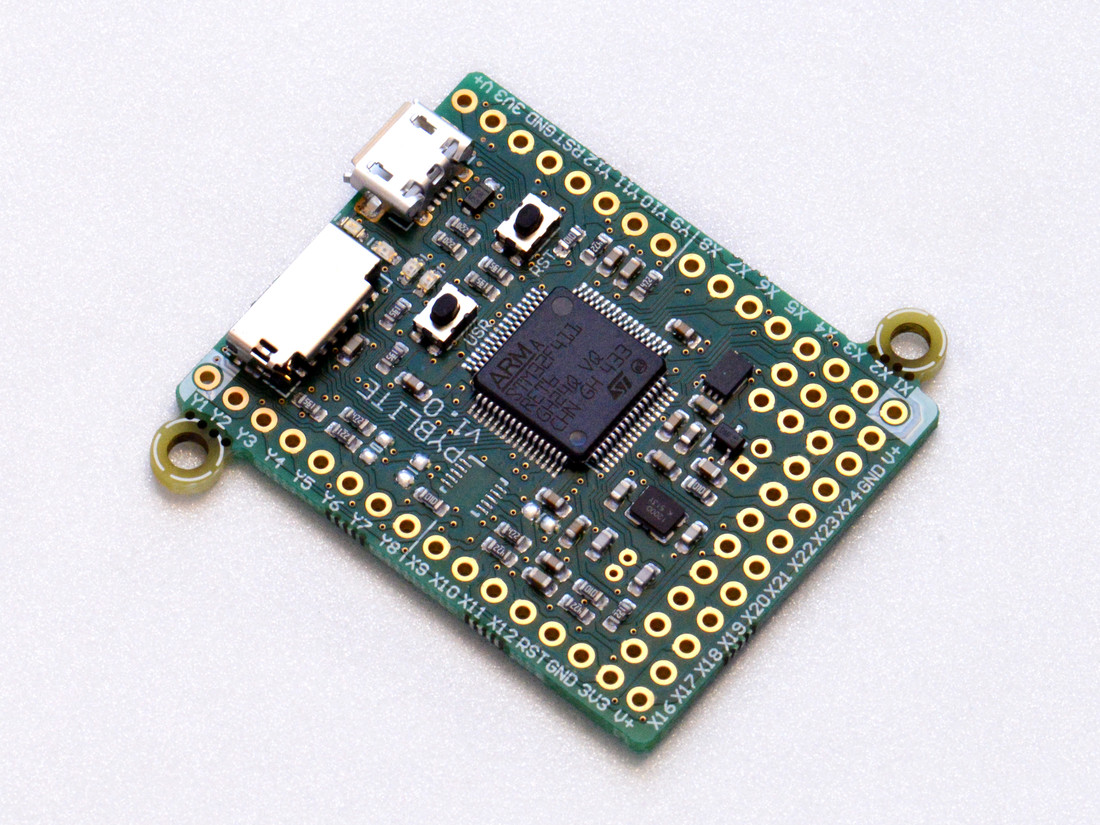
Layout of the pyboard

The micro USB connector is on the top right, the micro SD card slot on the top left of the board. There are 4 LEDs between the SD slot and USB connector. The colours are: red on the bottom, then green, orange, and blue on the top. There are 2 switches: the right one is the reset switch, the left is the user switch.
Plugging in and powering on
The pyboard can be powered via USB. Connect it to your PC via a micro USB cable. There is only one way that the cable will fit. Once connected, the green LED on the board should flash quickly.
Powering by an external power source
The pyboard can be powered by a battery or other external power source.
Be sure to connect the positive lead of the power supply to VIN, and ground to GND. There is no polarity protection on the pyboard so you must be careful when connecting anything to VIN.
The input voltage must be between 3.6V and 10V.
Safe mode and factory reset
If something goes wrong with your pyboard, don't panic! It is almost impossible for you to break the pyboard by programming the wrong thing.
The first thing to try is to enter safe mode: this temporarily skips
execution of boot.py and main.py and gives default USB settings.
If you have problems with the filesystem you can do a factory reset, which restores the filesystem to its original state.
Safe mode
To enter safe mode, do the following steps:
- Connect the pyboard to USB so it powers up.
- Hold down the USR switch.
- While still holding down USR, press and release the RST switch.
- The LEDs will then cycle green to orange to green+orange and back again.
- Keep holding down USR until only the orange LED is lit, and then let go of the USR switch.
- The orange LED should flash quickly 4 times, and then turn off.
- You are now in safe mode.
In safe mode, the boot.py and main.py files are not executed, and so
the pyboard boots up with default settings. This means you now have access
to the filesystem (the USB drive should appear), and you can edit boot.py
and main.py to fix any problems.
Entering safe mode is temporary, and does not make any changes to the files on the pyboard.
Factory reset the filesystem
If you pyboard's filesystem gets corrupted (for example, you forgot to
eject/unmount it), or you have some code in boot.py or main.py which
you can't escape from, then you can reset the filesystem.
Resetting the filesystem deletes all files on the internal pyboard storage
(not the SD card), and restores the files boot.py, main.py, README.txt
and pybcdc.inf back to their original state.
To do a factory reset of the filesystem you follow a similar procedure as you did to enter safe mode, but release USR on green+orange:
- Connect the pyboard to USB so it powers up.
- Hold down the USR switch.
- While still holding down USR, press and release the RST switch.
- The LEDs will then cycle green to orange to green+orange and back again.
- Keep holding down USR until both the green and orange LEDs are lit, and then let go of the USR switch.
- The green and orange LEDs should flash quickly 4 times.
- The red LED will turn on (so red, green and orange are now on).
- The pyboard is now resetting the filesystem (this takes a few seconds).
- The LEDs all turn off.
- You now have a reset filesystem, and are in safe mode.
- Press and release the RST switch to boot normally.
Getting a MicroPython REPL prompt
REPL stands for Read Evaluate Print Loop, and is the name given to the
interactive MicroPython prompt that you can access on the pyboard. Using
the REPL is by far the easiest way to test out your code and run commands.
You can use the REPL in addition to writing scripts in main.py.
To use the REPL, you must connect to the serial USB device on the pyboard. How you do this depends on your operating system.
Windows
You need to install the pyboard driver to use the serial USB device.
The driver is on the pyboard's USB flash drive, and is called pybcdc.inf.
To install this driver you need to go to Device Manager for your computer, find the pyboard in the list of devices (it should have a warning sign next to it because it's not working yet), right click on the pyboard device, select Properties, then Install Driver. You need to then select the option to find the driver manually (don't use Windows auto update), navigate to the pyboard's USB drive, and select that. It should then install. After installing, go back to the Device Manager to find the installed pyboard, and see which COM port it is (eg COM4). More comprehensive instructions can be found in the Guide for pyboard on Windows (PDF). Please consult this guide if you are having problems installing the driver.
You now need to run your terminal program. You can use HyperTerminal if you have it installed, or download the free program PuTTY: putty.exe. Using your serial program you must connect to the COM port that you found in the previous step. With PuTTY, click on "Session" in the left-hand panel, then click the "Serial" radio button on the right, then enter you COM port (eg COM4) in the "Serial Line" box. Finally, click the "Open" button.
#Mac OS X
Open a terminal and run
screen /dev/tty.usbmodem*
When you are finished and want to exit screen, type CTRL-A CTRL-\.
Linux
Open a terminal and run::
screen /dev/ttyACM0
You can also try picocom or minicom instead of screen. You may have to
use /dev/ttyACM1 or a higher number for ttyACM. And, you may need to give
yourself the correct permissions to access this devices (eg group uucp or dialout,
or use sudo).
Using the REPL prompt
Now let's try running some MicroPython code directly on the pyboard.
With your serial program open (PuTTY, screen, picocom, etc) you may see a blank
screen with a flashing cursor. Press Enter and you should be presented with a
MicroPython prompt, i.e. >>>. Let's make sure it is working with the obligatory test
    >>> print("hello pyboard!")
    hello pyboard!
In the above, you should not type in the >>> characters. They are there to
indicate that you should type the text after it at the prompt. In the end, once
you have entered the text print("hello pyboard!") and pressed Enter, the output
on your screen should look like it does above.
If you already know some python you can now try some basic commands here.
If any of this is not working you can try either a hard reset or a soft reset; see below.
Go ahead and try typing in some other commands. For example
    >>> pyb.LED(1).on()
    >>> pyb.LED(2).on()
    >>> 1 + 2
    3
    >>> 1 / 2
    0.5
    >>> 20 * 'py'
    'pypypypypypypypypypypypypypypypypypypypy'
Resetting the board
If something goes wrong, you can reset the board in two ways. The first is to press CTRL-D at the MicroPython prompt, which performs a soft reset. You will see a message something like::
>>>
PYB: sync filesystems
PYB: soft reboot
Micro Python v1.0 on 2014-05-03; PYBv1.0 with STM32F405RG
Type "help()" for more information.
>>>
If that isn't working you can perform a hard reset (turn-it-off-and-on-again) by pressing the RST switch (the small black button closest to the micro-USB socket on the board). This will end your session, disconnecting whatever program (PuTTY, screen, etc) that you used to connect to the pyboard.
If you are going to do a hard-reset, it's recommended to first close your serial program and eject/unmount the pyboard drive.