Create Mobile Application in SAP Cloud Platform mobile services with Assistant - SAP-archive/fiori-for-ios-workshop GitHub Wiki
To connect the TravelExpenses app target in the repository to the database you just setup, the last step is to configure the mobile application in SAP Cloud Platform mobile services. You may login to the mobile services cockpit directly for the setup, but it is also informative to use the Assistant to create the configuration, while generating the scaffolding code for a new app on the service.
Add mobile services account to Assistant
The fastest way to setup the account by launching a link from the Mobile Services cockpit Important Links page.
Login to SAP Cloud Platform, and navigate to the Mobile Services overview page, named Development & Operations, std
Search for the string:
operationto filter

In the Take Action list, click Go to Service to go to the cockpit.


In the bottom left of the page, click on the Important Links tab.

In section of the page entitled SAP Cloud Platform SDK Tools, click the link named Importing URLs directly (only supported by iOS Assistant).
You'll be prompted by a modal: "Do you want to allow this page to open "SAP Cloud Platform SDK for iOS Assistant?".
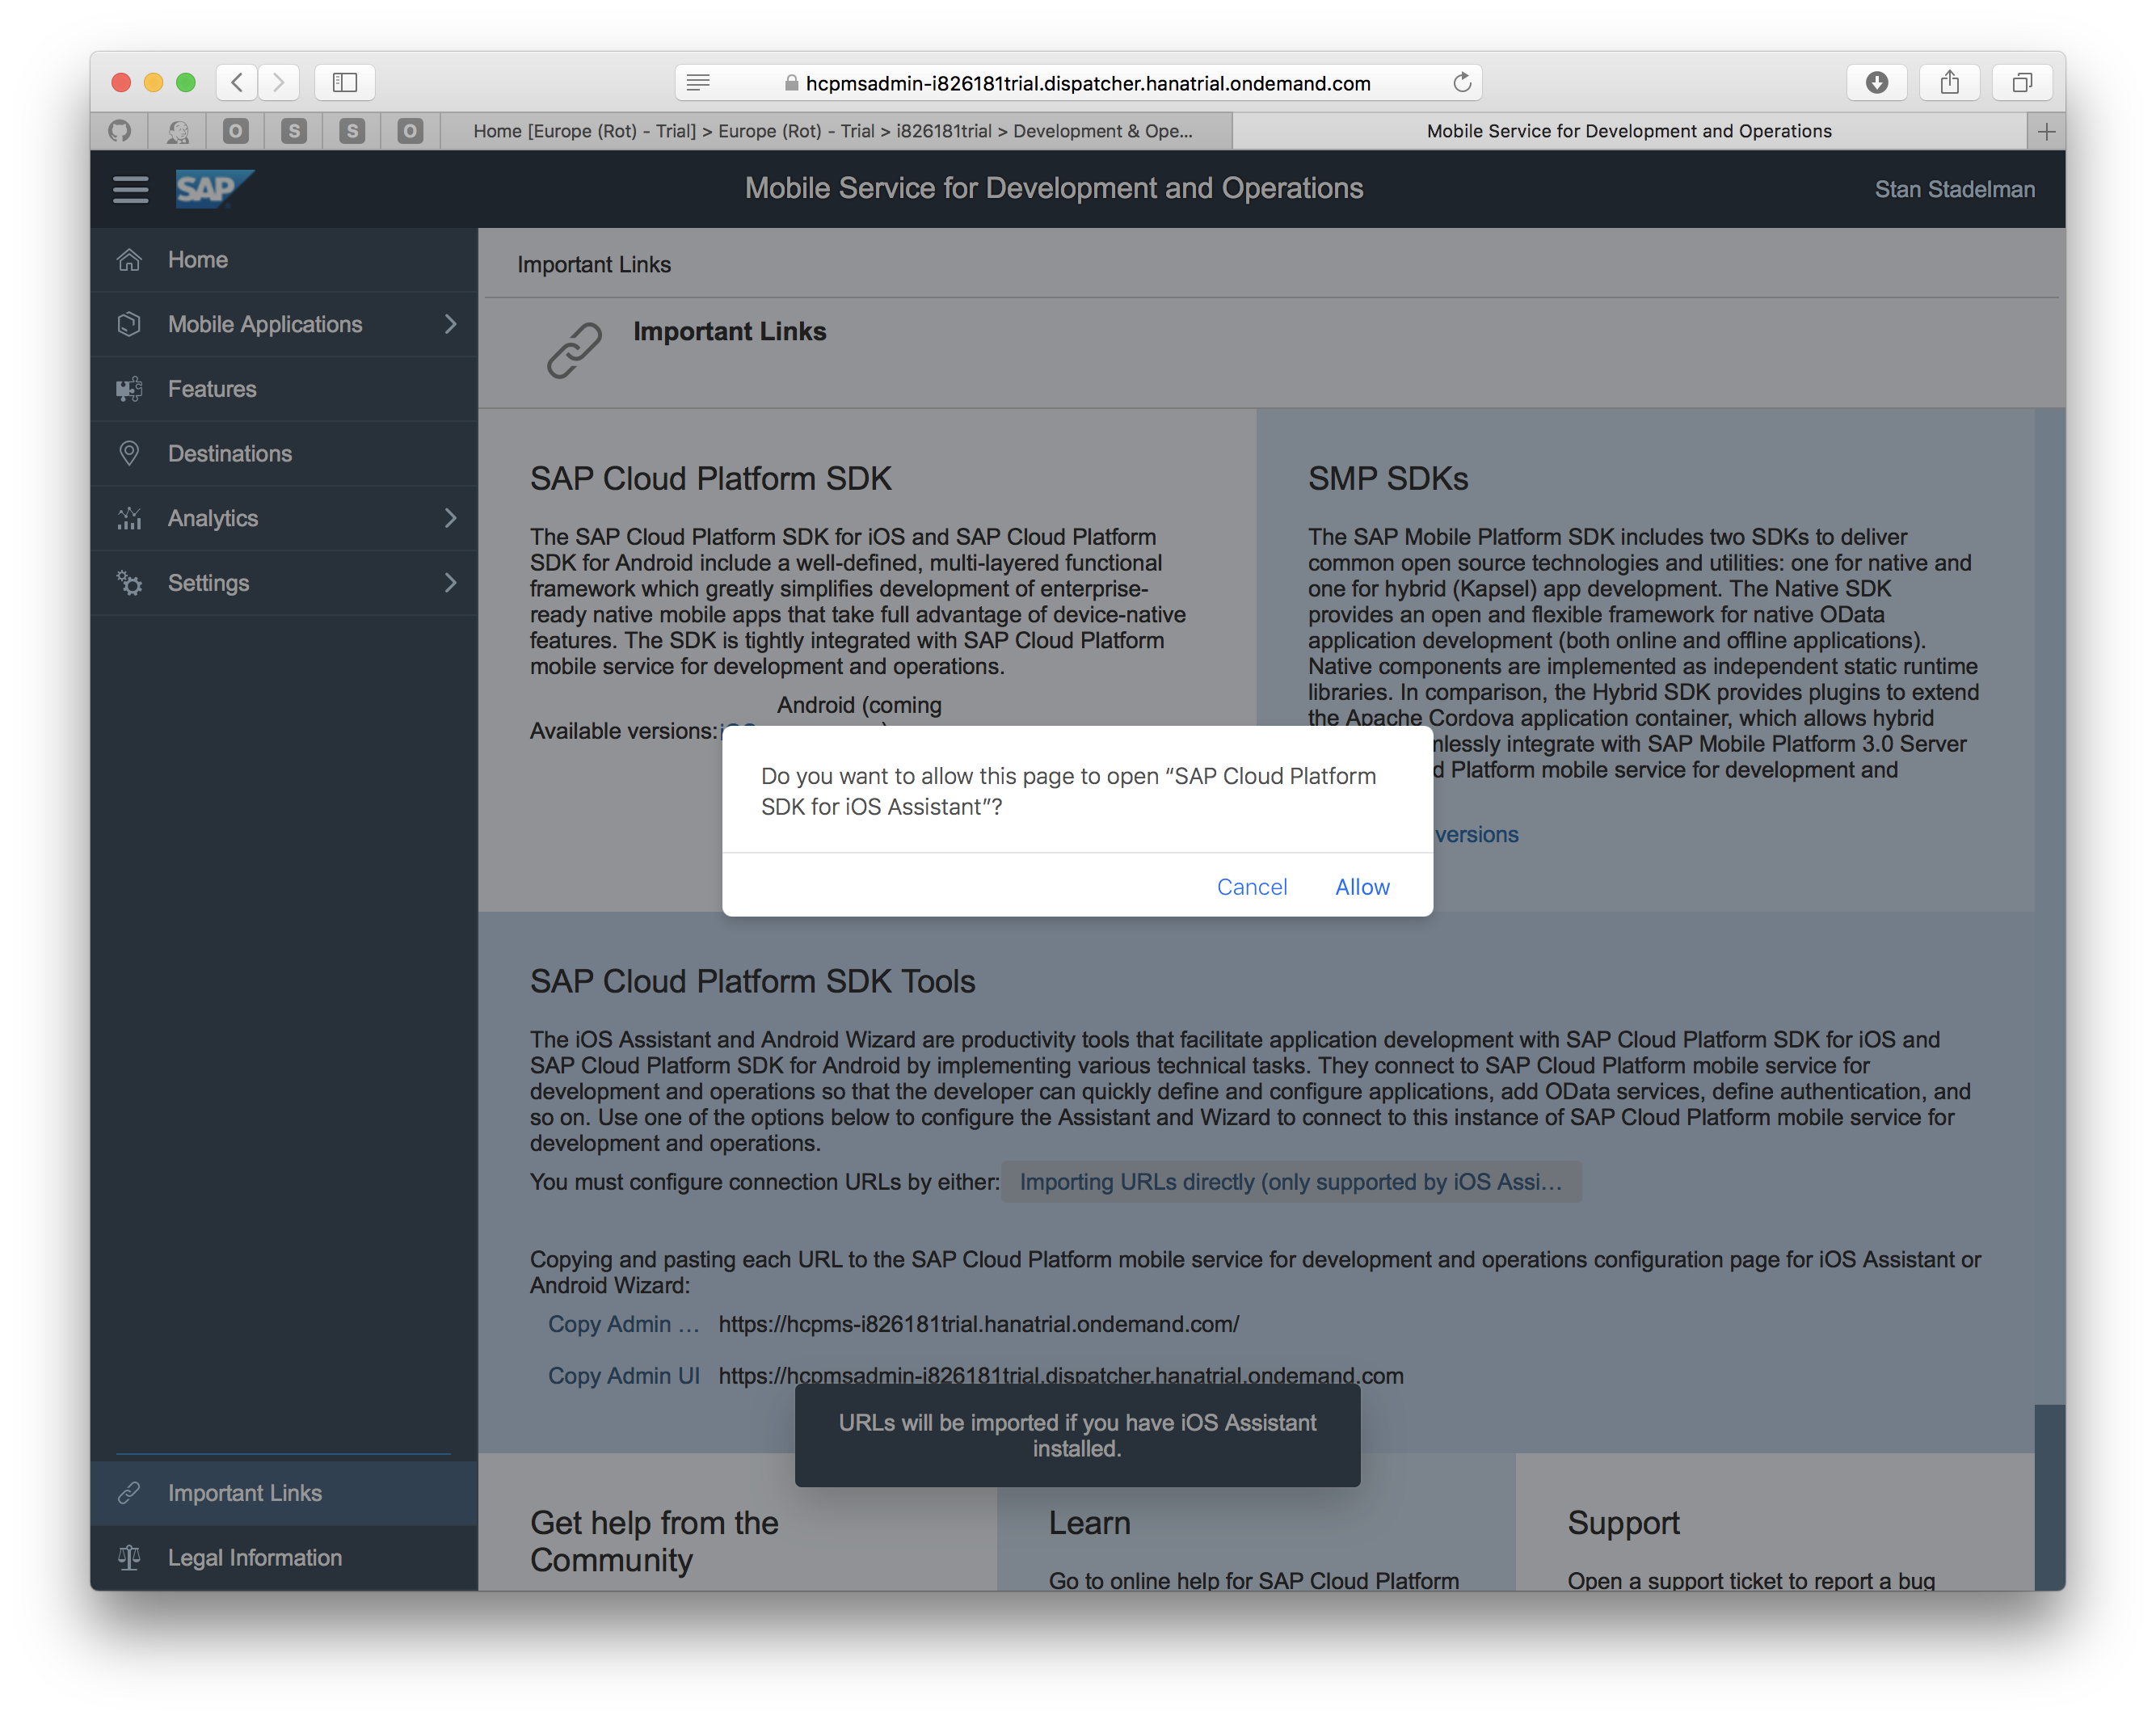
Click Allow, and the connection URLs will be imported into a new Account form in the Assistant.

Give the new a name: Neo Trial, and choose SAML authentication.
Basic authentiaccountcation is also valid, but requires that you maintain your password changes in the future.
 If you choose Basic, supply the username & password that you use to authenticate to SAP Cloud Platform. If you choose SAML, you'll be prompted to enter credentials later, when interacting with the SAP Cloud Platform services.
On success, you may close the Accounts window.
Create new Xcode project with Assistant
In the home screen of the Assistant, click the 'create new' button to create a new Project. Next select "Create New Application" to create the mobile services configuration for this sample Applications. Now select the account you just connected and click Next.

On the Application Details screen, select a product name: TE Scaffolding, pick an Application Name: Travel Expense Scaffolding, and Application Identifier: com.sap.expense. Select Authentication Type: No Authentication.

On the Destination screen, click the Add new button to add a New Destination. In the Add Destination form select a Destination name: expensedb.
Enter the Backend URL of the OData root service, that was validated above:
example: https://saptravelexpenspXXXXXXXXXXtria.hanatrial.ondemand.com/SAPTravelExpense

Ensure that the Proxy type is set to Internet, pick No Authentication from the Authentication Type drop-down, and URL rewrite mode is set to Rewrite URL.
Click Save, to create the destination and than Next to open the Features screen
On the Features screen, leave the default options checked, except: switch the OData Provider to Use Offline OData.

Click Next to open the Xcode Project screen. On the Xcode Project screen enter a Product name for the project: TravelExpense

Click Finish. An activity indicator will spin for several seconds, then a new Xcode application project will launch.

Run the generated project
To run the generated project, select a simulator, or, to run on device, select a Development Team in the target Signing settings.

You should go through the generated onboarding screens, then see a table view listing the collections in the travel expense schema.

You can always access Accounts by clicking on the manage Accounts button in the home screen of the Assistant to get to the Settings menu.