Setting up zh HK - Rudokhvist/ArchiSteamFarm GitHub Wiki
如果您是首次來訪,歡迎! 我們很高興又見到一位對我們的項目感興趣的訪客,但請記住能力越強責任越大──只要你足夠認真去學習如何使用它,ASF 有能力完成非常多的 Steam 相關事務。 書山有路勤為徑,學海無涯苦作舟,在開始這段陡峭的學習旅途之前,我們期待您閱讀這方面的wiki,詳細了解這一切是如何運作的。
如果您還在這裏,那就意味著您認同我們上面的文字,不錯。 除非你跳過它,否則您很快就會經歷**一段艱難的時間**⋯⋯ Anyway, ASF is a console app, which means that the program itself doesn't have a friendly GUI that you're in general used to, at least out of the box. ASF 主要設計以在伺服器上執行,所以它僅作為一個服務(守護進程)運行,而非桌面應用程式。
然而這並不代表您不能在 PC 上使用它,或它在某種程度上比常見的程式更複雜,並非如此。 ASF是一個獨立的程式,不需要安裝並且可以立即使用,但這之前需要進行設置。 設置 ASF 以定義它啟動之後應該做什麼。 如果你在沒有設置的情況下啟動它,那麼 ASF 將不會做任何事情,就是這麼簡單。
一般來說,這是我們在接下來的幾分鐘內要做的事情:
- Install .NET prerequisites.
- 下載適合您操作系統的**最新版 ASF **
- Extract the archive into new location.
- 配置ASF。
- 啟動 ASF,見證奇蹟的時刻!
輕而易舉,對吧? 所以讓我們繼續吧。
第一步是確保您的操作系統可以正確地啟動 ASF。 ASF is written in C#, based on .NET platform and may require native libraries that are not available on your platform yet. Depending on whether you use Windows, Linux or macOS, you will have different requirements, although all of them are listed in .NET prerequisites document that you should follow. 這是我們應該使用的參考資料,但為了簡單起見,我們還在下面詳細介紹了所有需要的套裝軟件。因此您無需閱讀完整的文檔。
在通常情況下,您正在使用的其他軟件已安裝了其依賴項,因此您的操作系統上可能已經存在某些(甚至全部)依賴項。 然而,您還是應運行相應安裝程式以確保您的操作系統上確實已經存在 ASF 的依賴項──否則 ASF 無法啟動。
Keep in mind that you don't need to do anything else for OS-specific builds, especially installing .NET SDK or even runtime, since OS-specific package includes all of that already. You need only .NET prerequisites (dependencies) to run .NET runtime included in ASF.
- Microsoft Visual C++ Redistributable Update (x64 for 64-bit Windows, x86 for 32-bit Windows)
- 強烈建議您確保已安裝所有 Windows 更新。 At the very least you need KB2533623, KB2999226, but more updates may be needed. 如果您的 Windows 是最新版本,則上述所有更新都已安裝。 在安裝 Visual C ++ 套件之前,請確保滿足這些要求。
套裝名稱因您使用的 Linux 版本而異,我們列出了最常見的套裝軟件名稱。 您可以獲得所有這些適用於您操作系統的本機套件管理器(如適用於 Debian 的apt或適用於 CentOS 的 yum)。
-
ca-certificates(standard trusted SSL certificates to make HTTPS connections) -
libc6(libc) -
libgcc1(libgcc) -
libicu(icu-libs, latest version for your distribution, for examplelibicu67) -
libgssapi-krb5-2(libkrb5-3,krb5-libs) -
libssl1.1(libssl,openssl-libs, latest version for your distribution, at least1.1.Xas1.0.Xmay no longer work) -
libstdc++6(libstdc++, in version5.0or higher) -
zlib1g(zlib)
At least a majority of those should be already natively available on your system. The minimal installation of Debian stable required only libicu67.
- None for now, but you should have latest version of macOS installed, at least 10.15+
由於我們已經有了所有必需的依賴項,下一步是下載 最新發佈的ASF。 ASF有多種型號可供選擇,您盡可選擇與您的操作系統和架構相匹配的軟件包。 例如,如果您使用64位Windows,那麼您需要ASF-win-x64包。 有關可用變體的更多信息,請訪問** 兼容性 部分。 ASF也可以運行在我們沒有為其構建特定於操作系統的軟件包的操作系統上,例如 32位Windows ,詳情請見 通用設置 **。

After download, start from extracting the zip file into its own folder. If you require specific tool for that, 7-zip will do it, but all standard utilities like unzip from Linux/macOS should work without problems as well.
Be advised to unpack ASF to its own directory and not to any existing directory you're already using for something else - ASF's auto-updates feature will delete all old and unrelated files when upgrading, which may lead to you losing anything unrelated you put in ASF directory. 如果您有任何要與ASF一起使用的額外腳本或档案,請將它們放在之前提到的資料夾中。
示例結構如下所示:
C:\ASF (where you put your own things)
    ├── ASF shortcut.lnk (optional)
    ├── Config shortcut.lnk (optional)
    ├── Commands.txt (optional)
    ├── MyExtraScript.bat (optional)
    ├── (...) (any other files of your choice, optional)
    └── Core (dedicated to ASF only, where you extract the archive)
         ├── ArchiSteamFarm(.exe)
         ├── config
         ├── logs
         ├── plugins
         └── (...)
我們現在已經準備好做最後一步,配置。 這是迄今為止最複雜的一步,因為它涉及許多您還不熟悉的新信息,因此我們將嘗試在此提供一些易於理解的示例和簡化說明。
首先,** 配置 頁面解釋了一切**與配置有關的事情,但它包含大量的新信息,其中的很多信息我們並不需要立即理解。 相反,我們將教您如何獲取您實際要找的資訊。
ASF configuration can be done in at least three ways - through our web config generator, ASF-ui or manually. 這將在 配置 部分中進行深入解釋,因此如果您想要更詳細的資訊,請參考。 We'll use web config generator as a starting point.
使用您喜歡的瀏覽器導航到我們的** 網頁設定檔產生器 **頁面,若您之前手動禁用了 Javascript,您需要啓用之。 我們推薦 Chrome 或 Firefox,但它應該適用于當前所有流行的瀏覽器。
打開頁面後,切換到「機械人」選項卡。 現在,您應該會看到類似于下面的頁面:

如果您剛剛下載的 ASF 版本比網頁設定檔產生器的預設版本更舊,從下拉菜單中選擇您的 ASF 版本即可。 因為配置生成器可用於生成配置到尚未標記為穩定的較新(預發布)ASF 版本,所以這种情況有可能發生。 您下載的是經過驗證可靠運行的 ASF 最新穩定版本。
從在突出顯示為紅色的字段填入機械人的名稱開始。 這可以是您想要使用的任何名稱,例如您的昵稱、帳戶名、號碼或任何其他名稱。 只有一個詞不能使用,ASF,因為該關鍵字是為全域設定檔保留的。 除此之外,您的機械人名稱不能以點開頭(ASF會忽略這些檔)。 我們還建議您避免使用空格,如果需要,可以使用 _ 作為單詞分隔符號。
在確定名稱後,開啓Enabled開關,這將定義 ASF 是否應該在啟動(程序之後)自動啟動您的機械人 。
現在,您可以決定兩件事:
- 您可以在
SteamLogin字段中填入您的登錄帳號,並在SteamPassword字段中填入您的登錄密碼 - 或者您可以讓它們空著
前者將允許 ASF 在啟動期間自動使用您的帳戶憑據,使您不必在每次 ASF 需要時手動輸入它們。 但是,您可以決定省略它們,在這種情況下它們不會被保存,因此 ASF 將無法在沒有您幫助的情況下自動啟動,您需要在運行時輸入它們。
ASF 需要您的登錄憑據,因為它使用內置的Steam用戶端實現,並且需要與您自己使用的用戶端相同的詳細資訊登錄。 Your login credentials are not saved anywhere but on your PC in ASF config directory only, our web config generator is client-based which means that the code is run locally in your browser to generate valid ASF configs, without details you're inputting ever leaving your PC in the first place, so there is no need to worry about any possible sensitive data leak. Still, if you for whatever reason don't want to put your credentials there, we understand that, and you can put them manually later in generated files, or omit them entirely and put them only in ASF command prompt. More on security matter can be found in configuration section.
You can also decide to leave just one field empty, such as SteamPassword, ASF will then be able to use your login automatically, but will still ask for password (similar to Steam Client). If you're using Steam parental to unlock the account, you'll need to put it into SteamParentalCode field.
After the decision and optional details, your web page will now look similar to the one below:

You can now hit "download" button and our web config generator will generate new json file based on your chosen name. Save that file into config directory which is located in the folder where you've extracted our zip file in the previous step.
Your config directory will now look like this:

恭喜! 您剛剛完成了 ASF 機械人的基礎配置。 我們很快就會對此進行擴展説明,現在這就是您需要的一切。
您現在已準備好首次啟動該程序。 Simply double-click ArchiSteamFarm binary in ASF directory. You can also start it from the console.
After doing so, assuming you installed all required dependencies in the first step, ASF should launch properly, notice your first bot (if you didn't forget to put generated config in config directory), and attempt to log in:

If you supplied SteamLogin and SteamPassword for ASF to use, you'll be asked for your SteamGuard token only (e-mail, 2FA or none, depending on your Steam settings). If you didn't, you'll also be asked for your Steam login and password.
Now would be a good time to review our remote communication section if you're concerned about stuff ASF is programmed to do, including actions it'll take in your name, such as joining our Steam group.
After passing through initial login gate, assuming your details are correct, you'll successfully log in, and ASF will start farming using default settings that you didn't change as of now:

This proves that ASF is now successfully doing its job on your account, so you can now minimize the program and do something else. After enough of time (depending on performance), you'll see Steam trading cards slowly being dropped. Of course, for that to happen you must have valid games to farm, showing as "you can get X more card drops from playing this game" on your badges page - if there are no games to farm, then ASF will state that there is nothing to do, as stated in our FAQ.
This concludes our very basic setting up guide. You can now decide whether you want to configure ASF further, or let it do its job in default settings. We'll cover a few more basic details, then leave you entire wiki for discovery.
ASF supports farming more than one account at a time, which is its primary function. You can add more accounts to ASF by generating more bot config files, in exactly the same way as you've generated your first one just a few minutes ago. You need to ensure only two things:
- Unique bot name, if you already have your first bot named "MainAccount", you can't have another one with the same name.
- Valid login details, such as
SteamLogin,SteamPasswordandSteamParentalCode(if using Steam parental settings)
In other words, simply jump to configuration again and do exactly the same, just for your second or third account. Remember to use unique names for all of your bots.
You change existing settings in exactly the same way - by generating a new config file. If you didn't close our web config generator yet, click on "toggle advanced settings" and see what is there for you to discover. For this tutorial we'll change CustomGamePlayedWhileFarming setting, which allows you to set custom name being displayed when ASF is farming, instead of showing actual game.
So let's do that, if you run ASF and start farming, in default settings you'll see that your Steam account is in-game now:

Let's change that then. Toggle advanced settings in web config generator and find CustomGamePlayedWhileFarming. Once you do that, put your own custom text there that you want to display, such as "Idling cards":

Now download the new config file in exactly the same way, then overwrite your old config file with new one. You can also delete your old config file and put new one in its place of course.
Once you do that and start ASF again, you'll notice that ASF now displays your custom text in previous place:

This confirms that you've successfully edited your config. In exactly the same way you can change global ASF properties, by switching from bot tab to "ASF" tab, downloading generated ASF.json config file and putting it in your config directory.
Editing your ASF configs can be done much easier by using our ASF-ui frontend, which will be explained further below.
ASF is a console app and doesn't include a graphical user interface. 但是,我們正積極致力於** ASF-ui **我們的 IPC 前端接口,它將以合適且對用戶友好的方式來訪問各種 ASF 功能。
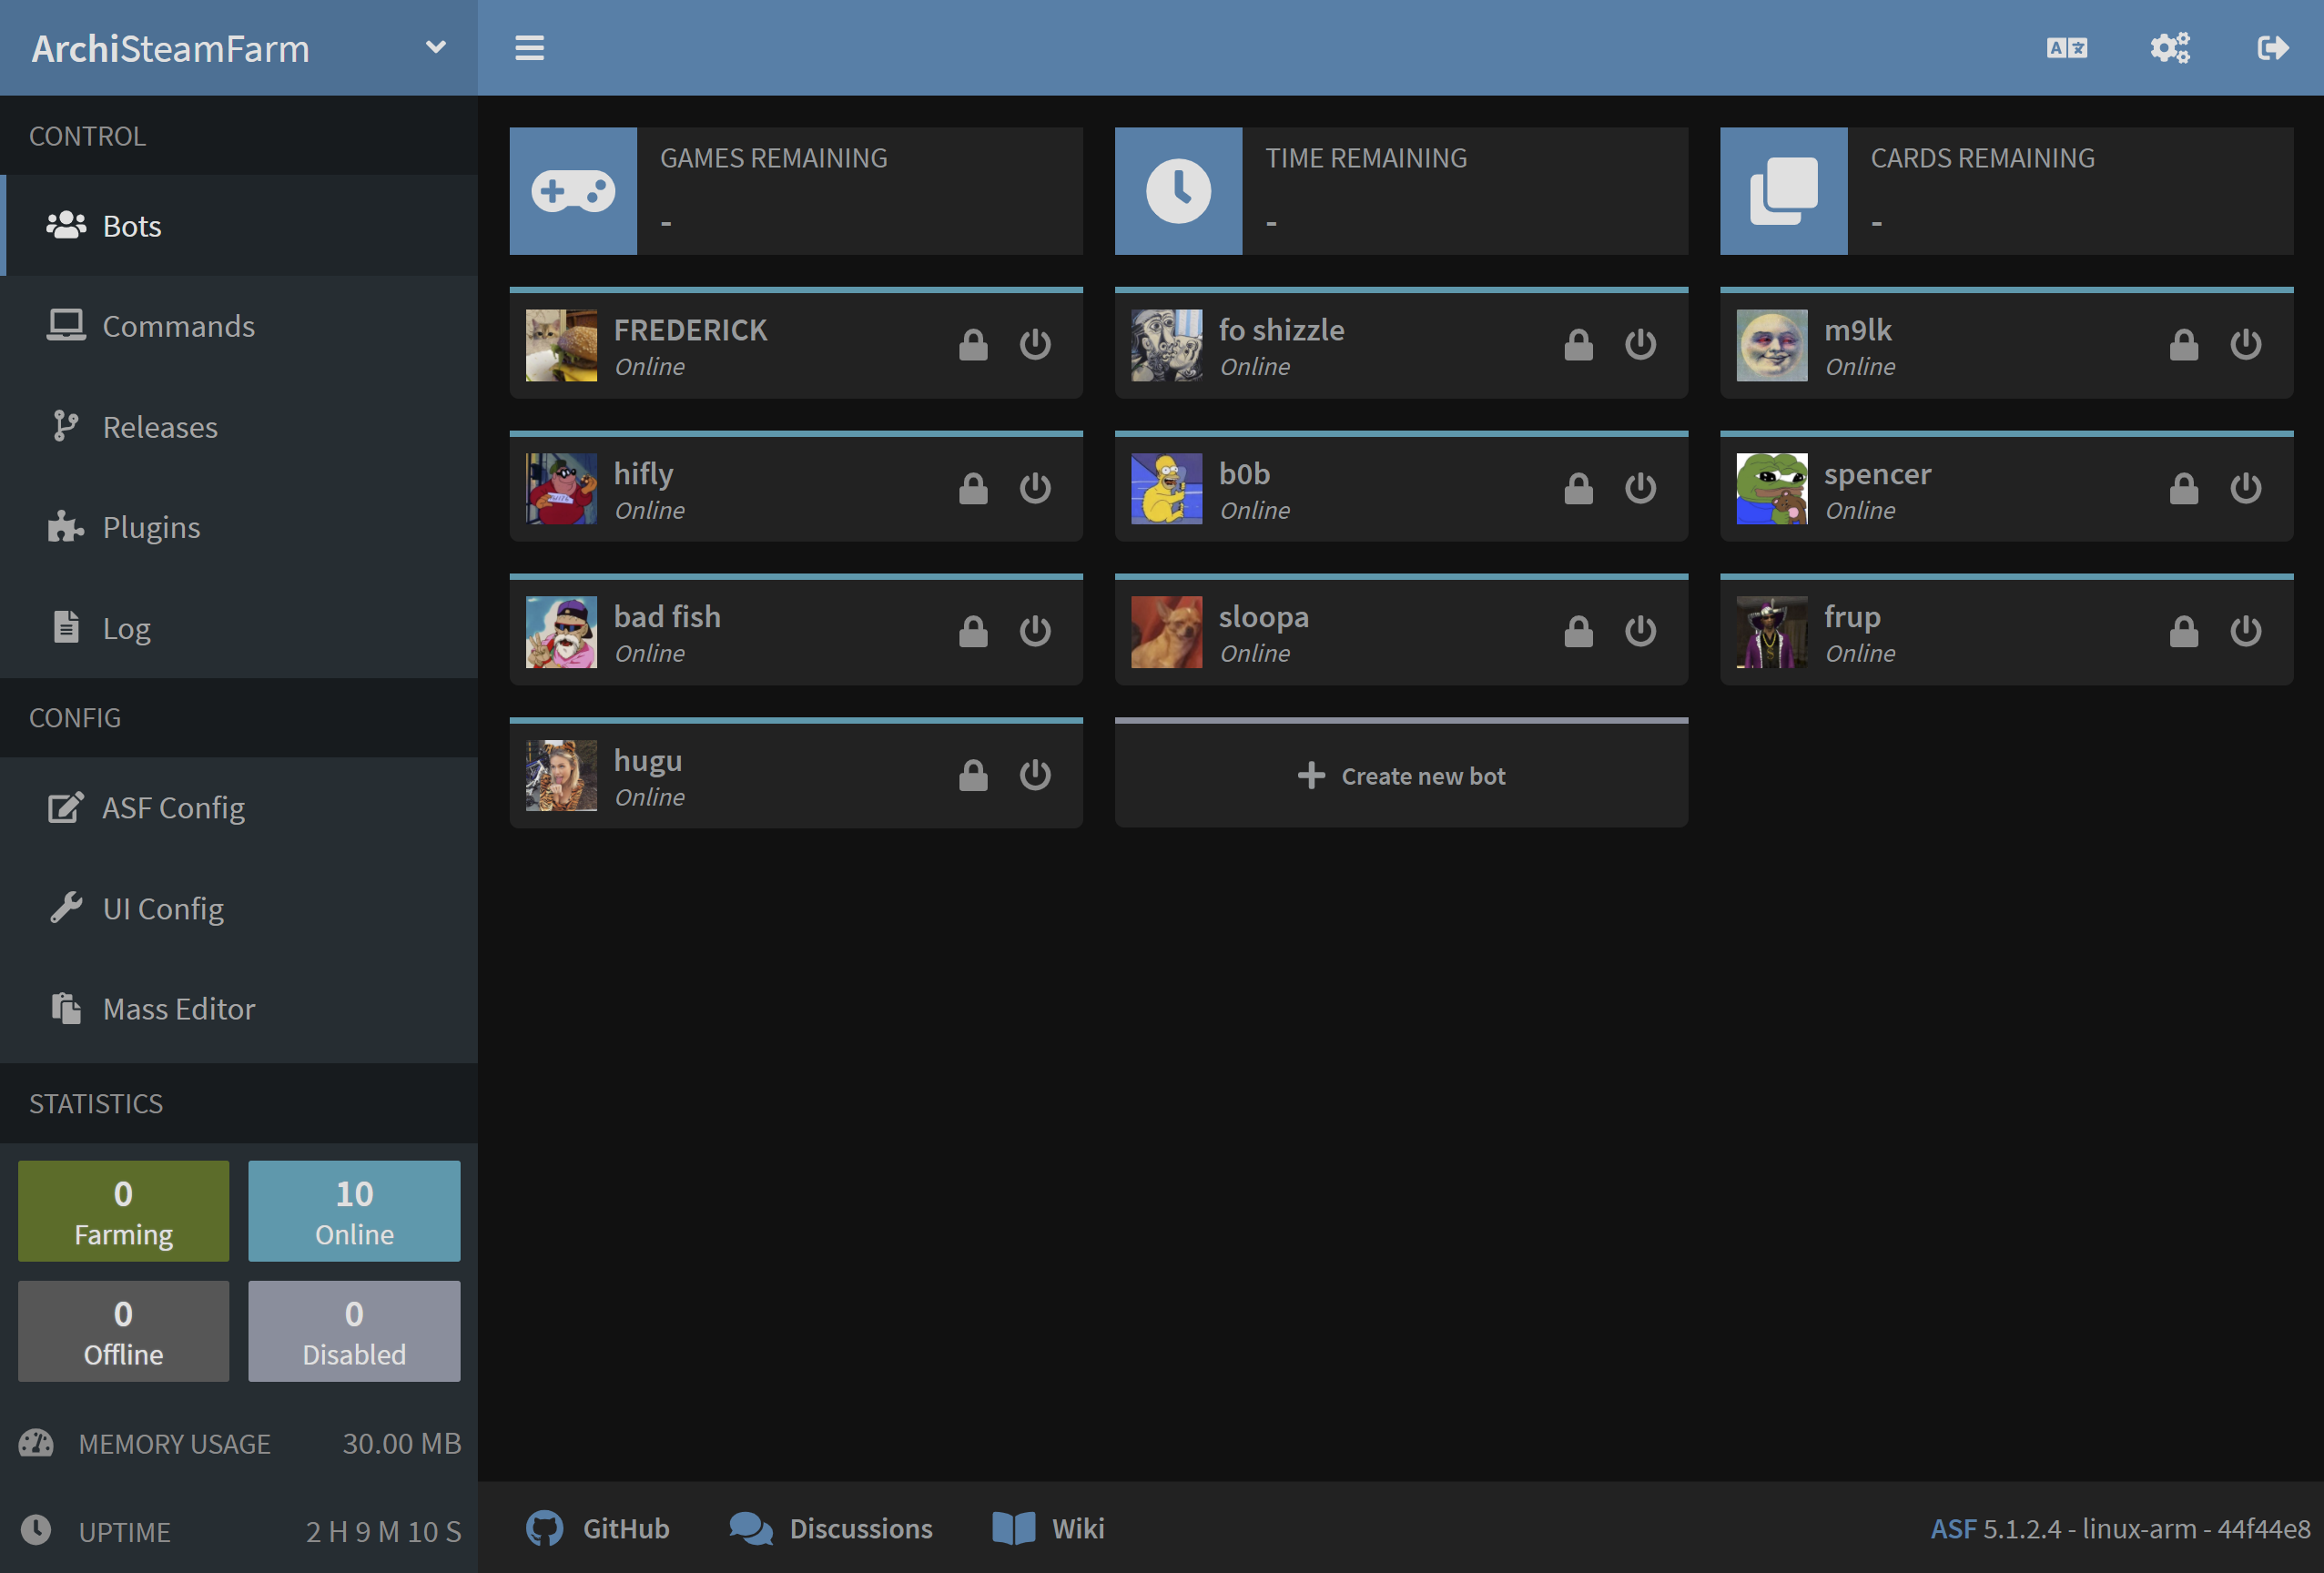
In order to use ASF-ui, you need to have IPC enabled, which is the default option starting with ASF V5.1.0.0. Once you launch ASF, you should be able to confirm that it properly started the IPC interface automatically:

You can access ASF's IPC interface under this link, as long as ASF is running, from the same machine. You can use ASF-ui for various purposes, e.g. editing the config files in-place or sending commands. Feel free to take a look around in order to find out all ASF-ui functionalities.
You've successfully set up ASF to use your Steam accounts and you've already customized it to your liking a little. If you followed our entire guide, then you also managed to tweak ASF through our ASF-ui interface and found out that ASF actually has a GUI of some sort. Now is a good time to read our entire configuration section in order to learn what all those different settings you've seen actually do, and what ASF has to offer. If you've stumbled upon some issue or you have some generic question, read our FAQ instead which should cover all, or at least a vast majority of questions that you may have. If you want to learn everything about ASF and how it can make your life easier, head over to the rest of our wiki. If you found out our program to be useful for you and you're feeling generous, you can also consider donating to our project. In any case, have fun!
This setup is for advanced users that want to set up ASF to run in generic variant. It's not recommended for people that can use OS-specific setup.
You want to use generic variant mainly in those situations (but of course you can use it regardless):
- When you're using OS that we don't build OS-specific package for (such as 32-bit Windows)
- When you already have .NET Runtime/SDK, or want to install and use one
- When you want to minimize ASF structure size by handling runtime requirements yourself
- When you want to use a custom plugin which requires a
genericsetup of ASF to run properly (due to missing native dependencies)
However, keep in mind that you're in charge of .NET runtime in this case. This means that if your .NET SDK (runtime) is unavailable, outdated or broken, ASF won't work. This is why we don't recommend this setup for casual users, since you now need to ensure that your .NET SDK (runtime) matches ASF requirements and can run ASF, as opposed to us ensuring that our .NET runtime bundled with ASF can do so.
For generic package, you can follow entire OS-specific guide above, with two small changes. In addition to installing .NET prerequisites, you also want to install .NET SDK, and instead of having OS-specific ArchiSteamFarm(.exe) executable file, you now have a generic ArchiSteamFarm.dll binary only. Everything else is exactly the same.
額外步驟:
- Install .NET prerequisites.
- Install .NET SDK (or at least ASP.NET Core runtime) appropriate for your OS. You most likely want to use an installer. Refer to runtime requirements if you're not sure which version to install.
- Download latest ASF release in
genericvariant. - Extract the archive into new location.
- 配置ASF。
- Launch ASF by either using a helper script or executing
dotnet /path/to/ArchiSteamFarm.dllmanually from your favourite shell.
Helper scripts (such as ArchiSteamFarm.cmd for Windows and ArchiSteamFarm.sh for Linux/macOS) are located next to ArchiSteamFarm.dll binary - those are included in generic variant only. You can use them if you don't want to execute dotnet command manually. Obviously helper scripts won't work if you didn't install .NET SDK and you don't have dotnet executable available in your PATH. Helper scripts are entirely optional to use, you can always dotnet /path/to/ArchiSteamFarm.dll manually.