Electronics tutorial - Robosoc-Southampton/Tutorials GitHub Wiki
All images used are not owned and are simply used as visual aids for the sake of better informing
Intro Info
We'll be covering a couple of basic components here. There are many different components that go into robotics and all of them work in different ways. So this is a little intro of how to take a component and learn how to use it. Also, I'll go through a couple of other components and tell you what they are used for. But first, a hopefully quick info dump.
Voltage
Fundamentally, there are two things you have to understand - voltage and current. You've probably encountered them is GCSE/A-Level already, but if you haven't here is a reminder after the tutorial (also if my voice is still gone).
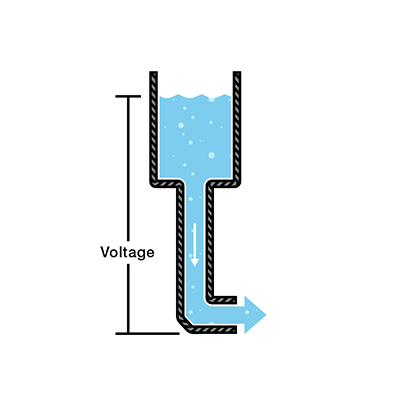
The charge difference between two points (difference in potential/electric field integrals for nerds). Think of it as a difference in height between two balls. The two balls are at different potentials and can both release that potential energy by falling. Now imagine these balls are just points in space and the height is the amount of charge (generally electrons) at that point. Similarly, water at a certain height can be thought of as a potential source.
Current
Whereas voltage was the difference in charge, a current is a flow of the charge in a certain direction (and area). Going back to the commonly used ball analogy, if there are many balls at a great height and a ramp is provided to a lower height (potential) the balls will roll down to the bottom. Similarly, electrons will flow to a point of lower voltage when a conductor is placed between the high and low voltage points. Electrons are negatively charged so flow from the negative to the positive on the supply. Unfortunately, somebody defined current as flowing from positive to negative.
Why Voltage and Current Matter
We need to supply a high enough voltage and a large enough current to certain devices for them to run. You probably encountered P = I*V at school. It's a simple fact, we need to supply enough power to things or they won't run.
In order for most devices (Arduino, LIDAR, Motor, Ultrasonic detector etc.) to function a complete path must be made from the supply's positive terminal (battery, cell, wall socket) to the device and back to a low potential point, commonly referred to as ground (most for most supplies you can simply return the path to the negative terminal to have a "floating ground").
We usually refer to ground as being at a potential of 0, or 0V. The Arduino requires a 5V input and has a few 5V and 3.3V outputs (but you can simply power it from a laptop). Arduinos don't usually require large amounts of current (100mA or so depending on what functions are being used). Motors are very current hungry.
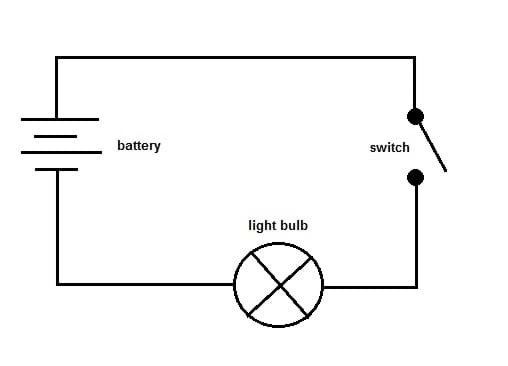
That is the gist of it - but for a much better explanation look online.
Components
The Arduino
What is an Arduino?
It is a microcontroller. That is a much simpler and smaller computer (compared to your laptop for example) which can perform a limited amount of tasks such as:
- A number of communication protocols.
- Digital and Analogue input reading.
- Digital and PWM outputs.
- Timers
- And much more...
PWM is pulse width modulation. It uses short bursts of on and off to mimic analogue signals with a digital one. More info can be found here
With all these things we can control a number of different components. Think of the Arduino as the 'brain' of the robot deciding what moves where and when.

If you look closer at the Arduino (or the image above), you can see lots of smaller complex components on the board (resistors, capacitors, regulators, oscillators etc.). The main important parts are the large rectangular block which is the actual microcontroller chip and the ports. All the ports on the Arduino are labelled and can be identified in the above diagram. If you need to find out what does what either ask me <3 or google if I'm too intimidating.
The PWM pins are the ones with the ~ before the pin number.
We upload code onto the Arduino to run and perform a certain number of tasks. Arduino code is separated into two sections:
- setup() - which executes once at the start when the Arduino is turned on.
- loop() - which repeats constantly executing the code inside of it.
LIDAR (Light Detection and Ranging if you want to be fancy)
Basically we have an infrared laser that shoots forward and a photodetector which captures how long the light takes to bounce off a surface and return. Simple as that - well maybe...
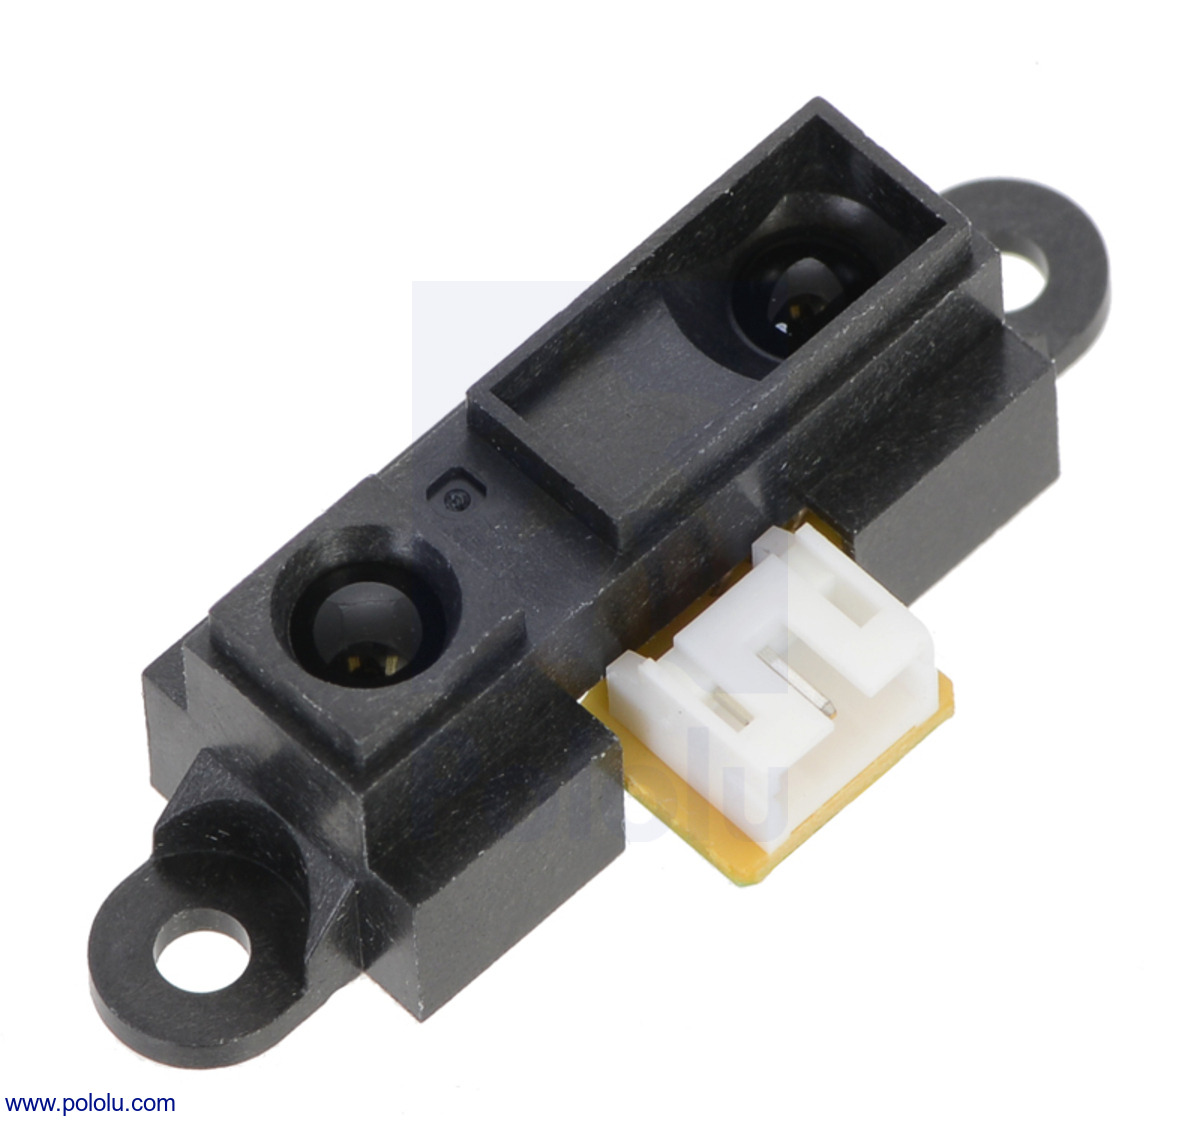
The LIDAR has 3 terminals:
- Positive supply (Red wire coming out from the LIDAR)
- Negative supply (ground - Black wire coming out of the LIDAR)
- Output Signal (Yellow wire coming out of the LIDAR)
The Output Signal terminal sends back a voltage level between what is supplied (5V) and ground. Depending on the distance in front of the LIDAR this voltage changes.
For most components, it is useful to have a quick look at the datasheet. This lets you learn how the component works and how to use it. Example code can usually be found online also <3. See how it tells you the voltage and current requirements. Other information that can be found here is:
- Operational distance
- Description of the device's internal (electronic) and external (mechanical) structure - with images.
- The relationship between the distance and the voltage that is returned by the Signal terminal.
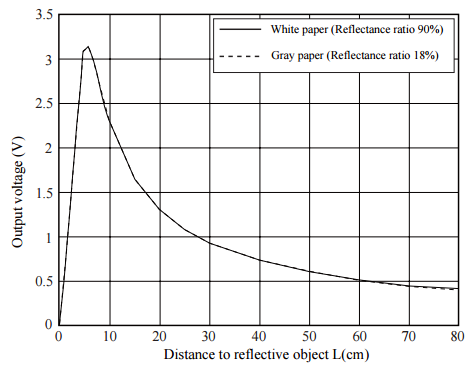
This is a tricky relationship as we do not have a direct relationship between the distance and the voltage signal. But let's give it a shot because you're probably bored af right now.
Step 0 - We need to install the Arduino IDE
This lets you write, build and upload code onto the Arduino.
Step 1
Plugin your LIDAR detector into the Arduino with the following connections:
- Plug the LIDAR ground into any of the ground ports in the Arduino.
- Plug the LIDAR positive supply into the Arduino 5V output.
- Plug the Signal wire into one of the Analogue Input Ports (numbered A0-A5)
Step 2
Open up the Arduino IDE and create a new sketch:
- In the {} brackets of the setup() function put the following statement.
Serial.begin(9600);
This will begin communication via serial with your PC when the Arduino starts up. The 9600 is the frequency at which the communication occurs.
-
In the {} brackets of the loop() function declare a variable. Then use the analogRead() function to read the Signal line and write it to that variable. Remember to put the pin you used (A0-A5) in the brackets of analogRead. (If you don't know what anything in this bullet point means ask/see the c++ and Arduino cheat sheets.
-
Then put the following statement:
Serial.println();
Put the variable name you declared earlier in the brackets of the above function. This prints out to the computer the LIDAR signal value. You can also put another one of these functions to print whatever you want (as long as it is in brackets), for example,
Serial.println("Sup Earth");
- You might also want to put in a delay to prevent you from being spammed with numbers from the Arduino.
delay();
Put the number of milliseconds you want to wait for between each reading in the brackets of the above function.
Step 3
-
Plug the Arduino into a USB port on your laptop.
-
Go to Tools -> Port, and choose one of the COM ports which should be available (this is the USB port where the Arduino is plugged in).
-
Press the arrow at the top left of the IDE to upload your code.
-
Go to Tools -> Serial Monitor to observe the output
And voilà, that is how you use a LIDAR.
If you want to do extra stuff, try and use the graph for the LIDAR and some maths to make an actual distance be printed from the Arduino. Don't worry, it's quite difficult to do exactly so just estimate.
Servo Motors
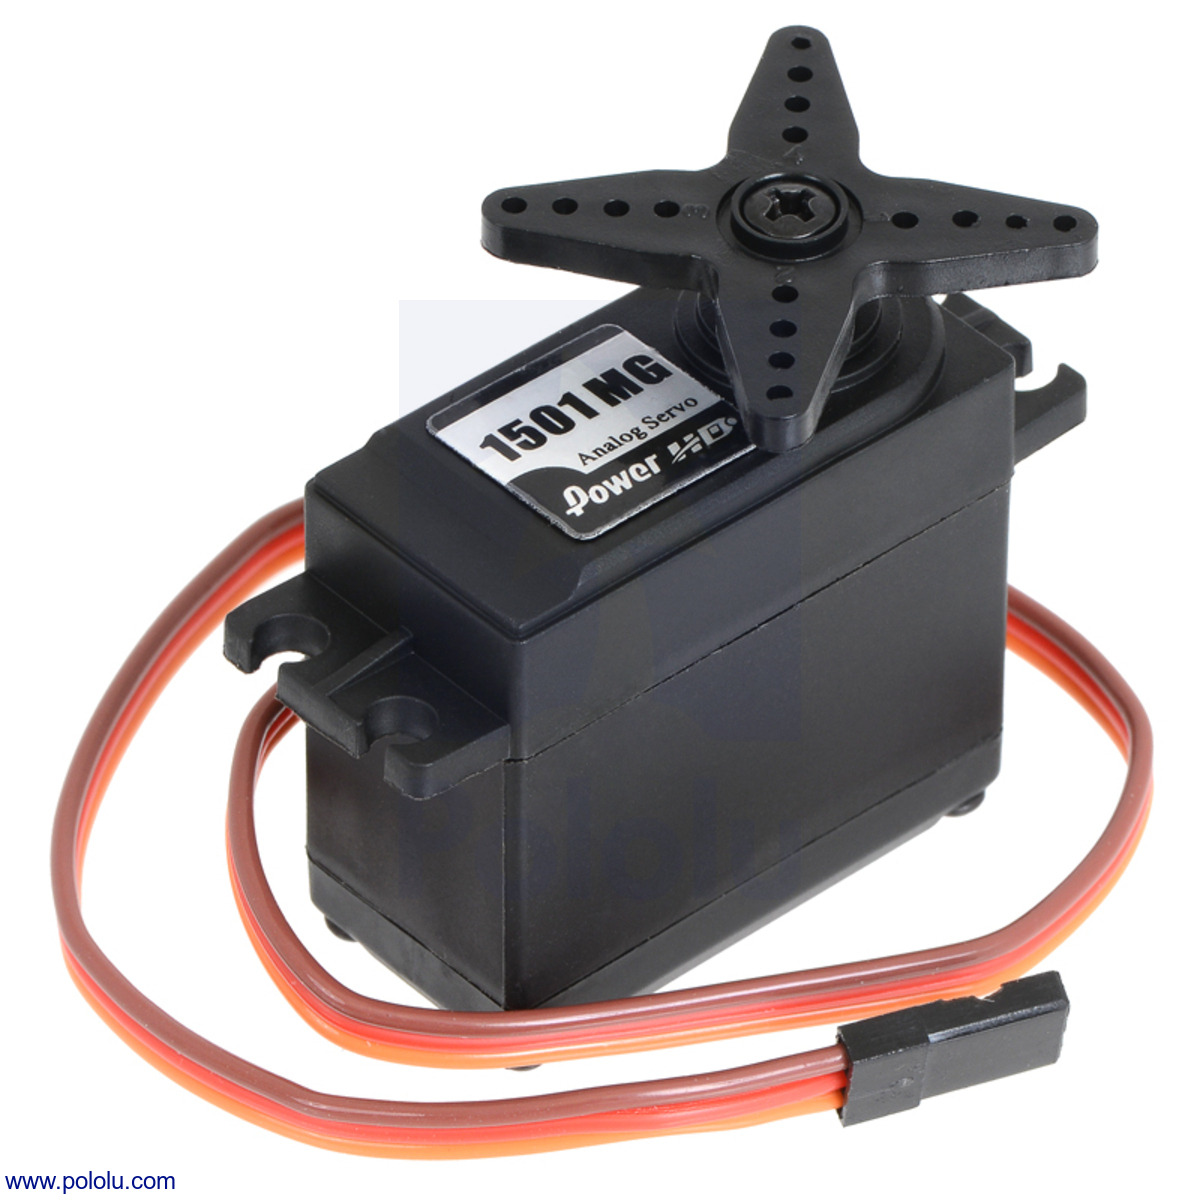
For this one just open up the Servo example in the Arduino IDE. Have a go and plug in the power and ground (red and black). Then plug the signal wire into Pin 9. Upload the example code and see what happens. Then change some numbers and try and work out what is happening (if you don't know ask me 👍 ).
Other More Fun Stuff
Depending on time I'll try and explain a number of commonly used components. Honestly, there are so many components if you want something just ask and I/google can always give you an answer. There is also example code which lets you run various components in the IDE itself (File -> Examples).
- Motor Controllers


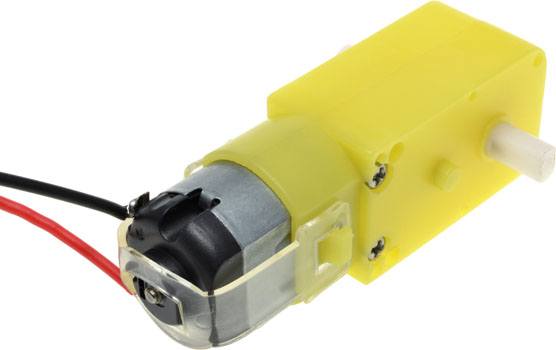
- Geared Drive Motors

- Ultrasonic Rangers

- Bluetooth Boards
