Working in Sourcetree - RaphaelGodlis/Sensand GitHub Wiki
Working in Sourcetree
This is your main interaction with [Github]]. This is your documentation of your workflow and you better be nice to it, because this app can cause a world of pain for you. Any changes you make in [UE4 will show up here.
When you first begin the only branch that will be in your local branches section will be 'master'. You are to never work or make changes in the master branch. It is the main project file, working off of master can cause serious conflicts with other people's work, especially if your local master is not up to date with the master on Github.
So what's master for you ask? Well you use it to make a branch from. Branches allow you to make changes to the project that have no effect on other people's work. This is especially useful when some of you will be coding while others will be working on landscapes.
Creating a Branch
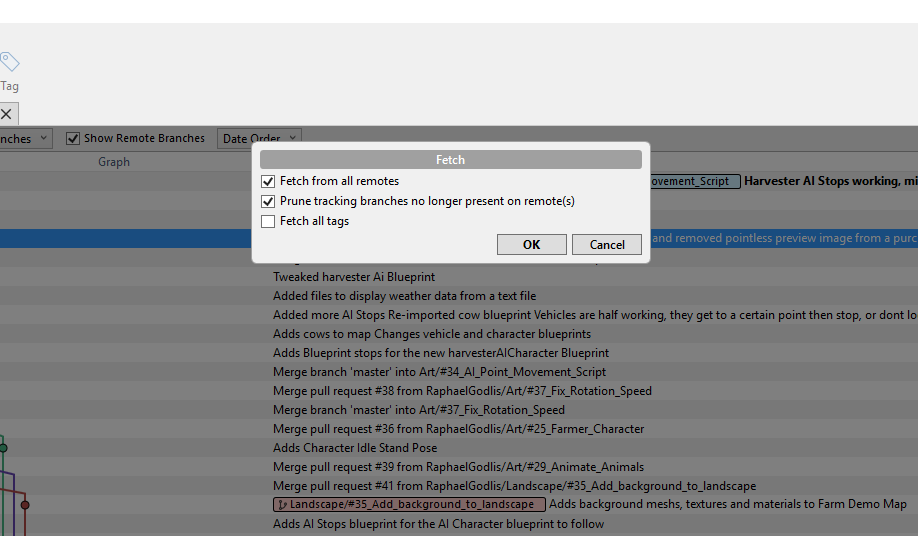
Whenever you open Sourcetree, it's recommended you fetch our git, just so you update your local repo. Make sure prune tracking is selected to clean up branches that have been deleted from the remote. I don't care how many local branches you have.

When pull requests have been made, your local master should be updated. Additionally, fetch will update other workers' commits.
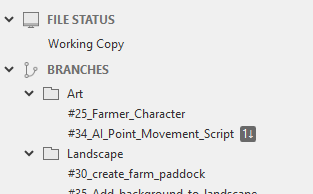
If master has been updated it should look something like this (imagine it's master):

The down arrow means that your local is behind the remote. To update, click pull. If master is behind, always pull. As it is best to create branches with master being up to date.
Now comes branching
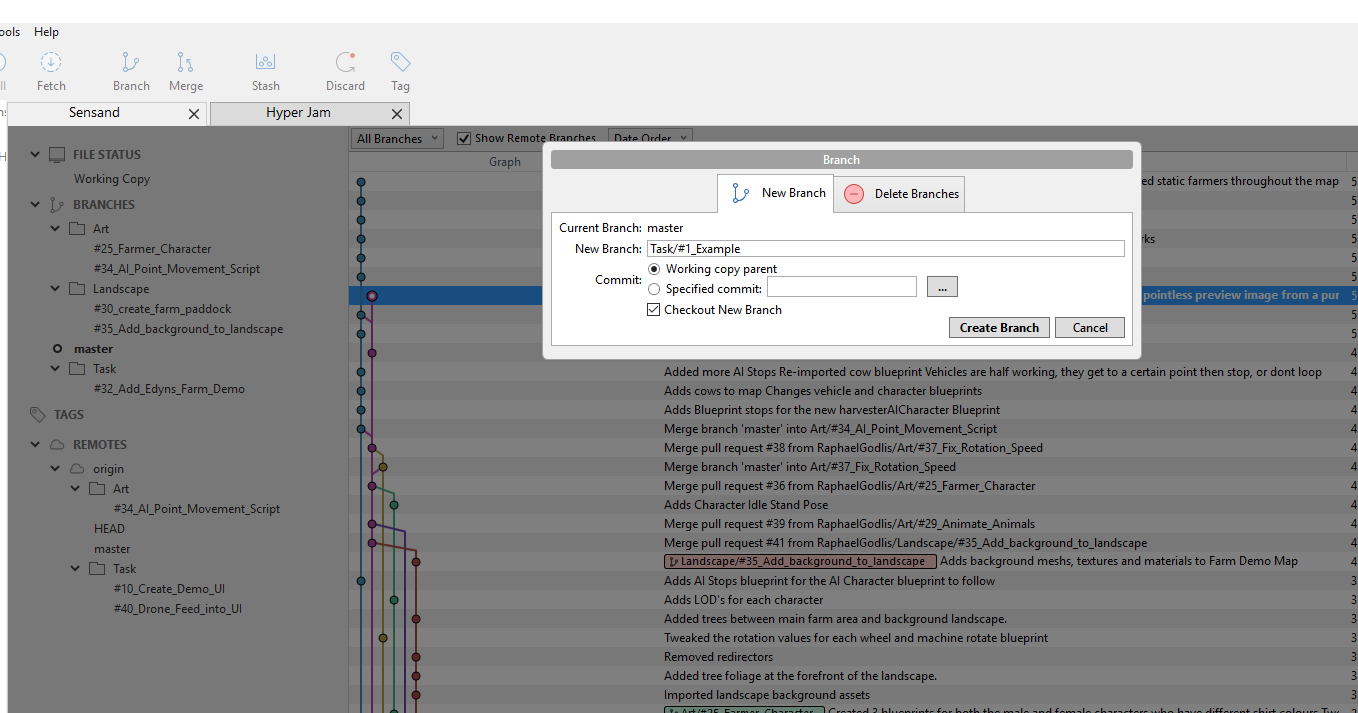
When on the master branch, select the branch button and it should look something like this:

Select create branch. The number after the hashtag should be the same one as the Github issue you are addressing. That way the Waffle cards can be updated automatically.
OK now your branch has been made, next is how stage commits and make commits.