Setup Custom Connectors - QlikPreSalesDACH/Qlik-Data-Concierge GitHub Wiki
Introduction
This document explains how to setup custom connectors within Qlik Sense with Standard Mode (without legacy mode).
Qlik Sense Server
Installation custom connectors
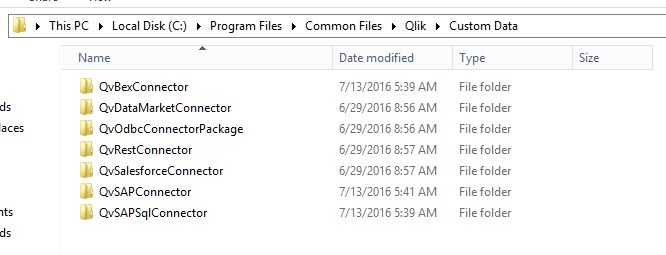
Custom connectors have to be installed into the directory C:\Program Files\Common Files\Qlik\Custom Data. QlikView Connectors are installed within C:\Program Files\Common Files\QlikTech\Custom Data. If you want to install QlikView SAP Connectors (BAPI Connector) for reuse within Qlik Sense, just copy the complete folders (QvSAPConnector) to C:\Program Files\Common Files\Qlik\Custom Data.
Restart Qlik Sense Engine Services after the installation!
Create new data connection
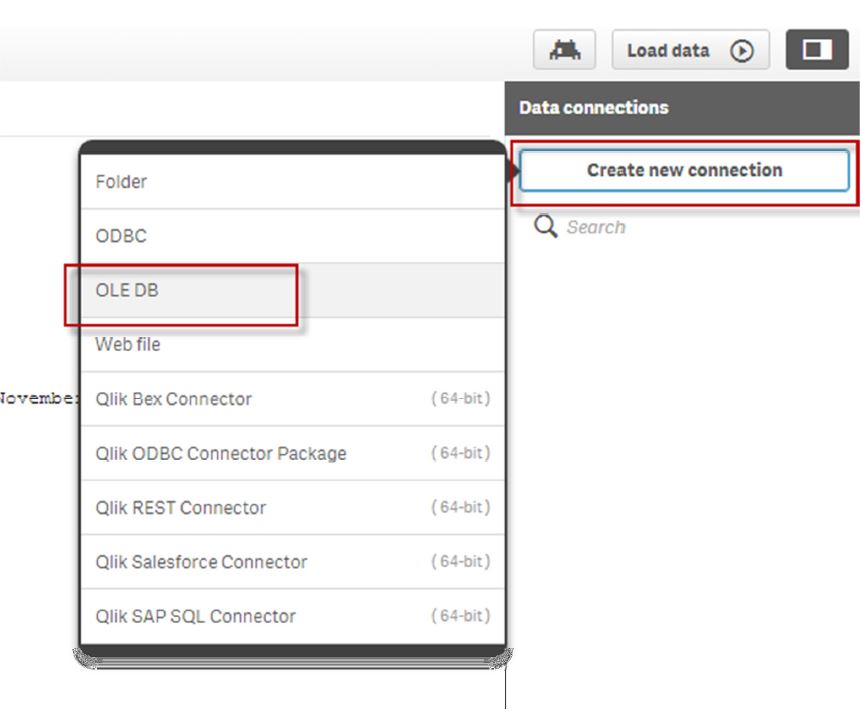
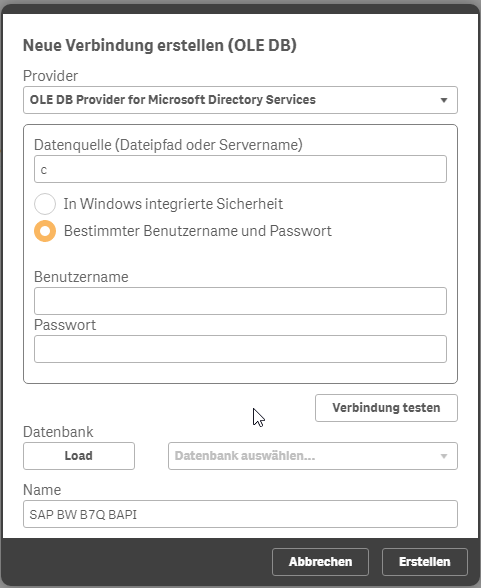
Custom connectors are not available within standard data connection dialogues of Qlik Sense. You first have to create a “dummy” data connection (e.g. OLE DB) and change the connection string afterwards.
Customize new data connection
Generate a connection string for the custom connector within a QlikView Desktop Client. For SAP BAPI Connector a connection string looks like this:
CUSTOM CONNECT TO "Provider=QvSAPBAPIConnector.dll;ASHOST=xxx;CLIENT=100;SYSNR=12;Timeout=3600 ;SNC_MODE=false;SNC_QOP=9;XUserId=xxx;XPassword=xxx;";
Go to QMC-> Data Connections and search for the data connections created by the steps mentioned above.
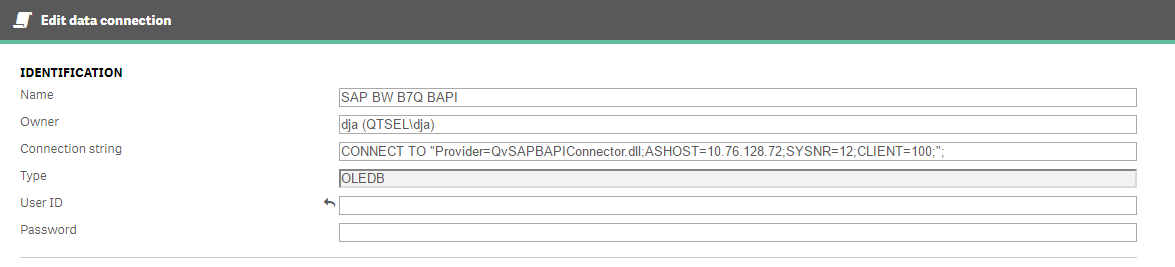
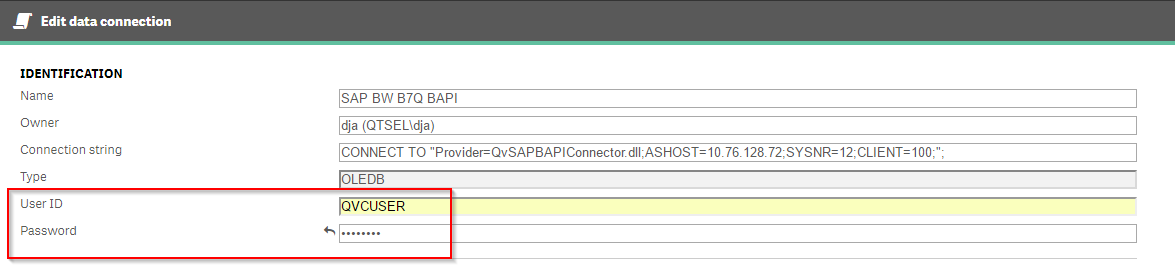
Replace the connection string by your QlikView connection string. Delete the sections UserID and Password from the connection string. Afterwards the connection string should look like this:
CUSTOM CONNECT TO "Provider=QvSAPBAPIConnector.dll;ASHOST=xxx;CLIENT=100;SYSNR=12;";
Use the User ID and Password fields of the Data Connection Edit Screen to provide your credentials.
Now your new data connection is ready to use within data load editor.