Tutorial Using Custom Materials to apply a normal map to Cloth - PrismaticFlower/shaderpatch GitHub Wiki
Intro
This tutorial assumes you have already followed the integration instructions for Shader Patch's tools. And also that you have preexisting modding knowledge, if you don't know how to create a custom side for a map go and learn how to do that first.
So I thought about what would be a neat example of how Shader Patch's materials can let you do things you can't normally do is to use them apply a normal map and specular lighting to cloth. So that's exactly what we're going to. I'm going to use rep_inf_clonecommander.msh and it's cloth but you can use any model that has cloth on it.
We'll be using this texture later on in the tutorial so if you're wanting to follow it word for word download this. Also make a custom rep side ready to munge, as that is what we'll be editing.

How Shader Patch's materials work
So first I want to quickly explain some terminology.
Game Texture
This is any normal texture that the game has and uses to draw things. This is what any texture you've normally been using will end up as. Shader Patch can see these textures but has no knowledge of their name.
Shader Patch Texture
Or just "Patch Texture" for shorthand. This a texture that the game can not see but Shader Patch can and unlike Game Textures Shader Patch knows the name of Patch Textures.
Custom Material
A user supplied configuration that selects the material type to use when drawing something, configures it and defines what Patch Textures to use as well.
Now that's a very basic high level overview of those concepts but it should be all you need to have fun playing around with Shader Patch's materials.
But we must sadly drop that nice high level abstraction of how things work for a bit. So Shader Patch's Custom Materials are actually built completely on top of Game Textures.
When Shader Patch's tools munge a material file it's actually just turning it into a special Game Texture. And when it sees the game go to use this Game Texture it steps in and setups everything needed to draw the user's Custom Material. The inverse also applies when it sees that the special Game Texture is no longer being used to draw objects, it restores the normal render state of the game.
What this means is that Custom Materials are applied using the names of Game Textures. This may not make much sense now but it will later.
Structuring our Stuff
Now when dealing with Custom Materials the number of files making up our side or world can grow by a lot. So before we do anything else we're going to help ourselves out and adjust the folder structure for our side a little bit. I found the making the following directories and using the accompanying pattern helpful in the past.
textures/- Patch Textures used by Custom Materials go in here. Game Textures may also go in here provided the same image file is used by a Patch Textures.materials/- All Custom Materials go in here.stock_textures/- In cases where we have to modify the Patch Texture such that it is no longer usable as the original Game Texture (for the non-Shader Patch copy of the side/map) we place the original Game Texture in here.
Setting up our Textures
Onto to the fun part now. First let's move rep_inf_clonecommander_cape.tga (and it's .option file) from msh/ to textures/. Next each texture we want to expose to Shader Patch, thus turning it into a Patch Texture, needs a .tex file. .tex files are similar in a way to .option files in that they control how a texture will be munged (it's format, type, etc) they are also not optional.
So let's start by making a new file in textures/ called rep_inf_clonecommander_cape.tga.tex. Then we want to copy this into it.
Type: image

sRGB: no
PremultiplyAlpha: no
CompressionFormat: BC7
You can learn more about texture definitions over here but there are two important things we're doing here.
First because this is a diffuse texture and we're not going to use it with Shader Patch's HDR rendering we set sRGB to no so that we get "correct" sampling. If we were going to use it with HDR rendering (once again because it is a diffuse texture) we would set it to yes.
Then because we don't have an alpha channel we set PremultiplyAlpha to false and we set CompressionFormat to "BC1". Patch Textures recieve better compression than Game Textures and have access to more compression formats, see the documentation for a complete listing.
Now remember the normal map from the top of the post? Download it, put it in textures/ and make sure it is called rep_inf_clonecommander_cape_normalmap.png. Then once again make a new file in textures/ named rep_inf_clonecommander_cape_normalmap.png.tex and put the following in it.
Type: normalmap

sRGB: no
PremultiplyAlpha: no
CompressionFormat: BC7_ALPHA
Again there are some things I want to draw attention to here. First sRGB is once again set to no because normal maps are never sRGB encoded. Next PremultiplyAlpha is set to no because although our normal map has an alpha channel it contains the specular gloss map and premultiplying that would be an error. (And premultiplying alpha with a normal map would be a significant error in any event.) The CompressionFormat we've chosen is "BC3" as it let's us have a high quality alpha channel in our image. If this normal map didn't have a gloss map we would likely want to choose BC5 as our CompressionFormat as it would let us get a bit more quality out of our compression at no increase in storage costs over BC7_ALPHA.
And we're done setting up our textures. Hopefully that was fairly easy to understand and follow.
Defining our Material
One last step before we can get to testing our material. In materials/ make a file called rep_inf_clonecommander_cape.mtrl and fill it with this.
Type: normal_ext

Material:
   UseSpecularLighting: yes
   IsDynamic: yes

   DiffuseColor:  [1.0, 1.0, 1.0]
   SpecularColor: [1.0, 1.0, 1.0]

   SpecularExponent: 64.0
   GlossMapWeight: 1.0

Textures:
   DiffuseMap: rep_inf_clonecommander_cape
   NormalMap: rep_inf_clonecommander_cape_normalmap
There are a few things to break down here. First we set the Type, we're going to be using the normal_ext material type.
Next we define the Material properties, most of these should be self explanatory. And you can check out descriptions of them over here.
Textures should also be self explanatory we reference the textures the Type needs. As we learn from here we need to specify DiffuseMap and NormalMap so that is exactly what we do. Note that we leave both the image file extension out and the .tex file extension out.
Lua Changes
Finally before we test we just need to edit our map's Lua script to load the Shader Patch version of the lvl when Shader Patch is installed and load the normal lvl when it isn't.
First at the top of our mission script we want to add the following code snippet.
-- Load the Shader Patch API
ReadDataFile("shader_patch_api.script")
ScriptCB_DoFile("shader_patch_api")

-- Check if Shader Patch is installed and if it is test the version.
local useShaderPatch = gSP_Installed and SP_TestVersion(1, 7, 0)
So say in the case of our example we had the following line in our map's script to load up our custom clone commander.
ReadDataFile("dc:SIDE\\rep.lvl;rep_inf_ep3_officer")
We would want to change it to this.
-- First we test to se if Shader Patch is installed.
if useShaderPatch then
   -- If it is we load the Shader Patch version of our side.
   -- Note the addition of 'SP\\'.
   ReadDataFile("dc:SIDE\\SP\\rep.lvl;rep_inf_ep3_officer")
else
   -- Otherwise we load the normal version of our side.
   ReadDataFile("dc:SIDE\\rep.lvl;rep_inf_ep3_officer")
end
That code should be simple enough to understand. In a large mod project you may want to invest some time to create some abstractions around it but that is an exercise for the reader. This should suffice to hit the ground running with Shader Patch's Custom Materials.
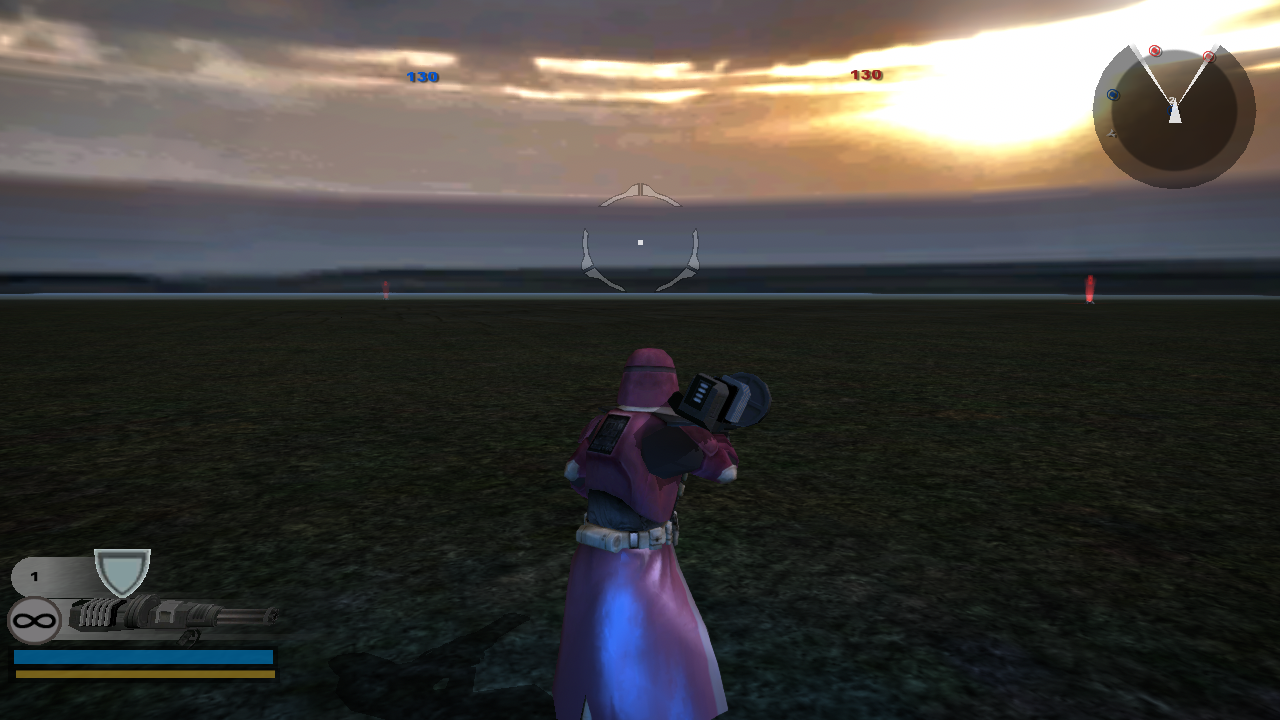
Testing Our Material
Finally we get to do the exciting thing and test the material! In our case I would say it's fine demonstration of Custom Materials, it may not convince you to run out and apply specular to the clone commander in your mod but it gets the point across.